It was 6 AM on a rainy Saturday, and I was staring into the abyss of my fruit bowl. There, sitting on the counter like a judgmental yellow supervisor, were three overripe bananas. They were the kind of bananas that had black spots so extensive they looked like they were plotting something. Usually, this is the moment I feel guilty and throw them in the compost, but last week I decided to stop ignoring them.
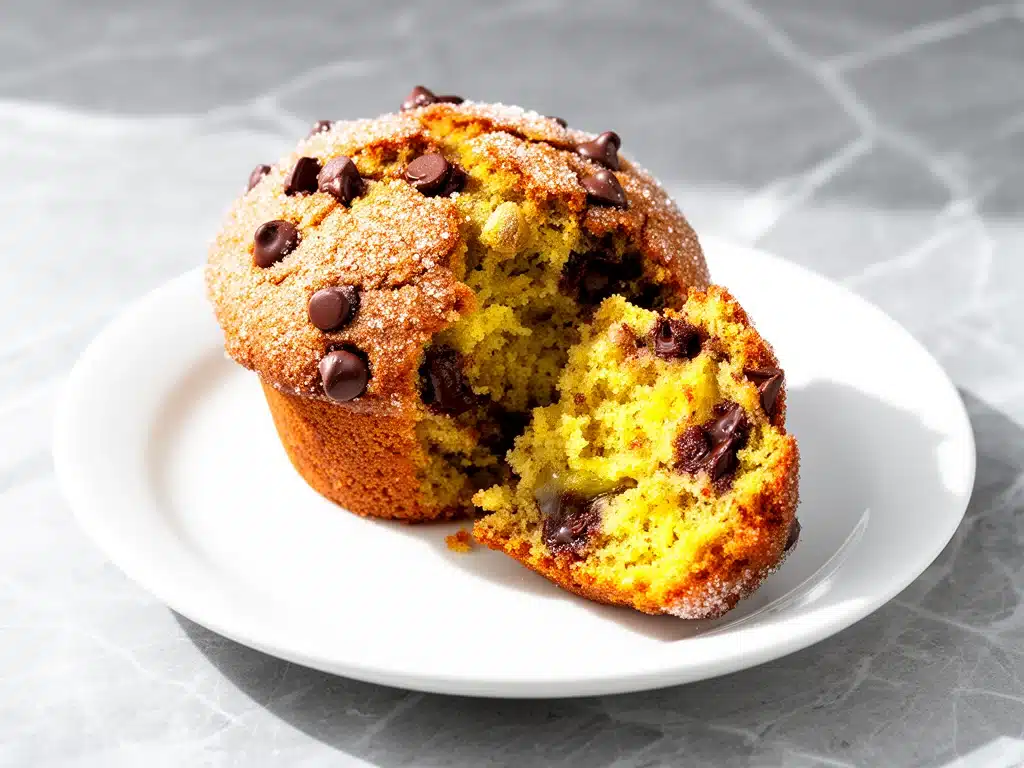
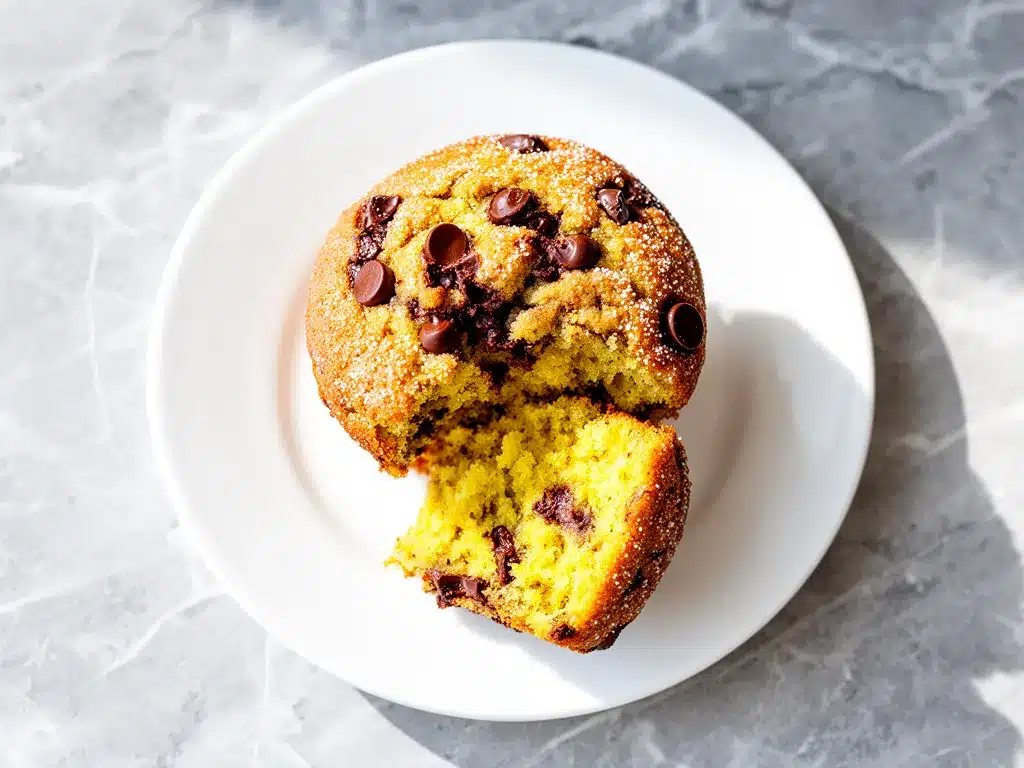
I pulled out my mixing bowl, expecting another batch of sad, dense banana bread. But then I thought, “What if I made muffins? The big, bakery-style kind with the domed tops and the chocolate chip explosion?” I tested this recipe four times in one week. Four. Because I needed to be sure. And I’m happy to report that these Bakery-Style Chocolate Chip Banana Muffins are the real deal. They’re moist, they’re fluffy, they have that perfect crumb, and they smell like a French bakery the second they hit the oven.
Here’s the thing about banana muffins: most recipes are either too sweet, too dry, or require a dozen ingredients you don’t actually need. This version is different. It’s simple, it’s forgiving, and it uses ingredients you likely already have. I’ve made these for my book club, my kids’ school bake sale, and just for myself at 2 AM (don’t judge me). Every single time, they disappeared faster than I could bake them. If you’re tired of dry muffins or complicated recipes that leave you with a sink full of dishes, this is the one you’ll make on repeat. Trust me.
Why You’ll Love This Recipe
Look, I’m not saying this is the greatest baked good ever created (though it comes pretty close). But there are specific reasons why these Bakery-Style Chocolate Chip Banana Muffins have taken over my kitchen. Here’s the breakdown:
- Bakery-Style Texture — Seriously, the tops dome up like the ones from your favorite café. I use a secret trick with the sugar topping that creates that crunchy, crackly crust you dream about.
- Insanely Moist — No dry edges here. These muffins stay soft for days. I’ve kept them in an airtight container for three days, and they still felt fresh. That’s rare for banana bread alternatives.
- Simple Ingredients — You don’t need fancy flours or obscure extracts. Just bananas, eggs, sugar, flour, chocolate chips, and a few pantry staples. If you can mash a banana, you can make this.
- Breakfast or Snack Ready — These are perfect for grabbing on the way out the door. They’re substantial enough for breakfast but sweet enough to satisfy a dessert craving. I pair them with my Strawberry Cream Cheese Roll-Ups sometimes for a full weekend spread.
- Great for Overripe Bananas — Finally, a use for those black bananas you’ve been ignoring. The riper the banana, the sweeter and more flavorful the muffin. It’s a win-win.
Real talk? I used to buy expensive muffins from the grocery store bakery, only to be disappointed by the dry texture. These are better, cheaper, and you get to control the chocolate-to-banana ratio. My husband, who claims he “doesn’t really like breakfast food,” asks for these specifically on weekends. That’s high praise.
Ingredients You’ll Need
Before we get to the mixing, let’s talk about what goes in. I’m particular about three things here: the bananas, the fat, and the chocolate. Get these right, and you’re golden.
The Wet Stuff
Ripe Bananas (3 large / about 1 ½ cups mashed) — This is non-negotiable. They need to be soft, spotty, and almost black. If they’re yellow, they won’t have enough flavor. Mash them with a fork until there are no big chunks left. You want a smooth puree.
Eggs (2 large) — Room temperature eggs mix better into the batter. I take them out of the fridge while the oven preheats. Don’t skip this; it helps with that bakery-style rise.
Butter (½ cup / 113g, melted) — Unsalted butter is best so you can control the salt. Melt it and let it cool slightly so it doesn’t cook the eggs when you mix. For a richer flavor, I sometimes use brown butter, but regular melted butter works perfectly fine.
Vanilla Extract (1 teaspoon) — Pure vanilla, please. I know it’s an expense, but fake vanilla tastes chemical. A little bit goes a long way in balancing the banana flavor.
The Dry Stuff
All-Purpose Flour (1 ½ cups / 190g) — Standard flour is perfect here. Don’t use whole wheat unless you want dense muffins. Sift it if you’re worried about lumps, but honestly, just whisking it is fine.
Sugar (½ cup / 100g granulated + 2 tablespoons for topping) — The ½ cup goes into the batter. The 2 tablespoons are for sprinkling on top before baking. This creates that crunchy, bakery-style dome. Brown sugar can be used, but it makes them denser. Stick to white for that light, fluffy texture.
Baking Soda (1 teaspoon) — This helps the muffins rise. Make sure it’s fresh! If it’s been in your cabinet for two years, toss it and buy new. Old baking soda = flat muffins.
Salt (½ teaspoon) — Enhances all the flavors. Don’t skip it, even if you like sweet things. It balances the sugar.
The Mix-Ins
Semi-Sweet Chocolate Chips (1 cup / 170g) — I use Nestlé Toll House, but any semi-sweet works. For extra luxury, chop up a chocolate bar. Chopped chips create little pockets of melty chocolate in every bite, whereas chips melt into pools. I do both sometimes—half chips, half chunks.
Optional: Walnuts or Pecans (½ cup, chopped) — If you like crunch, add nuts. I usually skip them because my kids are picky, but they add a nice earthy contrast to the sweet banana.
Equipment Needed
You don’t need anything fancy for this. Here’s what I actually use:
12-Cup Muffin Tin — Standard size. I use a light-colored metal tin because dark pans can over-brown the bottoms. If you only have a dark pan, lower the oven temp by 25°F.
Muffin Liners — Paper liners make cleanup easy. I use the white ones because they don’t bleed color into the batter.
Mixing Bowls — One large bowl for dry ingredients, one medium for wet. I like glass bowls because I can see through them.
Fork or Potato Masher — For mashing bananas. A fork is quicker; a masher is more thorough. I use a fork for speed.
Measuring Cups and Spoons — Level off your flour! Packing flour is the #1 reason for dry muffins.
Pastry Brush (Optional) — For brushing the tops with melted butter after baking, if you want extra shine.
How to Make It: Step-by-Step
Alright, let’s get baking. This takes about 10 minutes of prep and 20 minutes of baking. Here’s exactly how I do it.
Step 1: Prep the Oven and Pan (5 minutes)
Preheat your oven to 350°F (175°C). Line a 12-cup muffin tin with paper liners. I usually do two rows of six, but if you’re making a smaller batch, just line what you need. Melt the butter in the microwave or on the stove and let it cool for a minute.
Step 2: Mash the Bananas
Peel your ripe bananas and put them in a large mixing bowl. Mash them with a fork until they’re mostly smooth. You want about 1 ½ cups of puree. If there are big chunks, keep mashing. This ensures even distribution of banana flavor.
Step 3: Mix the Wet Ingredients
To the mashed bananas, add the melted butter, eggs, and vanilla extract. Whisk everything together until it’s well combined. The mixture will look a bit curdled—that’s normal. Just make sure the eggs are fully incorporated.
Step 4: Combine the Dry Ingredients
In a separate bowl, whisk together the flour, sugar, baking soda, and salt. Make sure there are no clumps of baking soda. This step is crucial for even rising.
Step 5: Fold It All Together
Pour the dry ingredients into the wet ingredients. Use a spatula or wooden spoon to gently fold them together. Stop mixing as soon as the flour disappears. Overmixing is the enemy of fluffy muffins. It develops gluten and makes them tough. The batter should look lumpy. That’s a good thing. Then, gently fold in the chocolate chips (and nuts, if using).
Step 6: Fill the Muffin Cups
Divide the batter evenly among the 12 muffin cups. I use an ice cream scoop or a large spoon to make sure each one gets the same amount. Fill them almost to the top—this helps them dome. Sprinkle the extra 2 tablespoons of sugar over the tops of each muffin. This is what gives them that crunchy, bakery-style crust.
Step 7: Bake
Place the tin in the oven and bake for 18-22 minutes. They’re done when the tops are golden brown, the centers spring back when lightly touched, and a toothpick inserted into the center comes out clean or with a few moist crumbs (not wet batter). Don’t overbake, or they’ll be dry!
Step 8: Cool
Let the muffins cool in the pan for 5 minutes, then transfer them to a wire rack to cool completely. Or, like me, eat one hot out of the pan. It’s worth the burned fingertips.
Expert Tips & Tricks
Here’s everything I’ve learned from making these dozens of times. These tips will save you from my mistakes.
- Don’t Under-Mix the Bananas — If there are big chunks of banana, you’ll get uneven flavor. Mash them well.
- Don’t Overmix the Batter — I know it’s tempting to stir until smooth, but stop when you see no dry flour. Lumpy batter = fluffy muffins.
- Use Room Temperature Eggs — Cold eggs can cause the melted butter to seize up slightly. Let them sit on the counter for 15 minutes.
- The Sugar Topping is Key — Sprinkling sugar on top before baking creates that crunchy, crackly dome. Don’t skip it if you want the bakery-style look.
- Check Early — Ovens vary. Start checking at 18 minutes. If they’re browning too fast, cover the tops with foil.
- Freeze for Later — These freeze beautifully. Wrap them individually in plastic wrap and store in a freezer bag for up to 3 months. Reheat in the microwave for 30 seconds.
Variations & Substitutions
Once you’ve nailed the basic version, here’s how you can mix it up. I’ve tried all of these.
- Blueberry Banana Muffins — Swap chocolate chips for 1 cup fresh or frozen blueberries. Toss the berries in a little flour first to prevent sinking.
- Double Chocolate — Replace ¼ cup of the flour with cocoa powder. Add chocolate chips as usual.
- Gluten-Free — Use a 1:1 gluten-free flour blend. The texture is slightly different but still good.
- Vegan — Replace eggs with two flax eggs (2 tbsp ground flaxseed + 5 tbsp water). Use coconut oil instead of butter.
- Less Sugar — Reduce the sugar in the batter to ⅓ cup. The bananas provide plenty of sweetness.
- Protein Boost — Add 2 scoops of vanilla protein powder. You may need to add a splash of milk or extra banana to keep it moist.
Dietary Modifications
Dairy-Free — Use coconut oil or a dairy-free butter substitute. The flavor changes slightly but it’s still delicious.
Nut-Free — These are naturally nut-free if you don’t add walnuts or pecans. Great for school lunches.
Serving & Storage
How do you enjoy these bad boys? I usually serve them warm with a cup of coffee or tea. They’re perfect for breakfast, a snack, or even dessert.
Side Dishes: I pair these with fresh fruit, yogurt, or a simple Cheesy Broccoli and Chicken Fritters if I’m making a savory-sweet brunch spread.
Storage: Store in an airtight container at room temperature for up to 3 days. They stay moist! If you live in a hot climate, store them in the fridge.
Reheating: Microwave for 20-30 seconds to warm them up. They’ll taste fresh-baked.
Freezing: Wrap individually in plastic wrap, then place in a freezer bag. They last up to 3 months. Thaw at room temperature or microwave.
Nutrition Information
I’m not a nutritionist, but here’s the breakdown if you’re tracking. Per muffin (makes 12):
- Calories: 180
- Protein: 3g
- Carbs: 28g
- Fat: 7g
- Sugar: 16g
- Fiber: 1g
These are treat-level indulgent. If you want to lighten them up, reduce the sugar and chocolate chips, or add more banana. But honestly? They’re best enjoyed as a sweet treat.
Final Thoughts
So that’s my take on Bakery-Style Chocolate Chip Banana Muffins. I’ve probably talked your ear off at this point, but when you make a recipe this often, you have a lot to say about it. These muffins have saved my mornings. They’re my answer to “what’s for breakfast?” when I’m tired, don’t want to cook, and still want something that tastes amazing.
Make them yours! Try different mix-ins, adjust the sweetness, or just enjoy them as is. The best recipes are the ones you adapt to your family’s tastes. If you make these, drop a comment and let me know what you think! I love hearing how recipes turn out in your kitchen. And if something doesn’t work, tell me that too—I’m here to help troubleshoot.
Happy baking! And I hope your kitchen smells half as good as mine does right now.
Frequently Asked Questions
Can I use frozen bananas?
Yes! Frozen bananas work great. Just thaw them completely and drain any excess liquid before mashing. The texture will be slightly softer, but the flavor is the same. This is actually a great way to prep ahead.
Why are my muffins dense?
Usually, this means you overmixed the batter. Once you add the dry ingredients, mix until just combined. Also, check your baking soda. If it’s old, it won’t help the muffins rise. And make sure you’re measuring your flour correctly—scoop and level, don’t pack it.
Can I make these ahead of time?
Absolutely. You can make the batter and refrigerate it overnight in the muffin tin. Just add a few extra minutes to the baking time. Or, bake them and freeze them for later. They reheat beautifully.
Can I use whole wheat flour?
You can, but the muffins will be denser and nuttier. I recommend substituting only half the all-purpose flour with whole wheat for a lighter texture. If you use 100% whole wheat, expect a heartier muffin.
How do I store leftovers?
Store in an airtight container at room temperature for up to 3 days. If it’s hot outside, keep them in the fridge. They last up to 3 months in the freezer.
Can I add nuts?
Yes! Walnuts or pecans are classic additions. Add ½ cup chopped nuts with the chocolate chips. Just be aware that they add crunch and a slightly bitter contrast to the sweet batter.
Pin This Recipe!
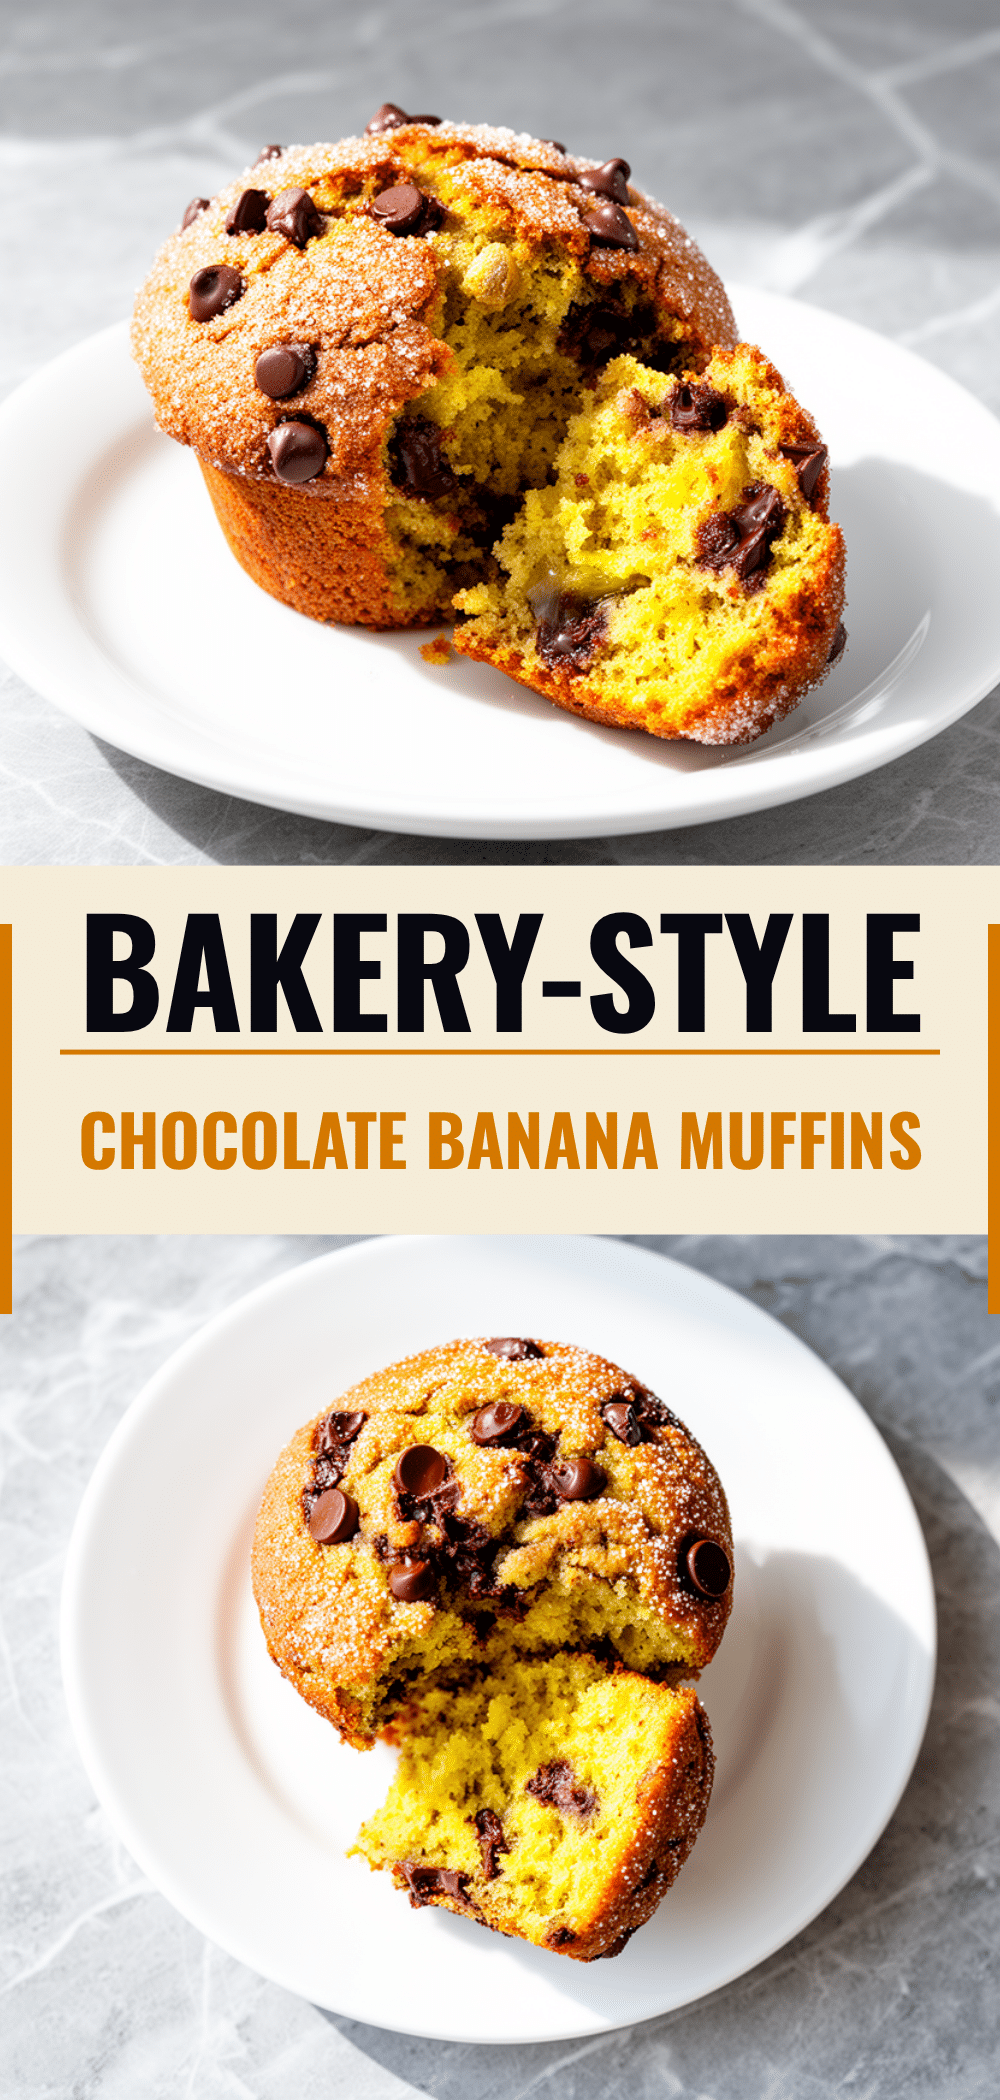

Bakery-Style Chocolate Chip Banana Muffins
- Total Time: 30 minutes
- Yield: 12 servings 1x
Description
Moist, fluffy, and bakery-style banana muffins with a crunchy sugar topping. This simple 3-ingredient base recipe uses overripe bananas for natural sweetness and requires minimal effort for maximum flavor.
Ingredients
- 3 large ripe bananas (about 1 ½ cups mashed)
- 2 large eggs (room temperature)
- ½ cup (113g) unsalted butter, melted and cooled slightly
- 1 teaspoon pure vanilla extract
- 1 ½ cups (190g) all-purpose flour
- ½ cup (100g) granulated sugar (plus 2 tablespoons for topping)
- 1 teaspoon baking soda
- ½ teaspoon salt
- 1 cup (170g) semi-sweet chocolate chips
- Optional: ½ cup chopped walnuts or pecans
Instructions
- Preheat oven to 350°F (175°C). Line a 12-cup muffin tin with paper liners.
- Melt the butter and let it cool slightly.
- Peel ripe bananas and mash them in a large bowl until smooth (about 1 ½ cups puree).
- Add melted butter, eggs, and vanilla extract to the mashed bananas. Whisk until well combined.
- In a separate bowl, whisk together flour, ½ cup sugar, baking soda, and salt.
- Pour dry ingredients into wet ingredients. Gently fold together with a spatula until just combined; do not overmix. The batter should remain lumpy.
- Fold in chocolate chips (and nuts, if using).
- Divide batter evenly among muffin cups, filling them almost to the top.
- Sprinkle the remaining 2 tablespoons of sugar over the tops of each muffin.
- Bake for 18-22 minutes, or until tops are golden brown and a toothpick inserted comes out clean.
- Cool in the pan for 5 minutes, then transfer to a wire rack to cool completely.
Notes
Use very ripe, spotty bananas for the best flavor. Do not overmix the batter to ensure fluffy muffins. The sugar topping creates a crunchy, bakery-style crust. These can be frozen for up to 3 months.
- Prep Time: 10 minutes
- Cook Time: 20 minutes
- Category: Breakfast
- Cuisine: American
Nutrition
- Serving Size: 1 muffin
- Calories: 180
- Sugar: 16
- Sodium: 150
- Fat: 7
- Saturated Fat: 4
- Carbohydrates: 28
- Fiber: 1
- Protein: 3
Keywords: banana muffins, chocolate chip muffins, bakery style muffins, easy muffin recipe, overripe bananas, breakfast muffins, moist muffins



