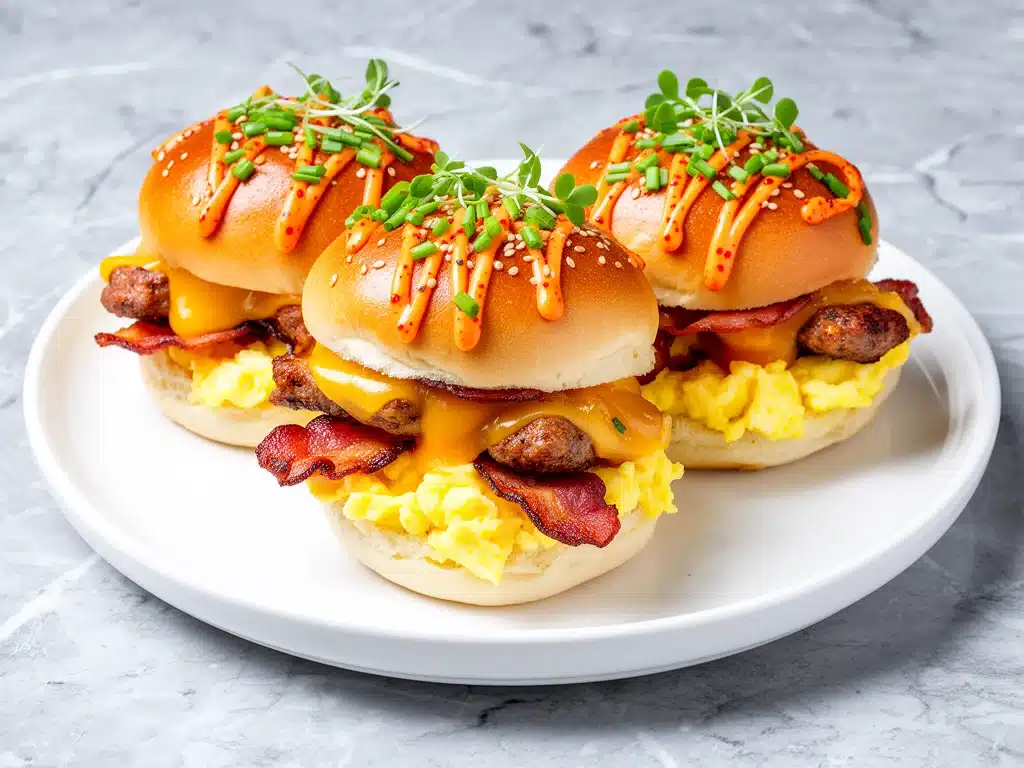
I have a confession to make. For years, I treated breakfast like it was supposed to be a separate life. You know the vibe: the quiet morning ritual, the perfect coffee, the slow pour of maple syrup. But then I started working longer hours, my kids started growing into picky eaters who refused to chew before 8 AM, and honestly? I just got tired. Tired of the 5 AM wake-ups to make eggs. Tired of the guilt when I bought gas station pastries because I overslept. Tired of the “what’s for dinner?” panic that hit at 5:30 PM when we hadn’t eaten a real meal yet.
So, I did something radical. I stopped trying to make traditional dinner. Instead, I started making breakfast for dinner. And not just scrambled eggs and toast (which my kids reject with the passion of a thousand suns). I started making Loaded Sausage and Cheese Breakfast Sliders.
It sounds weird, right? Breakfast food for dinner? But here’s the thing: when you combine savory sausage, gooey melted cheese, fluffy biscuits, and a little bit of heat, it stops being “breakfast” and starts being comfort food. It’s handheld. It’s messy in a good way. It’s done in the time it takes to order takeout, but it actually tastes like something you made with care.
The first time I made these, I was running late to pick up my daughter from soccer practice. I had twenty minutes, a package of breakfast sausage, a tube of biscuits, and some cheddar cheese in the fridge. I threw them together in a panic. When I pulled the tray out of the oven, golden brown and dripping with cheese, my kids didn’t even ask if it was breakfast or dinner. They just asked for seconds. Now, this is my go-to Loaded Sausage and Cheese Breakfast Sliders perfect for busy weeknights. It’s saved me more times than I can count. It’s cheap, it’s fast, and it makes my house smell like a diner, which somehow makes a chaotic Tuesday night feel a little more civilized.
Why You’ll Love This Recipe
There are about ten reasons I keep making these sliders, but let’s be real—you’re here because you need a win tonight. Here’s why this recipe is the MVP of your weekly rotation.
Stupid Simple — Seriously, if you can open a can of biscuits and put cheese on a sandwich, you can make this. I’ve walked my teenage son through it over FaceTime while he was at college. He nailed it on the first try. No complicated techniques, no fancy tools. Just assembly and heat.
Lightning Fast — 10 minutes from start to oven, plus about 15 minutes of baking time. That’s it. I make these on weeknights when I get home at 7:30 PM and my brain is already turned off. It’s active time is basically zero. You just layer and bake.
Pantry-Friendly — You probably have most of this already. Biscuit dough is in the refrigerated section of almost any grocery store. Sausage links or crumbles are standard. Cheese? Yeah, you’ve got that. If you have a fridge and a pantry, you can make this.
Crowd-Pleaser — I’ve served these to my vegetarian sister (who swaps the sausage for extra beans), my gluten-free neighbor (using GF biscuits), and my dad who thinks breakfast food is “too light” for dinner. Everyone loved it. The savory-salty combo hits all the right notes.
Budget-Smart — Feeds 6-8 people for under $12. That is cheaper than a single pizza delivery. It’s hearty enough to fill up hungry teenagers and tired parents alike. I deliberately make extra for lunch the next day because cold sliders are actually pretty amazing on a hard-boiled egg and a pickle.
This is my answer to “I’m too tired to cook.” It’s reliable. It’s delicious. And it makes everyone happy without requiring me to be a chef.
Ingredients You’ll Need
Here’s the best part: this recipe relies on ingredients that are basically staples. I’m not asking you to hunt down rare spices or go to three different stores. Here’s what you need and why I pick what I pick.
The Base
Refrigerated Biscuit Dough (2 tubes, 16.3 oz each) — I use the classic round biscuits. They’re fluffy, buttery, and hold up well to baking. Do not use the “flaky layers” variety if you want a softer slider; the classic ones are best. Look for brands like Pillsbury or store brand—doesn’t matter much, just make sure they’re fresh.
Breakfast Sausage (1 pound) — You can use links or crumbles. I prefer links because I can brown them nicely and chop them up, which gives you better texture. If you use pre-cooked crumbles, just warm them up. Avoid the “Turkey Breakfast Sausage” if you want that rich, savory flavor—it’s too dry for this. Go for the pork sausage with sage or fennel.
Sharp Cheddar Cheese (2 cups, shredded) — Sharp cheddar has enough punch to stand up to the salty sausage. Mild cheddar gets lost. Grate it yourself from a block if you can. Pre-shredded cheese has anti-caking agents that prevent it from melting smoothly, and you want that gooey, stretchy melt here.
Egg (1 large) — This is for an egg wash to make the tops golden brown. It’s optional if you’re in a huge rush, but it makes a visual difference.
The Flavor Boosters
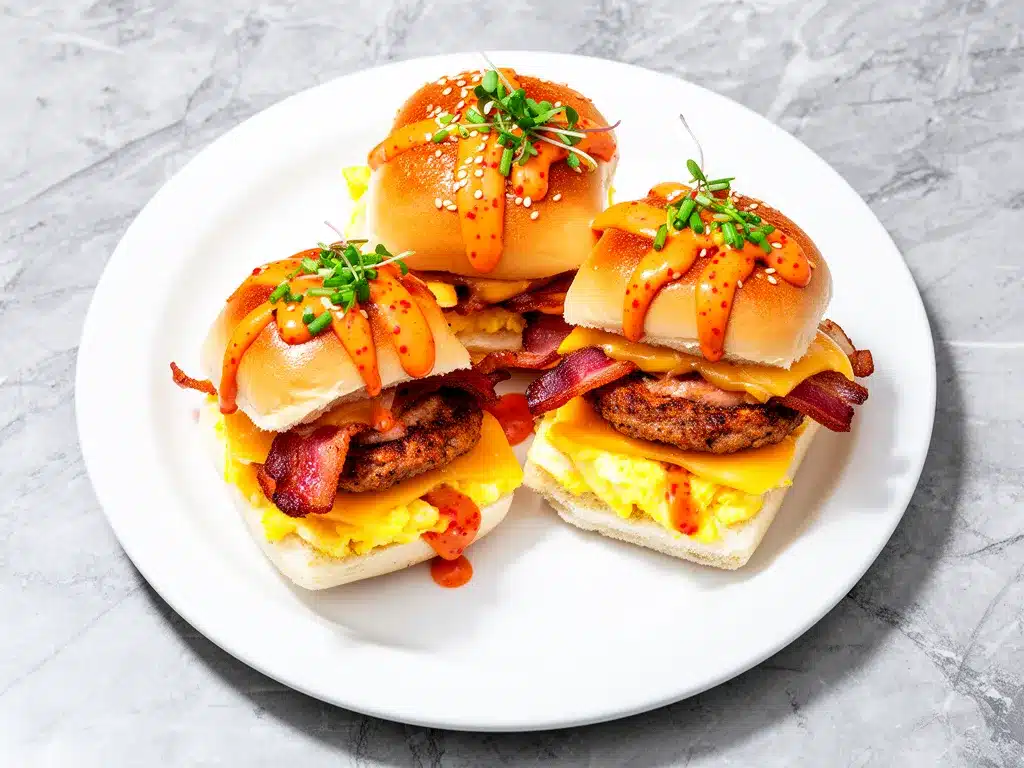
Yellow Onion (1 medium, diced) — Sweetens as it cooks and adds depth. I sweat these in the pan with the sausage. Don’t skip this; it cuts through the richness of the cheese and meat.
Hot Sauce (1-2 tablespoons) — This is the secret weapon. Frank’s RedHot or Tabasco works perfectly. It adds a tangy kick that makes the sliders feel “loaded” rather than just cheesy. Start with 1 tablespoon if you’re sensitive to spice.
Butter (2 tablespoons, melted) — Brushed on top before baking for that bakery-style golden crust.
Garlic Powder (1 teaspoon) — Just a little bit to amp up the savory flavor without adding fresh garlic mess.
Optional Add-ins
Hash Browns (1 cup, frozen or fresh diced) — For extra crunch and carbs. I throw these in sometimes when I have kids who need more energy. It turns the slider into a breakfast sandwich hybrid.
Green Onions (2 stalks, chopped) — Sprinkled on top after baking for a fresh pop of color and flavor. Makes it look like you tried harder than you actually did.
Maple Glaze (2 tablespoons maple syrup mixed with 1 tablespoon butter) — Drizzled on top right before serving. If you like sweet and savory, this is the move. My kids love this version.
Equipment Needed
You don’t need fancy equipment for this. Here’s what I actually use in my kitchen.
9×13 Inch Baking Dish — I use a glass Pyrex dish. It heats evenly and is easy to clean. A metal pan works too, but glass gives you more control over the browning.
Large Skillet — 12-inch stainless steel or cast iron is best for browning the sausage and onions. I prefer stainless because I can deglaze the pan with a little water if needed.
Pastry Brush — For the butter wash. Silicone brushes are great because they don’t shed bristles. If you don’t have one, just dip a paper towel in the butter and dab it on.
Cheese Grater — Box grater or microplane. Grating your own cheese takes 3 minutes and makes a huge difference in the melt quality.
Sharp Knife and Cutting Board — For dicing the onion and chopping the sausage links.
Mixing Bowl — Small one for whisking the egg wash.
Aluminum Foil — Optional, if you need to cover the sliders if they’re browning too fast.
How to Make It: Step-by-Step
Alright, let’s make this! I’m walking you through exactly how I do it, including the little tricks I’ve picked up over dozens of batches.
Step 1: Prep the Oven and Pan (2 minutes)
Preheat your oven to 350°F (175°C). Grease your 9×13 inch baking dish with non-stick spray or a little butter. This prevents the biscuits from sticking, which is the worst. Trust me, scrubbing baked-on dough is not fun.
Step 2: Cook the Sausage and Onions (5-7 minutes)
While the oven heats, grab your large skillet. Add the breakfast sausage links (or crumbles) and the diced yellow onion. Cook over medium-high heat, breaking up the sausage as it cooks. You want the sausage to be browned and crispy in spots, not just gray and steamed. This takes about 5-7 minutes. The onions should be translucent and sweet. If you’re using pre-cooked crumbles, just warm them through for 2 minutes. Drain any excess grease if there’s a lot of it. You don’t want soggy sliders.
Step 3: Arrange the Biscuits (2 minutes)
Open your tube of biscuit dough. Separate the biscuits. You should get 16 biscuits total from two tubes. Press each biscuit slightly flat with your palm. This helps them stack better and makes them more slider-like. Arrange the biscuits in the prepared baking dish. You’ll fit 16 biscuits comfortably in a 9×13 pan. If they’re packed tight, that’s fine—they’ll spread a bit.
Step 4: Layer the Fillings (3 minutes)
This is the fun part. Take a spoonful of the cooked sausage and onion mixture and place it on the bottom half of each biscuit. Then, add a generous handful of shredded cheddar cheese on top of the sausage. Don’t be shy with the cheese; that’s the good stuff. Repeat for all 16 biscuits.
Step 5: Close and Top (2 minutes)
Take the top half of another biscuit and place it on top of the cheese and sausage stack. Press down gently so it sticks. Repeat for all sliders. Now, whisk the egg with a tablespoon of water in a small bowl. Brush the tops of the sliders with the egg wash. This gives them that golden, shiny diner look. Drizzle the melted butter over the tops as well.
Step 6: Bake (15 minutes)
Place the dish in the preheated oven. Bake for 15 minutes, or until the biscuits are golden brown and the cheese is melted and bubbling. If the tops are browning too fast, cover loosely with aluminum foil for the last 5 minutes. The biscuits should be cooked through—test one by inserting a knife into the center; it should come out clean.
Step 7: Add the Sauce and Serve
While the sliders are baking, mix the hot sauce and maple syrup (if using) in a small bowl. Once the sliders are out of the oven, drizzle the sauce over the tops. Sprinkle with chopped green onions if you’re using them. Serve immediately. They are best hot and gooey.
Total Time: About 30 minutes (5 minutes prep, 25 minutes cook).
Built-in Troubleshooting:
Biscuits are raw in the middle? Your oven might be running cool, or the biscuits were too thick. Cover with foil and bake for 5 more minutes. Or, use smaller biscuits (like the “mini” variety) for more even cooking.
Cheese didn’t melt? The oven temperature was too low, or you used pre-shredded cheese. Make sure your oven is fully preheated. Grating your own cheese helps it melt faster.
Sliders fell apart? You didn’t press them down enough, or the filling was too wet. Make sure you drain the sausage grease well, and press the top biscuit down firmly.
Expert Tips & Tricks
Here’s everything I’ve learned from making this dozens of times. These tips will save you from my mistakes.
Don’t Overcrowd the Pan — If you’re making a double batch, use two pans. Overcrowding leads to steaming instead of baking, and you’ll get soggy biscuits. I learned this the hard way when I tried to fit 32 sliders in one pan. Disaster.
Use Sharp Cheddar — Mild cheddar is bland when melted. Sharp cheddar has a tang that cuts through the richness. If you’re a fan of pepper jack, mix it 50/50 with cheddar for a spicy kick.
Drain the Grease — Breakfast sausage is fatty. If you don’t drain the grease after browning, it will pool in the bottom of the pan and make the bottom of the biscuits soggy. Use a slotted spoon to transfer the sausage to a paper towel-lined plate.
Room Temperature Biscuits — If your biscuit dough has been in the fridge for a while, let it sit on the counter for 10 minutes before opening. Cold dough tears more easily when you’re trying to separate the rounds.
Make-Ahead Strategy — You can assemble the sliders the night before, cover the pan with plastic wrap, and refrigerate. In the morning, just pop them in the oven. Add 5 minutes to the bake time since they’re cold from the fridge. This is a lifesaver for school mornings.
Variations & Substitutions
Once you’ve nailed the basic version, here’s how you can mix it up. I’ve tried all of these.
Bacon and Egg Version — Swap the sausage for crispy bacon bits and add a hard-boiled egg slice to each slider. It’s like a breakfast club sandwich. Great for special occasions.
Veggie Loaded — Add sautéed spinach, mushrooms, and bell peppers to the sausage mix. It adds volume and nutrients without changing the flavor profile much. My kids don’t even notice the veggies.
Spicy Jalapeño — Add diced jalapeños to the cheese layer. Use pepper jack cheese for extra heat. This is my favorite when I want something with a punch.
Gluten-Free — Use gluten-free biscuit dough. Brands like Bob’s Red Mill or Pillsbury GF work well. Just follow the package instructions for baking time, as GF dough can be trickier.
Dairy-Free — Use dairy-free butter and cheese. It’s not quite the same melt, but it works in a pinch. I’ve made this for my lactose-intolerant friend, and she loved it.
Hash Brown Boost — Add a layer of frozen hash browns at the bottom of the pan before adding the biscuits. It turns the slider into a full breakfast plate. I learned this trick from cheesy broccoli and chicken fritters, where the base adds crunch.
Serving & Storage
How to Serve: I usually serve these straight from the pan at the dinner table. They’re rustic and communal. But here are other ways I’ve enjoyed them:
Side Dishes: A simple green salad with balsamic vinaigrette cuts the richness. Or roasted tomatoes. If you want to go all out, serve with strawberry cream cheese roll-ups for dessert—it’s a fun sweet-and-savory contrast.
Toppings Bar: When I have guests, I put out extra hot sauce, maple syrup, and green onions. Everyone customizes their slider.
Storage Instructions:
Refrigerator: Store leftovers in an airtight container for up to 3 days. The biscuits will harden slightly, but they reheat well.
Reheating: Best method: Reheat in the oven at 350°F for 10 minutes. This restores the crispiness. Microwave works but makes them chewy. If you microwave, do it in 30-second intervals.
Freezing: These freeze well! Assemble the sliders, bake them, let them cool completely, then wrap individually in plastic wrap and foil. Freeze for up to 3 months. Reheat in the oven at 350°F for 15-20 minutes. This is my meal-prep hack for busy weeks.
Nutrition Information
I’m not a nutritionist, but here’s the breakdown if you’re tracking. These are estimates based on 16 sliders, serving 4-6 people.
Per Slider (approximate):
- Calories: 220
- Protein: 8g
- Carbs: 22g
- Fiber: 1g
- Sugar: 2g
- Fat: 12g
- Sodium: 450mg
What’s Good: Decent protein from the sausage and cheese. It’s filling. What to Know: Higher in sodium due to the sausage and biscuits. Use low-sodium sausage if you’re watching salt. It’s comfort food, so enjoy it without guilt.
Final Thoughts
So that’s my Loaded Sausage and Cheese Breakfast Sliders perfect for busy weeknights! I’ve probably talked your ear off at this point, but when you make a recipe this often, you have a lot to say about it. This has saved dinner time more times than I can count. It’s my answer to “I’m tired” and “I don’t want takeout.” My kids are happy, my husband’s happy, and I’m happy because I’m not stressed about cooking.
Make it yours! Try different cheeses, add veggies, or swap the sausage for bacon. The best recipes are the ones you adapt. If you make this, drop a comment and let me know what you think! I love hearing how recipes turn out in your kitchen.
Happy cooking! And I hope your kitchen smells half as good as mine does right now.
Frequently Asked Questions
Can I use frozen sausage patties instead of links?
Yes! Just thaw them first and break them up in the pan. They work just as well. The texture might be slightly different, but the flavor is the same. I use patties when I’m in a huge rush.
Why did my biscuits turn out hard?
Overbaking is the most common reason. Check them at 12 minutes. They should be golden brown, not dark brown. Also, make sure your oven is calibrated correctly. If your oven runs hot, check them early.
Can I make these ahead of time?
Absolutely. Assemble them the night before, cover with foil, and refrigerate. In the morning, bake as directed, adding 5 minutes to the cook time. This is perfect for busy school mornings.
What cheese melts best for sliders?
Sharp cheddar is my go-to for flavor, but Monterey Jack or Pepper Jack melt very smoothly. Avoid hard cheeses like Parmesan—they don’t melt well for this application. Use a blend of cheddar and Jack for the best of both worlds.
Can I freeze the cooked sliders?
Yes! Let them cool completely, then wrap individually in plastic wrap and foil. Freeze for up to 3 months. Reheat in the oven at 350°F for 15-20 minutes. They won’t be quite as crispy as fresh, but they’re still delicious.
Is there a vegetarian substitute for the sausage?
Use plant-based breakfast sausage crumbles (like Beyond or Gardein). They brown nicely and have a similar texture. You can also use extra beans or mushrooms for a whole-food option.
Can I add hash browns to the sliders?
Yes! Add a layer of frozen hash browns at the bottom of the pan before the biscuits. It adds crunch and makes the slider more filling. I learned this trick from pasta salad side dishes where adding crunch is key, but here it adds heartiness.
Pin This Recipe!
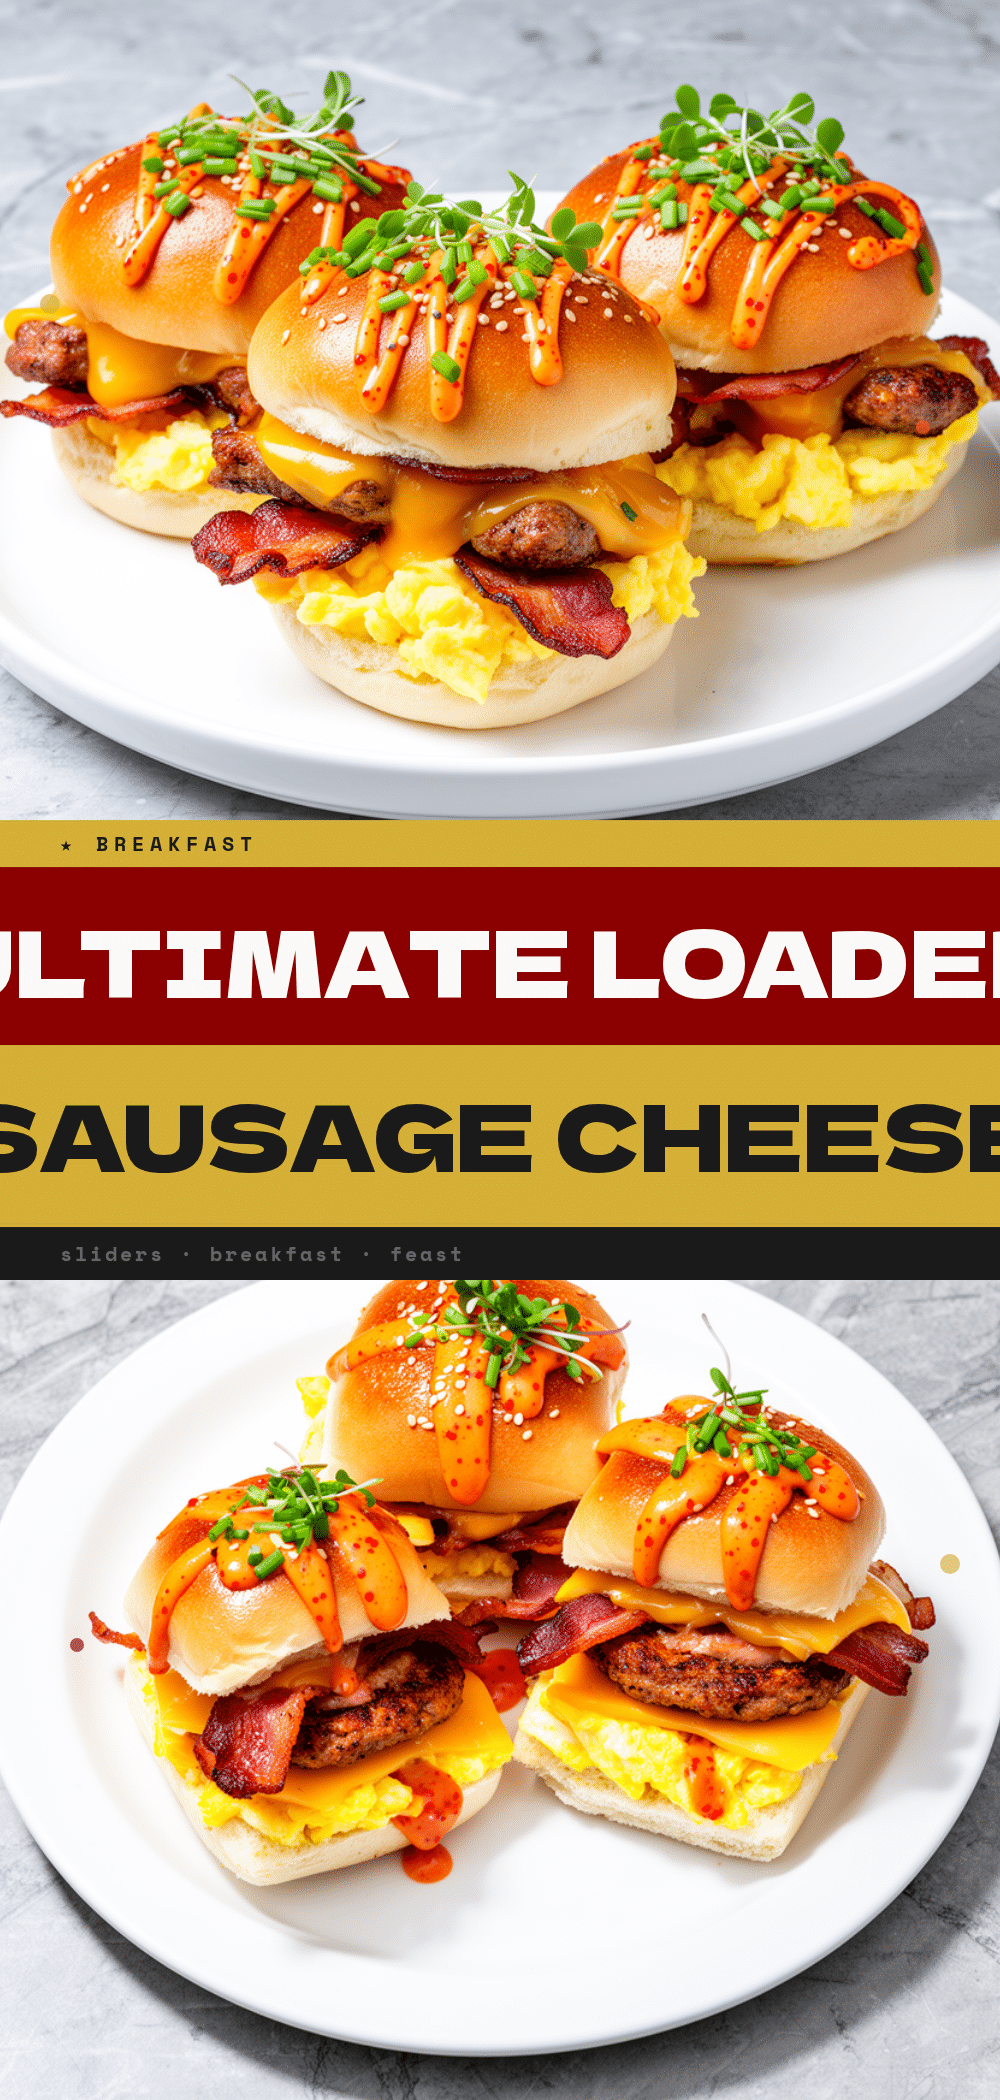

Loaded Sausage and Cheese Breakfast Sliders
- Total Time: 30 minutes
- Yield: 16 servings 1x
Description
A quick and easy weeknight dinner featuring savory sausage, sharp cheddar cheese, and fluffy biscuits baked into handheld sliders. Perfect for busy families and ready in about 30 minutes.
Ingredients
- 2 tubes (16.3 oz each) refrigerated classic round biscuit dough
- 1 pound breakfast sausage links (pork with sage or fennel)
- 2 cups sharp cheddar cheese, shredded
- 1 large egg (for egg wash)
- 1 medium yellow onion, diced
- 1–2 tablespoons hot sauce (e.g., Frank’s RedHot or Tabasco)
- 2 tablespoons butter, melted
- 1 teaspoon garlic powder
- Optional: 1 cup hash browns (frozen or fresh)
- Optional: 2 stalks green onions, chopped
- Optional: 2 tablespoons maple syrup mixed with 1 tablespoon butter for glaze
Instructions
- Preheat oven to 350°F (175°C) and grease a 9×13 inch baking dish.
- In a large skillet over medium-high heat, cook the sausage and diced onion for 5-7 minutes until sausage is browned and onions are translucent. Drain excess grease.
- Separate the biscuit dough into 16 biscuits and press them slightly flat.
- Arrange the biscuits in the prepared baking dish.
- Place a spoonful of the sausage and onion mixture on the bottom half of each biscuit, followed by a generous handful of shredded cheddar cheese.
- Top with the remaining biscuit halves and press down gently to seal.
- Whisk the egg with a tablespoon of water and brush the tops of the sliders. Drizzle with melted butter.
- Bake for 15 minutes until golden brown and cheese is melted. Cover with foil if browning too quickly.
- While baking, mix hot sauce and maple syrup (if using). Drizzle over baked sliders and sprinkle with green onions before serving.
Notes
Use sharp cheddar for better flavor and melt. Ensure you drain the sausage grease to prevent soggy biscuits. For make-ahead, assemble the night before and refrigerate, adding 5 minutes to bake time. Can be frozen after baking for up to 3 months.
- Prep Time: 10 minutes
- Cook Time: 15 minutes
- Category: Main Course
- Cuisine: American
Nutrition
- Serving Size: 1 slider
- Calories: 220
- Sugar: 2
- Sodium: 450
- Fat: 12
- Saturated Fat: 5
- Carbohydrates: 22
- Fiber: 1
- Protein: 8
Keywords: breakfast for dinner, sliders, sausage, cheese, biscuits, quick dinner, weeknight meals, family friendly, comfort food



