It was 7 PM on a Tuesday. My kids had soccer practice, my husband was running late from work, and I was standing in my kitchen staring at a box of store-bought red velvet cupcakes. You know the ones. They’re pink, they’re soft, and they taste like artificial cherry and regret. I popped one in my mouth, and it was dry. The frosting was basically sugar paste that stuck to the roof of my mouth. I threw the rest in the trash before my husband even walked through the door.
That was the breaking point. I’ve always loved red velvet, but I’ve never been a fan of the bakery version. It’s usually too sweet, too artificial, and lacks that subtle tang that makes it special. So, I decided to make my own. But here’s the thing: I don’t bake for 24 people. I bake for four. And I don’t want a dozen extra cupcakes sitting in the fridge for a week, turning into hard little bricks.
That’s when I discovered the magic of the small-batch approach. Making just six cupcakes changed everything. It’s less waste, faster baking, and honestly? It’s more manageable for a busy weeknight. I tested this small-batch red velvet cupcakes recipe about fifteen times. I adjusted the cocoa powder ratio, played with the buttermilk, and tweaked the cream cheese frosting until it was perfectly tangy and not cloyingly sweet. The result? Cupcakes that are moist, deeply red, and taste better than anything you’d get from a bakery. Better than takeout, definitely.
There’s something incredibly satisfying about whipping up a batch of these in under an hour. The kitchen fills with the smell of vanilla and warm cake, and the kids lose their minds when they see the pink batter. It’s become my go-to dessert for small celebrations, rainy afternoons, or just because I need a hug in food form. If you’ve ever been frustrated by giant recipes that leave you with leftovers, this is your solution.
Why You’ll Love This Small-Batch Red Velvet Recipe
I know what you’re thinking. “Another cupcake recipe?” But hear me out. This isn’t just any cupcake recipe. It’s designed for real life. Here’s why this small-batch red velvet cupcakes version has taken over our weekend routine:
Perfect Portion Control — Seriously, six cupcakes is the sweet spot. It’s enough for the family plus one guest, or a nice little treat for yourself and your partner. No giant boxes of leftovers languishing in the crisper drawer. I’ve tried making 24 cupcakes before, and I ended up eating half of them in two days out of sheer boredom. This batch is just right.
Richer Flavor, Less Sugar — Because you’re making less batter, you can focus on quality ingredients without drowning the flavor in unnecessary sugar. The cocoa powder gives it that deep, chocolatey note, while the buttermilk adds a tang that balances the sweetness. The cream cheese frosting is the star, providing a cool, creamy contrast to the warm cake. It’s not just sweet; it’s complex.
Ready in Under an Hour — From mixing to cooling, this takes about 45 minutes. That’s faster than ordering delivery. I make these on days when I’m tired and don’t want to cook a big meal. It’s a comfort dessert that comes together quickly. Plus, the prep is minimal. You’re basically just whisking things together.
Better Than Store-Bought — I’ve compared this to local bakery cupcakes, and I’m not even close. The texture is lighter, the crumb is tender, and the frosting is fresh. Store-bought frosting often has that waxy texture. This cream cheese frosting is smooth, spreadable, and tastes like it was made with love. And it is. I made it with love, and then my kids helped eat it.
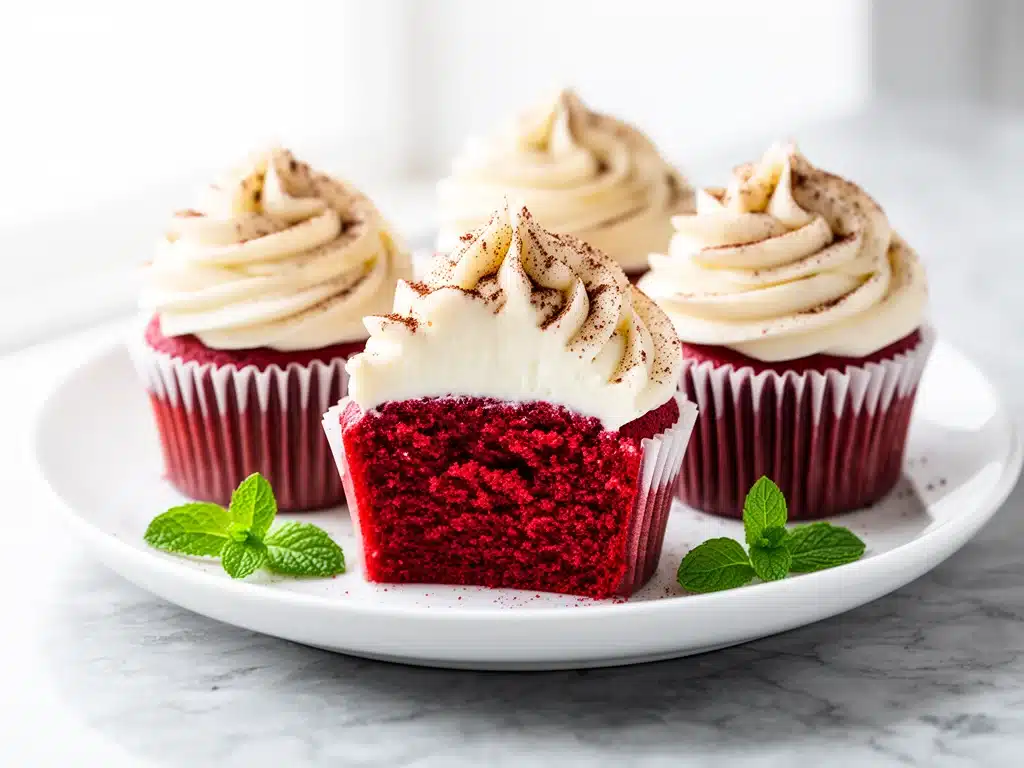
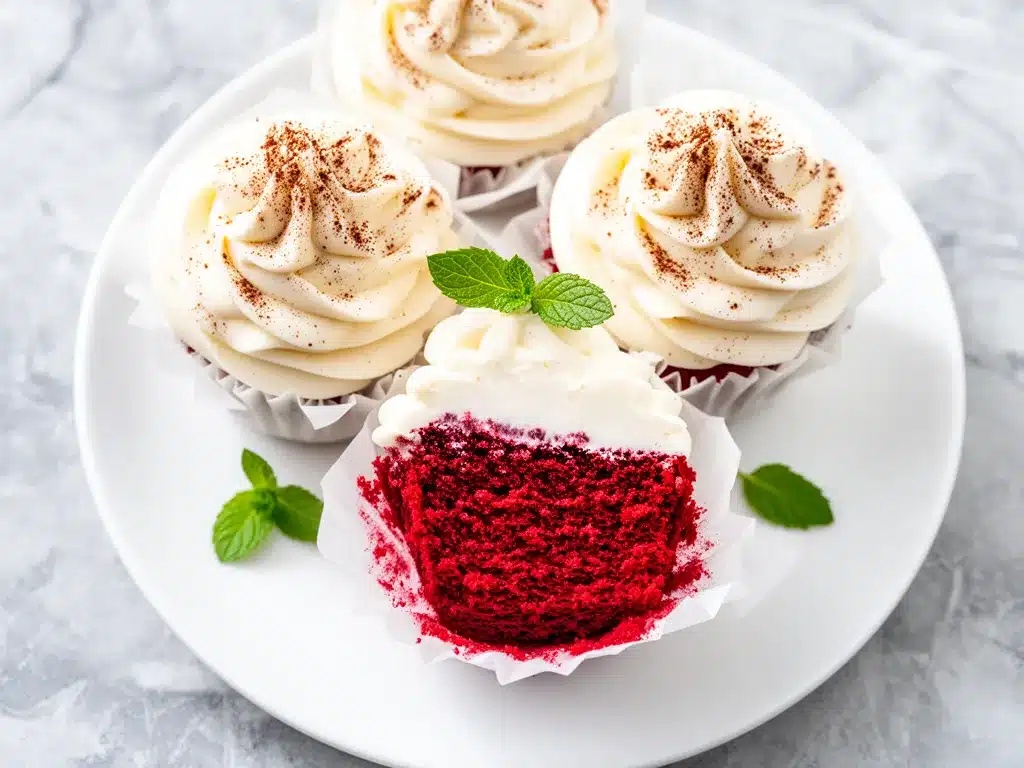
Visually Stunning — Let’s be real. We eat with our eyes first. These cupcakes are gorgeous. The deep red color is vibrant without being neon, and the white frosting creates a beautiful contrast. They look like they came from a high-end patisserie, but they’re made in my humble kitchen. Perfect for Instagram, too (though I rarely take photos because they taste too good to wait).
This recipe has saved me from the “what’s for dessert?” panic more times than I can count. It’s reliable, delicious, and fits into a busy schedule. If you’re looking for a dessert that feels special but doesn’t require a weekend of baking, this is it.
Ingredients You’ll Need for Small-Batch Red Velvet Cupcakes
One of the best things about this small-batch red velvet cupcakes recipe is that the ingredient list is short and simple. You probably have most of this already in your pantry. I’m particular about a few things here, so pay attention to the notes below.
For the Cake
Unsalted butter (1/2 cup / 115g) — Softened to room temperature. This is crucial. If your butter is too cold, it won’t cream properly with the sugar, and your cupcakes will be dense. If it’s melted, the batter will be greasy. Aim for butter that leaves a fingerprint when you press it.
Granulated sugar (3/4 cup / 150g) — Standard white sugar. Don’t use brown sugar here; it will make the cupcakes too moist and change the color. We want that classic red velvet texture.
Eggs (2 large) — Room temperature eggs incorporate better into the batter. I take them out of the fridge when I start preheating the oven. If you forget, you can warm them in a bowl of warm water for 5 minutes.
Vanilla extract (1 teaspoon) — Use real vanilla. I know it’s expensive, but artificial vanilla tastes chemical in a delicate cake like this. My favorite brand is Nielsen-Massey, but any pure extract works.
Buttermilk (1/2 cup / 120ml) — This is the secret weapon. Buttermilk tenderizes the gluten and adds that signature tang. If you don’t have buttermilk, make your own by adding 1 tablespoon of lemon juice or white vinegar to 1/2 cup of milk. Let it sit for 5 minutes until it curdles. It works perfectly.
All-purpose flour (1 1/2 cups / 190g) — Spoon it into the measuring cup and level it off. Don’t scoop directly from the bag, or you’ll pack too much flour and get dry cupcakes.
Cocoa powder (1 tablespoon / 5g) — Unsweetened cocoa. I use Dutch-processed cocoa because it’s darker and has a richer flavor. It also reacts better with the baking soda for that deep red color. Regular natural cocoa works too, but the color might be slightly lighter.
Baking soda (1/2 teaspoon) — This reacts with the buttermilk and vinegar to create lift. Make sure it’s fresh! If your baking soda is old, your cupcakes won’t rise properly.
Salt (1/4 teaspoon) — Just a pinch to enhance the chocolate and vanilla flavors.
Red food coloring (1-2 teaspoons) — Gel food coloring is best because it doesn’t add extra liquid. Liquid coloring works too, but you might need to use a bit more. I use about 1.5 teaspoons for a vibrant red. If you want it darker, go up to 2 teaspoons.
For the Cream Cheese Frosting
Cream cheese (4 oz / 115g) — Full-fat, block-style cream cheese. Do not use the spreadable kind in a tub. It has too much moisture and will make the frosting runny. Let it soften to room temperature before mixing.
Unsalted butter (1/2 cup / 115g) — Also softened to room temperature. This gives the frosting its structure and richness.
Confectioners’ sugar (2 cups / 240g) — Sifted! This is non-negotiable. If you don’t sift, you’ll get lumps in your frosting. I use a fine-mesh sieve and whisk it before adding to the bowl.
Vanilla extract (1 teaspoon) — Same as for the cake. Pure vanilla only.
Salt (1/8 teaspoon) — Just a tiny pinch to balance the sweetness.
Cocoa powder (1 tablespoon) — Wait, cocoa in the frosting? Yes. It adds a subtle chocolate note that complements the cake and keeps the frosting from being overly sweet. It also helps tone down the bright white color slightly, making it look more rustic and homemade.
Equipment Needed
You don’t need fancy gadgets for this. Here’s what I actually use:
Muffin tin — A standard 12-cup tin. I use two cups for this small batch, leaving the rest empty. This helps with even baking. If you have a 6-cup tin, perfect. If not, just use two spots in a 12-cup tin.
Cupcake liners — Red or white liners work best. I like red because they enhance the color, but white is classic.
Mixing bowls — Two medium bowls. One for wet ingredients, one for dry.
Electric mixer — Handheld or stand mixer. I use a handheld because it’s quick to clean. You can mix by hand, but it takes more effort to cream the butter and sugar properly.
Spatula — A rubber spatula is essential for scraping the bowl. You want to get all the batter.
Cooling rack — To cool the cupcakes before frosting. Never frost warm cupcakes; the frosting will melt.
Sieve — For sifting the confectioners’ sugar. If you don’t have one, a whisk works too, just be thorough.
How to Make It: Step-by-Step
Alright, let’s make this! I’m walking you through exactly how I do it, including the little tricks I’ve picked up over the years.
Step 1: Prep Your Oven and Pan (5 minutes)
Preheat your oven to 350°F (175°C). Line two cups of your muffin tin with cupcake liners. I usually place them opposite each other in the tin to help with even baking. If your oven runs hot, you might want to check them a minute early.
Step 2: Mix the Dry Ingredients (2 minutes)
In a medium bowl, whisk together the flour, cocoa powder, baking soda, and salt. Make sure there are no lumps of cocoa powder. Set this aside. This ensures that the leavening agent is evenly distributed.
Step 3: Cream the Butter and Sugar (3-4 minutes)
In a large bowl, beat the softened butter and granulated sugar together on medium-high speed until light and fluffy. This should take about 3 minutes. The mixture will look pale and airy. This step incorporates air into the batter, which helps the cupcakes rise. Don’t skip this.
Step 4: Add Eggs and Vanilla (2 minutes)
Add the eggs one at a time, beating well after each addition. Scrape down the sides of the bowl with a spatula. Add the vanilla extract. The mixture might look slightly curdled at this point—that’s normal. It will come together in the next step.
Step 5: Combine Wet and Dry Ingredients (3 minutes)
Reduce the mixer speed to low. Add the dry ingredients in three additions, alternating with the buttermilk. Start and end with the dry ingredients. Mix until just combined. Do not overmix! Overmixing develops gluten and makes the cupcakes tough. If you’re using hand mixer, this might take a minute longer.
Step 6: Add Food Coloring (1 minute)
Add the red food coloring. Mix until the batter is a uniform red color. I usually add it last because it’s easier to control the intensity. If you want a deeper red, add more coloring now. The batter should be smooth and vibrant.
Step 7: Fill and Bake (18-20 minutes)
Divide the batter evenly between the two lined cups. Each cup should be about 2/3 full. Bake for 18-20 minutes, or until a toothpick inserted into the center comes out clean. The cupcakes should spring back when you touch them lightly. Don’t open the oven door too early, or they might collapse.
Step 8: Cool Completely (30 minutes)
Let the cupcakes cool in the pan for 5 minutes, then transfer them to a wire rack to cool completely. This is crucial. If you frost them while they’re warm, the frosting will melt and slide off. I usually let them cool while I make the frosting.
Step 9: Make the Frosting (5 minutes)
In a clean bowl, beat the softened cream cheese and butter until smooth. Add the sifted confectioners’ sugar, vanilla, salt, and cocoa powder. Beat on low speed until combined, then increase to medium-high and beat until fluffy. This should take about 2 minutes. The frosting should be smooth and spreadable.
Step 10: Frost and Serve
Once the cupcakes are completely cool, pipe or spread the frosting on top. I use a piping bag for a professional look, but a knife works fine too. Sprinkle with a little extra cocoa powder or red sprinkles if you want. Enjoy immediately, or store in the fridge.
Expert Tips & Tricks
Here’s everything I’ve learned from making this small-batch red velvet cupcakes recipe dozens of times. These tips will save you from my mistakes.
Room Temperature Ingredients Are Non-Negotiable
I can’t stress this enough. Cold butter and cream cheese will not cream properly. Your frosting will be lumpy, and your cake will be dense. Take everything out of the fridge at least an hour before you start. If you’re short on time, soften butter by microwaving it in 5-second bursts. Cream cheese? Put it in a bowl of warm water for 10 minutes.
Don’t Overmix the Batter
Once you add the flour, mix until just combined. Overmixing leads to tough cupcakes. You want a tender, delicate crumb. It’s okay if there are a few tiny lumps of flour. They’ll disappear during baking.
Use Gel Food Coloring
Gel food coloring is more concentrated than liquid coloring, so you use less. It also doesn’t thin out the batter. If you use liquid coloring, you might need to add a tablespoon more, which can affect the texture. I always keep a bottle of gel red in my pantry.
Sift Your Sugar
Lumps in confectioners’ sugar are the enemy. Sifting ensures a smooth, silky frosting. If you don’t have a sieve, use a whisk to break up the lumps before adding to the bowl. It takes an extra minute but is worth it.
Chill the Frosting If It’s Too Soft
If your frosting is too soft to pipe, put the bowl in the fridge for 10-15 minutes. Then beat it again. It will firm up. This happens if your kitchen is warm or if your butter was too soft.
Common Mistakes and Fixes
- Cupcakes are dry: You overbaked them or used too much flour. Check them a minute early, and spoon your flour.
- Frosting is grainy: The sugar wasn’t sifted, or the butter/cream cheese wasn’t fully softened.
- Frosting is too sweet: Add a teaspoon of lemon juice to cut the sweetness. It also adds a nice tang.
- Cupcakes sank in the middle: The oven was opened too early, or the baking soda was old. Make sure your leavening agents are fresh.
Variations & Substitutions
Once you’ve nailed the basic version, here’s how you can mix it up. I’ve tried all of these.
White Chocolate Red Velvet
Add 1/2 cup of white chocolate chips to the batter. It adds a creamy, sweet contrast to the tangy cake. I love this version for holiday parties.
Chocolate Cream Cheese Frosting
Add 2 tablespoons of cocoa powder to the frosting. It makes it richer and darker. Great for chocolate lovers.
Strawberry Red Velvet
Add 2 tablespoons of freeze-dried strawberry powder to the batter. It enhances the red color and adds a fruity flavor. This is similar to the flavor profile in strawberry cream cheese roll-ups, which is another favorite of mine.
Vegan Version
Use vegan butter and dairy-free cream cheese. Substitute buttermilk with almond milk + vinegar. Use aquafaba instead of eggs. It’s not exactly the same, but it works.
Gluten-Free Version
Use a 1:1 gluten-free flour blend. Add a teaspoon of xanthan gum if your blend doesn’t have it. The texture might be slightly denser, but still delicious.
Mini Cupcakes
Fill mini cupcake liners 2/3 full and bake for 10-12 minutes. Perfect for parties and finger food. They’re great for back-to-school lunches or snack time.
Serving & Storage
How to serve these small-batch red velvet cupcakes for maximum impact.
How to Serve
I usually serve these with a cup of coffee or tea. The tangy frosting pairs beautifully with black coffee. For parties, arrange them on a tiered stand with some red roses or berries for decoration. They look stunning.
Storage Instructions
Refrigerator: Store in an airtight container for up to 4 days. The frosting will firm up in the fridge, so let them sit at room temperature for 15 minutes before serving. They taste best at room temperature.
Freezer: You can freeze unfrosted cupcakes for up to 2 months. Wrap them tightly in plastic wrap and then foil. Thaw overnight in the fridge. Do not freeze frosted cupcakes; the frosting will separate and become grainy.
Meal Prep
You can make the batter ahead of time and store it in the fridge for up to 24 hours. Just add a minute or two to the baking time. This is great for busy mornings.
Nutrition Information
I’m not a nutritionist, but here’s the breakdown if you’re tracking. Keep in mind that this is a treat, so enjoy it in moderation.
Per Cupcake (based on 6 servings):
- Calories: 320
- Protein: 4g
- Carbs: 45g
- Fiber: 1g
- Sugar: 32g
- Fat: 15g
- Saturated Fat: 9g
- Cholesterol: 45mg
- Sodium: 180mg
What’s Good:
- Small portion size helps control calorie intake.
- Real ingredients like butter and cream cheese provide some fat-soluble vitamins.
What to Know:
- High in sugar and saturated fat. This is a dessert, not a health food.
- Contains gluten and dairy.
My Take:
Look, this is a treat. It’s sweet, rich, and delicious. It’s not something I eat every day, but it’s worth it for special occasions or when I need a pick-me-up. I balance it out by having a cup of tea and enjoying it slowly. If you’re watching your sugar, try reducing the sugar in the frosting by 1/4 cup, though it will affect the texture.
Final Thoughts
So that’s my go-to small-batch red velvet cupcakes recipe! I’ve probably talked your ear off at this point, but when you make a recipe this often, you have a lot to say about it.
This has saved me from the store-bought trap more times than I can count. It’s my answer to “I want something sweet” when I don’t want to leave the house. My kids are happy, my husband’s happy, and I’m happy because I’m not stressed about cooking a big meal.
Make it yours! Try different toppings, swap in your favorite food coloring, or add a hint of peppermint for the holidays. The best recipes are the ones you adapt to your family’s tastes.
If you make this, drop a comment and let me know what you think! I love hearing how recipes turn out in your kitchen. And if something doesn’t work, tell me that too—I’m here to help troubleshoot.
Happy baking! And I hope your kitchen smells half as good as mine does right now.
Frequently Asked Questions
Can I use liquid food coloring instead of gel?
Yes, but you’ll need to use more. Liquid coloring is less concentrated, so you might need 2-3 teaspoons instead of 1-2. Be careful not to add too much liquid, or it will thin out the batter. I prefer gel because it gives a vibrant color without affecting the texture.
Why did my cupcakes sink in the middle?
This usually happens if the oven was opened too early, or if the baking soda was old. Make sure your leavening agents are fresh. Also, don’t open the oven door for the first 15 minutes of baking. The cupcakes need time to set their structure.
Can I make these ahead of time?
You can make the cupcakes up to 2 days ahead and store them unfrosted in an airtight container. Frost them the day you plan to serve them. The frosting will stay fresh for up to 4 days in the fridge.
Why is my frosting too runny?
This usually means your butter or cream cheese was too warm, or the confectioners’ sugar wasn’t sifted. Put the frosting in the fridge for 10-15 minutes, then beat it again. It should firm up. If it’s still too runny, add more sifted sugar, 1/4 cup at a time.
Can I freeze these cupcakes?
You can freeze unfrosted cupcakes for up to 2 months. Wrap them tightly in plastic wrap and then foil. Thaw overnight in the fridge. Do not freeze frosted cupcakes; the frosting will separate and become grainy.
What if I don’t have buttermilk?
You can make your own by adding 1 tablespoon of lemon juice or white vinegar to 1/2 cup of milk. Let it sit for 5 minutes until it curdles. It works perfectly as a substitute.
Can I use a stand mixer?
Absolutely. A stand mixer is great for this recipe. Use the paddle attachment on medium speed. The mixing times will be similar to a hand mixer.
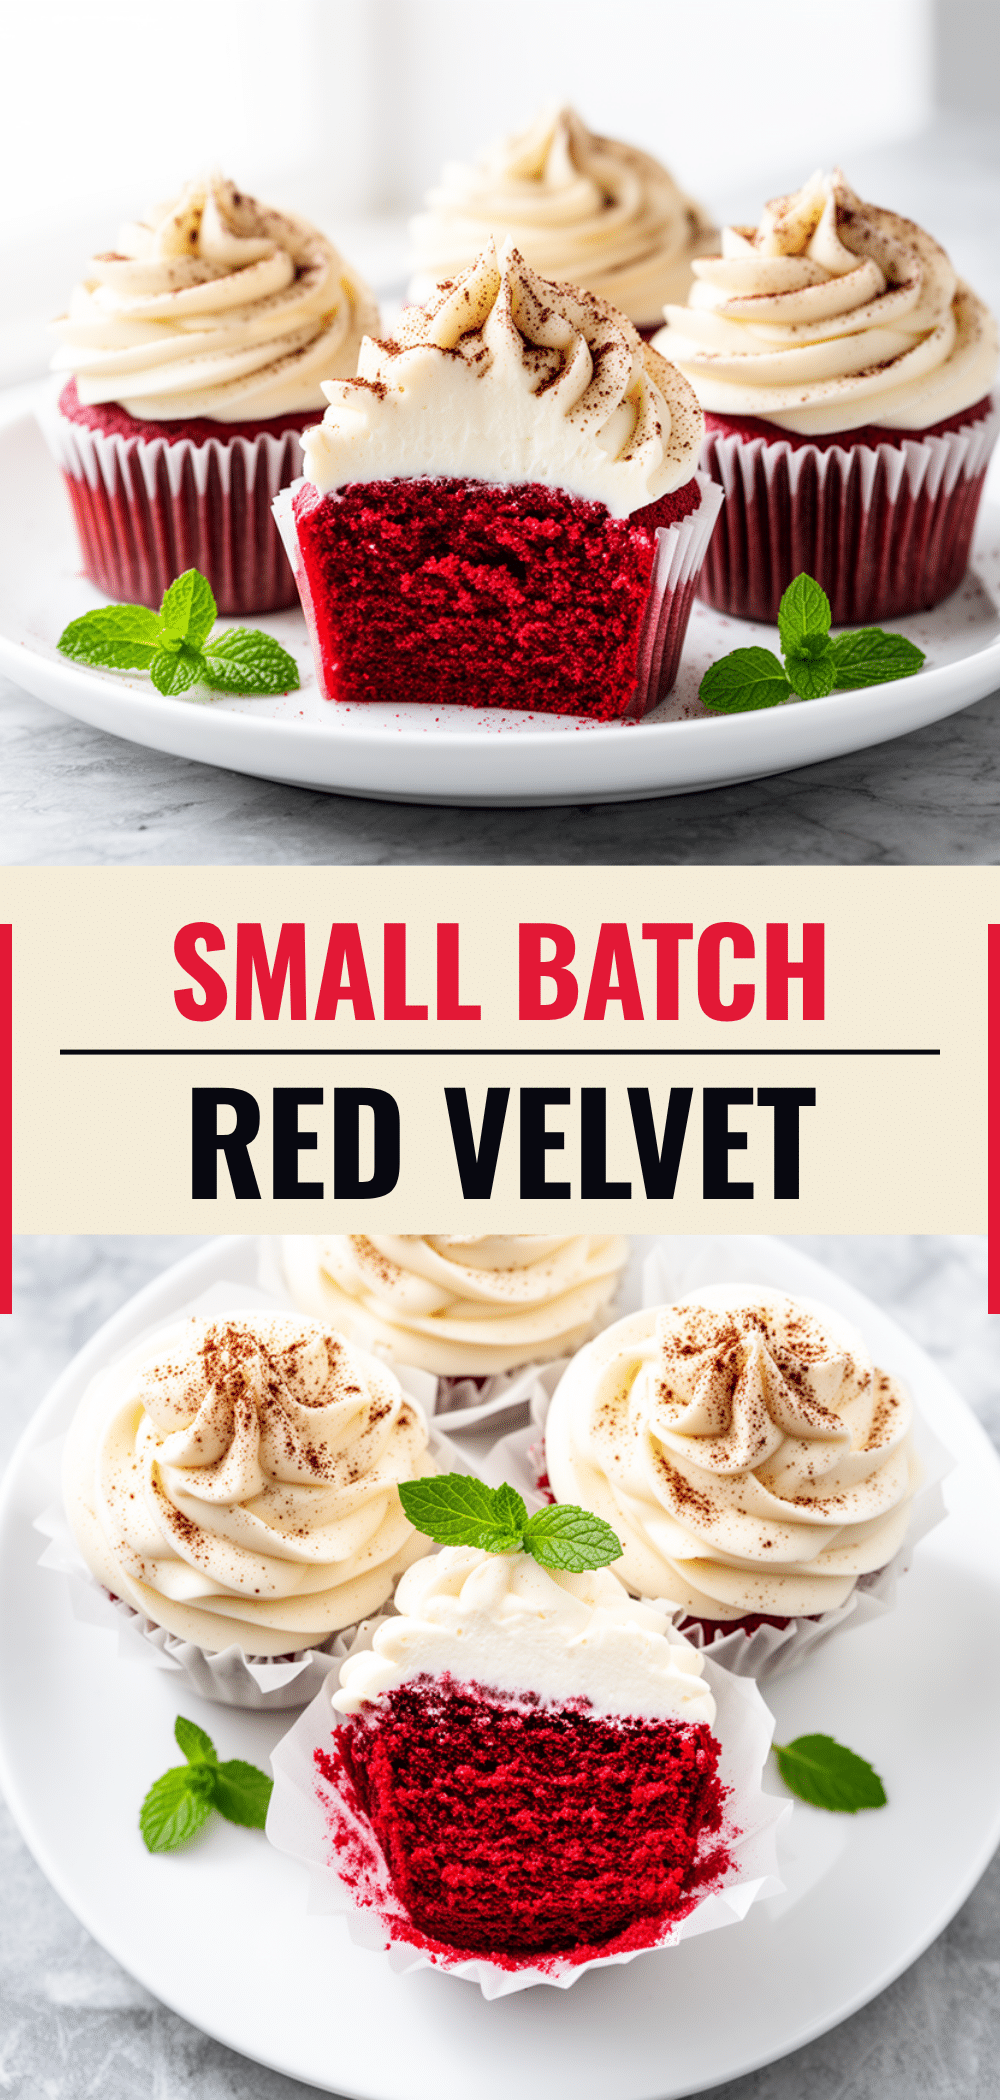
Pin This Recipe!
Small-Batch Red Velvet Cupcakes: Easy Homemade Cream Cheese Frosting
- Total Time: 45 minutes
- Yield: 6 servings 1x
Description
A manageable, moist, and deeply red small-batch red velvet cupcake recipe that yields just six servings, featuring a tangy cream cheese frosting and rich flavor without the waste of larger batches.
Ingredients
- 1/2 cup unsalted butter, softened to room temperature
- 3/4 cup granulated sugar
- 2 large eggs, room temperature
- 1 teaspoon vanilla extract
- 1/2 cup buttermilk
- 1 1/2 cups all-purpose flour
- 1 tablespoon unsweetened cocoa powder (Dutch-processed preferred)
- 1/2 teaspoon baking soda
- 1/4 teaspoon salt
- 1–2 teaspoons red gel food coloring
- 4 oz full-fat block-style cream cheese, softened
- 1/2 cup unsalted butter, softened
- 2 cups confectioners’ sugar, sifted
- 1 teaspoon vanilla extract
- 1/8 teaspoon salt
- 1 tablespoon cocoa powder
Instructions
- Preheat oven to 350°F (175°C) and line two cups of a muffin tin with cupcake liners.
- In a medium bowl, whisk together flour, cocoa powder, baking soda, and salt; set aside.
- In a large bowl, beat softened butter and granulated sugar on medium-high speed until light and fluffy (about 3 minutes).
- Add eggs one at a time, beating well after each addition, then add vanilla extract.
- Reduce mixer speed to low. Add dry ingredients in three additions, alternating with buttermilk, starting and ending with dry ingredients. Mix until just combined.
- Add red food coloring and mix until batter is a uniform red color.
- Divide batter evenly between the two lined cups (about 2/3 full).
- Bake for 18-20 minutes or until a toothpick inserted into the center comes out clean.
- Let cupcakes cool in the pan for 5 minutes, then transfer to a wire rack to cool completely.
- In a clean bowl, beat softened cream cheese and butter until smooth.
- Add sifted confectioners’ sugar, vanilla, salt, and cocoa powder. Beat on low until combined, then increase to medium-high and beat until fluffy.
- Pipe or spread frosting onto completely cooled cupcakes and serve.
Notes
Ensure all dairy ingredients (butter, cream cheese, eggs) are at room temperature for proper creaming and texture. Do not overmix the batter once flour is added to avoid tough cupcakes. Sift confectioners’ sugar to prevent lumps in the frosting. If frosting is too soft, chill for 10-15 minutes before piping. Store unfrosted cupcakes in the freezer for up to 2 months; do not freeze frosted cupcakes.
- Prep Time: 15 minutes
- Cook Time: 20 minutes
- Category: Dessert
- Cuisine: American
Nutrition
- Serving Size: 1 cupcake
- Calories: 320
- Sugar: 32
- Sodium: 180
- Fat: 15
- Saturated Fat: 9
- Carbohydrates: 45
- Fiber: 1
- Protein: 4
Keywords: red velvet cupcakes, small batch baking, cream cheese frosting, homemade cupcakes, easy dessert, weeknight baking



