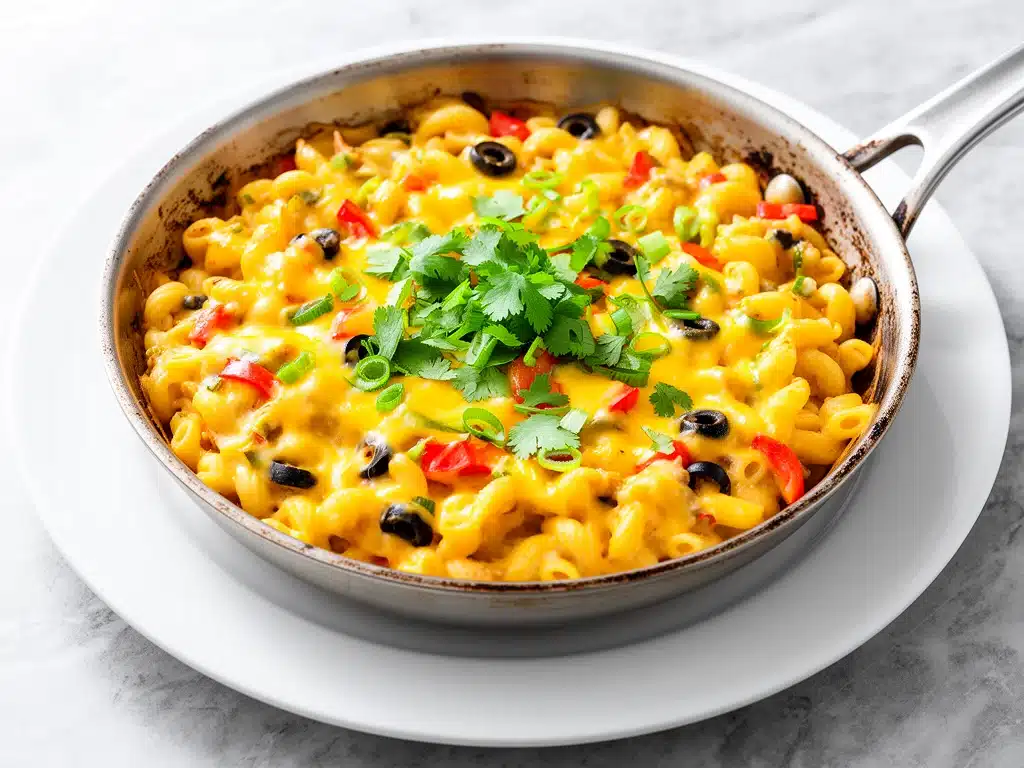
Last Tuesday, I came home from work absolutely exhausted. You know that feeling? Where your brain is basically a buffering icon and the last thing you want to do is stand over a stove. I was staring at a mountain of clean dishes from lunch and thinking, “I literally cannot do dishes.” So I looked at my pantry, spotted a box of rotini, a jar of salsa, some ground beef, and a bag of shredded cheese. I thought, “What if I just threw it all in one pot?”
I was skeptical. Pasta in a pot usually turns into a starchy, mushy disaster. But I was desperate. I dumped everything in, added a cup of broth, and let it simmer. Twenty-five minutes later, the smell of melted cheese and cumin hit the air. My kids ran into the kitchen. My husband asked if I ordered takeout because it smelled too good to be home-cooked. It wasn’t takeout. It was one-pot cheesy taco pasta, and it saved my evening.
I’ve made this one-pot cheesy taco pasta at least a dozen times since that Tuesday. It’s become the hero of my “I’m too tired to think” dinners. It’s creamy, it’s spicy, it’s cheesy, and best of all? One pot to clean. Seriously. If you’re drowning in weeknight chaos, this recipe is your new best friend.
Why You’ll Love This One-Pot Cheesy Taco Pasta
Look, I’m not saying this is the most elegant dinner you’ll ever make. But it is the most practical. Here’s why this one-pot cheesy taco pasta has earned a permanent spot in our weekly rotation:
- Zero Dish Drama — This is the #1 reason. You cook the pasta, brown the meat, and melt the cheese all in one large pot. When dinner is done, there’s one pot to wash. That’s it. No colander, no extra saucepan, no messy baking dish. Just rinse and go. It’s a game-changer for lazy nights.
- Under 30 Minutes — From start to finish, this takes about 25 minutes. That’s faster than ordering pizza and waiting for delivery. I make this on nights when I get home at 7:30 PM and need food on the table by 8:00 PM. It’s that fast.
- Flavor That Actually Works — I was worried it would taste bland since the pasta cooks in the sauce. But the starch from the pasta mixes with the salsa and broth to create a creamy, flavorful sauce that clings to every noodle. It tastes like a restaurant taco pasta, not a college student’s emergency meal.
- Kid-Approved Cheese Pull — My picky eater, who usually only eats bread and butter, asked for seconds. The combination of cheddar and Monterey Jack creates a gooey, cheesy texture that even the grumpiest teenagers can’t resist. It’s comfort food at its finest.
- Pantry Staples — You probably have most of this already. Ground beef (or turkey), pasta, salsa, spices, and cheese. No exotic ingredients or special trips to the store. It’s budget-friendly and convenient.
This one-pot cheesy taco pasta is my answer to “what’s for dinner?” when I’m tired, broke, or just don’t feel like cooking. It’s reliable, delicious, and requires zero stress. If you need a weeknight win, this is it.
Ingredients You’ll Need for One-Pot Cheesy Taco Pasta
Here’s the best part: this looks like a lot, but most of it is stuff you already have. I’m particular about a few things, though. Here’s exactly what you need and why it matters.
For the Base
Ground beef (1 pound / 450g) — I use 80/20 for flavor. It stays juicy and doesn’t dry out. Turkey works too, but it’s leaner and less rich. If you want a lighter version, go turkey, but don’t expect the same mouthfeel.
Rotini or penne pasta (12 ounces / 340g) — Short pasta shapes are crucial here. They hold the sauce better and cook evenly in the pot. I always use rotini because the spirals trap the cheesy goodness. Avoid long pasta like spaghetti; it clumps in one-pot recipes.
Chicken broth (1 cup / 240ml) — Low-sodium is best so you control the salt. Beef broth works too, but chicken is lighter and lets the taco flavors shine. Vegetable broth is fine for a vegetarian version.
Salsa (1 cup / 240g) — I use a medium salsa, not chunky. Chunky salsa has big pieces that don’t break down into the sauce. Pico de gallo is too watery. A smooth or medium salsa blends into the sauce perfectly.
Water (1 cup / 240ml) — This dilutes the salsa slightly so the pasta cooks properly without burning. Don’t skip it, or your pot will stick.
For the Flavor
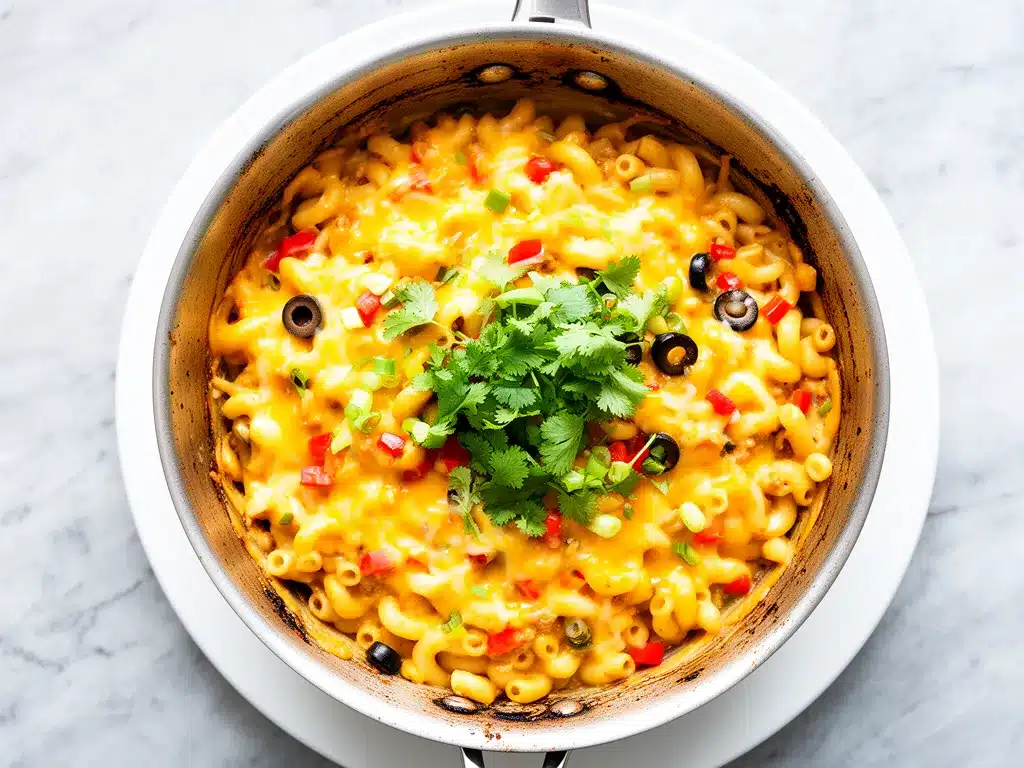
Taco seasoning (1 packet / 1 ounce) — I use a standard packet like Old El Paso. It has the perfect blend of cumin, chili powder, and garlic. If you’re making homemade seasoning, use 1 tablespoon. Store-bought is faster and consistent.
Garlic (3 cloves, minced / about 1 tablespoon) — Fresh garlic is non-negotiable. Jarred garlic has a metallic taste that clashes with the cheese. Mince it yourself. It takes 30 seconds and makes a huge difference.
Onion (1 medium, diced / about 150g) — Yellow onion is standard. Sweet onion works if you want less bite. White onion is too sharp. Dice it small so it cooks evenly with the meat.
Red pepper flakes (½ teaspoon) — Optional, but I add it for a little kick. If you’re sensitive to spice, skip it or use less. It adds depth without overwhelming the taco flavor.
For the Cheese
Shredded cheddar cheese (1 cup / 100g) — Sharp cheddar has more flavor. Mild cheddar is okay if you prefer mild, but sharp tastes better. Buy the block and shred it yourself. Pre-shredded cheese has anti-caking agents that make the sauce grainy.
Monterey Jack cheese (1 cup / 100g) — This is the melter. It creates that gooey, stretchy texture. I mix it with cheddar for flavor and melt. You can use all cheddar, but Jack makes it creamier.
Sour cream (2 tablespoons) — Stirred in at the end for extra creaminess. It adds tang and richness. If you’re out, heavy cream works too, but sour cream has better flavor.
Optional Add-ins
Corn (½ cup, frozen or canned) — Adds sweetness and texture. I throw it in whenever I have it. Drained canned corn is best.
Black beans (½ cup, drained and rinsed) — Adds protein and fiber. I use canned for convenience. Rinsing them removes excess sodium.
Jalapeños (2 tablespoons, diced) — For extra heat. Fresh or pickled work. I add pickled jalapeños for tang.
Fresh cilantro (¼ cup, chopped) — For garnish. Adds freshness and color. Don’t skip it if you have it.
Avocado (1, diced) — For serving. Creamy and rich. Great on top.
Tortilla chips (crushed) — For crunch on top. I crumble them over individual bowls. Adds texture contrast.
Lime wedges — For squeezing. Brightens the rich, cheesy flavor. Essential.
Equipment Needed
You don’t need fancy gadgets. Here’s what I actually use:
Large Dutch oven or heavy-bottomed pot (6-quart) — I use a 6-quart Dutch oven. It needs to fit the meat, pasta, and liquid without overflowing. A large skillet works too, but a pot is better for stirring. My Le Creuset is perfect, but any heavy pot works.
Wooden spoon — For stirring. Silicone works too. Don’t use metal on non-stick pots.
Sharp knife — For chopping onion and garlic. Dull knives make you cry more. Learn this the hard way.
Cutting board — Any size. I use plastic for easy cleanup.
Measuring cups and spoons — Standard stuff. Dollar store versions work fine.
Colander — Only if using canned beans or corn. Otherwise, not needed.
Cheese grater — Box grater or microplane. Or food processor if you’re grating lots. But I shred by hand for better texture.
Optional but nice:
- Garlic press — Saves time. I use it when I’m lazy.
- Meat chopper — Those claw things for breaking up ground meat. Makes it faster. But a spoon works too.
Tool Tips:
- Don’t have a Dutch oven? Any big pot works. Just make sure it’s heavy-bottomed to prevent burning.
- I’m obsessed with my garlic press — It’s cheap and makes life easier. But mincing by hand is fine too.
How to Make It: Step-by-Step
Alright, let’s make this! I’m walking you through exactly how I do it, including the little tricks I’ve picked up. This one-pot cheesy taco pasta is simple, but there are a few key steps to get it right.
Step 1: Prep Your Ingredients (5 minutes)
Before you start cooking, chop your onion, mince your garlic, and measure everything out. I know it seems fussy, but it makes the actual cooking way less stressful. Grate your cheese while you’re at it. Once you start cooking, things move fast. Have your salsa, broth, and spices ready.
Step 2: Brown the Meat (5-7 minutes)
Heat your large pot or Dutch oven over medium-high heat. Add the ground beef (no oil needed if using 80/20). Break it up with a wooden spoon as it cooks. Cook for 5-7 minutes until browned and no pink remains. Drain excess fat if there’s too much, but leave a little for flavor. This step builds the base flavor. Don’t rush it.
Step 3: Add Aromatics and Seasoning (2 minutes)
Add the diced onion to the browned meat. Cook for 2 minutes until softened. Add the minced garlic and taco seasoning. Stir well for 1 minute until fragrant. The garlic should smell amazing, not burnt. If it starts to brown, lower the heat. This step infuses the meat with taco flavor.
Step 4: Add Pasta and Liquid (1 minute)
Pour in the salsa, chicken broth, and water. Stir to combine. Add the uncooked rotini pasta. Stir well to make sure all pasta is submerged. The liquid should cover the pasta by about half an inch. If not, add a splash more water. This step starts the cooking process.
Step 5: Simmer Until Pasta is Al Dente (10-12 minutes)
Bring the pot to a boil, then reduce heat to medium-low. Cover and simmer for 10-12 minutes, stirring every 3-4 minutes to prevent sticking. The pasta will absorb the liquid and cook. Check at 10 minutes for doneness. Taste a noodle. It should be tender but not mushy. If it’s still hard, cook 2 more minutes. Add more water if the pot is dry.
Step 6: Add Cheese and Cream (3 minutes)
Remove the pot from heat. Stir in the shredded cheddar and Monterey Jack cheese gradually. The residual heat will melt the cheese. Stir until smooth and creamy. Add the sour cream and stir well. The sauce should be thick and glossy. If it’s too thick, add a splash of milk or broth. If too thin, let it sit for a minute. The cheese will thicken it.
Step 7: Finish and Serve
Taste and adjust salt if needed. The taco seasoning usually has enough salt, but check anyway. Serve immediately topped with fresh cilantro, diced avocado, crushed tortilla chips, and a squeeze of lime. It’s best hot and cheesy.
Total Time: About 25 minutes (10 minutes active, 15 minutes simmering)
Built-in Troubleshooting:
- Sauce too thick? Add milk or broth a tablespoon at a time.
- Sauce too thin? Let it sit off heat. The cheese will thicken it. Or cook 2 more minutes uncovered.
- Pasta still hard? Add ½ cup water and cook 3 more minutes. Stir well.
- Meat too dry? Use 80/20 beef or add a splash of broth before adding cheese.
Expert Tips & Tricks for One-Pot Cheesy Taco Pasta
Here’s everything I’ve learned from making this dozens of times. These tips will save you from my mistakes.
Stir Frequently
This is the #1 tip. Stir the pasta every 3-4 minutes while it simmers. If you don’t, it will stick to the bottom and burn. I set a timer on my phone so I don’t forget. It’s worth the effort.
Don’t Overcook the Pasta
Pasta continues to cook in the residual heat. Take it off the heat when it’s just al dente. If you wait until it’s perfectly soft, it will be mushy by the time you add cheese. Undercook slightly.
Use Full-Fat Cheese
Low-fat cheese doesn’t melt well. It becomes grainy and stringy. Use full-fat cheddar and Monterey Jack. It’s worth the calories for the texture. My husband can tell when I use low-fat. Don’t bother.
Off Heat for Cheese
Always remove the pot from heat before adding cheese. High heat makes cheese separate and become oily. I learned this the hard way with a greasy, broken sauce. Off heat, gentle stirring works perfectly.
Drain Excess Fat
If your beef is very fatty, drain some before adding salsa. Too much fat makes the sauce greasy. But leave a little for flavor. It’s a balance.
Common Mistakes (and how to avoid them)
- Mistake: Pasta is mushy
Fix: Cook 1-2 minutes less than package says. It’ll finish in the sauce. - Mistake: Sauce is too watery
Fix: Let it simmer longer uncovered, or add more cheese. Also, make sure you’re not adding too much liquid. - Mistake: Everything is too salty
Fix: Use low-sodium broth and check taco seasoning salt content. You can always add more, can’t take it away.
Pro Tricks I’ve Learned
- For Restaurant-Quality Finish Stir in a tablespoon of cold butter at the end. Makes the sauce glossy and rich.
- For Extra Flavor Toast the taco seasoning in the meat fat for 30 seconds before adding liquid. Releases more flavor.
- For Better Texture Add a splash of milk when reheating leftovers. Brings back creaminess.
Variations & Substitutions for One-Pot Cheesy Taco Pasta
Once you’ve nailed the basic version, here’s how you can mix it up. I’ve tried all of these.
Protein Swaps
- Turkey — Use ground turkey instead of beef. Leaner, lighter. Add a little olive oil to the pot. Good for health-conscious days.
- Chicken — Use diced cooked chicken or ground chicken. Ground chicken needs seasoning well. Cooked shredded chicken works too. Add it at the end to heat through.
- Shrimp — Add 1lb peeled shrimp in the last 3 minutes. Cook until pink. Quick and fancy.
- Plant-Based — Use plant-based ground meat. Season well. It works surprisingly well.
Veggie-Loaded
- Spinach — Toss in 2 cups fresh spinach in the last minute. Wilts right in. Easy way to add veggies.
- Mushrooms — Sauté 8oz sliced mushrooms with the onions. Cook until golden. Adds earthiness.
- Peppers — Add 1 diced bell pepper with the onion. Adds sweetness and crunch.
- Black Beans — Add ½ cup drained black beans. Adds protein and fiber. I use canned for convenience.
- Corn — Add ½ cup corn. Adds sweetness. Frozen or canned works.
Flavor Variations
- Cajun Style — Swap taco seasoning for Cajun seasoning. Add smoked paprika. Spicy and smoky.
- Lemon Garlic — Add lemon zest and juice at the end. Brightens the rich flavor. Good for summer.
- Enchilada Style — Use enchilada sauce instead of salsa. Add corn and beans. Different vibe.
- Queso Blanco — Use white cheese sauce instead of cheddar. Creamier and milder.
Dietary Modifications
- Gluten-Free — Use gluten-free pasta. Everything else is naturally gluten-free. I’ve used Barilla gluten-free and it works great.
- Dairy-Free — Replace cheese with nutritional yeast and dairy-free cream. It’s different but still tasty. My lactose-intolerant friend requests this version.
- Lower-Carb — Use cauliflower rice instead of pasta. Reduce sauce ingredients. I won’t lie—it’s not the same, but it works if you’re watching carbs.
- Vegan — Use plant-based meat, dairy-free cheese, and vegetable broth. Add cashew cream for richness.
For more kid-friendly pasta ideas, you might also enjoy our cheesy broccoli and chicken fritters, which are perfect for picking eaters.
Serving & Storage for One-Pot Cheesy Taco Pasta
How to Serve
I usually serve this straight from the pot at the dinner table—it looks rustic and stays warm. But here are other ways I’ve enjoyed it:
- Garlic bread — Obviously. Essential.
- Simple green salad — With balsamic vinaigrette. Cuts the richness.
- Roasted broccoli — Or green beans. Adds crunch.
- Tortilla chips — Crushed on top for crunch.
- Avocado slices — Creamy and fresh.
- Lime wedges — For squeezing. Brightens everything.
Wine Pairing
Not a wine expert, but my wine-snob friend says Pinot Grigio or Chardonnay works great. For beer, a lager or light beer pairs well. For non-alcoholic, sparkling water with lime is refreshing.
Storage Instructions
Refrigerator: Store in an airtight container for up to 4 days. The sauce will thicken in the fridge—totally normal.
Reheating: Best method: Add to a skillet with a splash of milk or cream over low heat. Stir until heated through and creamy again. Microwave method: Heat in 30-second intervals, stirring between. Add a splash of milk if it’s too thick. Never works: Trying to reheat in the pot you cooked it in. It always burns on the bottom. Ask me how I know.
Freezing: Honestly, this doesn’t freeze well because of the dairy. The sauce separates when thawed. Make it fresh or store in the fridge for up to 4 days.
Meal Prep: Make the sauce ahead and store in the fridge for up to 2 days. Cook pasta fresh, reheat sauce, and combine. Almost as good as fresh. I do this on Sundays for busy weekdays.
Pro tip: If leftovers are drying out, stir in a tablespoon of butter and a splash of milk when reheating. Brings back that creamy texture.
If you’re looking for more easy pasta dishes for busy nights, check out this bacon cheddar ranch pasta salad for a cold option.
Nutrition Information
I’m not a nutritionist, but here’s the breakdown if you’re tracking.
| Nutrient | Per Serving (1/6th) |
|---|---|
| Calories | 480 |
| Protein | 22g |
| Carbs | 45g |
| Fiber | 2g |
| Sugar | 4g |
| Fat | 22g |
| Saturated Fat | 10g |
| Cholesterol | 65mg |
| Sodium | 680mg |
| Calcium | 300mg |
What’s Good: Decent protein from beef and cheese. Calcium from cheese. Can add vegetables to boost nutrition. More filling than it looks.
What to Know: Higher in calories from cream and cheese. Contains dairy and gluten. Moderate sodium (use low-sodium broth to reduce).
My Take: Look, this is comfort food with cream and cheese. It’s not a diet recipe. But it’s way better than takeout, costs less, and I know exactly what’s in it. When I want to make it lighter, I use the turkey version and load up on vegetables. But usually? I just eat a reasonable portion and enjoy it.
Final Thoughts
So that’s my go-to one-pot cheesy taco pasta! I’ve probably talked your ear off at this point, but when you make a recipe this often, you have a lot to say about it.
This has saved weeknight dinners more times than I can count. It’s my answer to “what’s for dinner?” when I’m tired, don’t want takeout, and still want something that tastes really good. My kids are happy, my husband’s happy, and I’m happy because I’m not stressed about cooking.
Make it yours! Try different add-ins, swap in your favorite vegetables, adjust the spice level. The best recipes are the ones you adapt to your family’s tastes. If you need a quick breakfast idea to start your day right, these strawberry cream cheese roll-ups are a 10-minute win.
If you make this, drop a comment and let me know what you think! I love hearing how recipes turn out in your kitchen. And if something doesn’t work, tell me that too—I’m here to help troubleshoot.
Happy cooking! And I hope your kitchen smells half as good as mine does right now.
Frequently Asked Questions
Can I use milk instead of chicken broth?
You can, but the sauce will be much thinner and less flavorful. If you want to try it, use whole milk and add 1 tablespoon of flour to thicken it. Whisk the flour into the milk before adding to the pan. I’ve done this when I ran out of broth—it works okay, just not as good as the real thing. Chicken broth adds savory depth that milk lacks.
My sauce came out watery—what happened?
Usually means you didn’t let it simmer long enough to thicken, or you added too much liquid at the end. Let the mixture simmer for a full 10-12 minutes before adding cheese. If it’s already watery, turn up the heat and let it reduce for another few minutes. The cheese will also thicken it up. Stir frequently to prevent burning.
Can I make this ahead for a dinner party?
Sort of. Make the sauce up to 2 days ahead and store in the fridge. Cook the pasta fresh right before serving (takes 10 minutes). Reheat the sauce gently and toss with hot pasta. It won’t be quite as good as fresh, but it’s close and saves you stress during the party. I do this all the time for small gatherings.
Why did my sauce get grainy/lumpy?
The heat was too high when you added the cheese, which made it seize up. Cheese needs gentle heat. Always remove the pot from the burner before adding cheese, then stir it in off heat. If it’s already grainy, try whisking in a splash of warm milk—sometimes you can save it. But prevention is better.
Can I use jarred garlic?
You can, but fresh tastes so much better in this recipe. Jarred garlic has a weird metallic taste that really shows up in creamy sauces. If you must use it, use half the amount because it’s stronger. But honestly, mincing 3 cloves takes like 2 minutes. Buy pre-peeled garlic cloves if you want to save time.
How do I reheat leftovers without it getting dry?
Add a splash of milk or cream to a skillet, add your leftover pasta, and heat gently over low heat, stirring frequently. The extra liquid brings back the creamy texture. Microwave sort of works but tends to dry it out. If you do microwave, definitely add a splash of milk first and heat in short bursts, stirring between.
Can I double this recipe?
Absolutely! Double everything and use your biggest pot. The cooking times stay the same. I do this when I’m meal-prepping or feeding a crowd. Just make sure your pot is big enough for the sauce—you might need to use a very large Dutch oven or two pans. Stir more frequently with double batches.
Pin This Recipe!
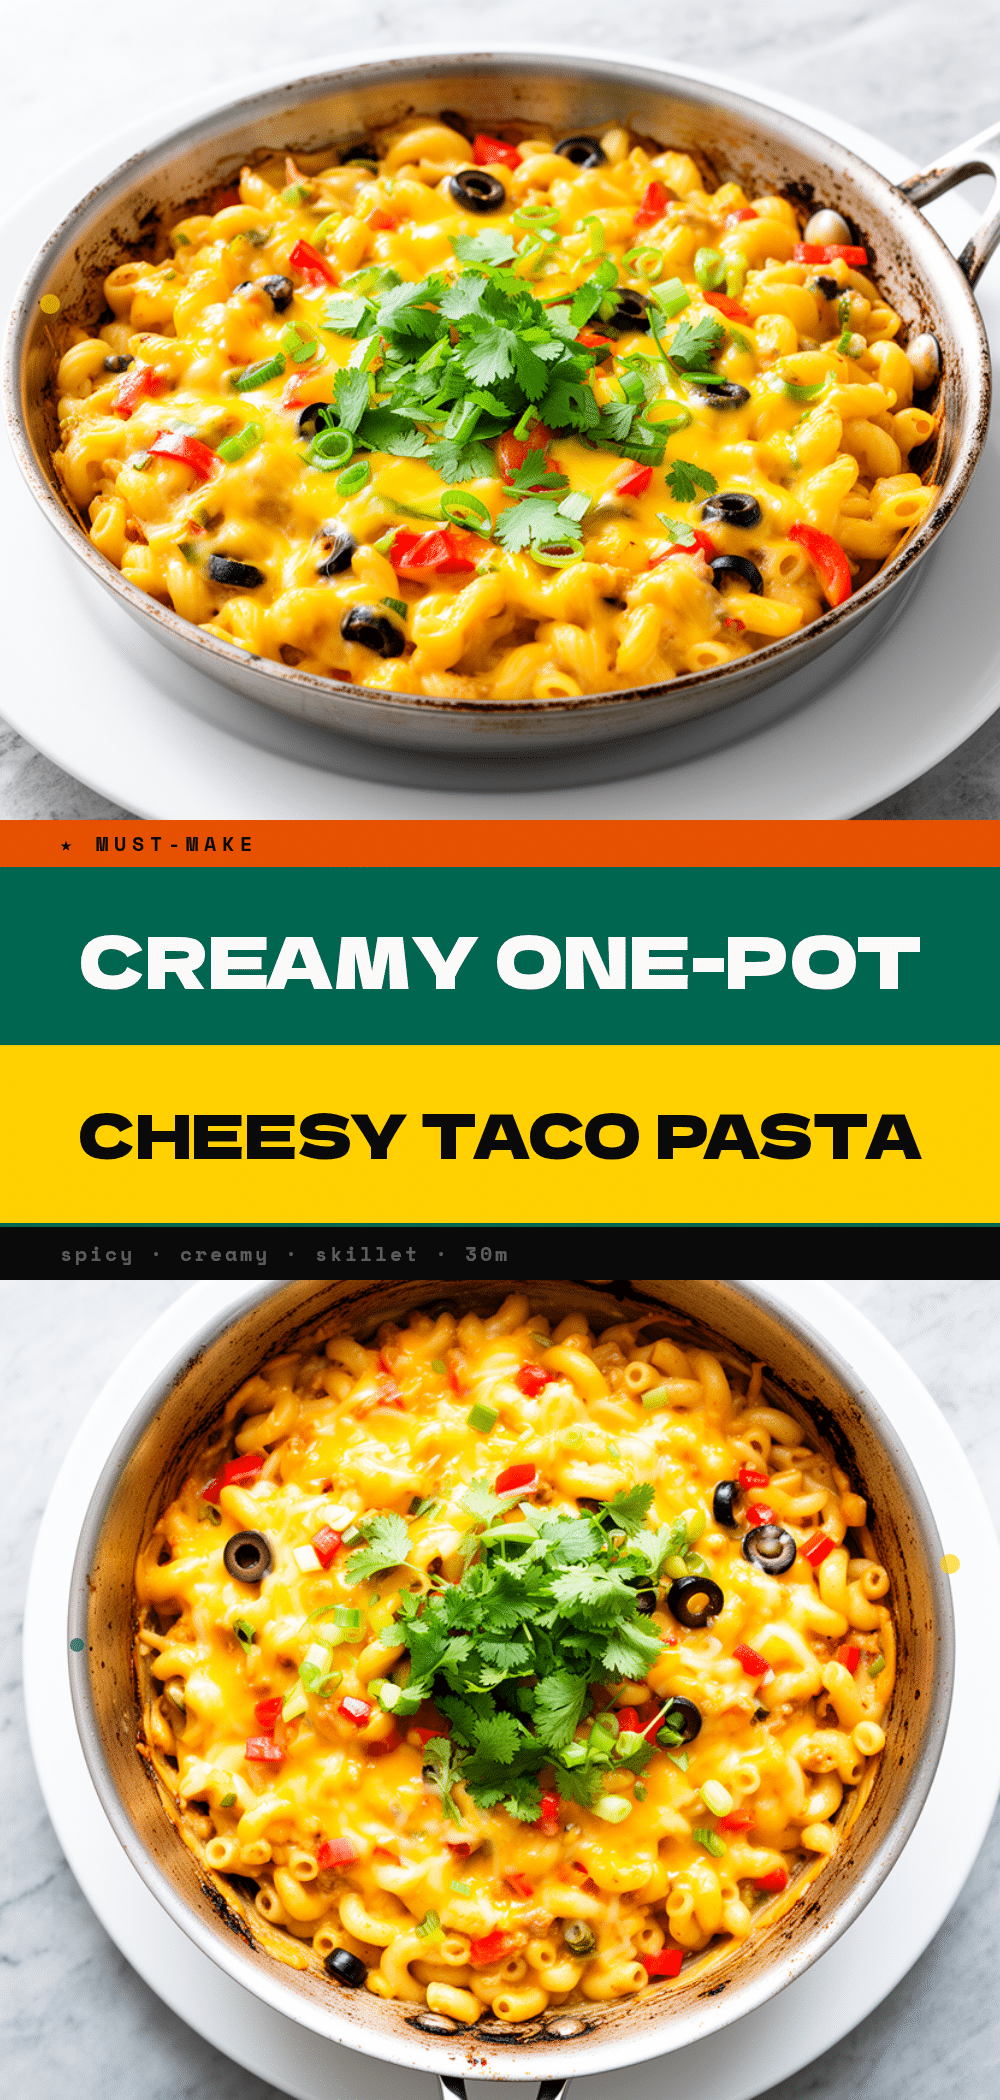

One-Pot Cheesy Taco Pasta
- Total Time: 25 minutes
- Yield: 6 servings 1x
Description
A creamy, cheesy, and spicy weeknight dinner that cooks entirely in one pot. This easy recipe uses pantry staples like ground beef, rotini, salsa, and cheese to create a flavorful meal in under 30 minutes with minimal cleanup.
Ingredients
- 1 pound ground beef (80/20 recommended)
- 12 ounces rotini or penne pasta
- 1 cup chicken broth (low-sodium)
- 1 cup medium salsa
- 1 cup water
- 1 packet taco seasoning (or 1 tbsp homemade)
- 3 cloves garlic, minced
- 1 medium yellow onion, diced
- 1 cup shredded sharp cheddar cheese
- 1 cup shredded Monterey Jack cheese
- 2 tablespoons sour cream
- Optional: 1/2 cup corn, 1/2 cup black beans, 2 tablespoons diced jalapeños, 1/4 cup fresh cilantro, 1 avocado, crushed tortilla chips, lime wedges
Instructions
- Prep ingredients: Chop onion, mince garlic, and measure out spices and cheese.
- Brown the meat: Heat a large Dutch oven or heavy-bottomed pot over medium-high heat. Add ground beef and cook for 5-7 minutes until browned, breaking it up with a spoon. Drain excess fat if necessary.
- Add aromatics: Add diced onion to the meat and cook for 2 minutes until softened. Add minced garlic and taco seasoning, stirring for 1 minute until fragrant.
- Add pasta and liquid: Pour in salsa, chicken broth, and water. Stir to combine. Add uncooked pasta, ensuring it is submerged in the liquid.
- Simmer: Bring to a boil, then reduce heat to medium-low. Cover and simmer for 10-12 minutes, stirring every 3-4 minutes to prevent sticking. Check for doneness; pasta should be al dente.
- Add cheese: Remove pot from heat. Gradually stir in cheddar and Monterey Jack cheese until melted and smooth. Stir in sour cream.
- Serve: Taste and adjust salt if needed. Serve immediately topped with optional garnishes like cilantro, avocado, tortilla chips, and lime wedges.
Notes
Stir the pasta frequently while simmering to prevent sticking and burning. Remove the pot from heat before adding cheese to prevent it from becoming grainy or oily. If the sauce is too thick, add a splash of milk or broth. If too thin, let it sit off heat to thicken. This recipe does not freeze well due to the dairy content; store leftovers in the refrigerator for up to 4 days.
- Prep Time: 5 minutes
- Cook Time: 20 minutes
- Category: Main Course
- Cuisine: Mexican-American
Nutrition
- Serving Size: 1/6th of the recipe
- Calories: 480
- Sugar: 4
- Sodium: 680
- Fat: 22
- Saturated Fat: 10
- Carbohydrates: 45
- Fiber: 2
- Protein: 22
Keywords: one pot pasta, taco pasta, cheesy pasta, weeknight dinner, easy dinner, ground beef recipes, family friendly meals, quick dinners



