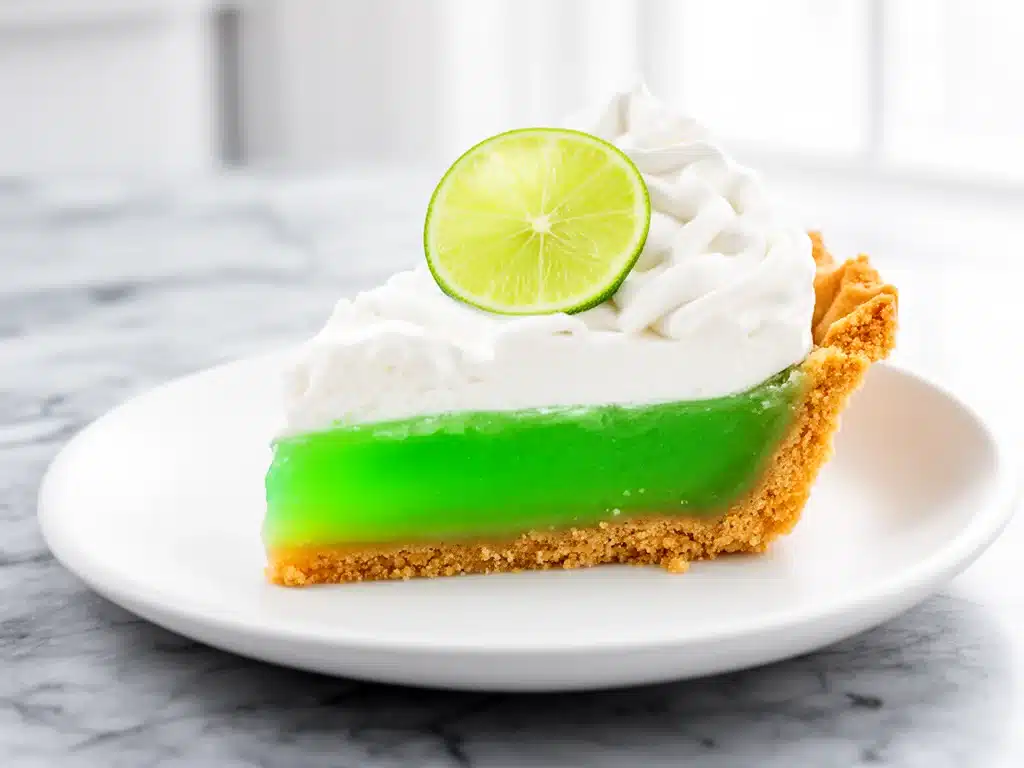
I have a confession to make. For years, I was terrified of key lime pie. I thought it was one of those desserts that looked simple but required some kind of culinary wizardry I didn’t possess. You know the type—the one where you’re supposed to fold egg whites with surgical precision or temper eggs without scrambling them into a savory breakfast mess. I’d stare at fancy restaurant versions, all stiff and glossy, and just shake my head. Too hard. Too risky. Too much work for a Tuesday night.
Then, about three years ago, I tried a version that changed everything. It didn’t require a water bath. It didn’t need a stand mixer. And it didn’t take an hour of standing over a double boiler. It was just condensed milk, key lime juice, and egg yolks. Three ingredients. That’s it. And the result? It was tangy, sweet, impossibly creamy, and had a crust so buttery and crumbly that I actually heard my dog sigh when I opened the fridge.
I’ve made this key lime pie recipe more times than I can count. Maybe 40? 50? I’ve made it for housewarming parties, for last-minute dinner guests who said they “don’t really like pie,” and just for myself when I need a serious mood lift. Every single time, it comes out perfect. The filling sets up with this beautiful, silky texture that wobbles just right on the spoon. The crust stays crisp even after sitting in the fridge. And the flavor? It hits that perfect balance between sharp citrus and rich sweetness that makes people close their eyes and moan.
This isn’t one of those complicated desserts that looks impressive but tastes like cardboard. This is the real deal. It’s the kind of dessert that makes people ask, “Wait, you made this yourself? It tastes like it came from a fancy bakery.” Spoiler alert: It’s actually super easy. If you can mix a bowl, you can make this. Let’s get into why this key lime pie is about to become your new favorite way to impress people without losing your mind in the kitchen.
Why You’ll Love This Key Lime Pie
There are a million pie recipes out there, but this one sticks around in my rotation for specific, practical reasons. It’s not just about the taste (though that’s huge). It’s about how it fits into real life.
Incredibly Simple Ingredients — Seriously, the filling is just three ingredients. You don’t need fancy liqueurs, exotic spices, or a trip to a specialty store. You likely have condensed milk and limes in your house right now. This simplicity is the secret weapon. Fewer ingredients means fewer chances for something to go wrong.
No-Bake Filling Option — While I do bake it briefly to set the eggs, the actual cooking process is gentle. You don’t need to worry about curdling or splitting. The residual heat from the crust does most of the work. It’s foolproof. I’ve made this on days when I was exhausted, and it still turned out perfectly.
Make-Ahead Friendly — This is the ultimate party saver. You can make this pie 24 to 48 hours in advance. In fact, it tastes better the next day because the flavors have had time to meld. The lime gets brighter, the cream gets richer. I usually make it on Sunday for a Friday dinner party. Zero stress on the day of.
Perfect Texture Contrast — The graham cracker crust is buttery and crisp, while the filling is smooth and custard-like. It’s not rubbery like some no-bake cheesecakes, and it’s not runny like a meringue. It sits in that perfect middle ground that feels luxurious but light.
Visually Stunning — You don’t need to be a decorator to make this look good. A mound of whipped cream and a lime wheel on top is enough. It looks elegant, bright, and professional. It’s the kind of dessert that looks like you spent hours on it, but you spent about 15 minutes of active time.
This key lime pie is my go-to when I want to show off but keep my sanity intact. It’s reliable, delicious, and universally loved. Even people who claim they don’t like citrus usually love this because the sweetness balances the tartness perfectly.
Ingredients You’ll Need
Here’s the beauty of this recipe: the ingredient list is short, but every single item plays a crucial role. I’m particular about quality here, especially with the limes and the butter. Here’s exactly what you need and why it matters.
For the Buttery Graham Crust
Graham cracker crumbs (1 ½ cups / 150g) — You can buy pre-made crumbs to save time, but I prefer crushing them myself. It gives you better control over the texture. I like a mix of fine crumbs and a few larger chunks for crunch. If you buy them, look for a brand that isn’t too sweet. You want the cracker flavor to shine.
Unsalted butter (6 tablespoons / 85g, melted) — This is non-negotiable. I’ve tried olive oil and coconut oil, but butter gives that rich, shortbread-like texture that pairs perfectly with the tart filling. Use real butter, not margarine. It makes a huge difference in flavor and crispness. Melt it completely before mixing.
Granulated sugar (2 tablespoons / 25g) — Just a little bit to bring out the sweetness of the graham crackers. If your crumbs are already very sweet, you can reduce this to 1 tablespoon.
Pinch of salt — A tiny pinch helps balance the sweetness and enhances the buttery flavor. Don’t skip it.
For the Key Lime Filling
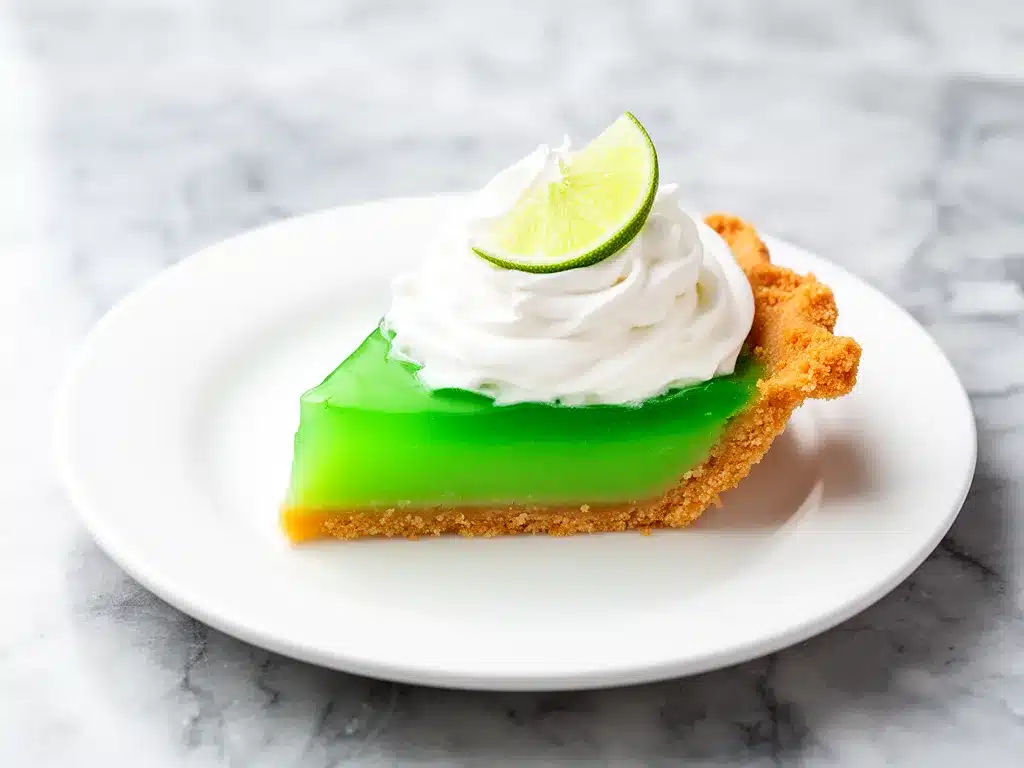
Key lime juice (½ cup / 120ml) — This is the star of the show. Ideally, you want fresh key lime juice. It’s more floral and aromatic than regular Persian limes. However, if you can’t find fresh key limes, bottled key lime juice works in a pinch (I use ReaLemon or a similar brand), but fresh is always best. If you only have regular limes, mix ¾ regular lime juice with ¼ key lime juice if you can find it, or just use regular limes and accept that the flavor will be slightly sharper.
Sweetened condensed milk (1 can / 14oz or 397g) — Do not use evaporated milk. They are very different. Condensed milk is thick, sweet, and creamy. It’s the base that gives the pie its structure and richness. Keep it in the fridge until you use it so it’s cold.
Egg yolks (3 large / about 50g) — Just the yolks. This gives the filling a rich, custard-like texture without the airy fluffiness of whites. It also adds a beautiful yellow color. Separate your eggs carefully; you don’t want any white in there, or it won’t set as smoothly.
For the Topping
Heavy whipping cream (1 cup / 240ml) — For whipped cream. Use cold cream and a cold bowl for best results. Whip it to soft peaks so it’s light and airy, not stiff and buttery.
Granulated sugar (2 tablespoons / 25g) — To sweeten the whipped cream slightly.
Vanilla extract (½ teaspoon) — Just a hint to round out the flavors.
Lime zest and slices — For garnish. Zest adds aroma, and a thin slice of lime on top makes it look professional.
Pro Tip: If you’re worried about the crust getting soggy, you can toast the graham cracker mixture in the oven for 5 minutes before pressing it into the pan. Let it cool completely before adding the filling. This ensures maximum crunch.
Equipment Needed
You don’t need fancy gadgets for this. Here’s what I actually use in my kitchen.
9-inch pie dish — Glass or ceramic works best so you can see the bottom browning. Metal works too, but glass gives a more even bake.
Food processor or Ziploc bag + rolling pin — For crushing graham crackers. A food processor is faster, but a rolling pin and a sturdy bag is totally fine if you want to get some exercise in.
Mixing bowls — Two medium bowls. One for the filling, one for the whipped cream.
Whisk — A good old-fashioned wire whisk. You need to blend the egg yolks and lime juice thoroughly before adding the condensed milk.
Hand mixer or stand mixer — For whipping the cream. I use a hand mixer because it’s easier to clean, but a stand mixer works great if you’re already using it for something else.
Measuring cups and spoons — Standard stuff. Accuracy matters here, especially with the lime juice.
Parchment paper — Optional, but helpful for lining the pie dish if you want easy removal later. I usually just grease the dish well.
How to Make It: Step-by-Step
Alright, let’s make this! I’m walking you through exactly how I do it, including the little tricks I’ve picked up over the years.
Step 1: Make the Crust (10 minutes)
Preheat your oven to 350°F (175°C). In a medium bowl, combine the graham cracker crumbs, melted butter, sugar, and salt. Mix until it looks like wet sand. If you squeeze a handful, it should hold together. If it’s too dry, add a teaspoon more melted butter.
Press this mixture firmly into the bottom and up the sides of your 9-inch pie dish. Use the bottom of a measuring cup to pack it down tightly. This is crucial—a loose crust will crumble. You want it compact and even.
Bake the crust for 8-10 minutes. It should be lightly golden. Remove from the oven and let it cool completely on a wire rack. While it cools, you can start the filling. Don’t rush this step; if the crust is warm, it might melt the filling.
Step 2: Prepare the Filling (5 minutes)
In a large mixing bowl, whisk the egg yolks and key lime juice together vigorously. You want to break up the yolks completely and blend them with the juice. This mixture will be bright yellow and slightly frothy.
Slowly pour in the sweetened condensed milk while whisking constantly. The mixture will thicken slightly and become a pale, creamy yellow. Taste it at this stage—it should be sweet and tart. If it’s too tart for your liking, you can add a teaspoon more condensed milk, but I usually like the balance.
Step 3: Bake the Pie (15 minutes)
Pour the filling into the cooled crust. It should be smooth and glossy. Place the pie back in the oven and bake for 15 minutes. The edges should be set, but the center should still have a slight jiggle—like Jell-O. It will continue to set as it cools. Do not overbake, or it will crack.
Remove from the oven and let it cool on the counter for 30 minutes. Then, refrigerate for at least 4 hours, preferably overnight. Patience is key here. The longer it chills, the better it tastes.
Step 4: Make the Whipped Cream (5 minutes)
Just before serving, whip the heavy cream, sugar, and vanilla to soft peaks. You want it fluffy and light, not stiff and buttery. Over-whipping will make it grainy.
Spread the whipped cream over the chilled pie. Use a spatula to create peaks and valleys for a rustic look. Garnish with lime zest and thin slices of lime.
Step 5: Slice and Serve
Use a sharp knife dipped in hot water to get clean slices. Wipe the knife between cuts. Serve chilled. It’s best enjoyed within 24 hours of adding the whipped cream, as it can get soggy if it sits too long.
Expert Tips & Tricks
Here’s everything I’ve learned from making this dozens of times. These tips will save you from my mistakes.
Use Fresh Key Limes If Possible
Fresh key lime juice has a distinct floral aroma that bottled juice lacks. If you can find fresh key limes at your market, buy them. If not, bottled is fine, but know that the flavor will be slightly one-dimensional. I’ve tested both, and while bottled works, fresh is superior.
Don’t Skip the Chill Time
I know it’s tempting to slice it right out of the oven. Don’t. The filling needs time to set. If you cut it too soon, it will be runny and messy. Four hours is the minimum, but overnight is ideal. The flavors meld and improve with time.
Toast the Crust
As mentioned, toasting the crust for 5-8 minutes before adding the filling ensures it stays crisp. Without toasting, the moisture from the filling can make the crust soggy over time. I always toast mine.
Whip Cream Just Before Serving
Whipped cream loses its structure over time. If you make it hours ahead, it will deflate. Make it right before you serve the pie for the best texture and presentation.
Keep It Cold
This pie is dairy-based, so it needs to stay refrigerated. Don’t leave it out on the counter for more than 2 hours. If you’re serving it at a party, keep it on ice or in the fridge until the last minute.
Variations & Substitutions
Once you’ve nailed the basic version, here’s how you can mix it up. I’ve tried all of these.
Magic Shell Topper
Instead of whipped cream, drizzle a chocolate magic shell over the top. Melt chocolate chips with a tablespoon of coconut oil, let it cool slightly, and drizzle it over the chilled pie. It hardens into a crunchy shell. This is a huge hit with kids.
Coconut Variation
Add ½ cup of toasted coconut flakes to the crust mixture. Or, substitute half of the whipped cream with coconut whipped cream for a tropical twist. This pairs beautifully with the lime.
Lemon Lime Twist
If you can’t find key limes, use a mix of lemon and lime juice. I use ¼ cup lemon juice and ¼ cup lime juice. It’s slightly less floral but still delicious.
Mini Pies
This recipe can be doubled and made in mini muffin tins for bite-sized desserts. Bake for 10-12 minutes. These are perfect for parties and potlucks.
Gluten-Free
Use gluten-free graham cracker crumbs. The recipe remains the same. I’ve used brands like Kinnikinnick, and they work great.
Dairy-Free
This is trickier because condensed milk is dairy-based. You can use sweetened condensed coconut milk, but the texture will be slightly different. The crust can be made with coconut oil instead of butter.
Serving & Storage
How to Serve
I usually serve this straight from the fridge. It’s best with a dollop of whipped cream and a sprinkle of lime zest. It pairs well with a light dessert wine or a cup of coffee. I also serve it alongside strawberry cream cheese roll-ups for a summer brunch spread.
Storage Instructions
Refrigerator: Store in an airtight container or covered with plastic wrap for up to 3 days. The crust may soften slightly over time, but the filling stays creamy.
Freezing: This pie does not freeze well. The filling can become grainy or separate upon thawing. It’s best made fresh or stored in the fridge for a few days.
Make-Ahead Strategy
Make the crust and filling up to 2 days in advance. Store covered in the fridge. Make the whipped cream and garnish just before serving. This is the best way to manage your time for a dinner party.
Nutrition Information
I’m not a nutritionist, but here’s the breakdown if you’re tracking. Keep in mind, this is a rich dessert, so portions should be moderate.
Per Slice (based on 8 servings):
– Calories: 380
– Protein: 6g
– Carbs: 45g
– Fiber: 1g
– Sugar: 35g
– Fat: 20g
– Saturated Fat: 12g
– Cholesterol: 110mg
– Sodium: 180mg
This is a sweet treat, best enjoyed in small slices. If you want to lighten it up, reduce the sugar in the crust and use less condensed milk, but it will affect the texture. I usually just enjoy a small slice and pair it with a green salad or some fruit.
Final Thoughts
So that’s my go-to key lime pie recipe! It’s simple, it’s delicious, and it’s incredibly reliable. I’ve made this for friends, family, and myself, and it never fails to impress. It’s the kind of dessert that feels fancy but is actually easy to make. If you’re looking for another quick dessert, try these cheesy broccoli and chicken fritters for a savory contrast, or this bacon cheddar ranch pasta salad for a summer side.
Make it yours! Adjust the sweetness, try different toppings, or make mini versions for parties. The best recipes are the ones you adapt to your tastes. If you make this, drop a comment and let me know how it turned out! I love hearing from you. Happy baking!
Frequently Asked Questions
Can I use regular limes instead of key limes?
Yes, you can. Regular Persian limes are more common and easier to find. The flavor will be slightly sharper and less floral, but it will still be delicious. I recommend using the juice of 4-5 regular limes to get ½ cup of juice.
Why did my pie crack?
Cracking usually happens if the pie is overbaked or cooled too quickly. Make sure you remove it from the oven when the center still jiggles slightly. Let it cool on the counter first, then refrigerate. Avoid putting a hot pie directly into a cold fridge.
Can I make this ahead of time?
Absolutely. This pie is actually better the next day. You can make the crust and filling 1-2 days in advance. Just add the whipped cream and garnish right before serving.
How long does this pie last?
It lasts up to 3 days in the refrigerator. After that, the crust may become too soft, and the whipped cream may start to deflate. It’s best enjoyed fresh.
Can I freeze this pie?
I don’t recommend freezing this pie. The dairy-based filling can separate and become grainy when thawed. It’s best made fresh or stored in the fridge for a few days.
What if I don’t have a pie dish?
You can use a springform pan for easier removal, or even a deep-dish pie plate. Just adjust the baking time slightly if the pan is deeper or shallower.
Can I use egg whites instead of yolks?
No, the recipe relies on the richness and structure of the yolks. Egg whites would make the filling airy and meringue-like, which is a different dessert entirely. Stick to yolks for this creamy texture.
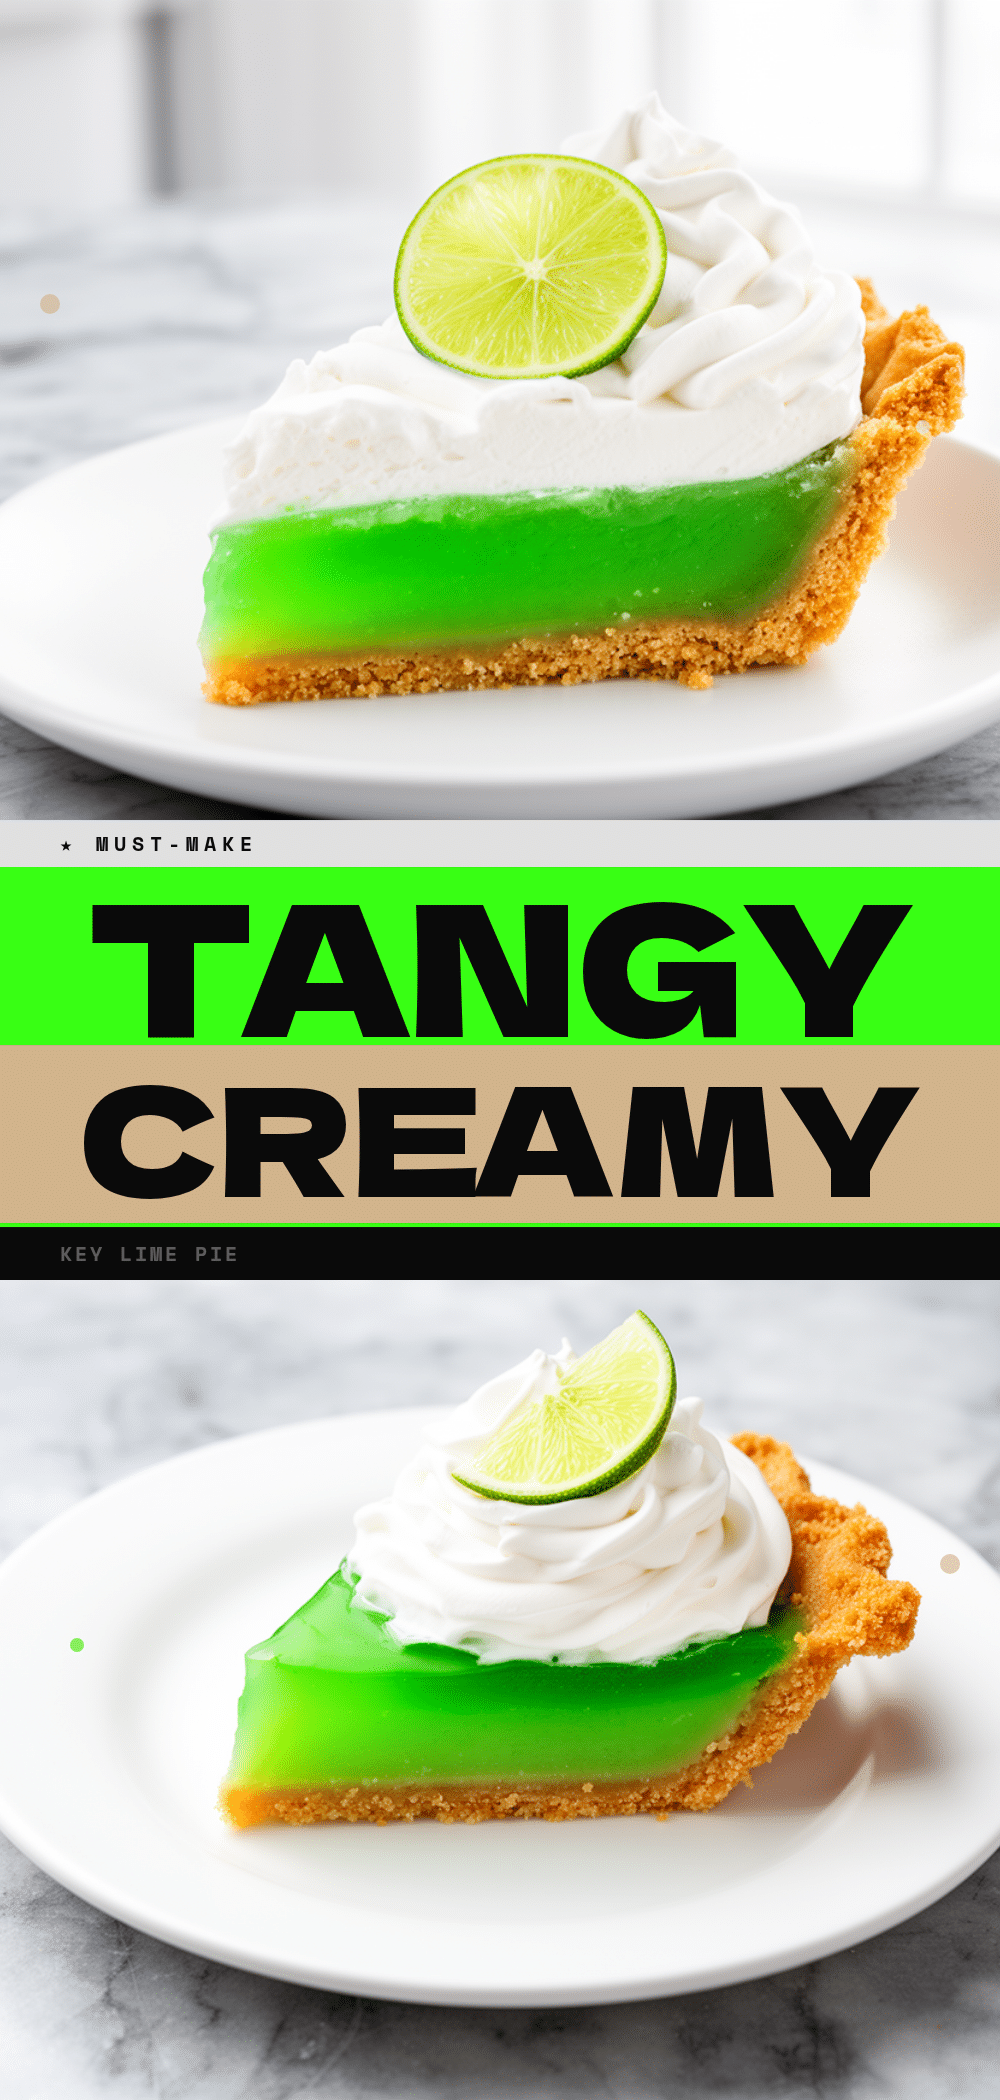
Pin This Recipe!
Key Lime Pie: Perfect 3-Ingredient Dessert
- Total Time: 4 hours 40 minutes
- Yield: 8 servings 1x
Description
A simple, creamy, and tangy key lime pie with a buttery graham cracker crust. This recipe requires minimal ingredients and effort but delivers a bakery-quality dessert that is perfect for make-ahead entertaining.
Ingredients
- 1 ½ cups (150g) graham cracker crumbs
- 6 tablespoons (85g) unsalted butter, melted
- 2 tablespoons (25g) granulated sugar
- Pinch of salt
- ½ cup (120ml) key lime juice (fresh or bottled)
- 1 can (14oz / 397g) sweetened condensed milk
- 3 large egg yolks
- 1 cup (240ml) heavy whipping cream
- 2 tablespoons (25g) granulated sugar
- ½ teaspoon vanilla extract
- Lime zest and slices for garnish
Instructions
- Preheat oven to 350°F (175°C).
- In a medium bowl, combine graham cracker crumbs, melted butter, 2 tablespoons sugar, and salt. Mix until it resembles wet sand.
- Press the mixture firmly into the bottom and up the sides of a 9-inch pie dish. Bake for 8-10 minutes until lightly golden. Remove and let cool completely on a wire rack.
- In a large mixing bowl, whisk egg yolks and key lime juice vigorously until blended and slightly frothy.
- Slowly pour in the sweetened condensed milk while whisking constantly until the mixture is smooth and pale yellow.
- Pour the filling into the cooled crust. Bake for 15 minutes. The edges should be set, but the center should still have a slight jiggle.
- Remove from oven and let cool on the counter for 30 minutes. Then refrigerate for at least 4 hours, preferably overnight.
- Just before serving, whip heavy cream, 2 tablespoons sugar, and vanilla extract to soft peaks.
- Spread whipped cream over the chilled pie. Garnish with lime zest and thin lime slices.
- Slice with a sharp knife dipped in hot water and serve chilled.
Notes
For best results, use fresh key lime juice if possible. Toast the crust for 5 minutes before adding filling to ensure crispness. Do not overbake the pie to prevent cracking. The pie is best made 24-48 hours in advance to allow flavors to meld. Whipped cream should be made just before serving to maintain texture.
- Prep Time: 15 minutes
- Cook Time: 25 minutes
- Category: Dessert
- Cuisine: American
Nutrition
- Serving Size: 1 slice
- Calories: 380
- Sugar: 35
- Sodium: 180
- Fat: 20
- Saturated Fat: 12
- Carbohydrates: 45
- Fiber: 1
- Protein: 6
Keywords: key lime pie, easy dessert, no-bake filling, graham cracker crust, citrus dessert, make-ahead dessert, simple baking



