It was 8:30 PM on a Tuesday, and my heart was sinking faster than a soufflé in a drafty kitchen. My daughter’s school had a last-minute “celebrate anything” party the next day, and I had promised her a special treat. The problem? I’m the parent who says “yes” way too often and then stares into the pantry with zero hope. No flour. No sugar. No eggs (we were out, and I was too tired to run to the store). Just a bag of semi-sweet chocolate chips, a stick of butter, and a can of sweetened condensed milk.
Most people would have ordered pizza and called it a day. But I’ve been baking long enough to know that panic-baking often leads to the best discoveries. I remembered a recipe my aunt swore by back in the day—a flourless chocolate cake that didn’t need any of the usual suspects. It was supposed to be rich, fudgy, and completely gluten-free. I threw the ingredients into a bowl, stirred them until my arm hurt, and popped it in the oven.
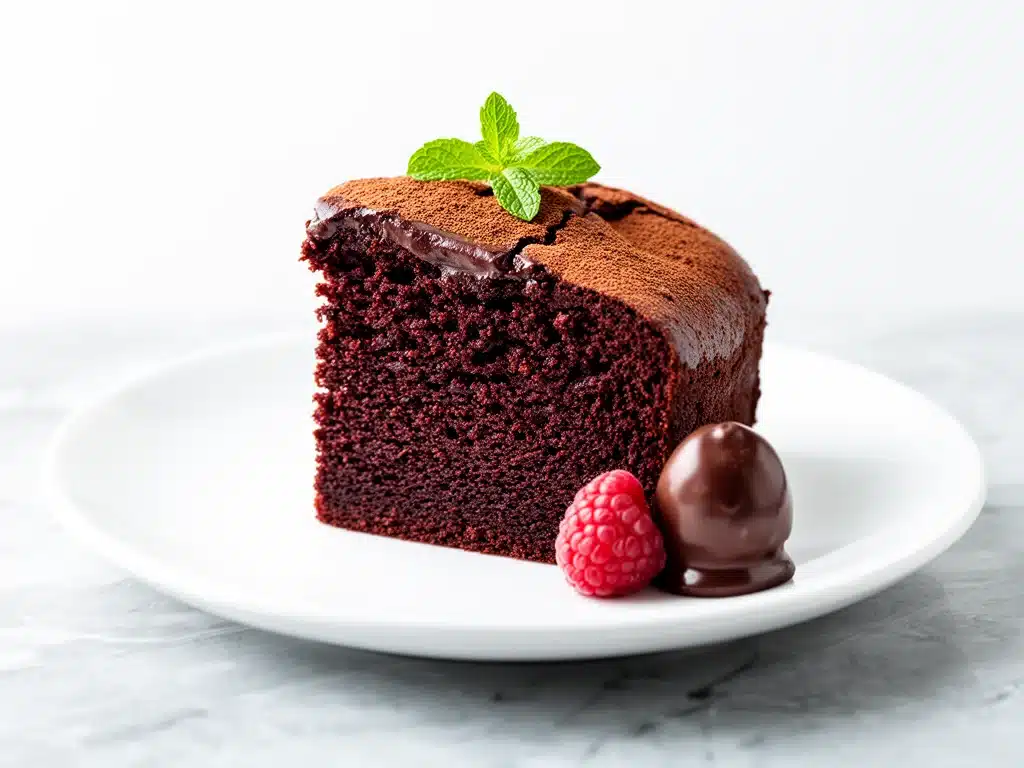
When I pulled it out, the house smelled like a fancy Parisian patisserie. The cake was dark, glossy, and looked like it belonged in a high-end chocolate shop, not my messy home kitchen. I cut a slice for myself, half-expecting it to be dry or crumbly. Instead, it was dense, moist, and intensely chocolatey. My daughter came home from soccer practice, took one bite, and whispered, “Mom, this is better than the store-bought stuff.” It was.
This gluten-free flourless fudgy chocolate cake has been my secret weapon ever since. It’s the only dessert I make when I have no idea what I’m doing but still want to impress people. It’s simple, it’s forgiving, and it tastes like you spent hours tempering chocolate and building layers. Spoiler alert: you don’t. You just mix, bake, and eat. Here’s how to make it.
Why You’ll Love This Flourless Chocolate Cake
I’ve made this cake for birthdays, date nights, and “I had a bad day” emergencies. It’s become a staple in my house for a few specific reasons. It’s not just about the taste, though that’s huge. It’s about the ease and the fact that it plays nice with dietary restrictions without sacrificing flavor.
- Five Ingredients Max — Seriously. Chocolate, butter, sweetened condensed milk, eggs, and cocoa powder (optional for depth). That’s it. If you can read a list, you can make this. I’ve made it while holding a baby and while helping my son with homework.
- Ready in 45 Minutes — From mixing to cooling, it takes less time than most takeout deliveries. Active time is about 15 minutes. The rest is just waiting for the oven to do its thing.
- Gluten-Free by Nature — No flour means no cross-contamination worries and no need to buy expensive GF blends. It’s naturally safe for celiacs and gluten-sensitive folks. My gluten-free friends always ask for this instead of regular cake because it’s richer and less “dusty.”
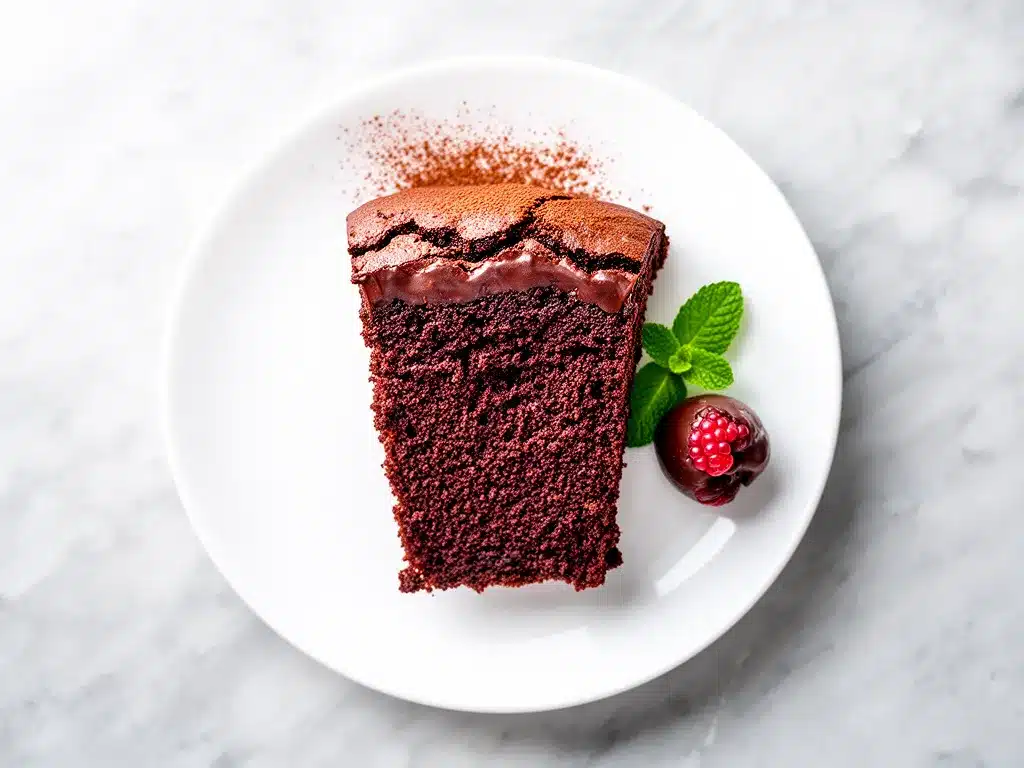
- Restaurant-Quality Finish — It looks stunning with that crackly top. I don’t even bother frosting it. The glossy surface is enough to make guests think you’re a pro. (I’m not. I’m just good at following instructions.)
- Perfectly Fudgy Texture — This isn’t a light, airy sponge. It’s dense, like a brownie that grew up and went to culinary school. It melts in your mouth. If you love dark chocolate, this is your jam.
Real talk: I’ve tried complicated desserts that failed miserably. This one? It just works. It’s reliable, delicious, and makes you look like a hero with minimal effort.
Ingredients You’ll Need
Here’s the beautiful part: you probably have half of this already. I’m not asking you to hunt for exotic flours or specialized baking powders. This is about simplicity. Let’s break down what you need and why each piece matters.
The Star Players
Semi-Sweet Chocolate Chips (12 oz / 340g) — Don’t use baking chunks if you can help it; chips melt more evenly for this recipe. I use Ghirardelli or Lindt because they have a nice balance of sweetness and cocoa. Avoid the cheap stuff that tastes waxy. Your cake will taste like the chocolate you use.
Unsalted Butter (½ cup / 113g) — Yes, a full half cup. This adds richness and moisture. Don’t swap for margarine or oil here; you need that butterfat for the fudgy texture. Let it soften slightly so it melts easier with the chocolate.
Sweetened Condensed Milk (1 can / 14 oz / 397g) — This is the magic glue. It provides sweetness, structure, and that creamy, caramel-like depth you can’t get from regular sugar. Don’t use evaporated milk; they are not the same. The sugar content is crucial for the texture.
Eggs (4 large) — These are the binder. They give the cake its lift and structure. Room temperature eggs mix better, but cold ones work fine if you’re in a rush. Just don’t use egg whites or flax eggs; this needs the richness of the yolk.
Unsweetened Cocoa Powder (2 tablespoons / 10g) — Optional, but I highly recommend it. It deepens the chocolate flavor, making it taste less like “sweet chocolate” and more like “chocolate.” Use dutched or natural, whichever you have. If you’re using very sweet chocolate chips, skip this. If you’re using bittersweet chips, add it.
Salt (½ teaspoon) — A pinch of salt cuts the sweetness and makes the chocolate taste more intense. Don’t skip it. I learned this the hard way when I made it once without salt and it tasted flat and cloying.
Substitutions & Tweaks
Dark Chocolate Lovers: Swap the semi-sweet for 70% dark chocolate. It’ll be richer and less sweet. You might want to add a tablespoon of extra sugar if you prefer it less bitter.
Dairy-Free Option: Use dairy-free chocolate chips and coconut butter instead of regular butter. The condensed milk is the tricky part here—most brands contain dairy. Look for a coconut milk-based condensed milk if you need it vegan, though the texture will be slightly different.
No Cocoa Powder? Fine. The chocolate chips provide enough flavor. The cake will be lighter in color but still delicious.
Equipment Needed
You don’t need a fancy stand mixer or a dozen specialized pans. Here’s what I actually use in my kitchen.
9-Inch Springform Pan — This is the classic choice for flourless cakes. The sides release easily, which is helpful because these cakes are tender and can stick. Grease it well with butter or non-stick spray. I also line the bottom with parchment paper for extra insurance.
Microwave-Safe Bowl or Double Boiler — For melting the chocolate and butter. I use a microwave because it’s faster. 30-second intervals, stirring in between, prevents scorching. If you’re old-school, a double boiler works too, but it takes longer and you’re standing over the stove.
Mixing Bowls — One medium bowl for the wet ingredients. One small bowl for the eggs. You don’t need a lot of equipment here.
Whisk or Rubber Spatula — A whisk helps incorporate air into the eggs, which gives the cake a little lift. A spatula is good for folding everything together gently so you don’t deflate the mixture.
Wire Rack — To cool the cake. Flourless cakes are fragile when hot, so let them cool in the pan for 10 minutes, then transfer to a rack. They firm up as they cool.
How to Make It: Step-by-Step
Alright, let’s get cooking. This is straightforward, but there are a few tricks to keep it fudgy and not dry. I’m walking you through exactly how I do it.
Step 1: Prep Your Pan and Oven (5 minutes)
Preheat your oven to 325°F (165°C). This is a low and slow bake, which is key for that dense texture. Grease your 9-inch springform pan thoroughly. I butter the sides and line the bottom with parchment. It’s extra work, but it guarantees no sticking. Trust me.
Step 2: Melt the Chocolate and Butter (3 minutes)
Break your chocolate chips into smaller pieces if they’re large. Place them in a microwave-safe bowl with the cubed butter. Microwave on high for 1 minute. Stir. If there are still chunks, microwave for 30 seconds more and stir again. You want a smooth, glossy mixture. Do not burn the chocolate! If it gets too hot, it seizes up. If you’re using a double boiler, keep the water simmering, not boiling.
Step 3: Mix the Wet Ingredients (2 minutes)
Stir the sweetened condensed milk into the warm chocolate-butter mixture. It might look a bit separated at first, but keep stirring. It’ll come together into a thick, shiny paste. This is the base of your cake. It smells incredible right now.
Step 4: Whisk the Eggs (1 minute)
In a separate bowl, whisk the four eggs vigorously. You want them pale and slightly frothy. This adds air to the batter, which helps the cake rise a little. Don’t skip this step. If you just dump them in, the cake will be denser than a brick.
Step 5: Combine Everything (2 minutes)
Slowly pour the egg mixture into the chocolate mixture while stirring gently with a spatula. Fold them together until just combined. Do not overmix. You want to keep the air you whipped into the eggs. If you’re using cocoa powder, sift it in now and fold until no streaks remain. Add the salt.
Step 6: Bake (35-40 minutes)
Pour the batter into the prepared pan. Smooth the top with your spatula. Place it in the center of the oven. Bake for 35-40 minutes. Here’s the test: the edges should be set and slightly pulled away from the pan, but the center should still jiggle slightly like Jell-O. It will continue to set as it cools. If you bake it until the center is firm, it will be dry. Underbaking is better than overbaking here.
Step 7: Cool Completely (1-2 hours)
This is the hardest part. You have to wait. Let the cake cool in the pan on a wire rack for at least 30 minutes. Then, if you have time, refrigerate it for an hour. The cake firms up significantly when cold, making it easier to slice cleanly. If you cut it hot, it will be a mess. Patience pays off.
Expert Tips & Tricks
I’ve made this cake dozens of times, and I’ve made every mistake so you don’t have to. Here’s what I’ve learned.
Don’t Overbake — This is the #1 mistake. The cake looks done when it’s still raw in the middle. That’s normal. It’s a flourless cake, so it relies on eggs for structure. If you bake it until the center is firm, you’ll get a dry, crumbly cake. Aim for a slight jiggle.
Quality Chocolate Matters — Since chocolate is the main ingredient, bad chocolate equals bad cake. I’ve used cheap chips before, and the result was waxy and overly sweet. Spend the extra dollar on good chocolate. It makes a world of difference.
Room Temperature Eggs — If you have time, let your eggs sit out for 20 minutes. They incorporate into the batter more evenly. Cold eggs can cause the chocolate to seize up slightly when you mix them.
The Crackly Top — That beautiful crackly top comes from the sugar in the condensed milk and the eggs. Don’t worry if it doesn’t crack perfectly. It’s rustic and charming. If you want a smoother top, you can cover the pan with foil for the last 10 minutes of baking, but I like the texture.
Storage is Key — This cake tastes even better the next day. The flavors meld together as it sits. Store it covered in the fridge for up to 5 days. It actually improves with age. Don’t freeze it unless you have to; the texture can get weird after thawing.
Variations & Substitutions
Once you’ve mastered the base, here are some fun ways to mix it up. I’ve tested all of these.
Mint Chocolate Chip — Add 1 teaspoon of peppermint extract to the egg mixture. Sprinkle mini chocolate chips on top before baking. It’s like an After Eight mint.
Espresso Boost — Dissolve 1 teaspoon of instant espresso powder in 1 tablespoon of hot water and stir it into the chocolate mixture. It doesn’t taste like coffee; it just makes the chocolate taste more chocolatey. Perfect for coffee lovers.
Nutty Version — Fold in ½ cup of chopped walnuts or pecans before baking. It adds crunch and breaks up the density. My husband loves this version.
White Chocolate — Use white chocolate chips instead of semi-sweet. It will be sweeter and lighter in color. Add a teaspoon of vanilla extract for extra flavor. It’s like a blonde fudge cake.
Gluten-Free & Dairy-Free — As mentioned, use dairy-free chocolate and coconut butter. For the condensed milk, look for coconut milk condensed milk. It’s available in some health food stores. The texture will be slightly less creamy but still delicious.
Serving Ideas — Serve with whipped cream, fresh berries, or a dusting of powdered sugar. I like it plain, but if you’re hosting, toppings make it feel special. It pairs well with a glass of red wine or a cup of coffee.
Serving & Storage
How to Serve: I usually serve this straight from the fridge. The cold temperature makes it fudgier and easier to slice. Use a sharp knife dipped in hot water for clean cuts. Wipe the blade between slices. It looks elegant on a simple plate with a few raspberries on the side.
Side Dishes: This cake is rich, so it doesn’t need much. A simple green salad or some roasted vegetables (like the ones in my cheesy broccoli and chicken fritters) balance the sweetness. If you’re having a party, it’s a great dessert after a lighter meal.
Storage Instructions: Keep it covered in the fridge for up to 5 days. It lasts longer than most cakes because of the low moisture content. If you need to freeze it, wrap it tightly in plastic wrap and then foil. It’ll last for 2 months. Thaw in the fridge overnight. Don’t freeze it in the springform pan; it might crack. Transfer to a container.
Reheating: You can eat it warm. Microwave a slice for 15-20 seconds. It becomes gooey and molten. I love this version for late-night snacks.
Nutrition Information
I’m not a nutritionist, but here’s the breakdown if you’re tracking. This is a rich dessert, so portions should be moderate.
Per Slice (1/8 of cake):
- Calories: 380
- Protein: 6g
- Carbs: 42g
- Fiber: 2g
- Sugar: 38g
- Fat: 22g
- Saturated Fat: 13g
What’s Good: It’s gluten-free and grain-free. Good source of iron from the dark chocolate. Higher protein than regular cake due to the eggs.
What to Know: High in sugar and saturated fat. It’s a treat, not a health food. If you’re watching sugar, reduce the sweetened condensed milk by ¼ cup and use sugar-free chocolate chips. The texture will be slightly different but still good.
My Take: Look, this is chocolate cake. It’s supposed to be indulgent. Don’t stress over the calories. Enjoy a slice, savor it, and move on. It’s way better than store-bought cake, which is full of preservatives and weird ingredients.
Final Thoughts
So that’s my go-to gluten-free flourless fudgy chocolate cake! I’ve probably talked your ear off at this point, but when you make a recipe this often, you have a lot to say about it. This cake has saved me more times than I can count. It’s my answer to “what’s for dessert?” when I’m tired, don’t want to bake anything complicated, and still want something that tastes amazing.
It’s perfect for holidays, potlucks, or just a random Tuesday when you need a win. My kids love it, my friends request it, and I love making it because it’s so simple. Make it yours! Try the mint version, the espresso version, or just eat it plain. The best recipes are the ones you adapt to your tastes.
If you make this, drop a comment and let me know what you think! I love hearing how recipes turn out in your kitchen. And if something doesn’t work, tell me that too—I’m here to help troubleshoot. Happy baking! And I hope your kitchen smells half as good as mine does right now.
Frequently Asked Questions
Can I use dark chocolate instead of semi-sweet?
Yes, but it will be less sweet and more intense. If you use 70% dark chocolate, you might want to add a tablespoon of sugar to the batter to balance it out. Semi-sweet is the sweet spot for most people, but dark chocolate is great for serious chocoholics.
Why did my cake turn out dry?
You probably overbaked it. Remember, the center should jiggle slightly when you take it out. It continues to cook as it cools. If you bake it until the center is firm, it will be dry. Next time, take it out 5 minutes earlier.
Can I make this ahead for a party?
Absolutely. This cake actually tastes better the next day. Make it 1-2 days ahead and store it in the fridge. It’s perfect for meal prep desserts. Just bring it to room temperature or serve it cold, depending on your preference.
Is this cake safe for celiacs?
Yes, it’s naturally gluten-free. However, always check your chocolate chips and other ingredients to ensure they are certified gluten-free, as some brands may have cross-contamination warnings. The ingredients themselves contain no gluten.
Can I use milk chocolate chips?
You can, but it will be very sweet and the texture might be softer. Milk chocolate has more sugar and milk solids, which can affect the setting. Semi-sweet or bittersweet is recommended for the best fudgy texture.
Why did my cake crack on top?
Cracking is normal for flourless cakes. It’s caused by the expansion of the eggs and sugar during baking. It doesn’t affect the taste or texture. If you want a smoother top, you can cover the pan with foil for the last 10 minutes of baking, but most people love the crackly look.
Can I double this recipe?
Yes, but you’ll need a larger pan (like a 10-inch or 12-inch springform) or two 9-inch pans. The baking time might increase slightly, so check for doneness a few minutes later. Be careful not to overcrowd your oven.
Pin This Recipe!
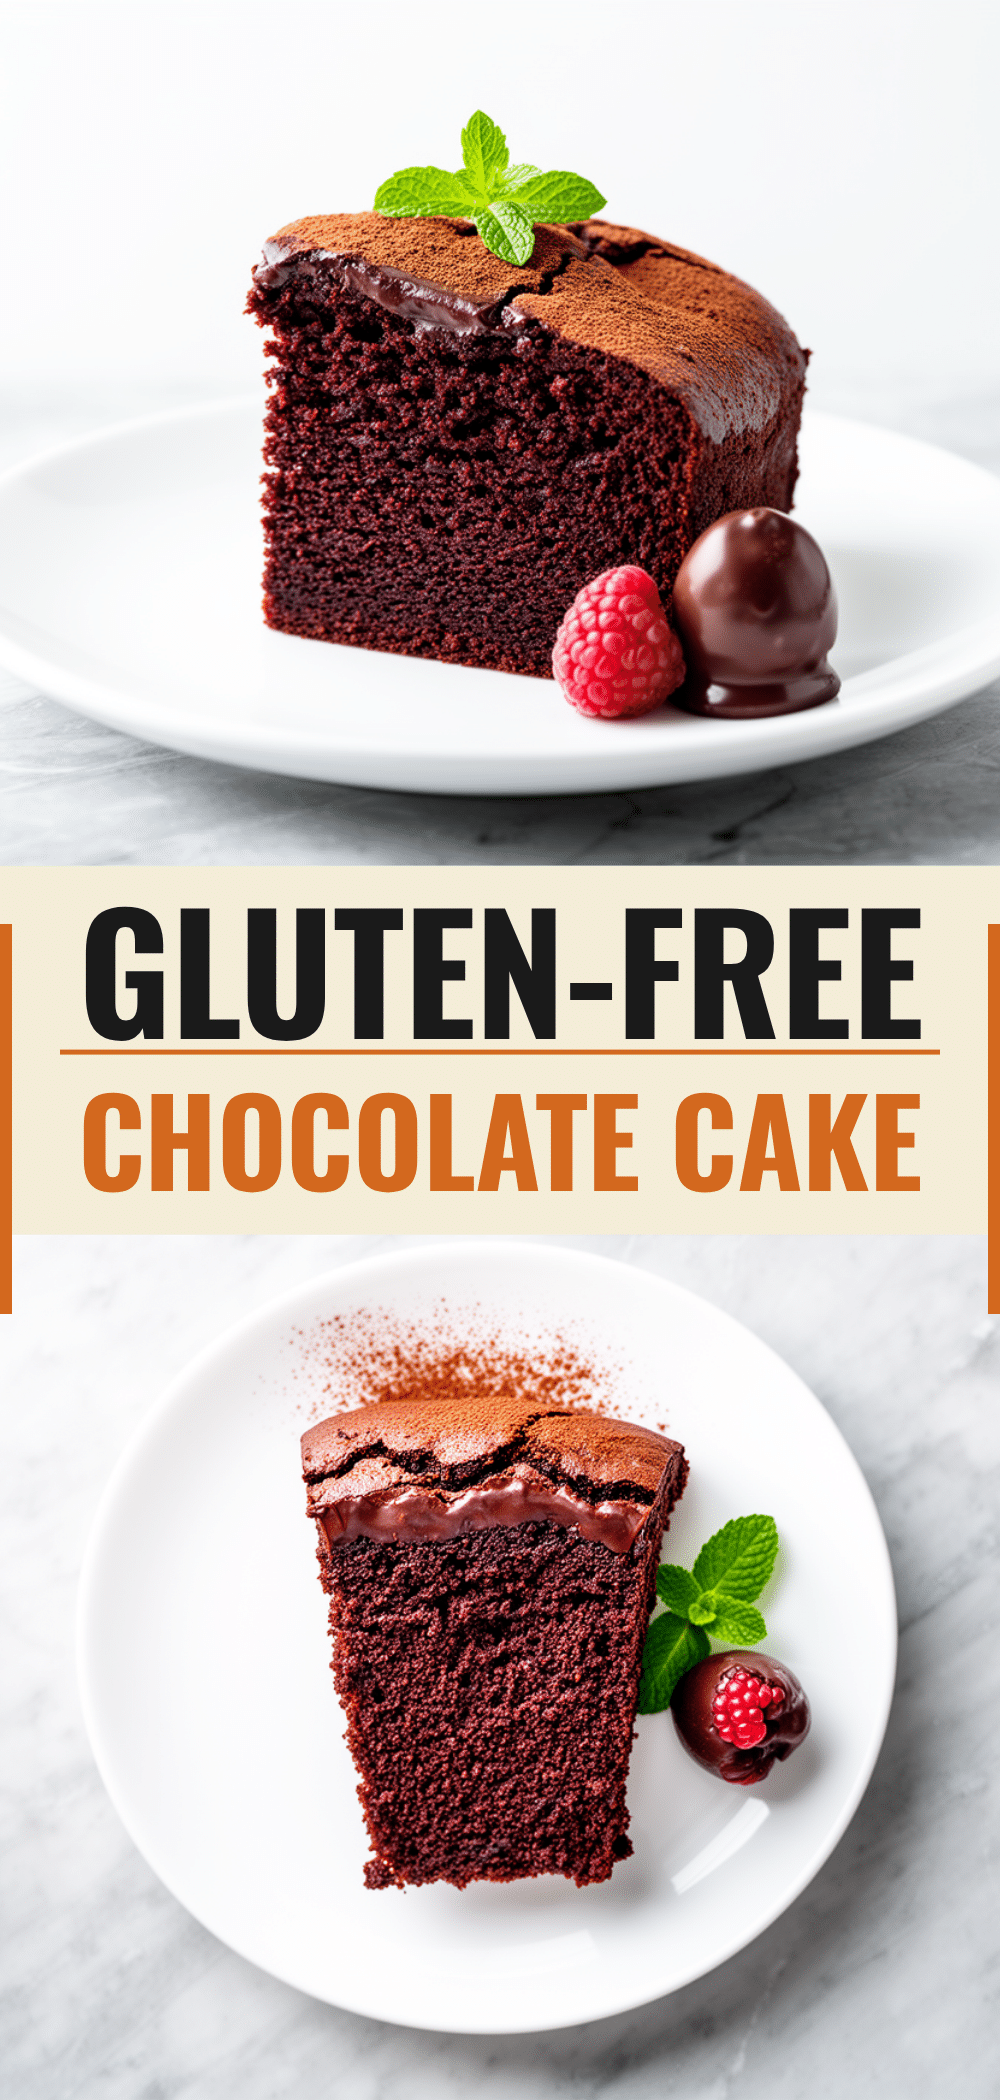
Gluten-Free Flourless Fudgy Chocolate Cake: Easy 5-Ingredient Recipe
- Total Time: 45 minutes
- Yield: 8 servings 1x
Description
A rich, dense, and fudgy chocolate cake made with just five simple ingredients. Naturally gluten-free and ready in under 45 minutes, this dessert is perfect for last-minute parties or when you need a reliable, impressive treat.
Ingredients
- 12 oz (340g) semi-sweet chocolate chips
- 1/2 cup (113g) unsalted butter
- 1 can (14 oz / 397g) sweetened condensed milk
- 4 large eggs
- 2 tablespoons (10g) unsweetened cocoa powder (optional)
- 1/2 teaspoon salt
Instructions
- Preheat oven to 325°F (165°C). Grease a 9-inch springform pan thoroughly and line the bottom with parchment paper.
- Break chocolate chips into smaller pieces and place them in a microwave-safe bowl with the cubed butter. Microwave on high for 1 minute, stir, then microwave for another 30 seconds if needed until smooth and glossy.
- Stir the sweetened condensed milk into the warm chocolate-butter mixture until it forms a thick, shiny paste.
- In a separate bowl, whisk the four eggs vigorously until pale and slightly frothy.
- Slowly pour the egg mixture into the chocolate mixture while stirring gently with a spatula to combine. If using cocoa powder, sift it in now and fold until no streaks remain. Add the salt.
- Pour the batter into the prepared pan and smooth the top. Bake for 35-40 minutes. The edges should be set and slightly pulled away, but the center should still jiggle slightly like Jell-O.
- Let the cake cool in the pan on a wire rack for at least 30 minutes. For best results, refrigerate for an hour to firm up before slicing.
Notes
Do not overbake; the center should jiggle slightly as it continues to set while cooling. Quality chocolate matters for the best texture. The cake tastes even better the next day. Store covered in the fridge for up to 5 days. For clean slices, use a sharp knife dipped in hot water.
- Prep Time: 15 minutes
- Cook Time: 35-40 minutes
- Category: Dessert
- Cuisine: American
Nutrition
- Serving Size: 1 slice (1/8 of cake
- Calories: 380
- Sugar: 38
- Fat: 22
- Saturated Fat: 13
- Carbohydrates: 42
- Fiber: 2
- Protein: 6
Keywords: gluten-free, flourless chocolate cake, fudgy, 5-ingredient recipe, easy dessert, dairy-free option, chocolate cake



