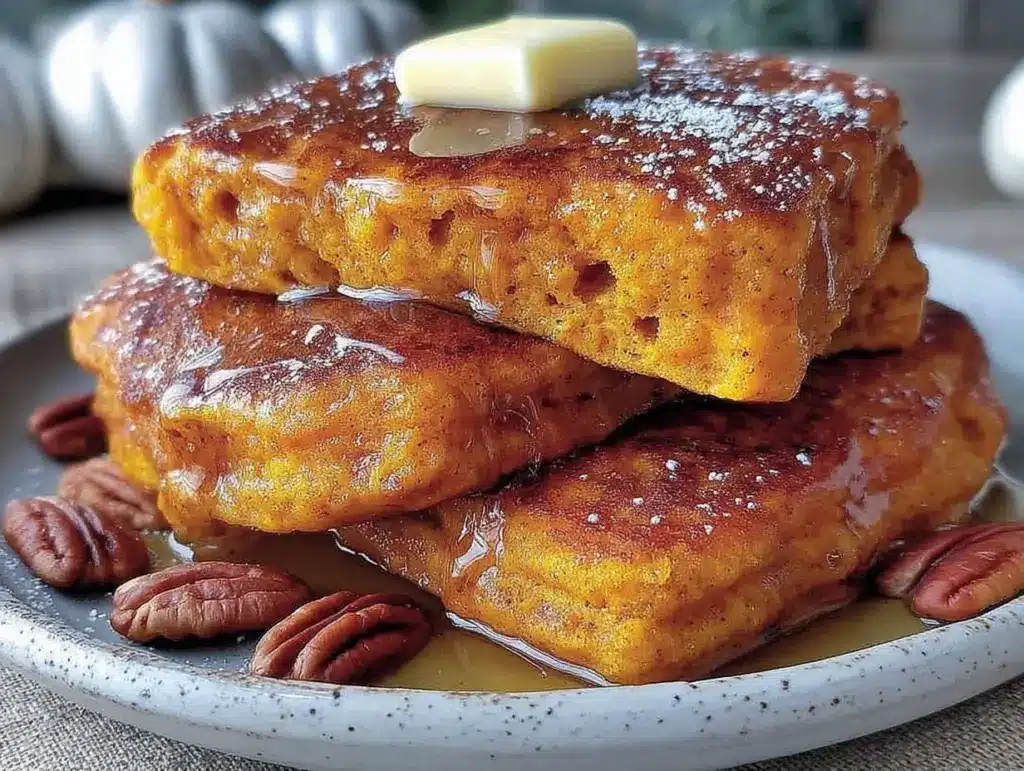
It’s 7:30 AM on a Saturday. The house is quiet, which means I’m either in trouble or I’ve finally slept in. In my house, silence usually means I’m staring at the ceiling, mentally debating whether waking up at 6 AM to make something fancy is worth the grogginess, or if I should just order takeout and call it a day. Last weekend, I was stuck in that gray area. I wanted to feel like a “good host” to my own family, but my brain was still in sleep mode.
I opened the fridge. There was a half-empty jar of pumpkin puree from a pie I made three weeks ago (don’t judge, I’m a procrastinator) and a carton of eggs that looked like they were questioning their life choices. I also had some old-fashioned oats and a bottle of maple syrup that I’ve been saving for a “special occasion.” Turns out, a lazy Saturday morning qualifies.
I threw together a quick batter, mostly because I didn’t want to spend twenty minutes whisking dry ingredients. I added a scoop of pumpkin, some cinnamon, and a dash of nutmeg. I slapped the first few onto the griddle and waited. Within three minutes, the whole kitchen smelled like a cozy autumn bakery. My kids wandered in, hair messy, eyes half-closed, and suddenly the day had potential. We ate them on the porch while the leaves were turning, sipping coffee that didn’t taste like regret.
That’s when I knew I had found a winner. These **fall breakfast pumpkin pancakes** are perfect for weekend mornings because they require zero planning the night before, use ingredients you probably already have, and taste like you spent hours in the kitchen. They’re fluffy, spiced, and just sweet enough to make you forget about the laundry pile in the corner. I’ve made this batch at least six times this month, and honestly? It’s my new favorite way to start a slow Saturday. If you’re looking for more cozy fall flavors, you’ll definitely want to check out my fall pumpkin chocolate chip bread next—you can pair them together for a serious autumn brunch spread.
Why You’ll Love These Pumpkin Pancakes
Look, I’m not going to lie to you. I love pancakes as much as the next person, but the box mix stuff? It’s fine for emergencies. It’s not what I’m chasing on a beautiful fall morning. These homemade pumpkin pancakes hit a different note. Here’s why they’ve become a weekend staple in our house:
- They’re Actually Moist — A lot of pumpkin recipes turn out dense or gummy. Not this one. The combination of pumpkin puree and a touch of yogurt (or sour cream) keeps them incredibly tender. They melt in your mouth. I’ve had people ask me what secret ingredient makes them so fluffy, and it’s just basic chemistry done right.
- Minimal Cleanup — This is huge for me. I use one large bowl to mix the batter and one skillet to cook them. That’s it. No separate dry bowl, no separate wet bowl, no measuring cups scattered everywhere. I can clean up while the kids are eating. Real talk: if the cleanup is too hard, I won’t make it again. This recipe passes the test.
- Perfect Spice Balance — You don’t have to buy a pre-mixed “pumpkin pie spice” blend if you don’t want to. I use simple cinnamon, nutmeg, and ginger. It tastes like fall without being overly sweet or artificial. It’s warm, comforting, and pairs perfectly with maple syrup.
- Kid-Approved — My picky eater, who usually refuses anything orange or “healthy,” asks for these every time. The pumpkin flavor is mild and sweet, not earthy. Plus, they’re soft enough for little hands to handle. I’ve started making a separate small batch for my youngest so he doesn’t get frustrated if the edges burn (which happens when you’re distracted).
- Freezer Friendly — I often double the batch and freeze the extras. They reheat beautifully in the toaster. This means I can have a homemade fall breakfast on a random Tuesday in January, too. It feels fancy, but it’s just last Saturday’s leftovers.
This recipe has completely changed our weekend routine. No more rushing out to a crowded diner. No more dry, cardboard-like store-bought waffles. Just warm, spiced pancakes that make the house smell amazing and give us a reason to slow down.
Ingredients You’ll Need
Here’s the best part: you probably have most of this already. This isn’t a recipe where you need to run to the store for obscure items. It’s pantry-friendly and straightforward. I’m particular about three things here, and I’ll tell you exactly why.
For the Batter
All-purpose flour (1 ½ cups / 190g) — This is your base. Don’t try to swap in almond flour unless you want a totally different texture. All-purpose gives that classic pancake fluffiness. I use Gold Medal because it’s consistent.
Baking powder (2 teaspoons) — Fresh baking powder is non-negotiable. If yours has been sitting in the back of the cupboard since 2022, toss it and buy a new can. Old baking powder means flat, dense pancakes. I keep a fresh can specifically for weekends.
Salt (½ teaspoon) — Yes, salt. It balances the sweetness and enhances the spices. Don’t skip it.
Cinnamon (1 ½ teaspoons) — Ground cinnamon. The good stuff. If you have a jar that smells like dust, replace it. Fresh cinnamon makes a world of difference in flavor.
Nutmeg (½ teaspoon) — Freshly grated is best, but pre-ground works fine. Just a pinch goes a long way.
Ginger (¼ teaspoon) — Ground ginger. Adds a little zing that keeps the flavor from being too one-dimensional.
Pumpkin puree (½ cup / 120g) — Make sure it’s 100% pure pumpkin, not pumpkin pie filling. Pie filling has sugar and spices already, which will throw off the balance. I buy the canned kind because it’s convenient, but if you roasted your own, that works too (just make sure it’s mashed smooth).
Large eggs (2 large) — Room temperature eggs incorporate better into the batter. If you’re rushing, just crack them into the bowl and mix. It won’t ruin the recipe, but it might make the batter slightly lumpy.
Milk (1 cup / 240ml) — Whole milk is best for richness, but 2% works fine. If you’re out of milk, water works in a pinch, but the pancakes will be less tender. Buttermilk is amazing here if you have it—adds tang and fluffiness.
Unsalted butter (2 tablespoons, melted) — Melted and cooled slightly. Don’t pour boiling butter into the eggs, or you’ll get scrambled eggs. Let it sit for a minute.
Vanilla extract (1 teaspoon) — Real vanilla. Not the imitation stuff. This is one of those places where cheap ingredients show up in the final taste.
For Cooking and Serving
Butter or oil — For greasing the pan. I use a mix of butter for flavor and a drop of oil to prevent burning. Butter burns faster, so if your pan runs hot, use more oil.
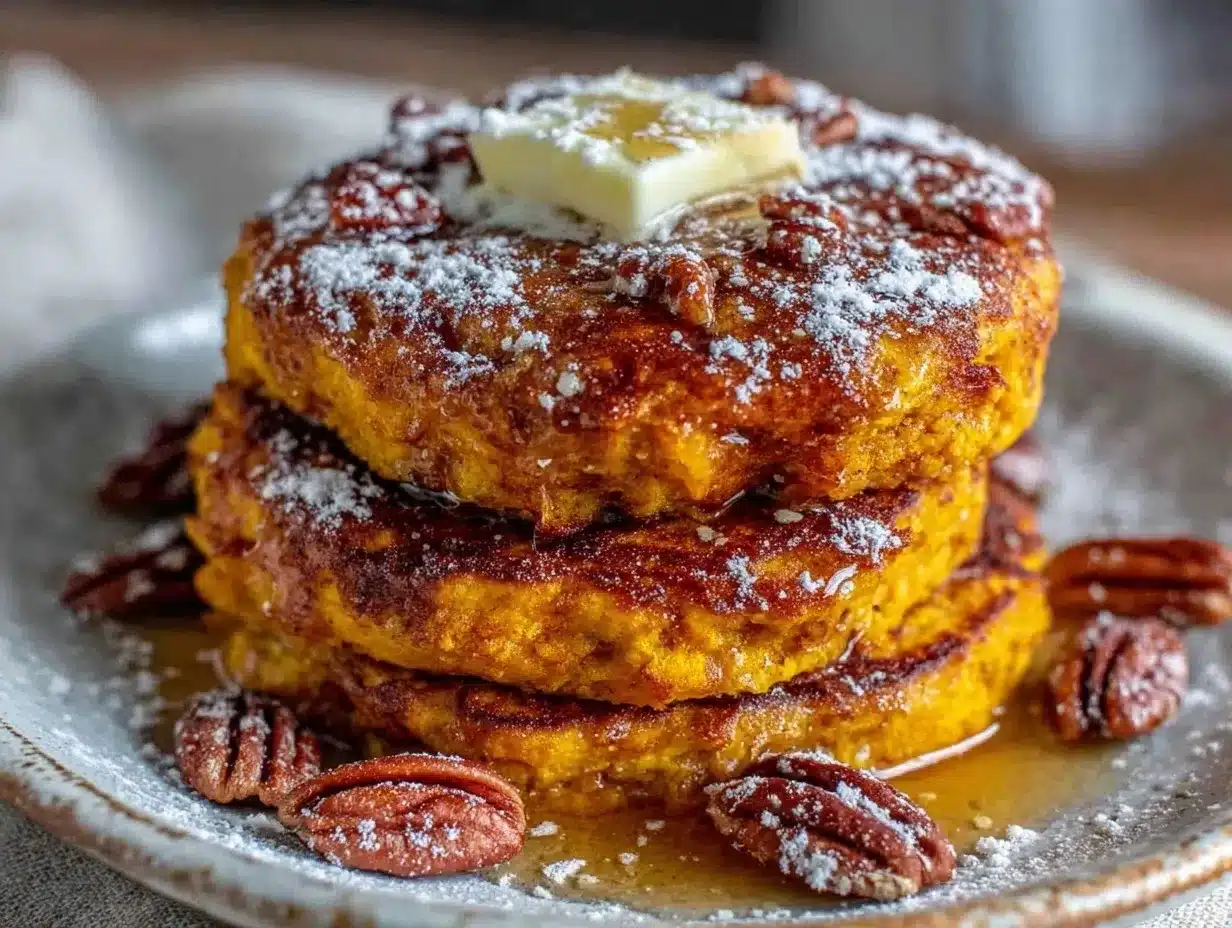
Maple syrup — Real maple syrup, not the pancake syrup in the bottle with the bear on it. Your taste buds will thank you. If you’re on a budget, a mix of half real, half brown sugar butter is a great compromise.
Whipped cream or Greek yogurt — Optional, but I love dolloping some Greek yogurt on top for a bit of protein and tang. It cuts through the sweetness nicely.
Equipment Needed
You don’t need fancy equipment for this. Here’s what I actually use.
Large mixing bowl — I use a 4-quart glass bowl. It’s big enough to whisk everything without splashing, and you can see the batter level clearly. Plastic works too, but glass is easier to clean.
Whisk — A standard balloon whisk. You need to aerate the dry ingredients a bit before adding wet. A fork works, but a whisk is faster and less likely to leave lumps.
Non-stick skillet or griddle — This is your main tool. I use a 12-inch non-stick skillet. It’s the perfect size for making two pancakes at a time. If you have a flat electric griddle, even better—you can cook more at once. Avoid cast iron unless you’re very experienced with temperature control; it holds heat too aggressively for delicate pancakes.
Spatula — A thin, flexible spatula. You need to slide it under the pancake without tearing it. A metal spatula works, but plastic or silicone is gentler on non-stick surfaces.
Measuring cups and spoons — Standard stuff. Dollar store versions work fine. Just make sure you’re leveling off your dry ingredients.
Small bowl — For melting the butter. I use a microwave-safe bowl for speed.
Optional: Pancake scoop — Those little portion scoops are nice for uniform size, but I usually just eyeball it. It’s faster, and nobody cares if one is slightly bigger than the other.
How to Make It: Step-by-Step
Alright, let’s make this! I’m walking you through exactly how I do it, including the little tricks I’ve picked up over the years.
Step 1: Mix the Dry Ingredients (3 minutes)
In your large bowl, whisk together the flour, baking powder, salt, cinnamon, nutmeg, and ginger. I do this first because it ensures the spices are evenly distributed. If you don’t whisk well, you’ll get a spicy bite in one pancake and a bland one in the next. Whisk for about 30 seconds until everything looks uniform.
Step 2: Combine the Wet Ingredients (2 minutes)
In a separate medium bowl or large measuring cup, whisk the eggs, milk, melted butter, vanilla extract, and pumpkin puree. The pumpkin puree can be thick, so make sure it’s well incorporated with the milk and eggs before adding to the flour. If it’s lumpy, give it an extra stir. The mixture should be smooth and orange.
Step 3: Combine Wet and Dry (2 minutes)
Make a well in the center of the dry ingredients and pour the wet mixture in. Gently fold or stir with your whisk until just combined. Stop while there are still a few lumps. This is the most important rule of pancake making. Overmixing develops gluten, which makes pancakes tough and chewy instead of fluffy. If you overmix, they’ll be like rubber bands. Trust me on this.
Step 4: Heat the Pan (3 minutes)
Preheat your skillet or griddle over medium heat. To test if it’s ready, sprinkle a few drops of water on the surface. If they sizzle and evaporate immediately, it’s too hot. If they bead up and dance around, it’s ready. If they just sit there, it’s too cold. Add a small pat of butter or a brush of oil to the pan.
Step 5: Cook the Pancakes (10-12 minutes)
Pour about ¼ cup of batter for each pancake onto the skillet. Don’t crowd the pan. Cook for 2-3 minutes. Watch for bubbles. When the surface is covered in bubbles and the edges look set and slightly dry, it’s time to flip. This usually takes about 2 minutes on the second side. Cook until golden brown. If they’re browning too fast, lower the heat. You want them cooked through, not burnt on the outside.
Step 6: Keep Warm and Serve
Transfer cooked pancakes to a plate and keep them warm in a 200°F oven while you cook the rest. Serve immediately with warm maple syrup, extra butter, and maybe a sprinkle of cinnamon sugar if you’re feeling fancy.
Total Time: About 20 minutes (5 minutes prep, 15 minutes cooking)
Troubleshooting Tips
- Pancakes are sticking? Your pan isn’t hot enough yet, or you didn’t grease it enough. Wait another minute and add more butter.
- Pancakes are too dense? You overmixed the batter. Next time, stop sooner.
- Pancakes are burnt outside, raw inside? Heat is too high. Lower it to medium-low.
Expert Tips & Tricks
Here’s everything I’ve learned from making these dozens of times. These tips will save you from my mistakes.
Don’t Peek Too Much
Once you pour the batter, resist the urge to lift the edge to check. Let the steam do its work. If you lift it too early, the pancake might tear. Wait for the bubbles to form and pop.
The “First One” Rule
The first pancake is always a test. It’s never perfect. It might be too thick, too thin, or slightly burnt. This is normal. Use it to adjust your heat or batter amount. Don’t stress about it. Just eat it and move on.
Keep Them Warm Properly
If you stack hot pancakes on a plate, they’ll steam each other and get soggy. If you want them fluffy, keep them in a single layer on a wire rack in the oven. If you’re eating immediately, stacking is fine, but serve fast.
Freezing for Later
Let pancakes cool completely on a wire rack. Then, place them in a single layer on a baking sheet and freeze for 1 hour. Once frozen, transfer to a freezer bag. They’ll last up to 3 months. Reheat in a toaster for best texture.
Add-Ins
Want chocolate chips? Sprinkle them on top of the batter right after pouring it into the pan. They’ll melt into the top. Chopped pecans or walnuts add great crunch. I love adding a tablespoon of brown sugar to the batter for extra caramel flavor.
Variations & Substitutions
Once you’ve nailed the basic version, here’s how you can mix it up. I’ve tried all of these.
Gluten-Free Option
Use a 1:1 gluten-free flour blend. The texture will be slightly more delicate, but it still works. Add an extra teaspoon of baking powder to help with lift.
Dairy-Free
Swap milk for almond or oat milk. Use coconut oil or dairy-free butter instead of regular butter. The flavor will be slightly different, but still delicious.
Lighter Version
Use applesauce instead of half the butter. It adds moisture and sweetness without the fat. You can also use egg whites instead of whole eggs if you’re watching calories.
Spice It Up
Add a pinch of cardamom or allspice for a more complex flavor profile. Or, if you like heat, add a dash of cayenne pepper. It sounds weird, but it pairs surprisingly well with pumpkin.
Other Fall Flavors
Instead of pumpkin, try butternut squash puree. Or add chopped apples and a dash of cider vinegar for an apple cinnamon vibe. I also love adding a tablespoon of pumpkin pie spice if I don’t want to measure individual spices.
Serving & Storage
How to Serve: I usually serve these straight from the skillet at the breakfast table. They’re best hot, with a generous drizzle of maple syrup. But here are other ways I’ve enjoyed them:
- With Fruit: Sautéed apples or pears go great with these. Check out my apple cinnamon crisp recipe if you want to get fancy with the topping.
- With Yogurt: A dollop of Greek yogurt and a drizzle of honey adds protein and tang.
- With Bacon: Sweet and savory combo. Can’t beat it.
Storage: Store leftovers in an airtight container in the fridge for up to 3 days. Reheat in a toaster or oven at 350°F for 5 minutes. They don’t freeze well if stored in the fridge first, as they get dry. For best results, freeze them right after cooking.
Reheating: The toaster is your best friend. Microwave makes them rubbery. If you must microwave, do it in 15-second intervals and cover with a damp paper towel.
Nutrition Information
I’m not a nutritionist, but here’s the breakdown if you’re tracking.
Per Serving (based on 4 pancakes):
- Calories: 280
- Protein: 7g
- Carbs: 45g
- Fiber: 2g
- Sugar: 12g
- Fat: 8g
- Saturated Fat: 4g
- Cholesterol: 55mg
- Sodium: 350mg
What’s Good: Decent protein from eggs and milk. The pumpkin adds some fiber and vitamins. It’s a more balanced breakfast than plain flour pancakes.
What to Know: Higher in carbs from flour and sugar. Contains dairy and gluten. Moderate sodium. If you’re watching sugar, reduce the syrup and use sugar-free syrup.
Final Thoughts
So that’s my go-to fall breakfast pumpkin pancakes! I’ve probably talked your ear off at this point, but when you make a recipe this often, you have a lot to say about it.
This has saved weekend mornings more times than I can count. It’s my answer to “what’s for breakfast” when I want to feel special but don’t have the energy to cook a big meal. My kids are happy, my husband’s happy, and I’m happy because I’m not stressed about cooking.
Make it yours! Try different add-ins, swap in your favorite spices, adjust the sweetness. The best recipes are the ones you adapt to your family’s tastes.
If you make this, drop a comment and let me know what you think! I love hearing how recipes turn out in your kitchen. And if something doesn’t work, tell me that too—I’m here to help troubleshoot.
Happy cooking! And I hope your kitchen smells half as good as mine does right now.
Frequently Asked Questions
Can I use pumpkin pie filling instead of pure pumpkin?
No, please don’t. Pumpkin pie filling already has sugar, spices, and thickeners. If you use it, your pancakes will be too sweet and dense. You’ll need to drastically adjust the other ingredients. Stick to pure pumpkin puree for the best results.
Why are my pancakes flat?
Usually, it’s because your baking powder is old or you overmixed the batter. Make sure your baking powder is fresh. Also, stop mixing as soon as the dry ingredients are moistened. Lumps are okay!
Can I make the batter ahead of time?
You can, but it’s not ideal. The baking powder will start to activate, and the pancakes won’t rise as much in the pan. If you must prep ahead, mix the dry and wet ingredients separately and combine them in the morning. Or, mix the batter and let it sit for 15 minutes max.
How do I keep pancakes warm for a crowd?
Preheat your oven to 200°F. Place cooked pancakes on a wire rack set over a baking sheet. This allows air to circulate and keeps them crisp. Don’t stack them on a plate, or they’ll get soggy from steam.
Can I freeze the batter?
No, don’t freeze the batter. The leavening agents will lose their potency, and the texture will be off. Freeze the cooked pancakes instead.
What’s the best syrup to use?
Real maple syrup is the gold standard. It has a complex flavor that complements the pumpkin. If you’re on a budget, a homemade brown sugar syrup is a great alternative. Just simmer brown sugar, butter, and a splash of milk until thickened.
Can I add chocolate chips?
Absolutely. Sprinkle them on top of the wet batter right after pouring it into the pan. They’ll melt into the top. I love using semi-sweet chocolate chips.
Pin This Recipe!
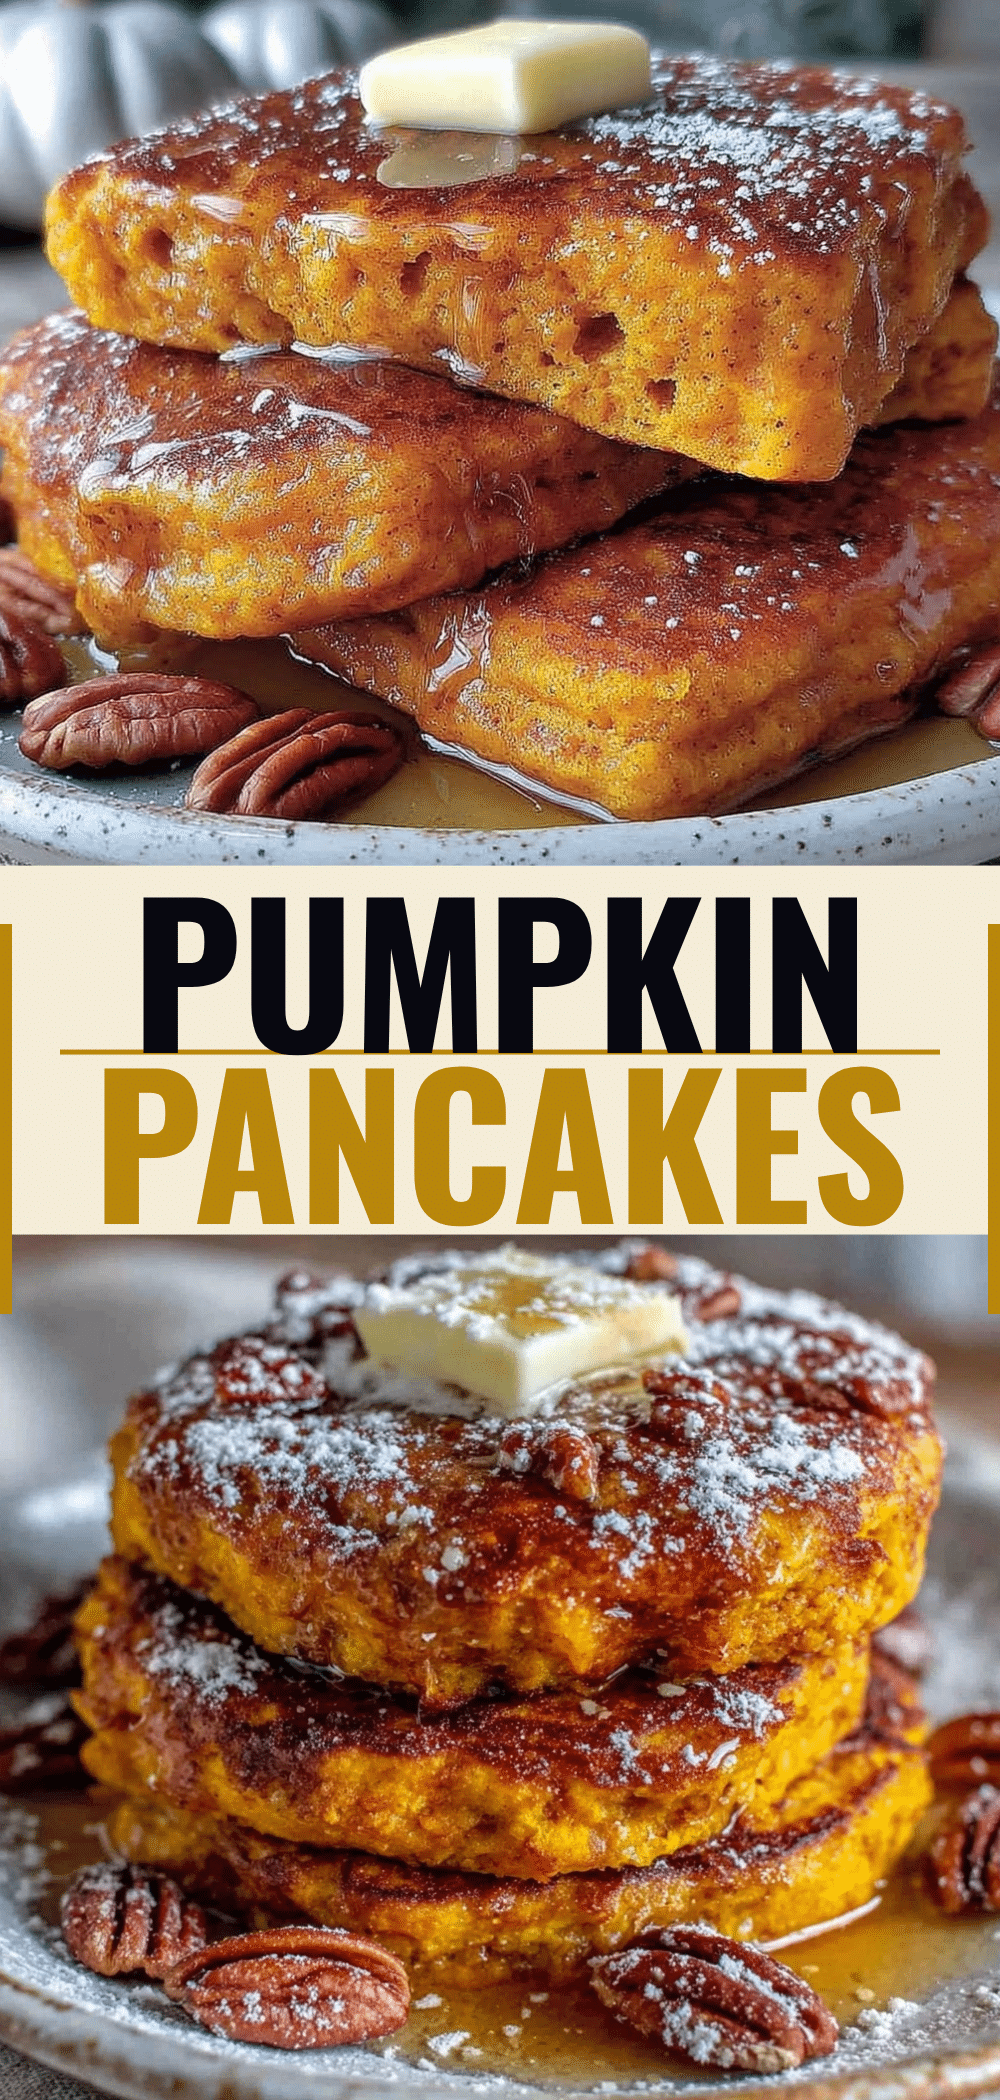
Fall Breakfast Pumpkin Pancakes: 5-Min Easy Weekend Win
- Total Time: 20 minutes
- Yield: 4 servings 1x
Description
Fluffy, spiced pumpkin pancakes that are perfect for lazy weekend mornings. Made with simple pantry ingredients, these homemade pancakes are moist, kid-approved, and ready in about 20 minutes.
Ingredients
- 1 ½ cups all-purpose flour
- 2 teaspoons baking powder
- ½ teaspoon salt
- 1 ½ teaspoons ground cinnamon
- ½ teaspoon ground nutmeg
- ¼ teaspoon ground ginger
- ½ cup pumpkin puree (100% pure, not pie filling)
- 2 large eggs, room temperature
- 1 cup milk (whole milk or buttermilk recommended)
- 2 tablespoons unsalted butter, melted and cooled
- 1 teaspoon vanilla extract
- Butter or oil for greasing the pan
- Maple syrup for serving
- Whipped cream or Greek yogurt for serving (optional)
Instructions
- In a large bowl, whisk together the flour, baking powder, salt, cinnamon, nutmeg, and ginger until uniform.
- In a separate medium bowl or large measuring cup, whisk the eggs, milk, melted butter, vanilla extract, and pumpkin puree until smooth.
- Make a well in the center of the dry ingredients and pour in the wet mixture. Gently fold or stir until just combined, leaving a few lumps. Do not overmix.
- Preheat a non-stick skillet or griddle over medium heat. Test readiness by sprinkling water drops; they should bead up and dance.
- Grease the pan with butter or oil. Pour about ¼ cup of batter per pancake onto the skillet.
- Cook for 2-3 minutes until bubbles form on the surface and edges look set. Flip and cook for another 2 minutes until golden brown.
- Transfer cooked pancakes to a plate and keep warm in a 200°F oven while cooking the rest.
- Serve immediately with warm maple syrup, extra butter, and optional toppings.
Notes
Do not overmix the batter; lumps are okay and ensure fluffy pancakes. Use fresh baking powder for best rise. The first pancake is often a test batch to adjust heat. For freezing, cool pancakes completely on a wire rack, freeze on a baking sheet, then transfer to a freezer bag. Reheat in a toaster for best texture.
- Prep Time: 5 minutes
- Cook Time: 15 minutes
- Category: Breakfast
- Cuisine: American
Nutrition
- Serving Size: 4 pancakes
- Calories: 280
- Sugar: 12
- Sodium: 350
- Fat: 8
- Saturated Fat: 4
- Carbohydrates: 45
- Fiber: 2
- Protein: 7
Keywords: pumpkin pancakes, fall breakfast, weekend pancakes, easy pancake recipe, homemade pumpkin pancakes, gluten-free option, dairy-free option



