Last Tuesday, I was staring at the clock. It was 5:04 PM. I had just walked through the door, exhausted from work, and my brain was completely fried. I didn’t have the energy to chop vegetables, I didn’t want to order takeout (again), and I definitely didn’t want to spend an hour baking a complicated dessert. But then, my husband looked at me and said, “I really want something chocolate. Like, deep, dark, indulgent chocolate.”
My heart sank. I thought about the usual suspects: apple cinnamon crisp (too much prep), fudgy mint chocolate brownies (too much baking time), or maybe just a bowl of ice cream (too boring). Then it hit me. Why not make those individual chocolate lava cakes? You know, the ones that look like they came from a fancy restaurant but take less time than it takes to wait for a pizza delivery?
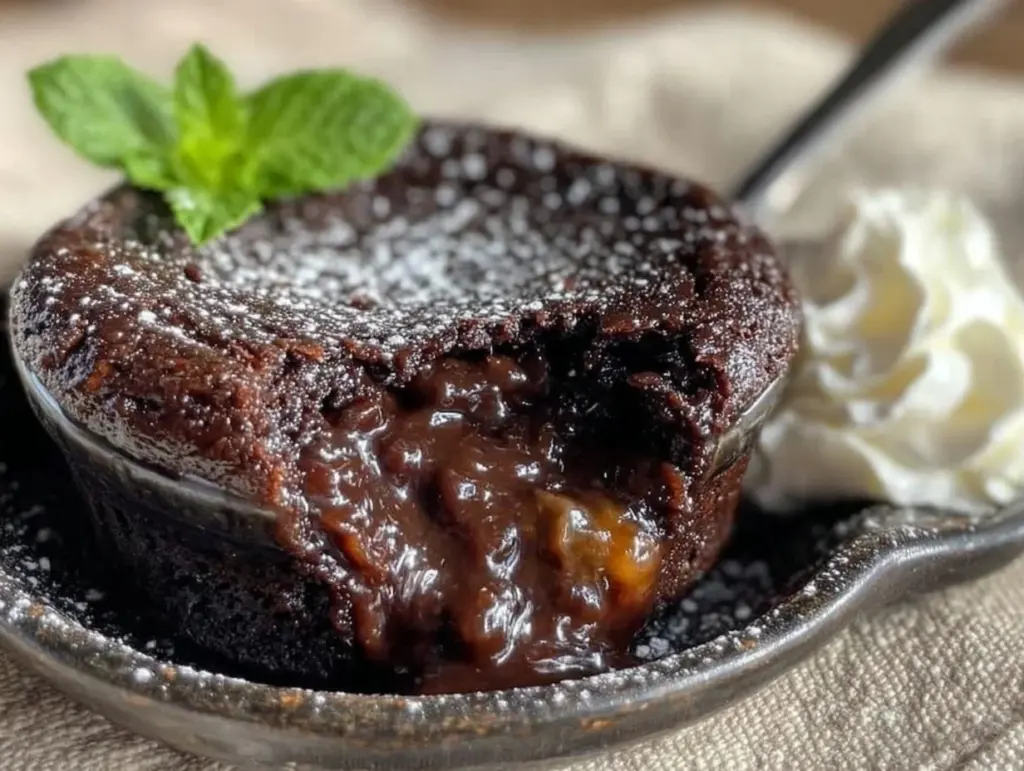
I was skeptical. I’ve tried “quick” desserts before that ended up looking like sad, dense bricks. But this chocolate lava cake with molten fudge center is different. It’s actually possible to make it in under 30 minutes. I tested it that night. I melted the chocolate, whisked the eggs, threw it in ramekins, and baked it while I kicked off my shoes. Twelve minutes later, I pulled them out, flipped them onto plates, and cut into one. That dark, gooey chocolate spilled out. My husband took one bite, closed his eyes, and said, “You just saved my life.”
That was three months ago. Since then, I’ve made this chocolate lava cake with molten fudge center at least ten times. It’s become my secret weapon for weeknight dessert emergencies, date nights, or when I just need a hug in food form. It’s rich, it’s decadent, and it’s surprisingly easy. If you’ve been intimidated by molten cakes, let me tell you: it’s not rocket science. It’s just chemistry, and I’m going to walk you through exactly how to nail it every single time.
Why You’ll Love This Chocolate Lava Cake
There are a million reasons to keep this recipe in your back pocket. Here’s why it’s become my go-to when the 5 PM panic sets in.
It’s Faster Than Takeout — Seriously. From start to finish, including prep and bake time, this takes about 25 minutes. That’s faster than finding a parking spot, ordering, waiting on hold, and driving to pick up Thai food. I’ve timed it. It’s real.
Restaurant-Quality Results at Home — The best part? The texture. That contrast between the soft, cakey exterior and the warm, flowing fudge center is magical. It tastes like you spent hours in the kitchen, but you barely broke a sweat. My friends think I’m a wizard. I’m just good at timing.
Minimal Cleanup — This is huge for me. You only need a microwave-safe bowl (or small saucepan), a whisk, and four ramekins. That’s it. No mixing bowls galore, no complex equipment. I can clean up while the cakes are baking. It’s the cleanest dessert I make.
Perfect for One (or a Crowd) — I make these in individual ramekins, which means no slicing errors. If I’m eating alone, I make one. If we’re having guests, I make four. It scales perfectly. Plus, it feels fancy because it’s plated individually.
Gluten-Free Friendly (Naturally) — Since this recipe uses no flour, it’s naturally gluten-free. This is a lifesaver for my celiac friend who always feels left out of dessert plans. She requests this chocolate lava cake with molten fudge center specifically because she doesn’t have to worry about cross-contamination or weird flours.
It’s a Crowd-Pleaser — I’ve served this to my chocolate-hating dad. Yes, really. He took one bite and asked for the recipe. It’s that good. The richness of the chocolate usually wins people over, even the skeptics.
This is my answer to “what’s for dessert?” when I want something special but have zero energy. It’s reliable, delicious, and makes me feel like a hero. Let’s get into the ingredients.
Ingredients You’ll Need
Here’s the best part: you probably have most of this already in your pantry. This isn’t a recipe that requires a special trip to the store. It’s simple, high-quality ingredients that do all the heavy lifting.
High-Quality Dark Chocolate (6 ounces / 170g) — This is the star. Use chocolate with at least 60% cocoa. I prefer semi-sweet or bittersweet. Avoid chocolate chips—they have stabilizers that prevent them from melting smoothly. Look for bars from brands like Ghirardelli, Lindt, or Guittard. The better the chocolate, the better the lava.
Unsalted Butter (½ cup / 113g) — This adds richness and helps create that fudgy texture. Use real butter, not margarine. It makes a noticeable difference in flavor. Cut it into cubes so it melts faster.
Eggs (2 large) — Room temperature eggs whisk up better and create a smoother batter. If you’re in a hurry, just drop them in a bowl of warm water for 5 minutes. Don’t skip this step if you can help it.
Egg Yolks (2 large) — Extra yolks add richness and that deep, fudgy consistency. This is what separates a cake from a lava cake. Don’t substitute with whites.
Sugar (½ cup / 100g) — Granulated white sugar works best here. It dissolves quickly into the warm chocolate mixture. Brown sugar can make it too moist and sticky, which might prevent the center from staying gooey.
Vanilla Extract (1 teaspoon) — Pure vanilla extract, not imitation. It enhances the chocolate flavor without overpowering it. Just a splash goes a long way.
Pinch of Salt — A tiny pinch of sea salt balances the sweetness and makes the chocolate taste more chocolatey. Don’t skip it.
Optional: Powdered Sugar — For dusting on top. It looks elegant and adds a tiny bit of sweetness to the plate.
For Serving: — I love this with a dollop of vanilla bean panna cotta for a lighter contrast, or just a scoop of vanilla ice cream. The cold creaminess against the hot chocolate is perfection.
Equipment Needed
You don’t need fancy gadgets. Here’s what I actually use, and what works.
Four 6-ounce Ramekins — These are essential. They need to be oven-safe ceramic or glass. I use Pyrex ramekins. Make sure they’re clean and dry before greasing. If they’re too small, the lava won’t form properly. If they’re too big, the cake will overbake.
Microwave-Safe Bowl or Small Saucepan — For melting the chocolate and butter. I use a glass measuring cup in the microwave because it’s easy to whisk in. If you prefer stovetop, a small saucepan over low heat works too.
Whisk — A simple balloon whisk is perfect for incorporating air into the eggs and sugar. It helps the cake rise slightly.
Measuring Spoons and Cups — Standard stuff. Accuracy matters here because it’s a small-batch recipe.
Cooking Spray or Butter — To grease the ramekins. I use butter and dust with cocoa powder to prevent sticking and add a nice flavor.
Baking Sheet — To hold the ramekins while they bake. It makes moving them in and out of the oven safer and easier.
Small Spatula — For scraping the chocolate mixture out of the bowl and into the ramekins.
How to Make It: Step-by-Step
Alright, let’s make this! I’m walking you through exactly how I do it, including the little tricks I’ve picked up so you don’t end up with a flat pancake or a dry brick.
Step 1: Prep Your Ramekins (2 minutes)
Preheat your oven to 425°F (220°C). This needs to be hot enough to set the edges quickly while leaving the center raw. Take your four ramekins. Butter the inside thoroughly, getting into every crease. Then, dust them with cocoa powder, tapping out the excess. This creates a non-stick surface and adds a hint of chocolate flavor. Set them aside on a baking sheet.
Step 2: Melt Chocolate and Butter (2-3 minutes)
Break your chocolate into chunks and place them in a microwave-safe bowl with the cubed butter. Microwave in 30-second intervals, stirring between each. Stop when there are still a few small lumps of chocolate left—don’t over-melt. Stir vigorously until smooth and glossy. The residual heat will melt the rest. If you’re using a saucepan, melt over low heat, stirring constantly. Do not let it boil.
Step 3: Whisk Eggs and Sugar (2 minutes)
In a separate medium bowl, whisk the whole eggs and egg yolks with the sugar and salt. Whisk vigorously for about 2 minutes. You want the mixture to lighten in color and become slightly frothy. This incorporates air, which helps the cake rise. Add the vanilla extract and whisk one more time.
Step 4: Combine the Mixtures (1 minute)
Pour the warm chocolate mixture into the egg mixture. Whisk gently but thoroughly until combined. The batter will be thin and liquidy—this is normal! Don’t panic. It should look like thick syrup.
Step 5: Fill the Ramekins (2 minutes)
Divide the batter evenly among the four prepared ramekins. They should be about ¾ full. Smooth the tops with a spatula. If you want to add a surprise, you can drop a small piece of chocolate or a raspberry into the center of each before baking, but it’s not necessary.
Step 6: Bake (12-14 minutes)
Place the baking sheet with the ramekins in the preheated oven. Bake for 12 to 14 minutes. Here’s the key: you want the edges to be set and puffy, but the center to still look soft and jiggly when you shake the ramekin. If the center looks firm, they’re overbaked. If it looks completely liquid and raw, they need another minute. I usually pull them at 12 minutes and check.
Step 7: Rest and Serve (2 minutes)
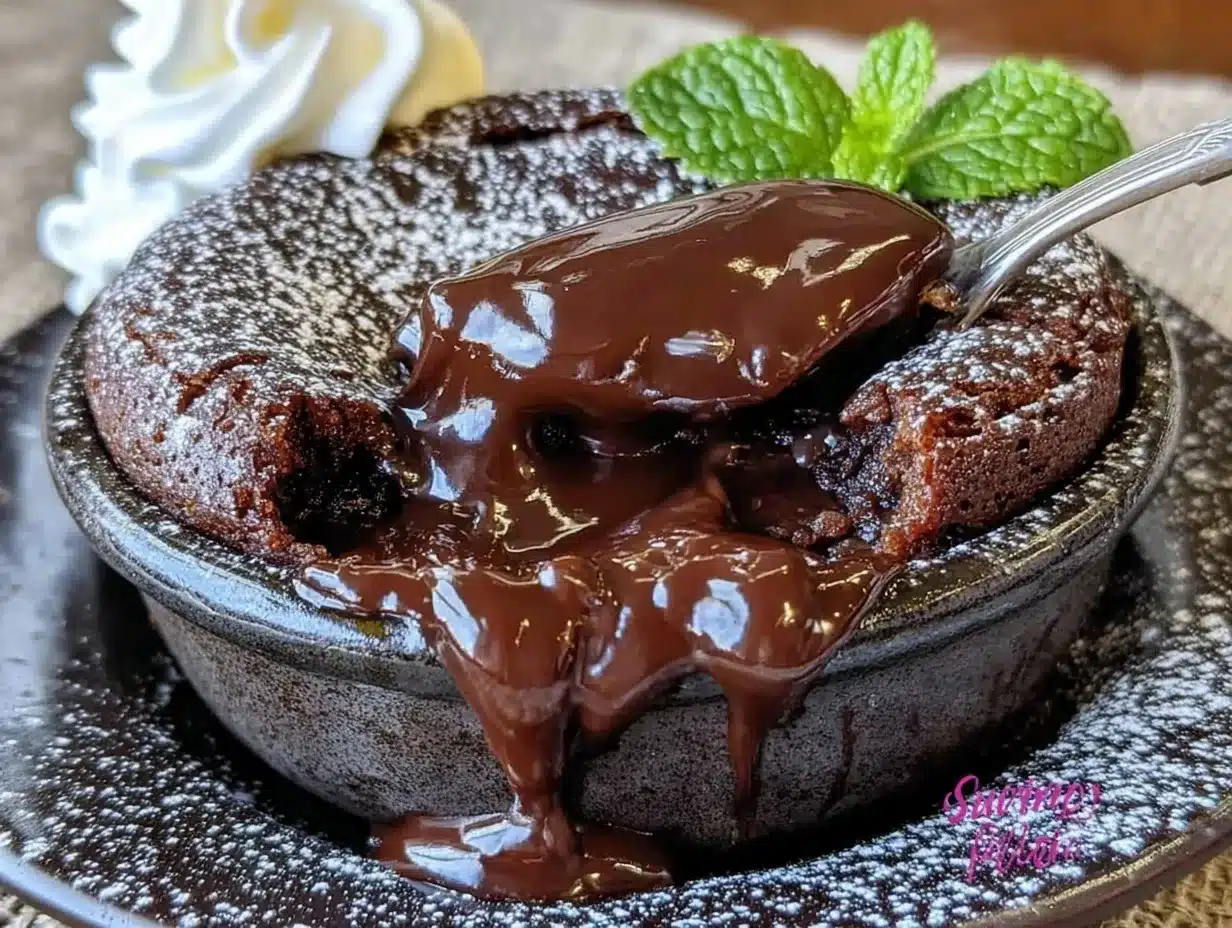
Remove the ramekins from the oven and let them rest for 1 minute. This allows the center to set just enough so it’s gooey, not soupy. Run a small knife around the edge to loosen. Place a plate upside down over the ramekin, then quickly flip it over. Lift the ramekin off. The cake should slide out with a perfect dome. Dust with powdered sugar and serve immediately.
Total Time: About 25 minutes (10 minutes prep, 12-14 minutes bake).
Expert Tips & Tricks
Here’s everything I’ve learned from making this dozens of times. These tips will save you from my mistakes.
Don’t Overbake — This is the #1 mistake. If you bake them for 15 minutes, you’ll get a cake, not a lava cake. The center must remain soft. It’s better to underbake slightly than overbake. The residual heat will continue to cook them as you plate them.
Use Good Chocolate — I can’t stress this enough. If you use cheap, waxy chocolate, the lava won’t flow. It’ll be thick and gluey. Spend the extra dollar on good baking bars. Your taste buds will thank you.
Room Temperature Eggs — Cold eggs can cause the chocolate to seize up when you mix them. Let your eggs sit on the counter for 15 minutes before starting. It makes the batter smoother.
Grease Well — If your ramekins aren’t well-greased, the cake will stick. Butter is better than spray because it coats better. The cocoa powder dusting helps too.
Make Ahead Option — You can fill the ramekins up to 24 hours ahead. Cover them tightly with plastic wrap and refrigerate. When ready to serve, let them sit at room temperature for 15 minutes, then bake. You may need to add 1-2 minutes to the baking time because the batter is cold.
Variations & Substitutions
Once you’ve nailed the basic version, here’s how you can mix it up. I’ve tried all of these.
White Chocolate Lava Cake — Swap the dark chocolate for high-quality white chocolate. Add 1 teaspoon of raspberry extract instead of vanilla. The contrast of white chocolate and red raspberry is stunning.
Peanut Butter Lava Cake — Stir 2 tablespoons of peanut butter into the batter. Or, drop a spoonful of peanut butter into the center before baking. It adds a salty-sweet kick.
Espresso Lava Cake — Add 1 teaspoon of instant espresso powder to the melted chocolate. It intensifies the chocolate flavor without tasting like coffee. Perfect for coffee lovers.
Gluten-Free — This recipe is naturally gluten-free because it has no flour. Just ensure your chocolate and vanilla are certified gluten-free if you have severe allergies.
Dairy-Free — Use dairy-free dark chocolate and coconut oil instead of butter. The texture will be slightly different, but still delicious. My vegan friend loves this version.
Serving Ideas — I love this with a scoop of coconut cream pie ice cream, or a dollop of whipped cream. It’s also great with chocolate espresso bundt cake leftovers if you have any.
Serving & Storage
How to Serve: — Serve immediately. These cakes don’t wait. They’re best hot, with the center still flowing. I usually serve them with a side of berries or a scoop of ice cream to cut the richness.
Refrigerator: — Leftovers are rare, but if you have any, store them in the ramekins in the fridge for up to 2 days. Reheat in the microwave for 20-30 seconds to loosen the center. The texture will be more like a dense brownie.
Freezing: — I don’t recommend freezing these. The texture changes too much. The lava center can become grainy after thawing. It’s best made fresh.
Meal Prep: — You can prep the batter and fill the ramekins up to 24 hours ahead. This is great for dinner parties. Just pull them out of the fridge and bake when guests arrive.
Nutrition Information
I’m not a nutritionist, but here’s the breakdown if you’re tracking. This is a rich dessert, so a little goes a long way.
Per Serving (1 cake):
- Calories: 320
- Protein: 6g
- Carbs: 28g
- Fiber: 2g
- Sugar: 24g
- Fat: 22g
- Saturated Fat: 13g
- Cholesterol: 110mg
- Sodium: 15mg
What’s Good: — It’s gluten-free, which is a plus. It has some protein from the eggs. The dark chocolate has antioxidants.
What to Know: — It’s high in sugar and fat because it’s a dessert. Enjoy it in moderation. If you want to lighten it up, use less sugar and add more fruit on the side.
Final Thoughts
So that’s my chocolate lava cake with molten fudge center! I’ve probably talked your ear off at this point, but when you make a recipe this often, you have a lot to say about it.
This has saved weeknight dinners more times than I can count. It’s my answer to “what’s for dessert?” when I’m tired, don’t want takeout, and still want something that tastes really good. My husband is happy, my friends are impressed, and I’m happy because I’m not stressed about cooking.
Make it yours! Try different add-ins, swap in your favorite chocolates, or serve it with different toppings. The best recipes are the ones you adapt to your family’s tastes.
If you make this, drop a comment and let me know what you think! I love hearing how recipes turn out in your kitchen. And if something doesn’t work, tell me that too—I’m here to help troubleshoot.
Happy cooking! And I hope your kitchen smells half as good as mine does right now.
Frequently Asked Questions
Q: Can I use milk chocolate instead of dark chocolate?
A: You can, but the lava won’t be as rich or dark. Milk chocolate has more sugar and milk solids, which can make the center sweeter and less fudgy. I recommend sticking to semi-sweet or dark chocolate (60-70% cocoa) for the best texture and flavor.
Q: My lava cake came out solid—what happened?
A: You likely overbaked it. The baking time is very short. Check them at 12 minutes. The edges should be set, but the center should still jiggle slightly. If it’s firm, it’s a cake, not a lava cake. Next time, pull them out a minute earlier.
Q: Can I make these ahead of time?
A: Yes! You can fill the ramekins and refrigerate them for up to 24 hours. When ready to bake, let them sit at room temperature for 15 minutes, then bake as directed. You may need to add 1-2 minutes to the baking time.
Q: Why did my lava cake stick to the ramekin?
A: Your ramekins probably weren’t greased well enough. Make sure to butter every part of the inside, including the rim. Then dust with cocoa powder. This creates a non-stick layer. Also, let them rest for 1 minute before flipping—this helps them release.
Q: Can I use a muffin tin instead of ramekins?
A: You can, but the results might be different. Muffin tins are wider and shallower, so the cakes will bake faster and might not form a nice dome. If you use a muffin tin, grease the cups well and reduce the baking time by 2-3 minutes. Ramekins are best for that classic look.
Q: Can I double this recipe?
A: Absolutely! Just make sure you have enough ramekins. The baking time stays the same. I do this when I have guests. Just watch them closely because ovens vary.
Pin This Recipe!
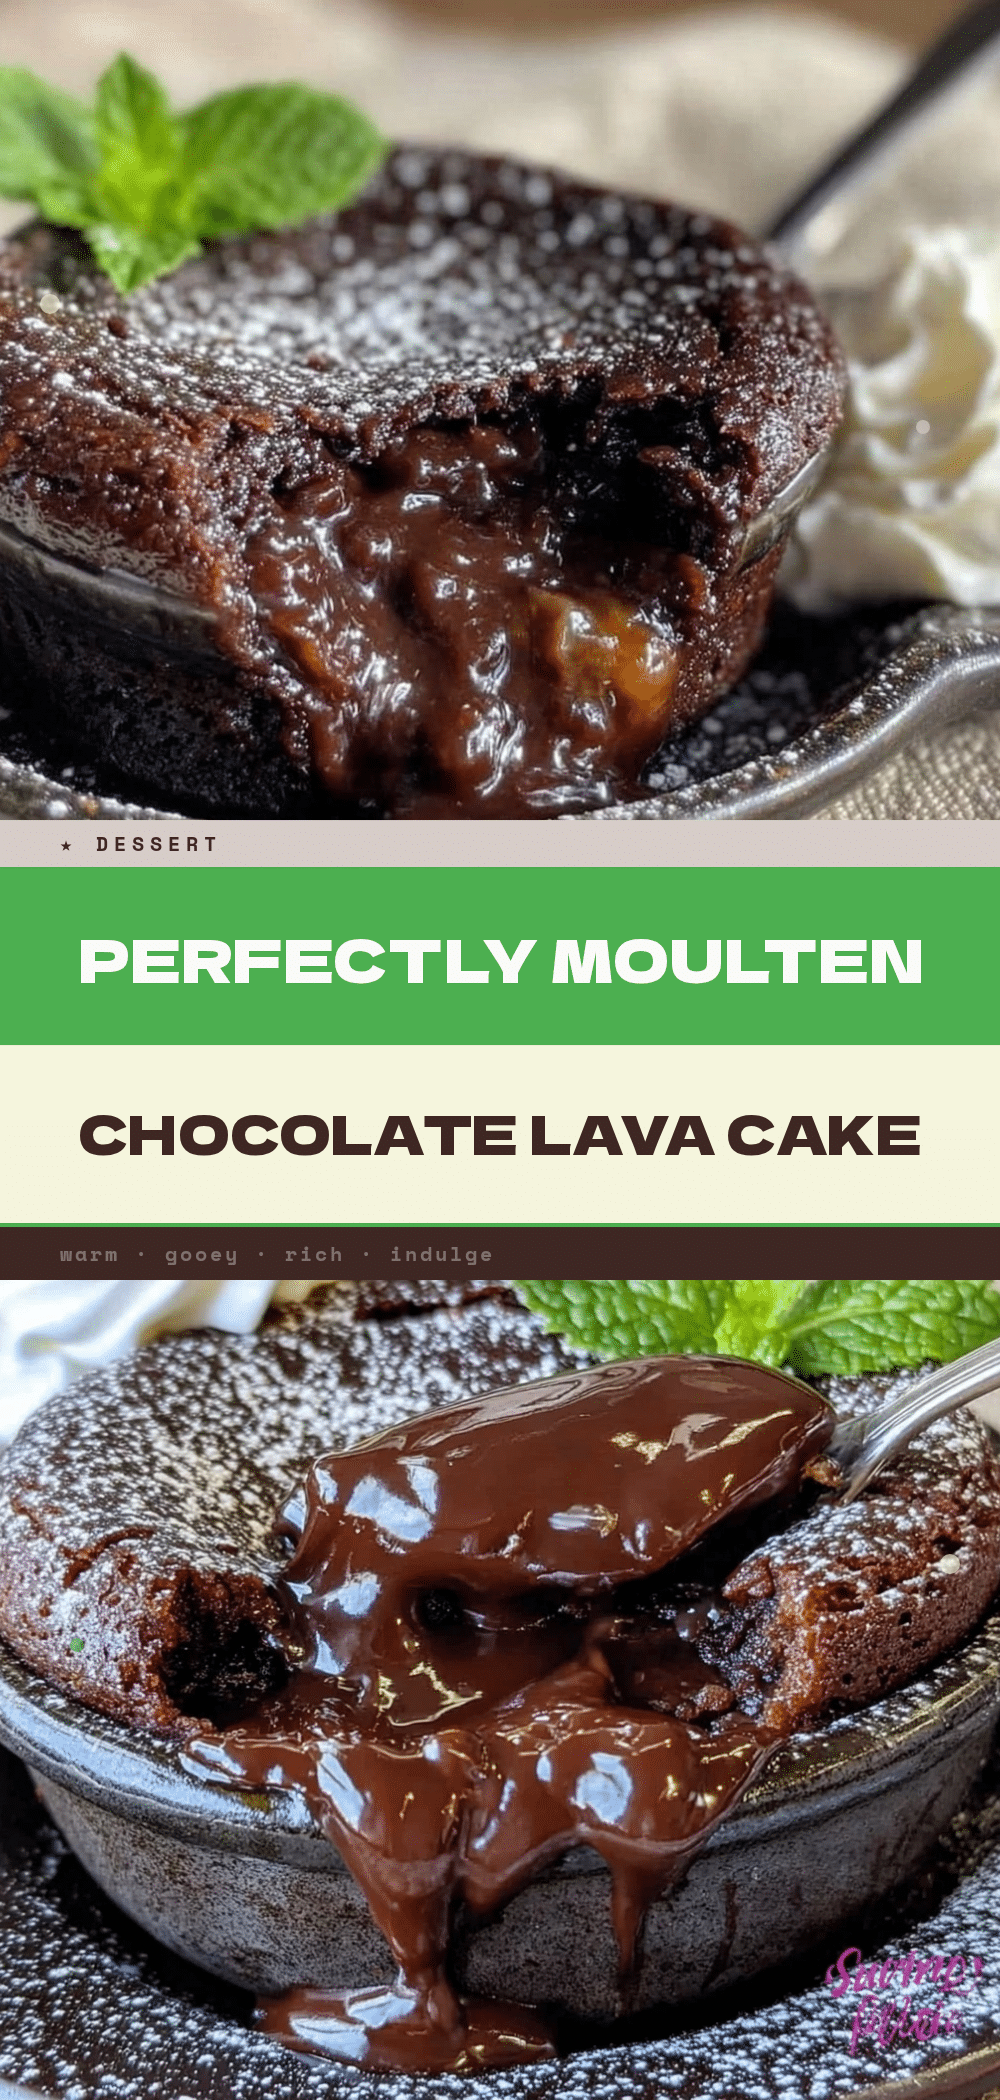
Chocolate Lava Cake: Easy 5pm Dinner
- Total Time: 25 minutes
- Yield: 4 servings 1x
Description
A rich, decadent chocolate lava cake with a molten fudge center that can be made in under 30 minutes. Naturally gluten-free and perfect for weeknight desserts or date nights.
Ingredients
- 6 ounces (170g) high-quality dark chocolate (at least 60% cocoa, semi-sweet or bittersweet)
- ½ cup (113g) unsalted butter, cubed
- 2 large eggs, room temperature
- 2 large egg yolks
- ½ cup (100g) granulated white sugar
- 1 teaspoon pure vanilla extract
- Pinch of sea salt
- Powdered sugar, for dusting (optional)
- Butter and cocoa powder, for greasing ramekins
Instructions
- Preheat oven to 425°F (220°C). Grease four 6-ounce ramekins thoroughly with butter, dust with cocoa powder, and place on a baking sheet.
- Break chocolate into chunks and place in a microwave-safe bowl with cubed butter. Microwave in 30-second intervals, stirring between each, until mostly melted. Stir vigorously until smooth and glossy.
- In a separate medium bowl, whisk whole eggs, egg yolks, sugar, and salt vigorously for about 2 minutes until light and frothy. Add vanilla extract and whisk once more.
- Pour the warm chocolate mixture into the egg mixture and whisk gently but thoroughly until combined. The batter will be thin.
- Divide the batter evenly among the prepared ramekins, filling them about ¾ full. Smooth the tops with a spatula.
- Bake on the baking sheet for 12 to 14 minutes, until edges are set and puffy but the center still looks soft and jiggly.
- Remove from oven and let rest for 1 minute. Run a knife around the edge to loosen, place a plate upside down over the ramekin, flip quickly, and lift off the ramekin.
- Dust with powdered sugar and serve immediately.
Notes
Do not overbake, or the center will not be molten. Use high-quality chocolate bars rather than chips for the best texture. Eggs should be at room temperature. The recipe is naturally gluten-free. Can be prepped up to 24 hours ahead and refrigerated; add 1-2 minutes to baking time if baking from cold.
- Prep Time: 10 minutes
- Cook Time: 12-14 minutes
- Category: Dessert
- Cuisine: French
Nutrition
- Serving Size: 1 cake
- Calories: 320
- Sugar: 24
- Sodium: 15
- Fat: 22
- Saturated Fat: 13
- Carbohydrates: 28
- Fiber: 2
- Protein: 6
Keywords: chocolate lava cake, molten chocolate cake, easy dessert, gluten-free dessert, quick dinner, 5pm dinner, fudgy center, weeknight dessert



