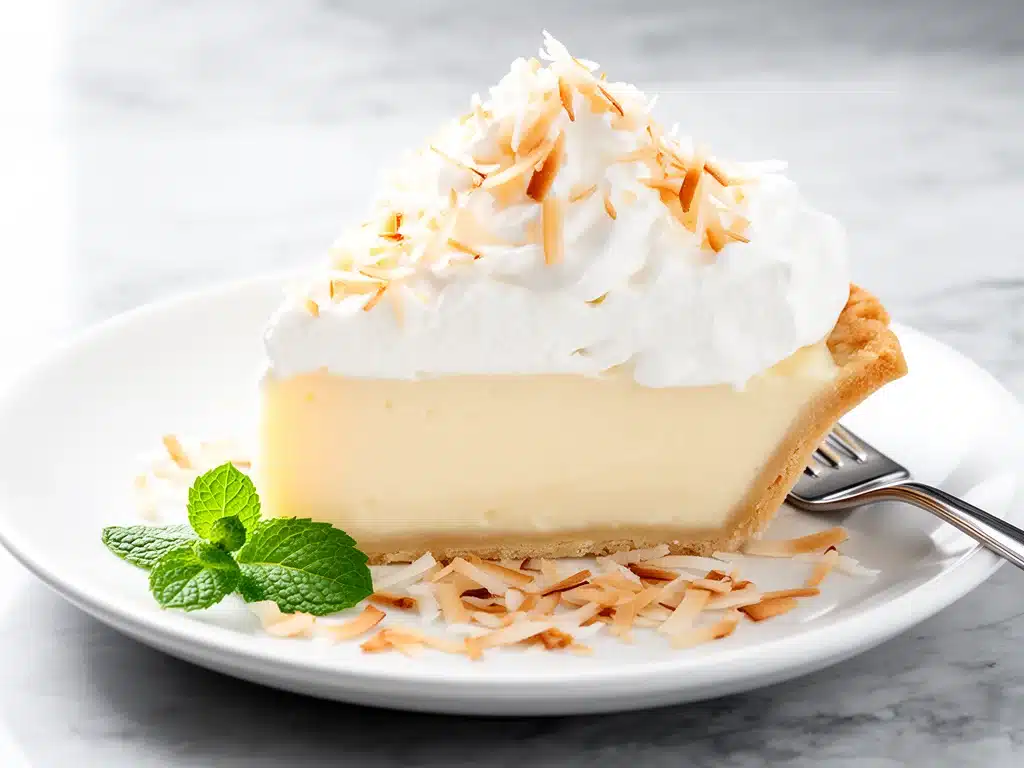
Let me set the scene. It was 2014. I was the maid of honor, which basically made me the unpaid assistant planner, caterer, and emotional support animal for my best friend Sarah. We were getting ready for her beach wedding in Florida. The air was thick enough to chew, the sun was brutal, and I had brought what I thought was a brilliant, no-bake dessert to share at the reception.
I had made a classic coconut cream pie. Or at least, I thought I had. I was in a rush, panicked by the humidity, and decided to skip the step of chilling the custard properly. I just threw it in the fridge for twenty minutes before packing it in the trunk of the car. Big mistake.
By the time we arrived at the venue, the pie wasn’t just soft; it was a slurry. The coconut cream had separated, the graham cracker crust was soggy, and it looked less like a dessert and more like a science experiment gone wrong. Sarah was mortified. I was ready to move to a new state. But then, in a moment of pure desperation, I remembered a trick my grandmother used to use when the power went out in the summer: toast the topping. It creates a barrier. It adds texture. It distracts from the texture issues of the filling.
I grabbed whatever toasted coconut I had in my emergency snack bag, sprinkled it over the sad, soupy mess, and called it a “deconstructed tropical tart.” To my shock, people loved it. They thought it was avant-garde. They asked for the recipe. That accidental disaster led me to obsessively test methods for the perfect, stable, creamy coconut cream pie that wouldn’t collapse in the heat. And honestly? It became my signature dessert. It’s rich, it’s tropical, and thanks to that toasty topping, it has this incredible contrast that keeps people coming back for seconds.
This isn’t just any coconut pie. This is the one that works. It’s stable, it’s incredibly creamy, and it only takes five key ingredients to make magic happen. I’ve made this for housewarming parties, potlucks, and late-night cravings when I don’t want to turn on the oven. It’s my go-to when I need to impress without spending hours in the kitchen.
Why You’ll Love This 5-Ingredient Coconut Cream Pie
Look, I get it. Making a pie from scratch sounds like a lot of work. But this recipe is different. It skips the complicated pastry crust (which I honestly find too buttery and heavy for a light cream pie) and focuses on what matters: the filling and that addictive toasted coconut topping. Here’s why this pie has earned a permanent spot in my dessert rotation.
- It’s Actually Stable — Most coconut cream pies weep. They get watery after a few hours. I’ve spent years tweaking the ratio of cornstarch to milk to ensure this filling holds its shape. You can make it in the morning, bring it to a party in the afternoon, and it will still look perfect. No puddles. No sadness.
- Five Ingredients, Max — Seriously. Milk, sugar, cornstarch, coconut cream (or coconut milk), and toasted coconut. That’s it. You don’t need vanilla extract if you’re using good coconut cream, though I add a splash because it rounds out the flavor. It’s pantry-friendly and budget-smart.
- The Toasted Topping Changes Everything — This is the secret weapon. Raw coconut flakes are fine, but toasted coconut adds a nutty, caramelized flavor and a crucial crunch. It contrasts with the silky, cool filling in the best way possible. It’s the difference between “okay dessert” and “I need another slice.”
- No-Bake Option — If you’re worried about baking the crust, don’t be. I use a simple graham cracker crust that requires zero baking. You just mix, press, and chill. It’s foolproof. I’ve made this while watching TV, and it still turned out restaurant-quality.
- Make-Ahead Friendly — This pie actually improves overnight. The flavors meld together, and the crust softens just enough to be pleasant but not soggy. I love making it the night before a dinner party so I’m not stressed on the day of.
This is my answer to “what should I bring?” when I’m invited to a summer gathering. It’s light enough to not weigh you down after a big meal, but rich enough to feel like a treat. And the best part? It tastes like a vacation, but it costs less than a takeout dinner.
Ingredients You’ll Need
Here’s the thing about coconut cream pie: quality matters. You don’t need fancy equipment, but you do need good ingredients. I’m particular about three things here, and I’ll tell you exactly why.
For the Crust
Graham cracker crumbs (1 ½ cups / 150g) — I use standard honey graham crackers. Don’t buy pre-made crumbs unless you’re in a huge rush; they’re often too fine and don’t hold together as well. Crush your own for better texture. If you’re feeling fancy, add a tablespoon of brown sugar for depth.
Unsalted butter (6 tablespoons / 85g, melted) — This binds the crust. Use real butter, not margarine. Margarine has too much water and can make the crust greasy. Melt it completely so it mixes evenly with the crumbs.
Sugar (2 tablespoons / 25g) — Just a little bit to sweeten the crust. It balances the salty butter. Optional if you like your crust less sweet, but I recommend it.
For the Filling
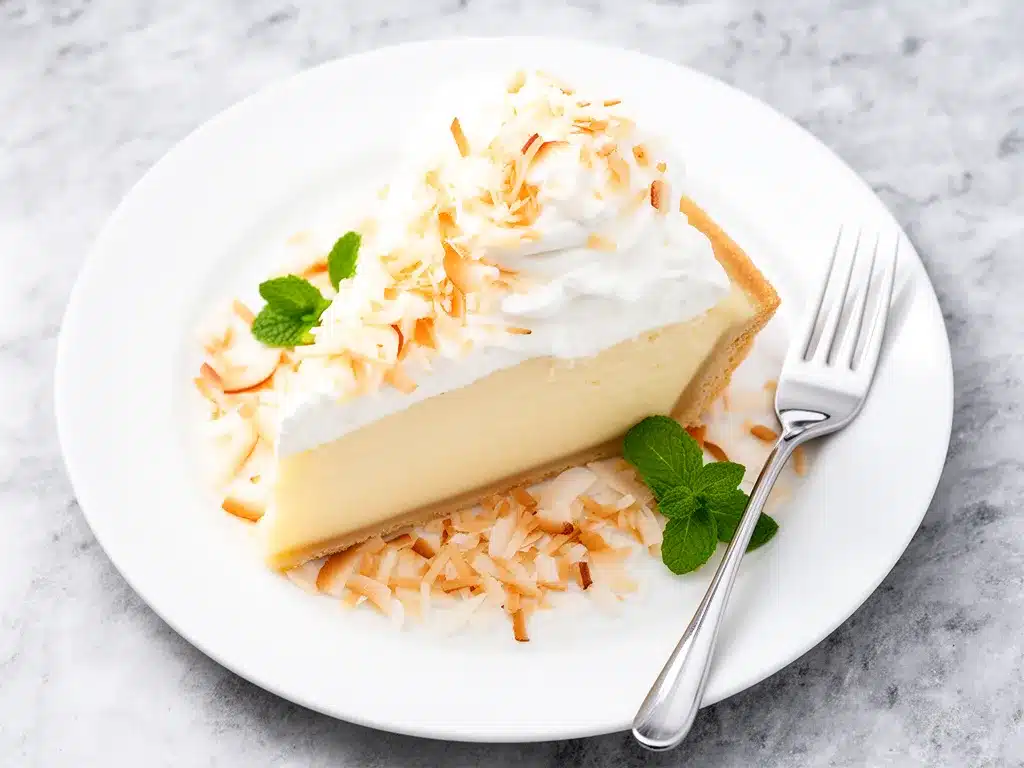
Full-fat coconut milk (1 can, 13.5 oz / 400ml) — This is crucial. Do not use light coconut milk or coconut water. You need the heavy cream layer. Chill the can overnight and scoop out the thick solid cream for the richest filling. If you’re lazy, just use the whole can, but the texture will be slightly less dense.
Sugar (½ cup / 100g) — White granulated sugar works best here. It dissolves easily in the milk. Brown sugar will make the filling too dense and change the color.
Cornstarch (3 tablespoons / 24g) — The thickener. Cornstarch gives that silky, pudding-like texture without being gummy. Arrowroot powder works too, but cornstarch is what I trust. Make sure it’s fresh; old cornstarch loses its power.
Vanilla extract (1 teaspoon) — Optional, but I think it enhances the coconut flavor. Use pure vanilla, not imitation. Imitation vanilla tastes chemical and clashes with the tropical notes.
For the Topping
Shredded coconut (1 cup / 70g) — Use sweetened shredded coconut for that classic pie taste. Unsweetened works if you prefer less sugar, but you’ll need to sprinkle a little sugar on top while toasting. Flake coconut works too, but shred is easier to distribute evenly.
Equipment Needed
You don’t need a fancy kitchen for this. Here’s what I actually use. Most of this stuff is already in your drawers.
Medium saucepan — I use a 2-quart saucepan. It needs to be heavy-bottomed so the milk doesn’t scorch. If you have a thin pan, stir constantly. I learned this the hard way with a burnt bottom that ruined a batch.
Whisk — A good silicone whisk is best. It gets into the corners of the pan and prevents lumps. Metal works, but silicone is easier to clean.
9-inch pie dish — Glass or ceramic is fine. I use a glass dish because I can see if the crust is browning. Metal pans heat faster, so watch the crust.
Baking sheet — For toasting the coconut. Line it with parchment paper for easy cleanup. I use a rimmed sheet so the coconut doesn’t fly off in the oven.
Spatula — Silicone spatula for scraping the pan. You want every bit of that creamy filling.
Food processor or Ziploc bag — If you’re crushing your own graham crackers, this is the fastest way. Put them in a bag and roll a rolling pin over them. No mess.
How to Make It: Step-by-Step
Alright, let’s make this! I’m walking you through exactly how I do it, including the little tricks I’ve picked up over the years. This process is straightforward, but timing is key.
Step 1: Make the Crust (10 minutes)
Preheat your oven to 350°F (175°C). In a medium bowl, mix the graham cracker crumbs, melted butter, and sugar. The mixture should look like wet sand. If it’s too dry, add a teaspoon more butter. If it’s too wet, add a tablespoon more crumbs. Press this mixture firmly into the bottom and up the sides of your 9-inch pie dish. Use the bottom of a glass to pack it down evenly. Bake for 8-10 minutes until it smells toasty and looks slightly darker. Let it cool completely. This step is crucial because a warm crust will melt the filling.
Step 2: Prep the Coconut (5 minutes)
While the crust bakes, spread the shredded coconut on a baking sheet. Toast it in the oven for 5-7 minutes, watching it closely. Coconut goes from perfect to burnt in seconds. You want it golden brown and fragrant. Remove it from the oven and set it aside to cool. Don’t skip this step. Toasted coconut is non-negotiable for flavor.
Step 3: Make the Filling (15 minutes)
In your saucepan, whisk together the coconut milk (or the thick cream from the chilled can), sugar, and cornstarch. Make sure the cornstarch is fully dissolved before turning on the heat. Lumps are the enemy. Place the pan over medium heat and whisk constantly. This is the most important part. Do not walk away. The mixture will start to thicken after about 3-4 minutes. Keep whisking. It will bubble and thicken rapidly. Once it reaches a boil and is thick enough to coat the back of a spoon (about 2-3 minutes), remove it from the heat.
Step 4: Finish the Filling (2 minutes)
Stir in the vanilla extract. If you’re using the thick coconut cream from a chilled can, you might want to add a splash of regular milk to make it easier to whisk. Pour the hot filling into the cooled crust. Smooth the top with a spatula. To prevent a skin from forming, place a piece of plastic wrap directly on the surface of the pie. This is a pro tip that makes a huge difference in texture.
Step 5: Chill and Top (4+ hours)
Refrigerate the pie for at least 4 hours, or overnight. It needs to set completely. Once it’s firm, remove the plastic wrap. Sprinkle the toasted coconut evenly over the top. Press it down gently so it sticks. Slice with a sharp knife dipped in hot water for clean cuts. Serve immediately.
Expert Tips & Tricks
Here’s everything I’ve learned from making this dozens of times. These tips will save you from my mistakes.
Chill the Coconut Milk
If you want the richest, thickest filling, chill your can of coconut milk overnight. Scoop out the solid cream and use it for the cooking. Save the watery part for smoothies or curries. This ensures a dense, luxurious texture.
Don’t Rush the Thickening
Many people stop cooking the filling too early. It needs to reach a full boil and cook for at least 1 minute after bubbling to activate the cornstarch. If you undercook it, the filling will be runny when it cools.
Watch the Toasting Coconut
Coconut burns fast. Keep the oven door open slightly and check every minute. If it smells like burnt hair, it’s too late. Pull it out earlier than you think you need to.
Use a Sharp Knife
Cold pie + dull knife = mush. Dip your knife in hot water and wipe it dry between cuts. This gives you those beautiful, clean slices that look professional.
Plastic Wrap Touches the Surface
Never let air touch the top of the custard. It creates a rubbery skin that no one wants to eat. Plastic wrap directly on the surface prevents this.
Variations & Substitutions
Once you’ve nailed the basic version, here’s how you can mix it up. I’ve tried all of these.
Lime Coconut Cream Pie
Add the zest of one lime to the filling and swap the vanilla for 1 tablespoon of lime juice. It’s bright, tangy, and perfect for summer. This is my favorite variation when I want something less sweet.
Chocolate Drizzle
Melt ½ cup of chocolate chips and drizzle them over the toasted coconut. It adds a nice contrast to the tropical flavor. My kids love this version.
Gluten-Free Crust
Use gluten-free graham crackers or crushed gluten-free cookies. The rest of the recipe is naturally gluten-free. I use Honey Maid GF and it works perfectly.
Dairy-Free
This recipe is already dairy-free if you skip the butter in the crust (use coconut oil instead) and use coconut milk for everything. It’s naturally vegan-friendly.
Macadamia Nut Twist
Add ½ cup of chopped macadamia nuts to the crust. It adds a buttery crunch that pairs beautifully with the coconut. Very Hawaiian.
Serving & Storage
How to Serve:
I usually serve this straight from the fridge. It’s best cold. Pair it with a cup of hot coffee or tea. The contrast of hot drink and cold pie is amazing. I also like to serve it with a dollop of whipped cream for extra richness, though the pie is rich enough on its own.
Side Dishes:
Since this is a dessert, keep sides light. Fresh fruit like mango or pineapple slices complement the coconut perfectly. A simple green salad if you’re serving it as part of a larger tropical-themed meal.
Storage Instructions:
Store in the refrigerator, covered with plastic wrap or in an airtight container, for up to 4 days. The crust will soften over time, which some people prefer. After 4 days, the texture starts to degrade, so eat it up!
Reheating:
Do not reheat this pie. The coconut will get soggy, and the filling will separate. Eat it cold. If you need to serve it slightly softer, let it sit at room temperature for 15 minutes before slicing.
Freezing:
I don’t recommend freezing this pie. The coconut milk filling can separate and become grainy when thawed. It’s best enjoyed fresh.
Nutrition Information
I’m not a nutritionist, but here’s the breakdown if you’re tracking. Keep in mind that this is a rich dessert, so portion control is key.
Per Serving (based on 8 slices):
– Calories: 320
– Protein: 4g
– Carbs: 38g
– Fiber: 3g
– Sugar: 24g
– Fat: 18g
– Saturated Fat: 14g
– Cholesterol: 0mg
– Sodium: 180mg
What’s Good:
– No dairy cholesterol
– Good source of fiber from coconut and graham crackers
– Coconut provides some healthy fats
What to Know:
– High in sugar from the coconut milk and added sugar
– High in saturated fat from the coconut
– Calorie-dense due to the fat content
My Take:
Look, this is a treat. It’s sweet, it’s creamy, and it’s indulgent. It’s not a health food. But it’s better than store-bought pies, which are full of preservatives. When I make this, I enjoy a small slice and savor it. It’s worth the calories.
Final Thoughts
So that’s my creamy coconut cream pie! I know I’ve talked a lot about this pie, but when you make a recipe this often, you have a lot to say about it. This pie has saved me more times than I can count. It’s my answer to “I need to bring a dessert” when I’m short on time but want to look like I spent hours in the kitchen. My friends are obsessed with it, and my family asks for it on birthdays.
Make it yours! Try the lime variation, add some macadamia nuts, or just stick to the classic. The best recipes are the ones you adapt to your tastes. If you make this, drop a comment and let me know what you think! I love hearing how recipes turn out in your kitchen. And if something doesn’t work, tell me that too—I’m here to help troubleshoot.
Happy baking! And I hope your kitchen smells like a tropical paradise.
Frequently Asked Questions
Can I use coconut cream instead of coconut milk?
Yes! Coconut cream is even thicker and richer. If you use coconut cream, you might want to add a little bit of regular milk or water to thin it out so it’s easier to whisk. The flavor will be more intense, which is great if you love coconut.
Why did my filling turn out runny?
This usually happens if you didn’t cook the cornstarch long enough. Cornstarch needs to reach a full boil and simmer for at least 1 minute to thicken properly. Also, make sure you’re using the right amount of cornstarch. If your mixture was too watery to start with, it might need more thickener next time.
Can I make this pie ahead of time?
Absolutely. This pie is actually better the next day. Make it the night before and let it chill overnight. The flavors meld together, and the crust sets perfectly. Just add the toasted coconut topping right before serving so it stays crunchy.
How do I prevent the crust from getting soggy?
The key is to ensure the crust is completely cool before adding the filling. Also, make sure the filling is thick enough. If the filling is too loose, it will soak into the crust. Press the crust firmly and bake it until it’s golden.
Can I use unsweetened coconut flakes for the topping?
You can, but you’ll need to add a little sugar while toasting. Sprinkle a teaspoon of sugar over the flakes before putting them in the oven. It helps them caramelize and prevents them from tasting too bland.
What kind of pie dish should I use?
A 9-inch glass or ceramic pie dish is standard. Glass is nice because you can see the bottom of the crust to ensure it’s baked. Metal pans heat faster, so watch the crust closely to prevent burning.
Is this pie suitable for vegans?
Yes, if you use coconut milk/cream and skip the butter in the crust (use coconut oil or vegan butter). The rest of the ingredients are naturally vegan. Just check your graham crackers, as some contain honey or dairy.
Pin This Recipe!
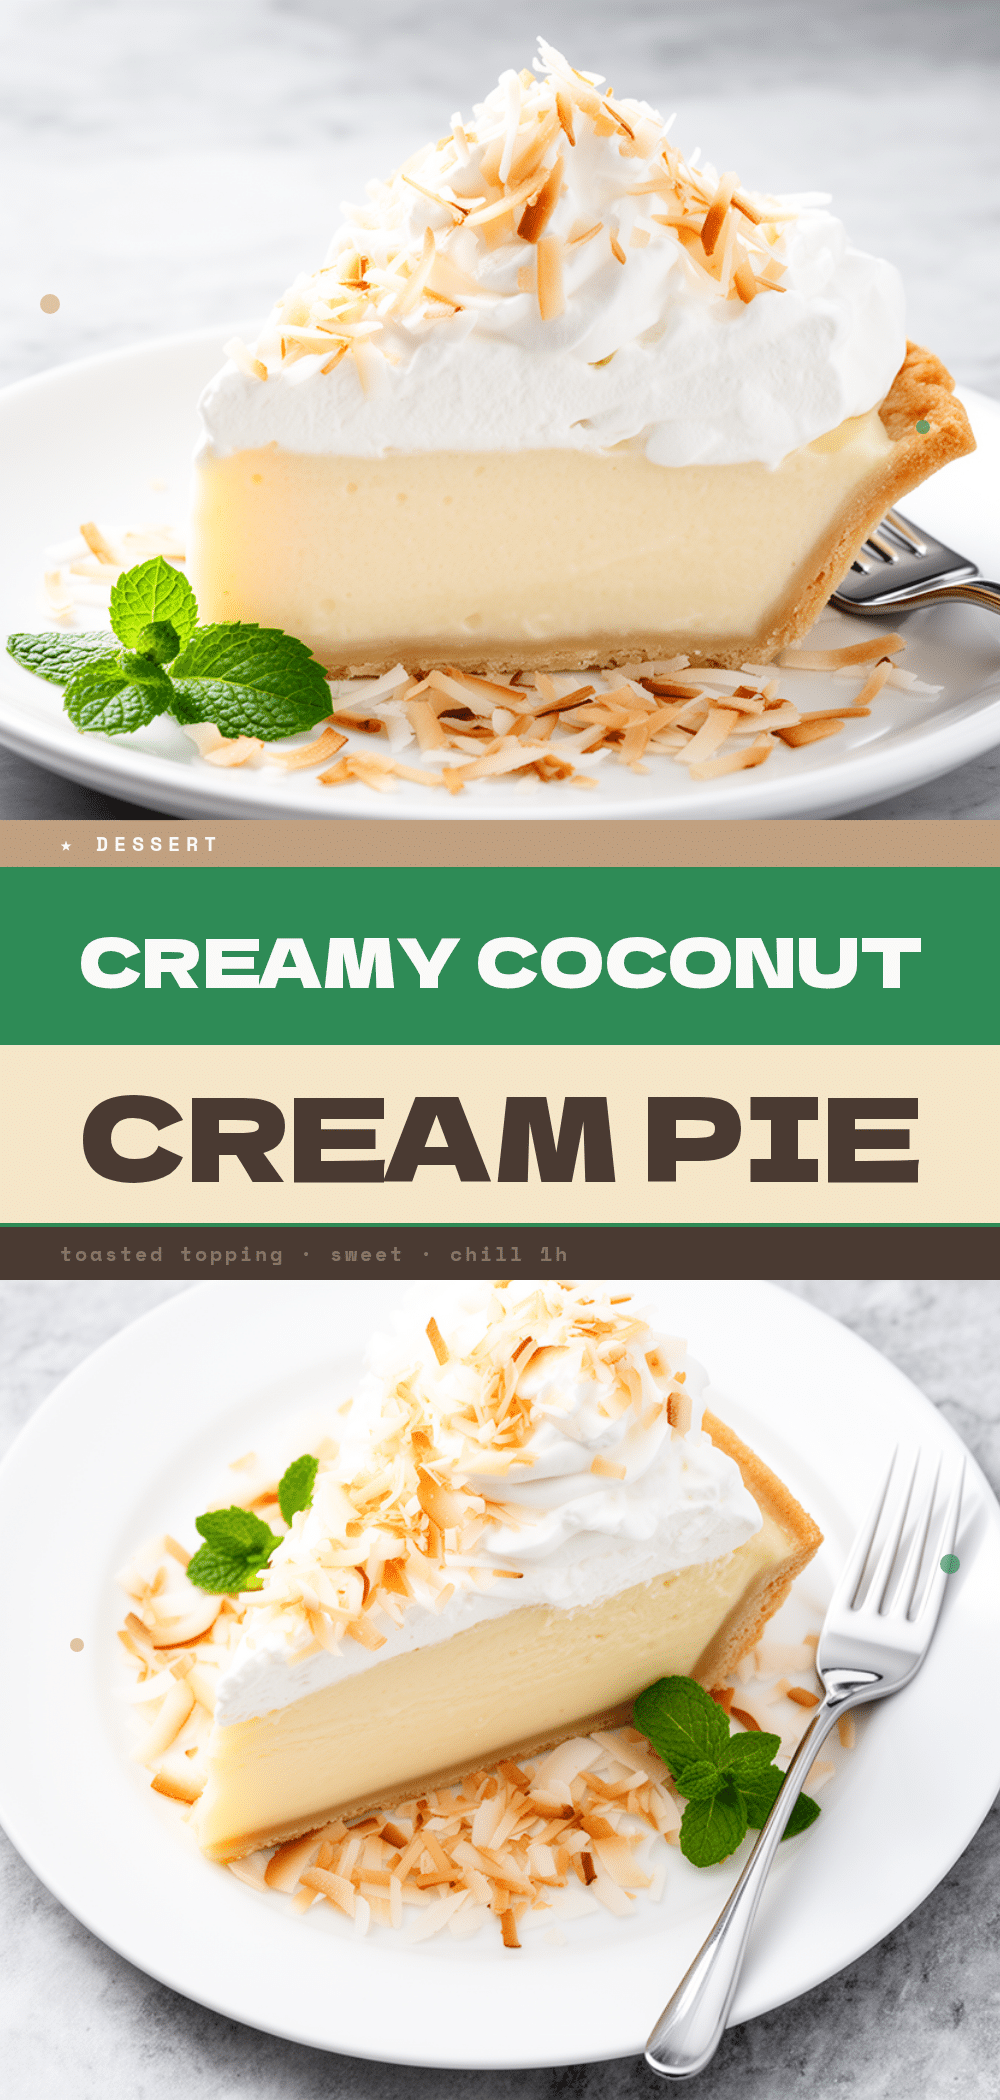
Creamy Coconut Cream Pie: Best 5-Ingredient Easy Dessert
- Total Time: 4 hours 35 minutes
- Yield: 8 servings 1x
Description
A stable, no-bake coconut cream pie with a graham cracker crust and toasted coconut topping. This recipe uses only five key ingredients to create a rich, tropical dessert that holds its shape even in heat.
Ingredients
- 1 ½ cups (150g) graham cracker crumbs
- 6 tablespoons (85g) unsalted butter, melted
- 2 tablespoons (25g) sugar
- 1 can (13.5 oz / 400ml) full-fat coconut milk
- ½ cup (100g) white granulated sugar
- 3 tablespoons (24g) cornstarch
- 1 teaspoon vanilla extract
- 1 cup (70g) shredded sweetened coconut
Instructions
- Preheat oven to 350°F (175°C).
- In a medium bowl, mix graham cracker crumbs, melted butter, and 2 tablespoons sugar until it resembles wet sand.
- Press the mixture firmly into the bottom and up the sides of a 9-inch pie dish.
- Bake the crust for 8-10 minutes until toasty and slightly darker. Let it cool completely.
- While the crust bakes, spread shredded coconut on a baking sheet and toast in the oven for 5-7 minutes until golden brown. Set aside to cool.
- In a medium saucepan, whisk together coconut milk, ½ cup sugar, and cornstarch until smooth.
- Place the saucepan over medium heat and whisk constantly. The mixture will thicken and bubble after 3-4 minutes.
- Once it reaches a boil and coats the back of a spoon (about 2-3 minutes), remove from heat.
- Stir in vanilla extract.
- Pour the hot filling into the cooled crust and smooth the top.
- Place plastic wrap directly on the surface of the filling to prevent a skin from forming.
- Refrigerate for at least 4 hours or overnight until set.
- Remove plastic wrap and sprinkle toasted coconut evenly over the top, pressing gently to adhere.
- Slice with a sharp knife dipped in hot water and serve immediately.
Notes
Chill the can of coconut milk overnight for the thickest filling. Ensure the crust is completely cool before adding filling to prevent sogginess. Toasted coconut is essential for flavor and texture contrast. Do not freeze this pie as the filling may separate.
- Prep Time: 15 minutes
- Cook Time: 20 minutes
- Category: Dessert
- Cuisine: American
Nutrition
- Serving Size: 1 slice
- Calories: 320
- Sugar: 24
- Sodium: 180
- Fat: 18
- Saturated Fat: 14
- Carbohydrates: 38
- Fiber: 3
- Protein: 4
Keywords: coconut cream pie, no-bake dessert, easy dessert, tropical dessert, graham cracker crust, toasted coconut, summer dessert, make-ahead dessert



