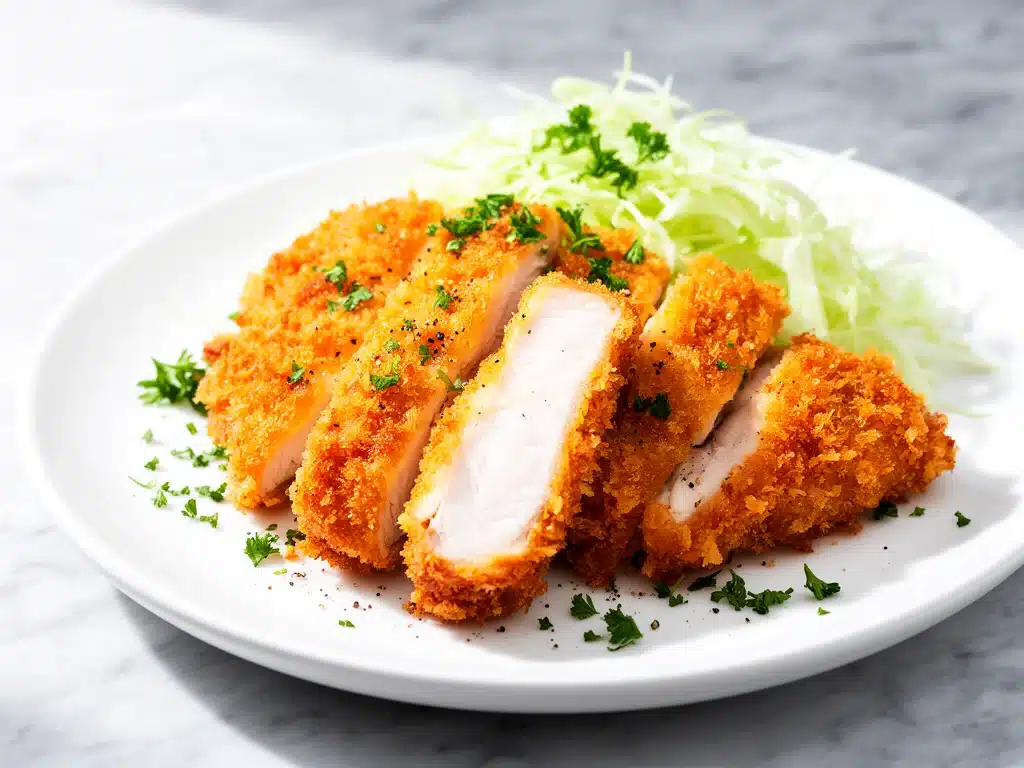
Last Tuesday, I was staring into my open fridge at 6:30 PM, feeling that familiar panic of “what’s for dinner?” I had a package of chicken breasts that needed to go, an air fryer that was gathering dust, and zero motivation to heat up the stove or deep fry anything. I didn’t have panko breadcrumbs on hand—well, I had some stale ones, but they were fine. I didn’t have tonkatsu sauce. I didn’t have even had miso paste. I just had chicken, flour, egg, and a bag of panko I’d bought for a project three months ago.
I tossed the chicken in the flour, dipped it in egg, coated it in panko, and shoved it into the air fryer at 400°F for 15 minutes. I expected something… okay. Maybe a little dry. Maybe a bit greasy from the residual oil in the panko. What I got was, frankly, shocking. The chicken was crispy enough to crack a tooth if I wasn’t careful. The meat inside was juicy, tender, and perfectly cooked. It tasted like something I’d order at a high-end Japanese restaurant for $18, not something I threw together in 20 minutes with pantry staples.
I’ve made this air fryer crispy chicken katsu at least a dozen times since that random Tuesday. I’ve tweaked the spice rub, changed the breading technique, and even tried different cuts of chicken. Each time, it’s been better than the last. This recipe has become my go-to weeknight dinner because it’s healthy-ish, it’s fast, and it impresses everyone at the table—including my kids, who usually pick out the breading. (They don’t this time. They eat the chicken.)
If you’ve been intimidated by making katsu at home, let me save you from the deep-frying oil splatter and the messy cleanup. This air fryer version is easier than making cheesy broccoli and chicken fritters and comes out just as good. It’s the kind of meal that makes you feel like a gourmet chef without the stress. So, grab your apron. We’re making dinner.
Why You’ll Love This Air Fryer Crispy Chicken Katsu
There are about ten reasons I keep making this chicken katsu recipe, but here are the big ones that make it a staple in our weekly rotation. This isn’t just “okay” air fryer food. This is the gold standard.
- Stupidly Crispy — Seriously, the texture is unreal. The air fryer circulates hot air so effectively that the panko gets golden and crunchy without needing a cup of oil. I’ve compared it side-by-side with deep-fried katsu from my favorite local spot, and honestly? The air fryer version is crispier. And healthier.
- Lightning Fast — From start to finish, it takes 20 minutes. That includes prepping the chicken, breading it, and cooking it. I make this on weeknights when I get home from work at 7 PM and I’m starving. My husband thinks I’m a miracle worker because dinner is on the table before he can even change out of his work clothes.
- No Mess — Deep frying is a nightmare. The oil splatters, the kitchen smells like fried food for days, and cleaning the stove is a chore. The air fryer contains everything. You just dump the basket, wipe it down, and you’re done. It’s so easy that I don’t even feel guilty making it for a Tuesday night.
- Perfectly Juicy — One of the biggest fears with air frying chicken is drying it out. But because the cooking time is short and the heat is contained, the chicken stays moist. I use chicken breasts, but if you’re worried, you can pound them thin (more on that later). The result is tender, juicy chicken wrapped in a crunchy shell.
- Versatile AF — You can eat this with tonkatsu sauce, mayo, soy sauce, or just plain. It goes great with rice, salad, or even inside a sandwich. I’ve made this into a katsu salad, a katsu burger, and even a katsu wrap. It’s that adaptable.
This is my go-to when I need dinner to just work. No complicated techniques, no weird ingredients you can’t find, just reliable, delicious food that makes everyone happy. And if you like this, you might also enjoy our bacon cheddar ranch pasta salad as a side—it’s the perfect contrast to the rich, savory chicken.
Ingredients You’ll Need
Here’s the best part: you probably have most of this already. The ingredient list for air fryer crispy chicken katsu is short, simple, and focused on texture. I’m particular about three things here: the panko, the chicken cut, and the spice rub.
For the Chicken Base
Chicken breasts (2 large, about 1.5 lbs / 680g) — I use boneless, skinless chicken breasts. They’re lean and cook quickly. Pro tip: Pound them to an even ½-inch thickness. This ensures they cook evenly and don’t dry out. If you prefer thigh meat, you can use boneless, skinless thighs—they’re juicier but take 2-3 minutes longer to cook.
All-purpose flour (½ cup / 60g) — This is the first layer of the breading. It helps the egg stick to the chicken. Don’t skip this. Some people use just egg and panko, but the flour creates a better bond so your breading doesn’t fall off in the air fryer basket.
Large eggs (2, beaten) — You need a good egg wash to act as the glue. Beat them well until they’re uniform. I usually beat them with a pinch of salt and a splash of milk for extra tenderness, but plain works too.
Panko breadcrumbs (1.5 cups / 150g) — This is the star of the show. Panko is Japanese-style breadcrumbs that are coarser and flakier than regular breadcrumbs. This creates that signature shatteringly crisp texture. Do not substitute with regular breadcrumbs unless you have to—they’ll be dense and doughy. I buy mine in bulk from the Asian aisle or online.
For the Flavor Boost
Garlic powder (1 teaspoon) — Adds a savory depth that pairs perfectly with the chicken. Fresh garlic can burn in the air fryer, so powder is safer and more consistent.
Onion powder (½ teaspoon) — Complements the garlic. It’s subtle but adds complexity.
Salt and black pepper (to taste) — Season your chicken *before* breading. I use about 1 teaspoon of salt and ½ teaspoon of pepper on the chicken itself, plus a pinch in the flour and a pinch in the panko. Layering the seasoning is key.
Optional: Five-spice powder (½ teaspoon) — This is traditional in some katsu recipes. It adds a warm, licorice-like note. If you don’t have it, skip it. The garlic and onion powder are enough for most people.
For Serving
Tonkatsu sauce (for dipping) — This is a thick, sweet-savory Japanese sauce. I buy it bottled (like Bulldog brand) because making it from scratch is a pain. But if you don’t have it, you can mix ketchup, Worcestershire sauce, soy sauce, and a little brown sugar. Or just use mayo with a squeeze of lemon.
White rice (cooked) — Katsu is traditionally served over rice. I make a big batch of jasmine rice on Sunday and reheat it throughout the week.
Cut cabbage (shredded) — This is the classic side. It’s crunchy, refreshing, and cuts through the richness of the chicken. I just buy a head of cabbage and shred it by hand or with a food processor.
Equipment Needed
You don’t need fancy equipment for this. Here’s what I actually use.
Air Fryer — Obviously. I use a 5.8-quart basket-style air fryer. It fits two chicken breasts comfortably in a single layer. If you have a smaller air fryer, you might need to cook in batches. Don’t overcrowd the basket, or the chicken will steam instead of crisp.
Meat Mallet or Rolling Pin — To pound the chicken breasts. This is non-negotiable if you want even cooking. I use a flat meat mallet. If you don’t have one, a heavy skillet or rolling pin works.
Three Shallow Bowls — You’ll need a dredging station: one for flour, one for egg, one for panko. I use pie dishes or shallow casserole dishes. They’re wide enough to coat the chicken easily.
Wire Rack (Optional) — Some air fryers come with a rack. If yours doesn’t, you can place the chicken directly on the basket. I prefer using a rack if available because it allows air to circulate underneath, making the bottom crispier too.
Tongs — For flipping the chicken. Metal tongs work best so you don’t tear the breading.
Sharp Knife — For slicing the chicken after cooking. You want clean cuts to show off that juicy interior.
How to Make It: Step-by-Step
Alright, let’s make this! I’m walking you through exactly how I do it, including the little tricks I’ve picked up to ensure maximum crispiness.
Step 1: Prep the Chicken (5 minutes)
Start by pounding the chicken breasts. Place them between two sheets of plastic wrap or in a zip-top bag. Use your meat mallet to pound them to an even ½-inch thickness. This is crucial. Thick chicken breasts cook unevenly in an air fryer—thinner parts dry out while thick parts stay raw. Once pounded, season both sides generously with salt and pepper.
Step 2: Set Up Your Dredging Station (2 minutes)
Get three shallow bowls out. In the first, put the all-purpose flour mixed with half the garlic powder and onion powder. In the second, beat the eggs with a pinch of salt. In the third, mix the panko breadcrumbs with the remaining garlic powder, onion powder, and a pinch of salt. Having everything prepped before you start prevents the breading from getting soggy.
Step 3: Bread the Chicken (5 minutes)
Dredge each chicken breast in the flour, shaking off any excess. Then dip it into the egg wash, letting the excess drip off. Finally, press it firmly into the panko breadcrumbs. Use your hands to press the panko onto the chicken—don’t just roll it. You want a thick, even coating. Place the breaded chicken on a plate or wire rack while you do the rest. Let them rest for 5 minutes. This helps the breading set so it doesn’t fall off in the air fryer.
Step 4: Preheat the Air Fryer (3 minutes)
Preheat your air fryer to 400°F (200°C) for 3-5 minutes. This ensures the chicken starts cooking immediately upon entering, which helps with crispiness. If you skip preheating, the breading might absorb moisture from the cold basket and get soggy.
Step 5: Cook the Chicken (12-15 minutes)
Lightly spray the basket with cooking oil spray. Place the chicken breasts in the basket in a single layer. Do not overlap them. Spray the tops of the chicken generously with oil. This is the secret to golden, crispy panko. Air frying requires a little oil to mimic the texture of deep frying.
Cook at 400°F (200°C) for 12-15 minutes. Flip the chicken halfway through (around the 6-7 minute mark) and spray the other side with oil. The chicken is done when the internal temperature reaches 165°F (74°C) and the breading is deep golden brown.
Step 6: Rest and Serve (5 minutes)
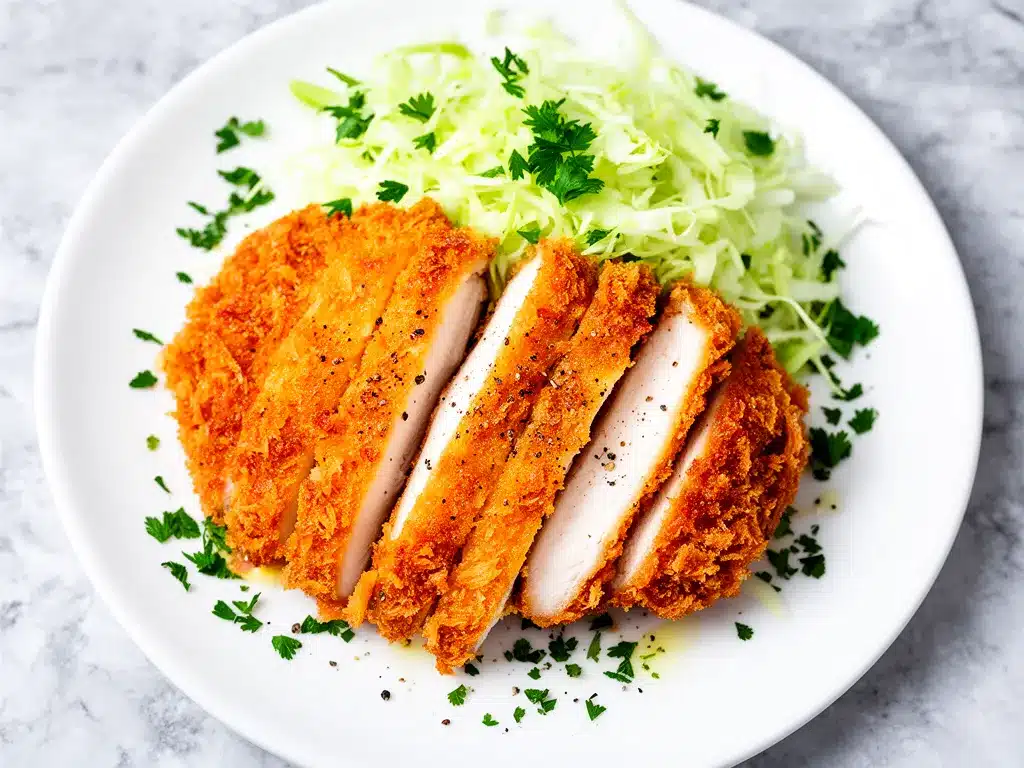
Remove the chicken from the air fryer and let it rest on a cutting board for 5 minutes. This allows the juices to redistribute. If you cut into it immediately, the juices will run out, and the chicken will be dry. Slice the chicken into strips against the grain. Serve immediately with tonkatsu sauce, rice, and shredded cabbage.
Expert Tips & Tricks
Here’s everything I’ve learned from making this dozens of times. These tips will save you from my mistakes.
Don’t Skip the Resting Time
I know it’s tempting to cut into the chicken right away. Don’t. Let it rest for at least 5 minutes. The carryover cooking will finish the chicken, and the juices will settle. This makes a huge difference in tenderness.
Press the Panko Firmly
When breading, press the panko onto the chicken with your fingers. Don’t just roll it. You want a thick, adhered layer. If the breading is loose, it will fall off in the air fryer basket. The resting step after breading helps it stick.
Spray with Oil
Yes, it’s an air fryer. No, you still need oil. The panko needs oil to brown and crisp. Use an oil spray (like avocado or canola oil) for even coverage. Brushing with a brush works too, but spray is faster and more even.
Check Your Thickness
If your chicken breasts are very thick, even after pounding, they might take longer to cook. If you’re worried about drying out the outside before the inside is cooked, lower the temperature to 375°F (190°C) and cook for 15-18 minutes. But 400°F is best for crispiness.
Don’t Overcrowd
Cook in batches if necessary. Air needs to circulate around the chicken for it to crisp. If you stack them, they’ll steam and get soggy.
Variations & Substitutions
Once you’ve nailed the basic version, here’s how you can mix it up. I’ve tried all of these.
Pork Katsu
Use pork loin cutlets instead of chicken. Pork is fattier and juicier, so it’s very forgiving. Cook at the same temperature but check for 145°F internal temperature. Serve with the same tonkatsu sauce.
Shrimp Katsu
Use large shrimp, peeled and deveined. Pound them flat. Cook for only 8-10 minutes. They cook very quickly, so watch them closely. Serve with a spicy mayo dip.
Veggie Katsu
Use thick slices of eggplant or zucchini. Salt them first to draw out moisture, then pat dry. Bread and cook as directed. Eggplant is particularly good because it absorbs the sauce like a sponge.
Gluten-Free
Use gluten-free flour and gluten-free panko (available in most Asian markets or online). The texture is slightly different but still crispy.
Dairy-Free
This recipe is naturally dairy-free. Just ensure your tonkatsu sauce doesn’t contain dairy (most don’t, but check labels).
Spicy Katsu
Add 1 teaspoon of red pepper flakes or cayenne pepper to the panko. Or serve with a spicy mayo (mayo + sriracha + lime juice).
Serving & Storage
How to Serve
I usually serve this straight from the cutting board at the dinner table—it looks rustic and stays warm. But here are other ways I’ve enjoyed it:
- Katsu Sando — Put the sliced chicken between two slices of shokupan (Japanese white bread) with mayo and shredded cabbage. It’s a Japanese café classic.
- Katsu Salad — Top a bed of mixed greens with sliced chicken, cucumber, and tomato. Drizzle with tonkatsu sauce or a sesame dressing.
- Rice Bowl — Serve over steamed white rice with a fried egg on top. The yolk mixes with the tonkatsu sauce for a rich, savory bowl.
Storage Instructions
Refrigerator: Store leftovers in an airtight container for up to 3 days. The breading will soften in the fridge, but the flavor remains good.
Reheating: To restore crispiness, reheat in the air fryer at 375°F for 3-5 minutes. Do not microwave—it will make the breading soggy and chewy. If you must microwave, do it for 30 seconds, then finish in the air fryer or toaster oven for 2 minutes.
Freezing: You can freeze breaded chicken before cooking. Place the breaded pieces on a baking sheet and freeze until solid, then transfer to a freezer bag. Cook from frozen, adding 2-3 minutes to the cooking time. Cooked katsu does not freeze well—the breading becomes soggy upon thawing.
Nutrition Information
I’m not a nutritionist, but here’s the breakdown if you’re tracking. Note that this is an estimate and varies based on chicken size and oil usage.
Per Serving (based on 2 chicken breasts, with rice and cabbage):
- Calories: 550
- Protein: 35g
- Carbs: 45g
- Fiber: 3g
- Sugar: 5g
- Fat: 22g
- Saturated Fat: 4g
- Cholesterol: 110mg
- Sodium: 600mg
What’s good: High protein, relatively low carb if you skip the rice. What to know: The sodium can be high depending on the tonkatsu sauce. Use low-sodium soy sauce in your homemade sauce if needed. This is comfort food, so don’t stress too much about the macros. Enjoy it!
Final Thoughts
So that’s my air fryer crispy chicken katsu! I’ve probably talked your ear off at this point, but when you make a recipe this often, you have a lot to say about it. This has saved weeknight dinners more times than I can count. It’s my answer to “what’s for dinner” when I’m tired, don’t want takeout, and still want something that tastes really good. My kids are happy, my husband’s happy, and I’m happy because I’m not stressed about cooking.
Make it yours! Try different add-ins, swap in your favorite vegetables, adjust the spice level. The best recipes are the ones you adapt to your family’s tastes. If you make this, drop a comment and let me know what you think! I love hearing how recipes turn out in your kitchen. And if something doesn’t work, tell me that too—I’m here to help troubleshoot.
Happy cooking! And I hope your kitchen smells half as good as mine does right now.
Frequently Asked Questions
Can I use chicken thighs instead of breasts?
Absolutely. Boneless, skinless chicken thighs are actually juicier and more flavorful. They might take 2-3 minutes longer to cook, so check the internal temperature (165°F) before removing them. The breading works the same way.
Why did my panko fall off in the air fryer?
This usually happens if you didn’t press the panko firmly enough, or if you didn’t let the breaded chicken rest before cooking. The resting step helps the egg and flour bind to the panko. Also, make sure you’re not flipping the chicken too aggressively with tongs—gently turn it over.
Can I bake this in the oven instead?
Yes, but it won’t be as crispy. Bake at 400°F on a wire rack set over a baking sheet for 20-25 minutes, flipping halfway. You’ll need to spray with oil generously. The air fryer is superior for crispiness because of the rapid air circulation.
What is tonkatsu sauce?
Tonkatsu sauce is a thick, sweet-savory Japanese sauce similar to Worcestershire but with ketchup and other flavorings. It’s sold bottled in the Asian aisle. If you don’t have it, mix ½ cup ketchup, 2 tbsp Worcestershire sauce, 1 tbsp soy sauce, and 1 tsp sugar. It’s close enough.
How do I keep the chicken juicy?
Pound the chicken to even thickness so it cooks evenly. Don’t overcook it—check the temperature at 12 minutes. Let it rest for 5 minutes after cooking. And don’t skip the oil spray; it helps the browning process without drying out the meat.
Can I make this ahead of time?
You can bread the chicken and store it in the fridge for up to 24 hours before cooking. Cover tightly with plastic wrap. Cook just before serving for best results. Do not cook and then reheat, as the breading will lose its crunch.
Pin This Recipe!
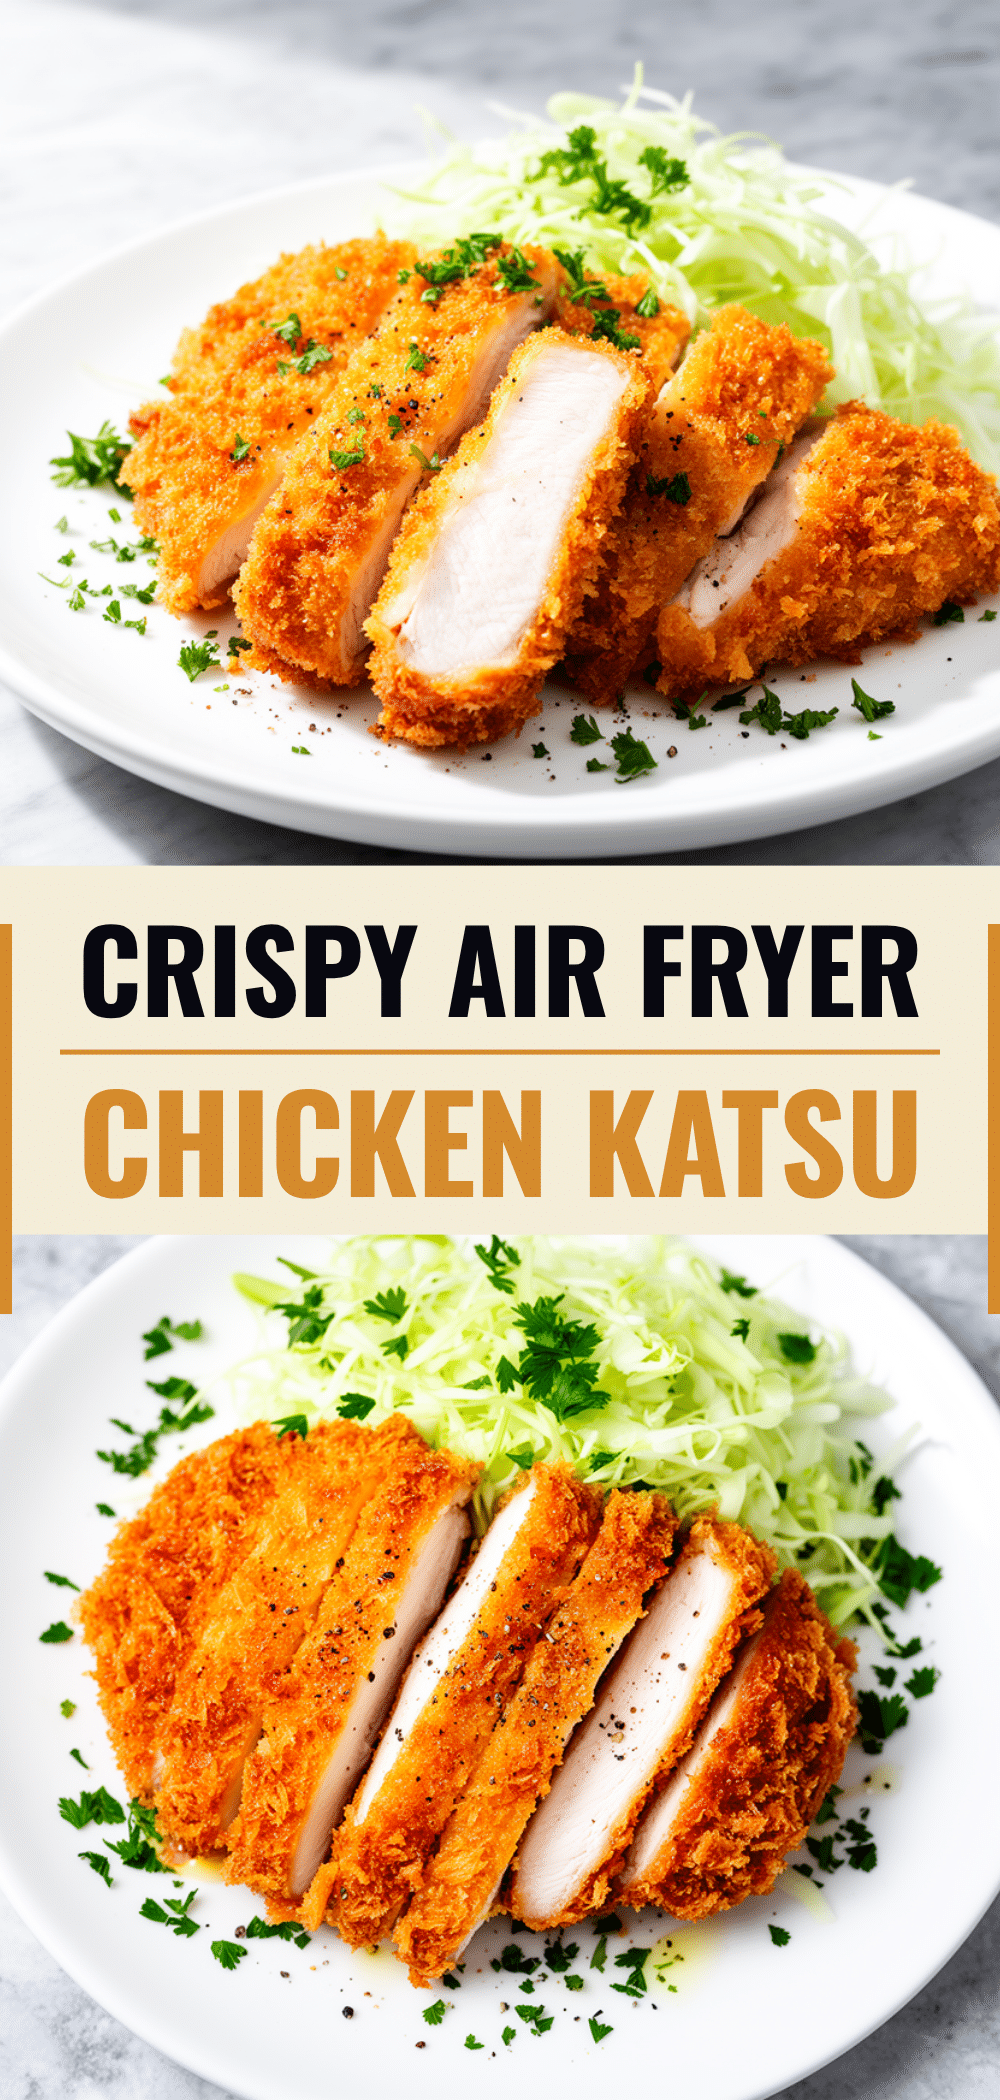
Air Fryer Crispy Chicken Katsu: Easy 20-Min Dinner
- Total Time: 20 minutes
- Yield: 2 servings 1x
Description
A quick and healthy weeknight dinner featuring crispy, juicy chicken breasts coated in panko and cooked in an air fryer. This recipe delivers restaurant-quality texture without the mess of deep frying.
Ingredients
- 2 large boneless, skinless chicken breasts (about 1.5 lbs / 680g)
- ½ cup all-purpose flour (60g)
- 2 large eggs, beaten
- 1.5 cups panko breadcrumbs (150g)
- 1 teaspoon garlic powder
- ½ teaspoon onion powder
- Salt and black pepper to taste
- ½ teaspoon five-spice powder (optional)
- Cooking oil spray (avocado or canola)
- Tonkatsu sauce (for serving)
- White rice, cooked (for serving)
- Cut cabbage, shredded (for serving)
Instructions
- Pound chicken breasts to an even ½-inch thickness between plastic wrap or in a zip-top bag using a meat mallet or rolling pin. Season both sides generously with salt and pepper.
- Set up a dredging station with three shallow bowls: one with flour mixed with half the garlic and onion powder, one with beaten eggs and a pinch of salt, and one with panko mixed with remaining garlic, onion powder, and a pinch of salt.
- Dredge each chicken breast in the flour, shaking off excess. Dip into the egg wash, letting excess drip off. Press firmly into the panko breadcrumbs to ensure a thick, adhered coating.
- Place breaded chicken on a plate or wire rack and let rest for 5 minutes to help the breading set.
- Preheat air fryer to 400°F (200°C) for 3-5 minutes.
- Lightly spray the air fryer basket with oil. Place chicken breasts in a single layer, ensuring they do not overlap. Spray the tops of the chicken generously with oil.
- Cook at 400°F (200°C) for 12-15 minutes. Flip the chicken halfway through (around 6-7 minutes) and spray the other side with oil.
- Chicken is done when internal temperature reaches 165°F (74°C) and breading is deep golden brown.
- Remove chicken from air fryer and let rest on a cutting board for 5 minutes to redistribute juices.
- Slice chicken against the grain and serve immediately with tonkatsu sauce, rice, and shredded cabbage.
Notes
Pounding the chicken to an even thickness is crucial for even cooking. Do not skip the resting time after breading to prevent the panko from falling off. Ensure you spray the chicken with oil to achieve maximum crispiness. If using chicken thighs, add 2-3 minutes to cooking time. For leftovers, reheat in the air fryer at 375°F for 3-5 minutes to restore crispiness; do not microwave.
- Prep Time: 12 minutes
- Cook Time: 15 minutes
- Category: Main Course
- Cuisine: Japanese
Nutrition
- Serving Size: 1 chicken breast wit
- Calories: 550
- Sugar: 5
- Sodium: 600
- Fat: 22
- Saturated Fat: 4
- Carbohydrates: 45
- Fiber: 3
- Protein: 35
Keywords: air fryer chicken katsu, crispy chicken, japanese food, healthy dinner, quick meals, panko chicken, weeknight dinner



