I still remember the exact moment I realized I was in trouble. It was last Saturday, and I had just pulled a perfectly roasted chicken out of the oven when my phone buzzed. A text from my sister-in-law: “Hey! We’re bringing guests over. They’re vegan, gluten-free, and one of them is allergic to nuts. Can you handle dessert?”
My stomach dropped. I had nothing. No pies in the freezer, no cookies in the pantry, and definitely no time to bake something from scratch. The oven was already full, and my brain was fried from three hours of chopping vegetables. I was staring at a half-empty fridge, feeling that familiar panic of “what do I serve people?” when my eyes landed on a jar of peanut butter and a bag of chocolate chips.
I didn’t have time to bake. I didn’t even have time to think. I just mixed things. I grabbed some graham crackers, melted butter, chocolate, peanut butter, cream cheese, and a little bit of sugar. I threw it all into a bowl, pressed it into a springform pan, and put it in the fridge to set. I honestly thought it would be a disaster. A sad, lumpy mess.
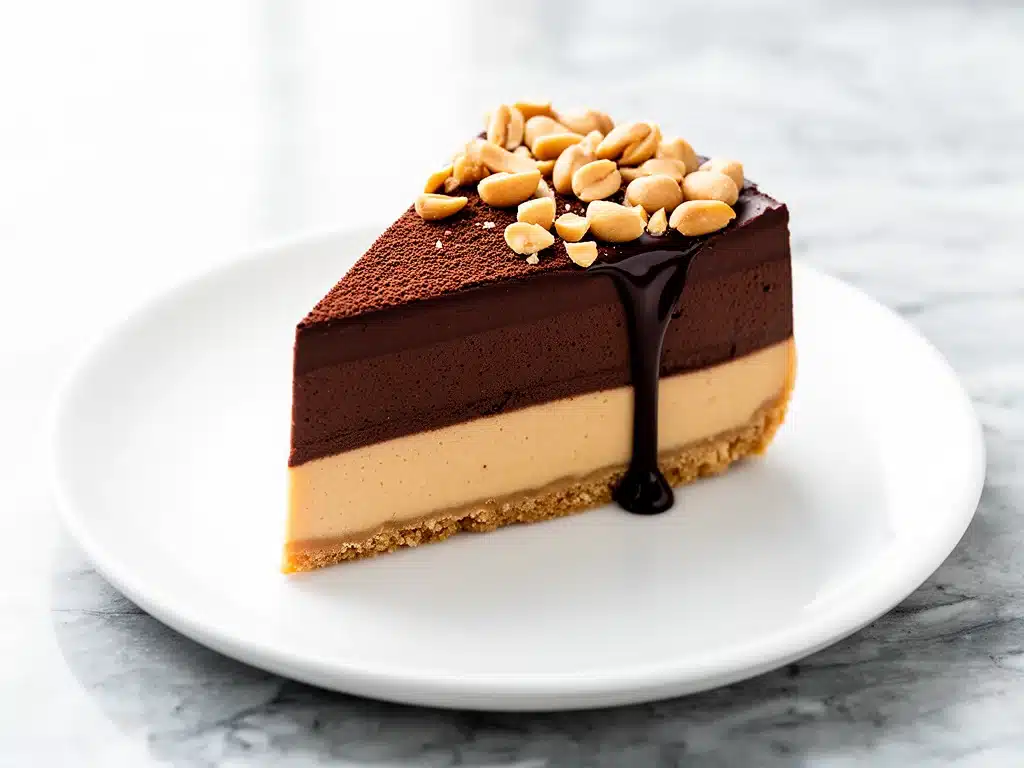
But then, two hours later, we sliced it. The crust crunched. The filling was silky, rich, and impossibly creamy. My guests didn’t know it was no-bake. They didn’t know I threw it together in 15 minutes while the chicken rested. They just knew it was the best dessert they’d had all year. That’s when I fell in love with this no-bake chocolate peanut butter pie. It’s not just a backup plan. It’s honestly better than most baked pies I’ve ever made.
If you’ve ever been in a cooking bind, or if you just crave something chocolatey and peanut buttery without turning on your oven, this recipe is your new best friend. It’s simple, it’s stunning, and it tastes like pure indulgence. Let me walk you through exactly how I make it, so you can save your sanity (and impress your friends) too.
Why You’ll Love This No-Bake Chocolate Peanut Butter Pie
Look, I’m not going to lie to you. This pie is dangerous. You make it once, and you’ll want to make it every weekend. But here’s why it deserves a permanent spot in your rotation:
Zero Baking Required — Seriously. If you have a mixing bowl and a fridge, you can make this. No oven, no stove (well, maybe one minute to melt butter), no risk of burning your crust. It’s perfect for hot summer days when you don’t want to heat up the kitchen, or busy weeknights when you’re too tired to deal with batter.
Five Ingredients Max — I’m not exaggerating. You need graham crackers, butter, chocolate, peanut butter, and cream cheese. That’s it. No weird stabilizers, no gelatin, no fancy gadgets. Just good, honest ingredients that you probably already have. It’s the ultimate pantry-friendly dessert.
Make-Ahead Magic — This is the real game-changer. You can make this pie up to three days in advance. In fact, it tastes even better the next day because the flavors have time to meld and the crust sets up properly. I often make it on Sunday night for a Saturday night dinner party. It takes the stress out of hosting completely.
Rich and Satisfying — Some no-bake desserts taste like air or sugar. This one? It’s dense, creamy, and deeply chocolatey. It feels like a professional bakery dessert but tastes like a hug from your favorite aunt. The combination of the crunchy crust and the smooth, tangy-sweet filling is just perfect.
Customizable — Want to add chocolate chips? Go for it. Want to drizzle extra peanut butter on top? Why not. It’s a blank canvas for your dessert cravings. I’ve made it with sea salt flakes, with whipped cream on the side, and even with a layer of peanut butter cups crushed in the middle. It always works.
This pie has saved me more times than I can count. It’s my go-to when I need to impress someone but have zero energy. It’s also my secret weapon for getting my kids to eat something “fancy” without complaining. Trust me, once you try it, you’ll never go back to baked pies for special occasions.
Ingredients You’ll Need
Here’s the good news: you don’t need to run to the store for this one. Most of these ingredients are pantry staples. But I am particular about a few things, so pay attention to the details.
Graham Crackers (1 ½ cups / 150g, crushed) — You need about 10-12 full sheets of standard graham crackers. I buy the boxes and crush them myself in a food processor. It takes 30 seconds. You can use a zip-top bag and a rolling pin if you don’t have a processor, but it’s messier and takes longer. Don’t use honey graham crackers unless you like things super sweet—standard is better because the filling is already sweet.
Unsalted Butter (½ cup / 115g, melted) — Use real butter. Margarine makes the crust gritty and weird. Melt it in the microwave or on the stove. Let it cool for a minute before mixing so it doesn’t melt the chocolate chips if you’re adding them to the crust (though I usually keep the crust simple).
Heavy Cream (1 cup / 240ml) — This is for whipping. It needs to be cold. If your cream isn’t cold, it won’t whip up stiff peaks, and your filling will be runny. I keep a carton in the fridge at all times for this reason. Half-and-half won’t work here—it doesn’t have enough fat.
Cream Cheese (8 oz / 225g, softened) — This is what gives the pie its tangy, cheesecake-like texture. Make sure it’s softened to room temperature before you mix it. If it’s cold and chunky, you’ll get lumps in your smooth filling. I leave it out for 30 minutes before starting.
Peanut Butter (½ cup / 130g) — Use creamy, natural peanut butter. I love Skippy or Jif for consistency, but if you use a natural brand like Smucker’s Natural, make sure it’s well-stirred and not oily. Chunky peanut butter will make the filling grainy, which I don’t recommend for this smooth texture.
Chocolate Chips (1 cup / 170g) — Semi-sweet chocolate chips are my preference. They balance the sweetness of the peanut butter and cream cheese. You can use milk chocolate if you like it sweeter, or dark chocolate if you want it less sweet. I usually mix semi-sweet and dark for the best flavor.
Vanilla Extract (1 teaspoon) — Just a splash to round out the flavors. Don’t skip it. It makes the chocolate taste more “chocolatey.”
Optional Toppings — Whipped cream, crushed peanuts, extra chocolate chips, or a drizzle of warm peanut butter. I like to keep it simple with just a dollop of whipped cream and a few chocolate chips on top.
Equipment Needed
You don’t need a lot of fancy gear for this. Here’s what I actually use:
9-inch Springform Pan — This is essential. It allows you to release the sides easily so the pie looks professional. A regular pie dish works, but you’ll have to cut it into slices awkwardly. The springform pan makes presentation so much easier.
Food Processor — For crushing the graham crackers. If you don’t have one, use a zip-top bag and a rolling pin or a meat mallet. It’s a workout, but it works.
Mixing Bowls — You’ll need two large bowls. One for the crust, one for the filling. I use stainless steel because they’re sturdy.
Electric Mixer — Handheld or stand mixer. You need this to whip the cream and beat the cream cheese until smooth. Doing this by hand is possible but tiring. I learned this the hard way one time and almost gave up.
Spatula — A silicone spatula is great for folding the whipped cream into the cream cheese mixture without deflating it. It’s gentle and efficient.
Measuring Cups and Spoons — Standard stuff. Accurate measurements matter more here than in some recipes because the texture depends on the ratio of wet to dry.
Microplane or Grater — Optional, but if you want to make chocolate shavings for garnish, this is the way to go. It looks fancy and takes seconds.
How to Make It: Step-by-Step
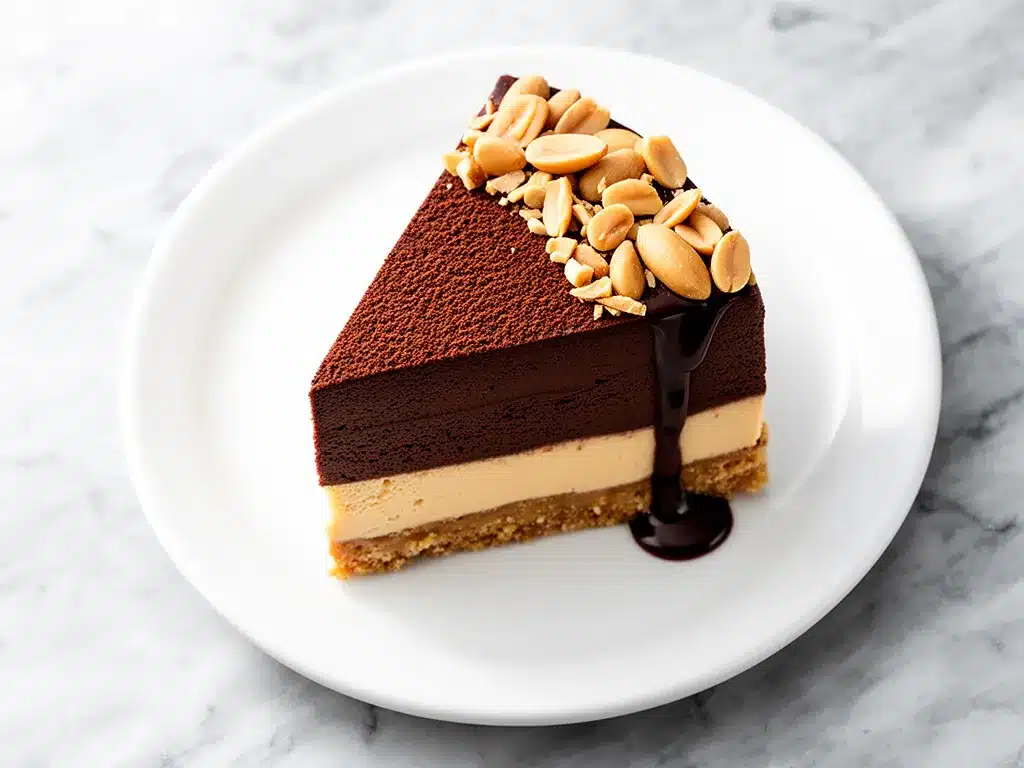
Alright, let’s make this! It’s easier than you think. I’m walking you through exactly how I do it, including the little tricks I’ve picked up over the years.
Step 1: Prep Your Pan and Crust (10 minutes)
Start by crushing your graham crackers. Put them in a food processor and pulse until they’re fine crumbs. If you’re doing it by hand, put them in a bag and crush them with a rolling pin until they’re sandy. In a medium bowl, mix the crumbs with the melted butter. It should look like wet sand. Press this mixture firmly into the bottom of your 9-inch springform pan. Use the bottom of a measuring cup to pack it down tight. If the crust is loose, it’ll fall apart when you slice it. Put the crust in the fridge while you make the filling. It helps it set faster.
Step 2: Whip the Cream (3 minutes)
In a large, cold bowl, whip the heavy cream with an electric mixer on high speed. Add the vanilla extract. Whip until you see stiff peaks. This means when you lift the beaters, the cream stands up straight. Don’t over-whip it into butter, but don’t under-whip it either. Stiff peaks are key for a firm pie. Set this aside.
Step 3: Beat the Cream Cheese and Peanut Butter (3 minutes)
In a separate large bowl, beat the softened cream cheese until it’s smooth and creamy. Add the peanut butter and mix until fully combined. You want this to be completely smooth, with no lumps of cream cheese. If there are lumps, your filling will be uneven. Scrape down the sides of the bowl as you go.
Step 4: Fold It All Together (2 minutes)
Now comes the fun part. Gently fold the whipped cream into the cream cheese mixture. Use a spatula and do it slowly. You’re trying to keep the air in the whipped cream so the filling stays light. Fold until there are no more white streaks. Then, fold in the chocolate chips. Reserve a handful for topping if you want.
Step 5: Assemble and Chill (4 hours minimum)
Pour the filling into the prepared crust. Smooth the top with your spatula. Cover the pan with plastic wrap or foil. Put it in the fridge for at least 4 hours, but ideally overnight. This is the hardest part—waiting. But the waiting is worth it. The pie needs time to set so it holds its shape when sliced.
Step 6: Garnish and Serve
Once the pie is set, remove the springform ring. Garnish with whipped cream, chocolate shavings, or crushed peanuts. Slice with a sharp knife dipped in hot water for clean cuts. Serve chilled.
Expert Tips & Tricks
Here’s everything I’ve learned from making this pie dozens of times. These tips will save you from my mistakes.
Keep Everything Cold — The cream must be ice cold. The bowl should be cold. If your kitchen is hot, put the bowl in the fridge for 10 minutes before whipping. Warm cream won’t whip up.
Softened Cream Cheese is Non-Negotiable — I can’t stress this enough. If your cream cheese is cold, you’ll get lumps. I usually take it out of the fridge 30 minutes before I start. If I forget, I microwave it for 10-second bursts until it’s soft but not melted.
Don’t Overmix — When you fold the whipped cream into the cream cheese, be gentle. Overmixing deflates the cream, and your pie will be dense and heavy. You want it light and airy.
Use a Sharp Knife — For clean slices, dip your knife in hot water and wipe it dry before each cut. This prevents the creamy filling from sticking to the blade and getting messy.
Chill Longer, Don’t Rush — If you’re impatient, your pie might be soft. Four hours is the minimum, but overnight is best. The flavors improve too.
Variations & Substitutions
Once you’ve nailed the basic version, here’s how you can mix it up. I’ve tried all of these.
Gluten-Free — Use gluten-free graham crackers or crushed gluten-free cookies. Most brands work well. Just make sure they crush easily.
Nut-Free — Swap the peanut butter for sunflower seed butter or soy nut butter. It’s not exactly the same, but it’s close enough for most nut allergies. Just make sure the substitute is creamy.
Chocolate Peanut Butter Cup Version — Layer chopped peanut butter cups into the crust before adding the filling. It adds extra crunch and peanut butter flavor.
Coconut Version — Use coconut cream instead of heavy cream, and coconut butter instead of peanut butter. It’s a tropical twist that’s surprisingly good.
Lower Sugar — Use sugar-free chocolate chips and reduce the sugar in the filling if you’re using sweetened cream cheese. But honestly, the cream cheese and chocolate chips have enough sugar already, so you might not need to change anything.
Serving & Storage
How to Serve: I usually serve this straight from the fridge. It’s best cold. I pair it with a simple green salad or some fresh berries to cut the richness. It’s also great with a cup of coffee or tea.
Storage: Store leftovers in the fridge, covered, for up to 5 days. The crust might soften slightly over time, but it’s still good. Do not freeze this pie. The whipped cream and cream cheese will separate and become grainy when thawed. It’s best fresh.
Meal Prep: Make this on Sunday for the week ahead. It’s perfect for lunch desserts or after-school snacks. Just slice it into portions and store them in individual containers.
Nutrition Information
I’m not a nutritionist, but here’s the breakdown if you’re tracking. This is a rich dessert, so portion control is key.
Per Serving (based on 12 slices):
- Calories: 380
- Protein: 6g
- Carbs: 32g
- Fiber: 2g
- Sugar: 22g
- Fat: 26g
- Saturated Fat: 14g
- Cholesterol: 45mg
- Sodium: 220mg
What’s Good: It has some protein from the cream cheese and peanut butter. It’s also relatively low in fiber if you use standard graham crackers, but you could boost that by using whole grain crackers.
What to Know: It’s high in calories and saturated fat. It’s a treat, not a health food. Enjoy it in moderation.
My Take: Look, this is chocolate and peanut butter. It’s supposed to be indulgent. It’s way better than store-bought pie, and you know exactly what’s in it. When I want to make it lighter, I use less peanut butter and more whipped cream. But usually? I just eat one slice and enjoy it.
Final Thoughts
So that’s my no-bake chocolate peanut butter pie! I’ve probably talked your ear off at this point, but when you make a recipe this often, you have a lot to say about it.
This has saved dinners more times than I can count. It’s my answer to “what’s for dessert” when I’m tired, don’t want to bake, and still want something that tastes really good. My kids are happy, my husband’s happy, and I’m happy because I’m not stressed about cooking.
Make it yours! Try different toppings, swap in your favorite chocolate, adjust the peanut butter to your liking. The best recipes are the ones you adapt to your family’s tastes.
If you make this, drop a comment and let me know what you think! I love hearing how recipes turn out in your kitchen. And if something doesn’t work, tell me that too—I’m here to help troubleshoot.
Happy cooking! And I hope your kitchen smells half as good as mine does right now.
Frequently Asked Questions
Can I use whipped topping instead of whipping cream?
You can, but the texture will be different. Whipped topping (like Cool Whip) is lighter and less rich. It will still work, but the pie won’t be as dense and creamy. I prefer real whipped cream for the best flavor and texture.
Why is my pie runny?
Usually, this means the cream wasn’t whipped stiff enough, or the pie didn’t chill long enough. Make sure you whip the cream to stiff peaks, and chill the pie for at least 4 hours. If it’s still runny, put it in the freezer for 30 minutes to help it set.
Can I make this ahead of time?
Yes! This is actually best made ahead. You can make it up to 3 days in advance. Just keep it covered in the fridge. It tastes even better the next day because the flavors meld together.
Can I freeze this pie?
I don’t recommend it. The cream cheese and whipped cream can separate when thawed, leading to a grainy texture. It’s best eaten fresh from the fridge.
What kind of peanut butter should I use?
Use creamy, natural peanut butter. If you use a natural brand that separates, make sure it’s well-stirred. Chunky peanut butter will make the filling grainy, which isn’t ideal for this smooth texture.
Can I use a regular pie dish instead of a springform pan?
You can, but it will be harder to slice and serve. A springform pan allows you to remove the sides for a clean presentation. If you use a regular pie dish, just slice it carefully with a sharp knife.
Is this pie too sweet?
It’s sweet, but the peanut butter and cream cheese add a tangy balance. If you find it too sweet, use dark chocolate chips instead of semi-sweet, and reduce the amount of sugar if you’re adding any. But honestly, most people love the sweetness.
Pin This Recipe!
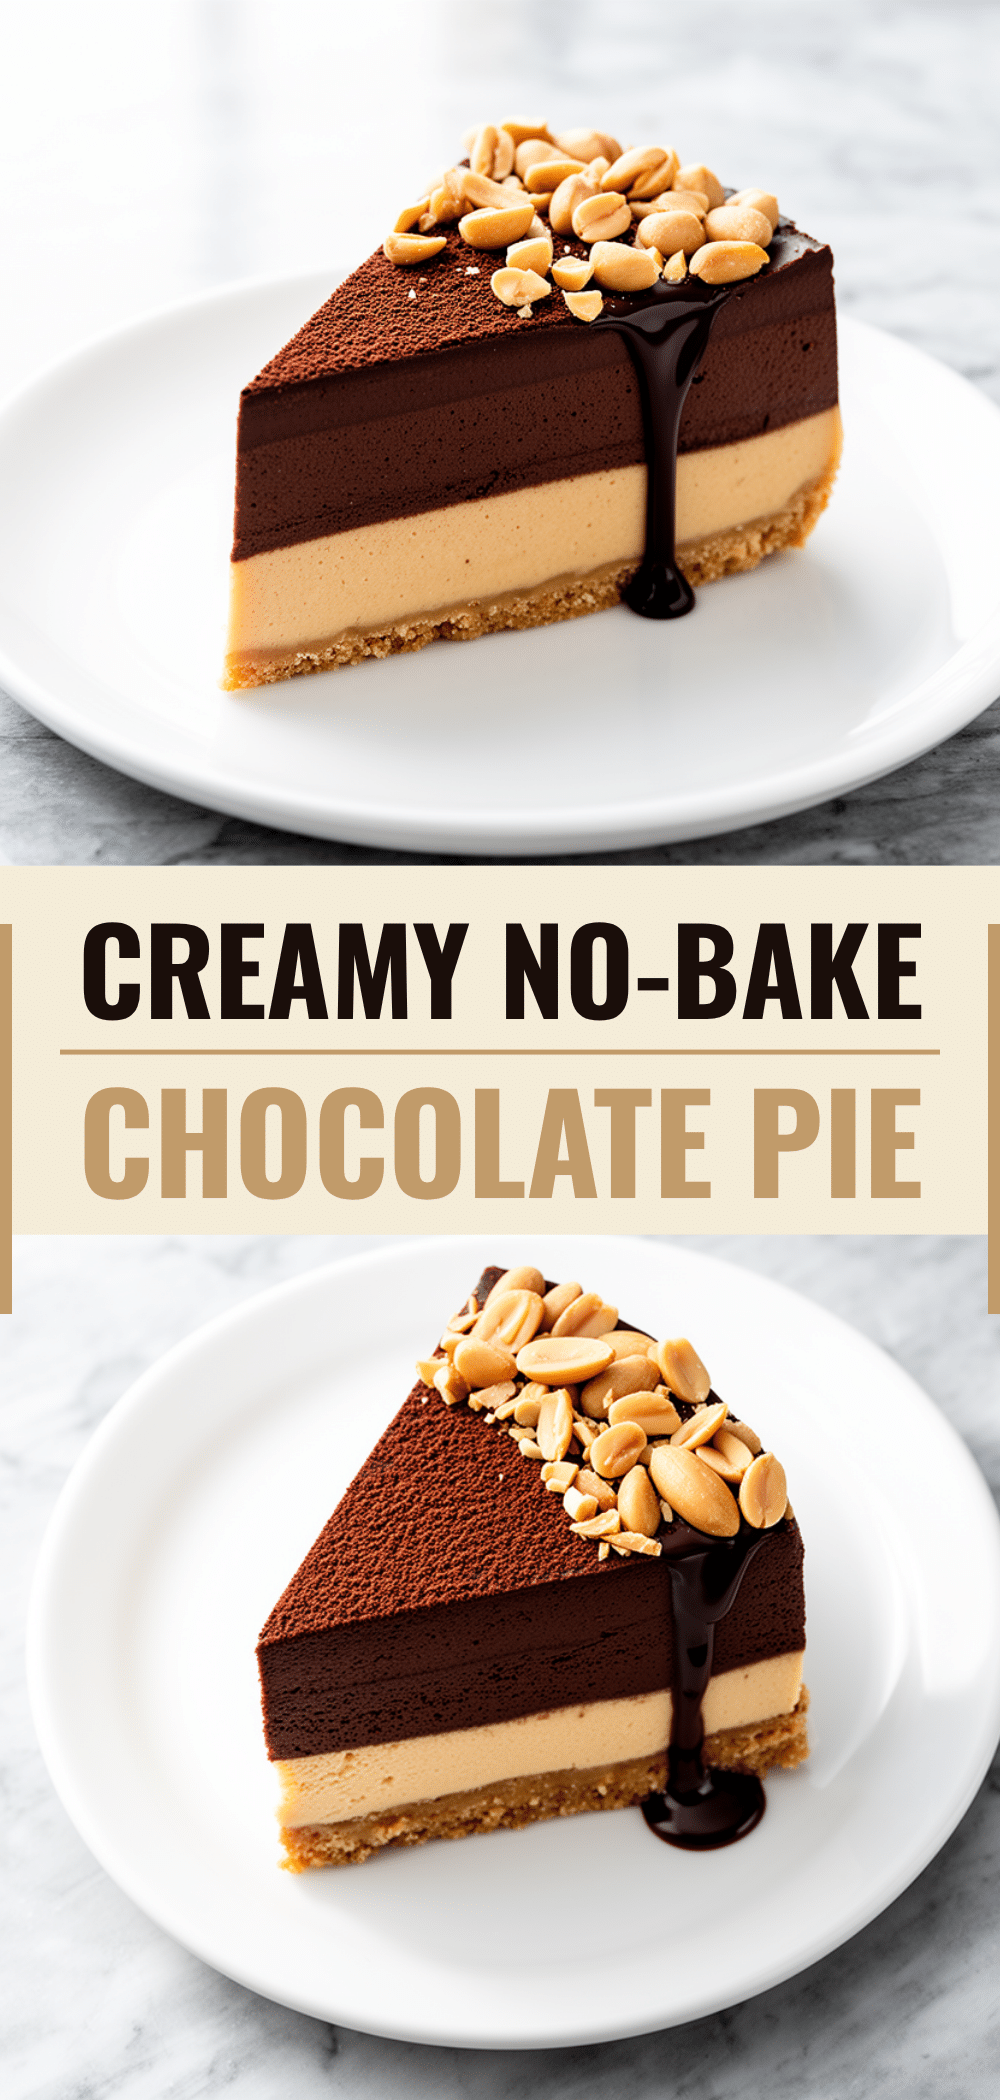
No-Bake Chocolate Peanut Butter Pie
- Total Time: 4 hours 15 minutes
- Yield: 12 servings 1x
Description
A rich, creamy, and indulgent no-bake dessert made with just a few pantry staples. This pie features a crunchy graham cracker crust and a silky chocolate peanut butter filling that sets in the fridge, making it perfect for make-ahead entertaining.
Ingredients
- 1 ½ cups (150g) graham crackers, crushed
- ½ cup (115g) unsalted butter, melted
- 1 cup (240ml) heavy cream, cold
- 8 oz (225g) cream cheese, softened to room temperature
- ½ cup (130g) creamy peanut butter
- 1 cup (170g) semi-sweet chocolate chips
- 1 teaspoon vanilla extract
- Optional toppings: whipped cream, crushed peanuts, extra chocolate chips, or sea salt flakes
Instructions
- Crush the graham crackers into fine crumbs using a food processor or a rolling pin in a zip-top bag.
- In a medium bowl, mix the graham cracker crumbs with the melted butter until the mixture resembles wet sand.
- Press the crust mixture firmly into the bottom of a 9-inch springform pan. Use the bottom of a measuring cup to pack it down tight. Refrigerate while making the filling.
- In a large, cold bowl, whip the heavy cream and vanilla extract with an electric mixer on high speed until stiff peaks form. Set aside.
- In a separate large bowl, beat the softened cream cheese until smooth. Add the peanut butter and mix until fully combined and lump-free.
- Gently fold the whipped cream into the cream cheese mixture using a spatula until no white streaks remain. Fold in the chocolate chips, reserving some for topping if desired.
- Pour the filling into the prepared crust and smooth the top.
- Cover the pan with plastic wrap or foil and refrigerate for at least 4 hours, or ideally overnight, until set.
- Remove the springform ring. Garnish with whipped cream, chocolate shavings, or crushed peanuts.
- Slice with a sharp knife dipped in hot water for clean cuts. Serve chilled.
Notes
Ensure the heavy cream and bowl are very cold to achieve stiff peaks. The cream cheese must be softened to room temperature to avoid lumps. Do not freeze this pie as the texture may become grainy upon thawing. For a nut-free version, substitute peanut butter with sunflower seed butter. For a gluten-free version, use gluten-free graham crackers.
- Prep Time: 15 minutes
- Cook Time: 0 minutes
- Category: Dessert
- Cuisine: American
Nutrition
- Serving Size: 1 slice
- Calories: 380
- Sugar: 22
- Sodium: 220
- Fat: 26
- Saturated Fat: 14
- Carbohydrates: 32
- Fiber: 2
- Protein: 6
Keywords: no-bake, chocolate peanut butter pie, easy dessert, make-ahead dessert, gluten-free option, nut-free option, 5-ingredient dessert, creamy pie



