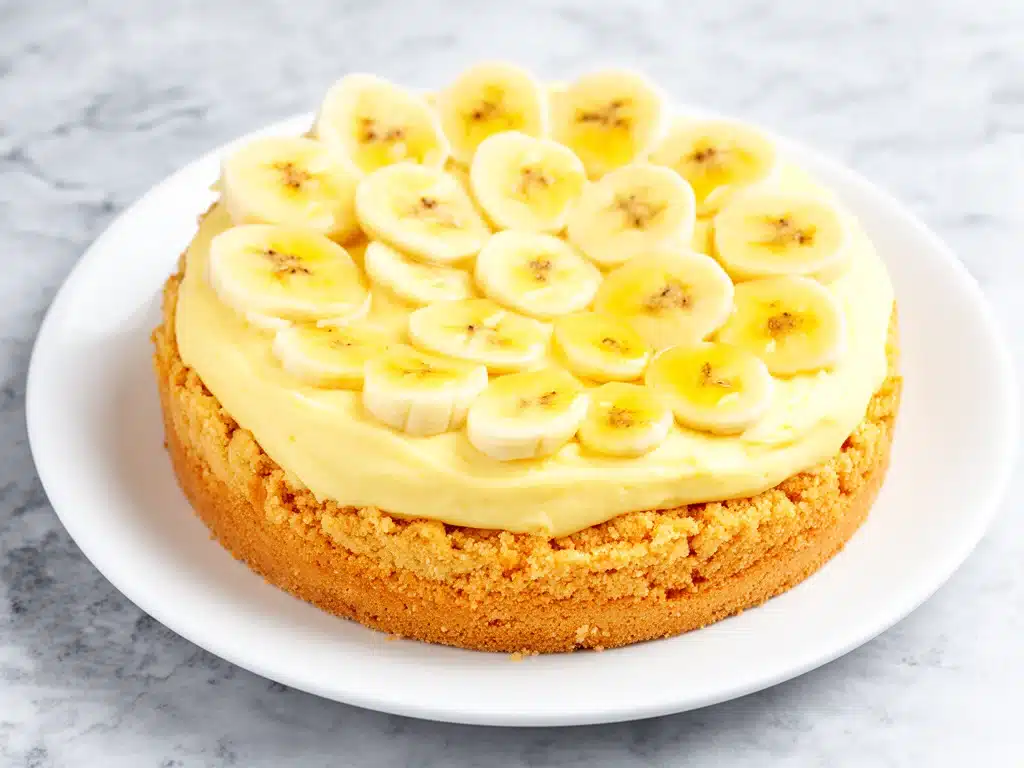
It was 95 degrees in July, the kind of heat that makes the air feel thick and heavy, and my oven was officially banned from use. I had promised my book club I’d bring a dessert, and standing in my kitchen, sweating through my shirt, I realized I had exactly zero options that didn’t involve turning my apartment into a sauna. That was the year I stopped trying to bake and started thinking cold.
I’ve made this no-bake banana cream pie for summer parties more times than I can count—probably closer to fifty. It’s the dessert that shows up at picnics, block parties, and lazy Sunday brunches. It’s the reason people ask me, “How do you always have such good food?” when I’m actually just the person who knows how to work the fridge instead of the stove.
This isn’t one of those “fake” banana cream pies that tastes like artificial syrup. This is the real deal. Creamy, tangy, sweet, and layered with actual vanilla wafers that soften into something like cake. It’s the ultimate summer party dessert because it requires no oven, minimal effort, and delivers maximum nostalgia. I’ve tested this recipe with every brand of vanilla wafer on the shelf, and I’m going to tell you exactly which ones work so you don’t waste your time.
Here’s the thing about summer gatherings: everyone brings a dish. Some bring potato salad. Some bring grilled corn. But the no-bake banana cream pie? That’s the dish that disappears first. People line up for it. My kids fight over the crust. My husband claims he’s “full” after two bites, only to sneak another slice five minutes later. It’s that good. And it’s stupidly easy to make.
I remember the first time I made this for a neighborhood potluck. I was nervous because I hadn’t met half the people there. But within ten minutes of setting the pie on the table, a woman I’d never spoken to was asking me for the recipe. She said it tasted like her grandmother’s kitchen. That’s the power of this pie. It’s comforting, reliable, and absolutely delicious. Let’s get into why you need to add this to your summer rotation immediately.
Why You’ll Love This No-Bake Banana Cream Pie
There are about a dozen reasons I keep making this pie, but they all boil down to one thing: it works every single time, even when I’m distracted or running late. Here’s the breakdown of why this recipe has earned a permanent spot in my summer meal plan.
- Zero Oven Required — Seriously, if you can mix cream cheese and fold in whipped topping, you can make this. I’ve made this while watching TV, while helping my kids with homework, and while on a video call with my sister. It’s that low-stress.
- Make-Ahead Friendly — This is the ultimate prep-ahead dessert. You can assemble it the night before your party. In fact, it tastes better after sitting in the fridge for 8-12 hours because the flavors meld together. I usually make it on Saturday for a Sunday gathering.
- Texture Perfection — The magic happens in the layers. The vanilla wafers absorb just enough moisture to become soft but not soggy. The banana slices stay firm enough to hold their shape. The filling is light, airy, and creamy. It’s a textural dream.
- Uses Simple Ingredients — You probably have most of this already. Cream cheese, powdered sugar, vanilla, whipped topping, vanilla wafers, and bananas. No weird specialty items. No fancy gadgets. Just good, honest food.
- Crowd-Pleaser Status — I’ve served this to picky eaters, health-conscious friends (they take the lighter slices), and sugar-lovers (they take the whole slice). Everyone loves it. It’s the only dessert I’ve ever seen disappear from a party before the main course is even cleared.
- Beautiful Presentation — It looks fancy, but it’s not. The layers show through a clear glass pie plate, making it visually stunning without any effort. Top it with whipped cream and a wafer, and you look like a pro.
This is my go-to when I need a dessert that feels special but doesn’t require me to stand over a hot stove for three hours. It’s reliable, delicious, and makes everyone happy. If you’re looking for easy summer party ideas, this is the one that will save your social life.
Ingredients You’ll Need
Here’s the best part: you probably have most of this already in your kitchen. I’m particular about three ingredients here, and I’ll tell you exactly why, because I’ve made the mistakes so you don’t have to.
For the Filling
Full-fat cream cheese (8 ounces / 225g, softened) — This is the base of your filling. Do not use light cream cheese. It won’t hold its shape and will taste watery. Let it sit on the counter for 30 minutes before you start. Cold cream cheese creates lumps that are impossible to beat out.
Confectioners’ sugar (1 cup / 120g) — Also known as powdered sugar. It dissolves instantly into the cream cheese, unlike granulated sugar which can leave gritty bits. Sift it if it’s clumpy.
Vanilla extract (2 teaspoons) — Use real vanilla extract, not imitation. The flavor of this pie is delicate, so fake vanilla will taste harsh. I use McCormick or Nielsen-Massey, but any good brand works.
Cool Whip or homemade whipped cream (8 ounces / 240ml) — I use Cool Whip for ease and stability in summer heat, but homemade whipped cream tastes richer. If using Cool Whip, thaw it completely before folding. If making your own, whip 2 cups of heavy cream with 2 tablespoons of sugar until stiff peaks form.
Instant vanilla pudding mix (1 small box / 3.4 ounces / 96g) — This is the secret ingredient that gives the filling its thick, custard-like texture without cooking. It’s not optional if you want that classic banana cream pie taste. I use Jell-O brand, but any instant vanilla pudding works.
For the Layers
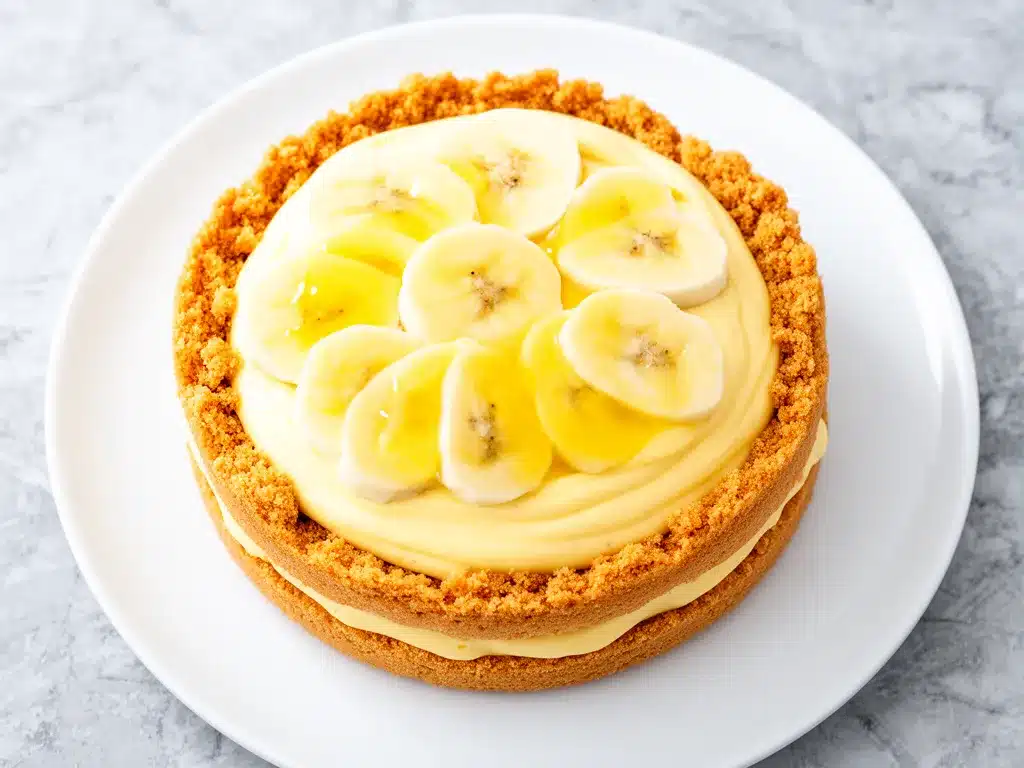
Vanilla wafers (1 package / about 30-40 wafers) — Nilla Wafers are the gold standard. They’re sturdy enough to hold the filling but soft enough to absorb moisture. Do not use shortbread cookies; they’re too rich and won’t soften properly. Do not use vanilla sandwich cookies (like Oreos); they’re too sweet and dense.
Ripe bananas (3 medium) — Choose bananas that are yellow with some brown spots. They’re sweetest and softest. Avoid green bananas—they’re starchy and bland. Avoid bananas that are completely black—they’ll turn to mush.
Optional: Lemon juice (1 teaspoon) — I drizzle this lightly on the banana slices before layering to prevent browning. It adds a tiny brightness that cuts through the sweetness.
For the Topping
Whipped cream (1 cup / 240ml) — Either homemade or store-bought. Pipe it or dollop it on top.
Vanilla wafers (crushed) — For garnish. Crush them by hand or in a bag with a rolling pin.
Chocolate shavings (optional) — A few dark chocolate shavings add a nice contrast to the sweet cream. I don’t always use them, but when I do, it feels extra fancy.
Equipment Needed
You don’t need fancy equipment for this. Here’s what I actually use.
9-inch glass pie plate — I prefer glass because you can see the beautiful layers. Ceramic or metal works, but you won’t get that visual appeal. Glass also chills the pie evenly.
Electric mixer — A hand mixer or stand mixer makes beating the cream cheese smooth and lump-free in under two minutes. You can use a whisk and arm strength, but it takes longer and you might get sore arms.
Spatula — A rubber spatula is essential for folding the whipped cream into the cream cheese mixture without deflating it. Be gentle here.
Knife — For slicing bananas. A sharp knife makes cleaner slices that look better in the pie.
Mixing bowls — Two large bowls. One for the cream cheese mixture, one for the whipped topping (if whipping your own).
Measuring cups and spoons — Standard stuff. Dollar store versions work fine.
How to Make It: Step-by-Step
Alright, let’s make this! I’m walking you through exactly how I do it, including the little tricks I’ve picked up over the years.
Step 1: Prep Your Cream Cheese (5 minutes)
Take your cream cheese out of the fridge and let it sit at room temperature for at least 30 minutes. This is non-negotiable. If you try to beat cold cream cheese, you’ll end up with lumps that you’ll spend 10 minutes trying to fix. I usually forget this step and end up with a grainy filling, so I set a timer now. Once it’s soft, break it into chunks and put it in your mixing bowl.
Step 2: Beat the Base (3 minutes)
Add the powdered sugar and vanilla extract to the cream cheese. Beat on medium-high speed for 2-3 minutes until completely smooth and creamy. Scrape down the sides of the bowl with your spatula to make sure there are no hidden lumps. The mixture should look like thick frosting.
Step 3: Make the Pudding Mixture (2 minutes)
In a separate small bowl, whisk the instant vanilla pudding mix with 2 cups of cold milk. (Note: Some recipes skip the milk, but I find that adding a little milk to the pudding mix creates a lighter, fluffier texture that folds better with the cream cheese. If you prefer a denser pie, you can skip this step and just add the dry pudding mix to the cream cheese, but the texture won’t be as airy.) Let it sit for 5 minutes until it thickens.
Step 4: Fold It All Together (5 minutes)
Here’s the crucial step. Gently fold the thickened pudding mixture into the cream cheese mixture. Use your spatula and cut down through the middle, scrape the side, and flip over. Do this gently to keep the air in the mixture. Once combined, fold in the thawed Cool Whip (or your homemade whipped cream). Fold until just combined. Do not overmix, or you’ll deflate the whipped topping and end up with a dense, heavy filling.
Step 5: Layer the Pie (10 minutes)
Start your first layer with vanilla wafers. Arrange them in the bottom of the pie plate, overlapping slightly if needed to cover the entire base. Do not worry about perfection; these will be covered. Spoon half of the cream filling over the wafers and spread it evenly to the edges. Next, slice your bananas. I like to slice them lengthwise for a nicer presentation, but rounds work too. Arrange the banana slices over the cream layer. Drizzle lightly with lemon juice if using. Add another layer of vanilla wafers, then the remaining cream filling. Top with a final layer of vanilla wafers. Press them down gently.
Step 6: Chill and Set (4 hours minimum)
Cover the pie with plastic wrap or aluminum foil. Place it in the refrigerator for at least 4 hours, but ideally overnight. This is where the magic happens. The wafers soften into a cake-like texture, and the flavors meld together. If you cut into it too soon, it will be messy and the layers won’t hold. Patience is key.
Step 7: Garnish and Serve
Before serving, add dollops of whipped cream on top. Crush a few vanilla wafers and sprinkle them over the cream. Add chocolate shavings if you’re feeling fancy. Slice with a sharp knife dipped in hot water for clean cuts. Serve immediately.
Expert Tips & Tricks
Here’s everything I’ve learned from making this dozens of times. These tips will save you from my mistakes.
Use Room Temperature Cream Cheese
I cannot stress this enough. Cold cream cheese is the enemy of smooth pie filling. If you’re short on time, microwave it on low power in 10-second bursts, checking between each. But let it sit out if you can.
Don’t Skip the Lemon Juice
Bananas brown quickly. Even in the fridge, they can turn gray. A little lemon juice prevents this and adds a subtle brightness that balances the sweetness. It’s a small step that makes a big difference.
Choose the Right Bananas
If your bananas are too firm, they won’t taste sweet enough. If they’re too soft, they’ll mash into the cream. Look for bananas that yield slightly to pressure but aren’t mushy. Yellow with brown speckles is the sweet spot.
Stabilize for Hot Weather
If you’re taking this to a hot outdoor party, consider using stabilized whipped cream (add 1 tablespoon of unflavored gelatin to the whipped cream while whipping). This helps it hold up better in heat than Cool Whip. Cool Whip is fine for short periods, but it can melt if left out for more than an hour.
Layer Thickness Matters
Try to keep your layers even. If one layer is too thick, the pie will be lopsided and hard to slice. Use a spatula to smooth each layer before adding the next.
Common Mistakes (and how to avoid them)
Mistake: Filling is runny. Fix: You didn’t beat the cream cheese long enough, or you folded too vigorously. Beat until smooth, and fold gently.
Mistake: Wafers are soggy. Fix: You didn’t let it chill long enough. The wafers need time to absorb moisture. If you’re in a hurry, use less filling or thicker wafers.
Mistake: Pie won’t slice. Fix: It wasn’t chilled long enough. Let it sit for at least 4 hours. If it’s still soft, freeze it for 30 minutes to firm up.
Variations & Substitutions
Once you’ve nailed the basic version, here’s how you can mix it up. I’ve tried all of these.
Chocolate Banana Cream Pie
Add 2 tablespoons of cocoa powder to the cream cheese mixture. Or drizzle chocolate syrup between the layers. It’s richer and more decadent.
Strawberry Banana Cream Pie
Swap half the banana slices for sliced fresh strawberries. The combination of strawberry and banana is surprisingly good. Add a layer of strawberry jam between the fruit and cream for extra flavor.
Caramel Banana Cream Pie
Drizzle salted caramel sauce between the layers. This is my husband’s favorite version. It’s sweet, salty, and perfect for autumn.
Coconut Banana Cream Pie
Use coconut whipped topping instead of vanilla. Add toasted coconut flakes to the top. It’s tropical and refreshing.
Dietary Modifications:
Gluten-Free — Use gluten-free vanilla wafers. Most brands work fine, but check the texture. Some are too crumbly.
Dairy-Free — Use dairy-free cream cheese and coconut whipped topping. The texture will be different, but it’s still delicious. My lactose-intolerant friend loves this version.
Lower Sugar — Use unsweetened whipped cream and sugar-free pudding mix. It’s not as sweet, but it’s lighter.
Serving & Storage
How to Serve:
I usually serve this straight from the pie plate at the dinner table. It looks rustic and stays cold. But here are other ways I’ve enjoyed it:
- Serve in individual dessert cups for a fancy presentation.
- Add a cherry on top for a classic diner vibe.
- Pair with a glass of cold milk or sweet tea.
Side Dishes:
This pie is rich, so pair it with something light. A simple green salad or fresh fruit works well. I also like it with strawberry cream cheese roll-ups for a summer brunch spread, or alongside a bacon cheddar ranch pasta salad for a complete party menu.
Storage Instructions:
Refrigerator: Store covered in the fridge for up to 3 days. The wafers will continue to soften, so it might get a bit mushy after day 3. Best eaten within 48 hours.
Freezing: I don’t recommend freezing this pie. The bananas will turn brown and mushy when thawed, and the cream filling can separate. It’s best enjoyed fresh.
Transporting: If you’re taking this to a party, keep it in the fridge until the last minute. Use a pie carrier or wrap the plate in towels to prevent sliding. Keep it cool with ice packs if the drive is long.
Nutrition Information
I’m not a nutritionist, but here’s the breakdown if you’re tracking. This is a rich dessert, so portion control is key.
Per Serving (based on 8 servings):
- Calories: 320
- Protein: 4g
- Carbs: 42g
- Fiber: 2g
- Sugar: 28g
- Fat: 16g
- Saturated Fat: 7g
- Cholesterol: 25mg
- Sodium: 220mg
What’s Good:
It provides some calcium from the dairy and potassium from the bananas. It’s a quick energy boost.
What to Know:
It’s high in sugar and saturated fat. Use it as an occasional treat, not a daily snack. If you want to lighten it up, use low-fat cream cheese and light whipped topping, though the texture will suffer.
Final Thoughts
So that’s my go-to no-bake banana cream pie! I’ve probably talked your ear off at this point, but when you make a recipe this often, you have a lot to say about it. This pie has saved summer parties more times than I can count. It’s my answer to “what’s for dessert?” when I’m tired, don’t want to bake, and still want something that tastes really good. My kids are happy, my husband’s happy, and I’m happy because I’m not stressed about cooking.
Make it yours! Try different add-ins, swap in your favorite fruits, or adjust the sweetness to your taste. The best recipes are the ones you adapt to your family’s tastes. If you make this, drop a comment and let me know what you think! I love hearing how recipes turn out in your kitchen. And if something doesn’t work, tell me that too—I’m here to help troubleshoot.
Happy cooking! And I hope your kitchen smells half as good as mine does right now (even though it’s no-bake, it still smells sweet!).
Frequently Asked Questions
Can I use homemade whipped cream instead of Cool Whip?
Yes, absolutely! Homemade whipped cream tastes richer and fresher. Just make sure to whip it to stiff peaks so it holds its shape. Fold it gently into the cream cheese mixture to keep it light. Cool Whip is easier and more stable in heat, but homemade is definitely tastier.
Why did my pie turn out runny?
This usually happens if the cream cheese wasn’t fully softened before beating, or if you overmixed the whipped cream. Make sure the cream cheese is smooth and creamy before adding the pudding. Also, ensure you chilled the pie long enough. If it’s still runny, refrigerate it for a few more hours.
Can I make this pie ahead of time?
Yes! This pie actually tastes better the next day. Assemble it the night before and let it chill for 8-12 hours. The flavors will meld, and the wafers will soften perfectly. Just add the topping right before serving.
How do I prevent the bananas from browning?
Drizzle the banana slices with a little lemon juice before layering. The acid slows down the oxidation process. You can also press the bananas down firmly into the cream to limit their exposure to air.
Can I use different cookies instead of vanilla wafers?
You can, but the texture and flavor will change. Graham crackers work well for a graham cracker pie vibe. Shortbread cookies are too rich and won’t soften. Chocolate chip cookies are too sweet. Vanilla wafers are the best balance of sweetness and texture.
Is this pie safe for hot weather?
It’s okay for short periods, but dairy-based desserts can spoil quickly in heat. Keep it refrigerated until serving, and use stabilized whipped cream if you’re serving it outdoors for more than an hour. If it’s very hot, consider adding ice packs under the pie plate.
Can I double this recipe?
Yes, just use a 9×13 inch dish instead of a pie plate. Layer the ingredients in the same way. The chilling time will be the same. This is great for feeding a crowd.
Pin This Recipe!
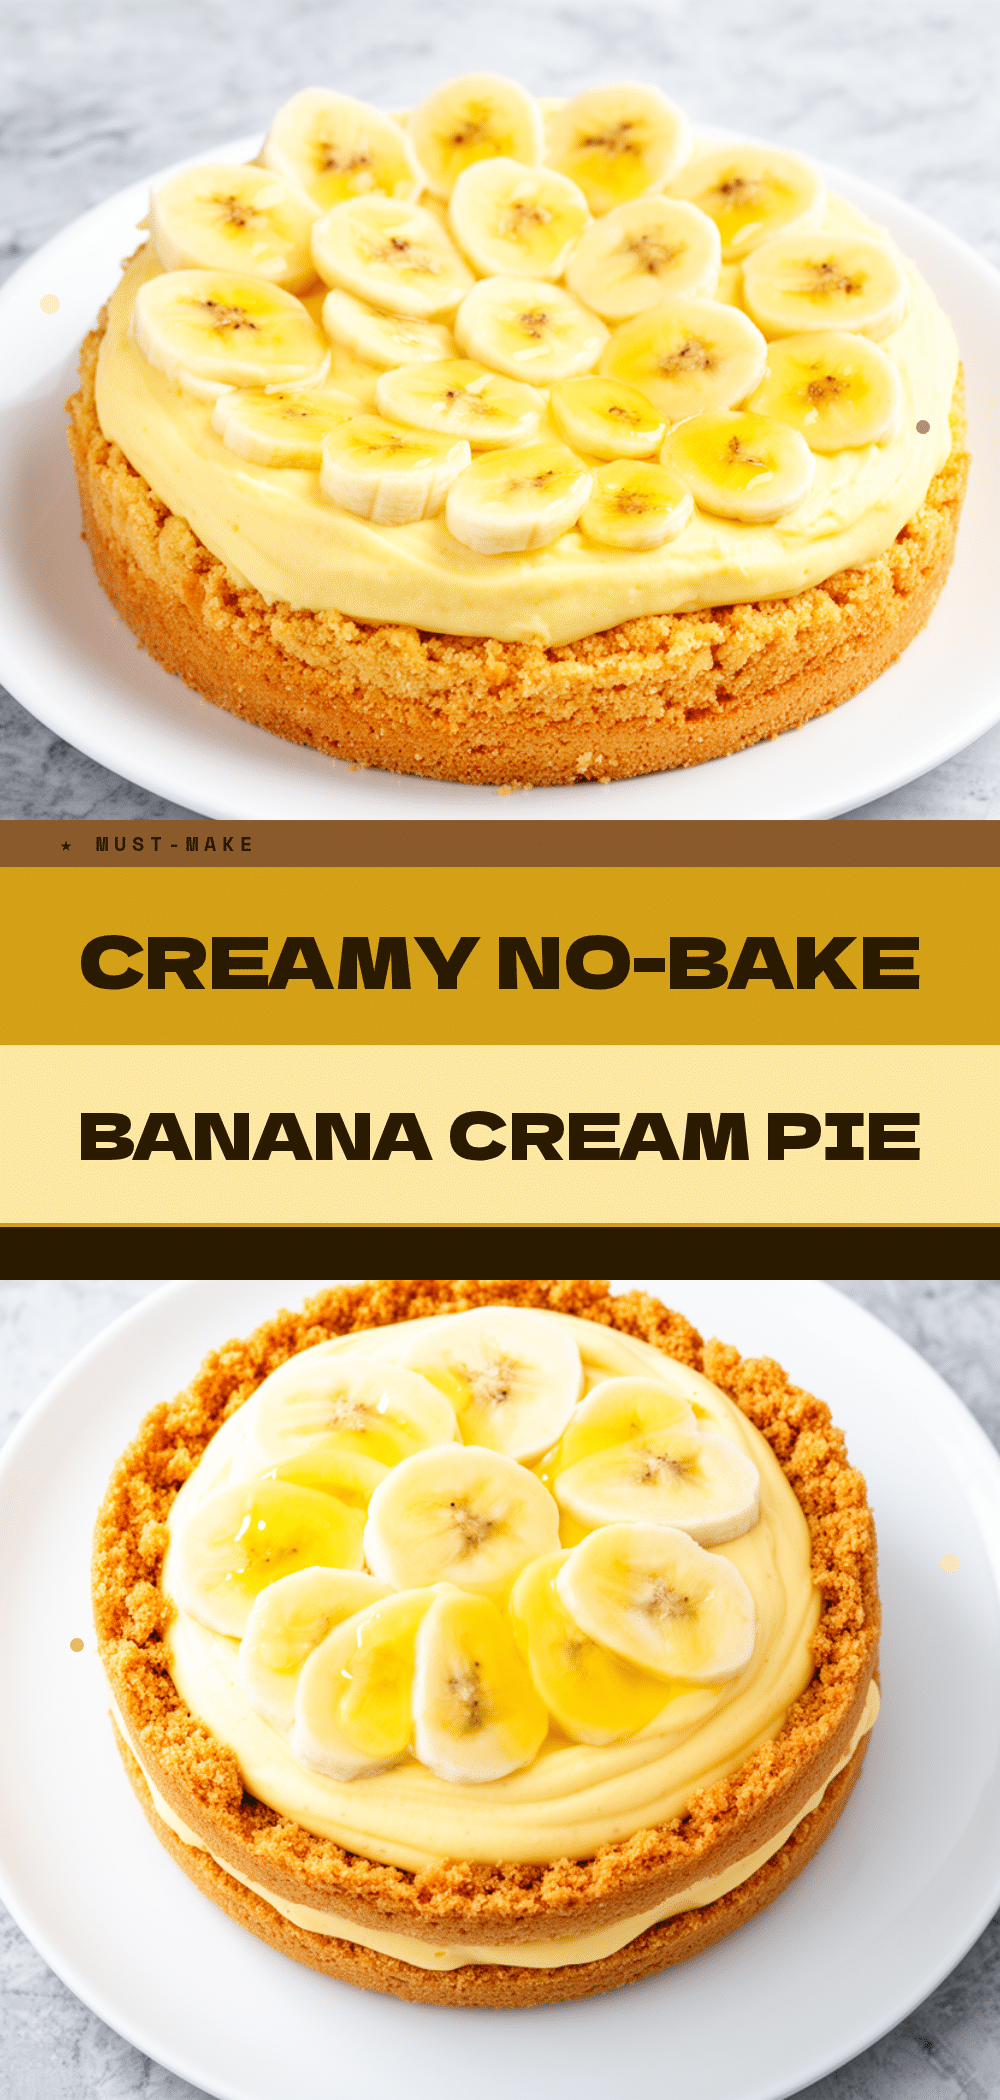

No-Bake Banana Cream Pie: Best Summer Party Dessert
- Total Time: 4 hours 25 minutes
- Yield: 8 servings 1x
Description
A creamy, no-bake summer dessert featuring layers of vanilla wafers, fresh bananas, and a rich cream cheese pudding filling. It requires no oven, is make-ahead friendly, and is a crowd-pleaser for parties.
Ingredients
- 8 ounces (225g) full-fat cream cheese, softened
- 1 cup (120g) confectioners’ sugar
- 2 teaspoons vanilla extract
- 8 ounces (240ml) Cool Whip, thawed, or homemade whipped cream
- 1 small box (3.4 ounces / 96g) instant vanilla pudding mix
- 2 cups cold milk (for pudding mix)
- 1 package (30-40 wafers) vanilla wafers
- 3 medium ripe bananas
- 1 teaspoon lemon juice (optional, for bananas)
- 1 cup whipped cream (for topping)
- Vanilla wafers, crushed (for garnish)
- Chocolate shavings (optional)
Instructions
- Let cream cheese sit at room temperature for 30 minutes until soft. Break into chunks and place in a mixing bowl.
- Add powdered sugar and vanilla extract to the cream cheese. Beat on medium-high speed for 2-3 minutes until smooth and creamy. Scrape down sides.
- In a separate small bowl, whisk instant vanilla pudding mix with 2 cups of cold milk. Let sit for 5 minutes until thickened.
- Gently fold the thickened pudding mixture into the cream cheese mixture. Then, fold in the thawed Cool Whip (or homemade whipped cream) until just combined. Do not overmix.
- Arrange a layer of vanilla wafers in the bottom of a 9-inch glass pie plate. Spoon half of the cream filling over the wafers and spread evenly.
- Slice bananas and arrange them over the cream layer. Drizzle lightly with lemon juice if using.
- Add another layer of vanilla wafers, then the remaining cream filling. Top with a final layer of vanilla wafers, pressing down gently.
- Cover the pie and refrigerate for at least 4 hours, ideally overnight, to allow flavors to meld and wafers to soften.
- Before serving, top with dollops of whipped cream, crushed vanilla wafers, and chocolate shavings if desired. Slice with a sharp knife and serve.
Notes
Use room temperature cream cheese to avoid lumps. Choose bananas that are yellow with brown spots for best sweetness. Do not freeze this pie as bananas will turn mushy. For hot weather, use stabilized whipped cream. Gluten-free and dairy-free variations are available.
- Prep Time: 25 minutes
- Cook Time: 0 minutes
- Category: Dessert
- Cuisine: American
Nutrition
- Serving Size: 1 slice
- Calories: 320
- Sugar: 28
- Sodium: 220
- Fat: 16
- Saturated Fat: 7
- Carbohydrates: 42
- Fiber: 2
- Protein: 4
Keywords: no-bake, banana cream pie, summer dessert, party dessert, easy dessert, make-ahead dessert, cream cheese filling, vanilla wafers



