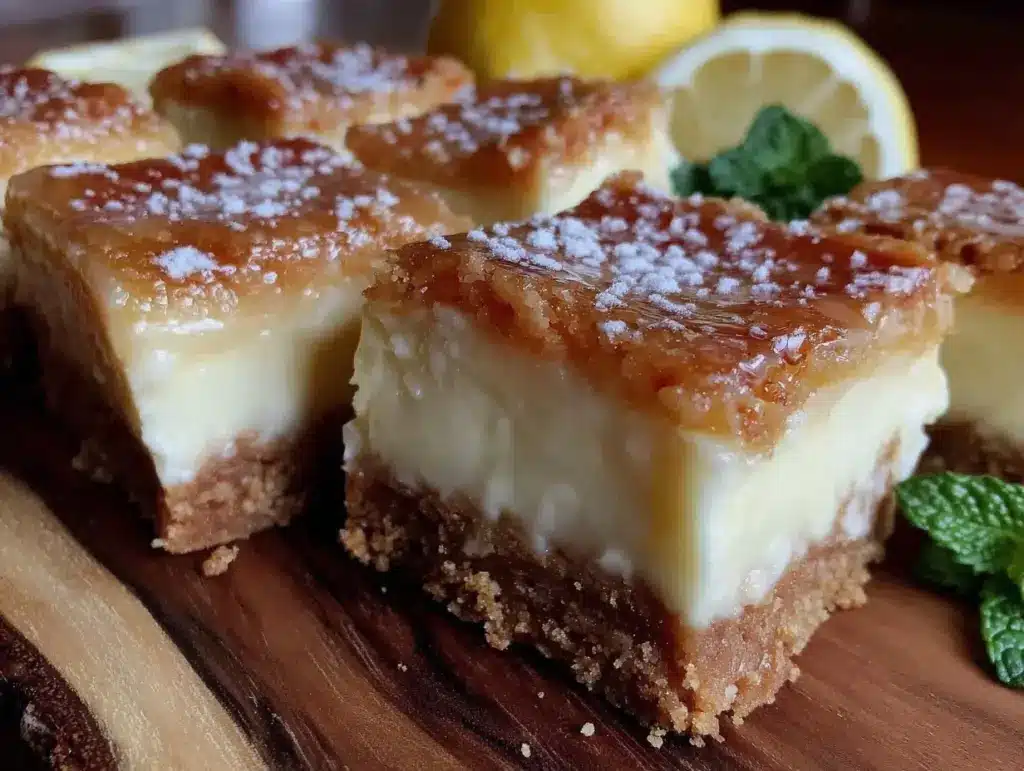
It was 4:45 PM on a Tuesday, and the house was already in a state of controlled chaos. The dishwasher was humming its final song, the kids had just finished their homework (or at least pretended to), and I was staring into the fridge like it held the secrets to the universe. Spoiler alert: It didn’t. There was just half a lemon, a block of cream cheese, and a box of graham crackers.
I had two choices. I could raid the pantry for something processed and sad, or I could actually bake. But here’s the thing—I didn’t have three hours to spend watching an oven. I didn’t have the energy to whip up a complicated layer cake that required a stand mixer and a degree in engineering. I needed something fast, bright, and ridiculously good. Something that felt fancy but took about 15 minutes of active work.
So, I threw together these lemon cheesecake bars with buttery graham crust. I didn’t even measure the lemon juice at first. I just squeezed until it smelled like sunshine. And you know what? They turned out better than anything I’ve bought at a bakery. Creamy, tangy, sweet, and with that perfect crumbly base that makes you want to lick your fingers. I made them for a last-minute potluck the next day, and three people asked for the recipe before I’d even finished my coffee.
This isn’t your heavy, dense, New York-style cheesecake that makes you sleepy after one slice. These bars are light, zesty, and perfect for weekend baking when you want to fill the house with a nice smell without turning your kitchen into a war zone. Whether you’re a beginner baker or just someone who needs a 5pm dessert win, this is the recipe you’ve been waiting for.
Why You’ll Love This Recipe
I’ve been making these lemon cheesecake bars for years, and they never get old. In fact, they’ve become my go-to “I need to impress people but I’m tired” trick. Here’s why they keep coming back to my rotation:
- Zero Stand Mixer Required — Seriously. You can make the entire filling in a large bowl with a whisk or even a sturdy fork. If you have a hand mixer, great. If not, no problem. I’ve made this on days when my stand mixer was in the repair shop, and it turned out perfectly smooth.
- Ready in Under 45 Minutes (Plus Chill Time) — The actual baking time is short, and most of that is just waiting for it to set in the fridge. I love that I can mix it up after dinner, pop it in the oven, and let it work its magic while I relax. It’s the ultimate hands-off dessert.
- Perfectly Tangy, Not Too Sweet — A lot of cheesecake recipes are cloyingly sweet. These strike the perfect balance. The lemon cuts through the richness of the cream cheese, making every bite feel light and refreshing. It’s the kind of dessert that leaves you wanting just one more bite, not a food coma.
- One Pan, One Bowl — Cleanup is a breeze. You’re mixing in one bowl, pressing the crust in one pan, and baking in that same pan. Minimal dishes mean more time for you to actually enjoy the dessert later.
- Weekend Baking Made Easy — These are forgiving. If you over-mix it slightly, it’s still good. If you use slightly different lemons, it’s still delicious. They’re perfect for a lazy Saturday when you want to feel productive but don’t want to stress.
Real talk? These bars have saved me more times than I can count. They’re my answer to “what’s for dessert?” when I’m tired, don’t want to order takeout, and still want something that tastes homemade. My kids love them, my husband asks for them weekly, and they travel well to potlucks without falling apart. It’s a win-win-win.
Ingredients You’ll Need
Here’s the best part: you probably have most of this already. This isn’t a recipe that requires a special trip to a specialty store. It’s simple, pantry-friendly ingredients that come together to create something magical. I’m particular about a few things here, so pay attention to the notes.
For the Buttery Graham Crust
Graham cracker crumbs (1 ½ cups / 150g) — I usually buy the pre-made crumbs to save time, but if you have leftover graham crackers, pulse them in a food processor. It’s just as good. Don’t skip the crumbs; whole crackers won’t bind right.
Unsalted butter (6 tablespoons / 85g, melted) — This is the glue. Use real butter, not margarine. It adds that rich, toasty flavor that makes the crust addictive. Melt it in the microwave—it takes 30 seconds.
Granulated sugar (2 tablespoons / 25g) — Just a little bit to sweeten the crust. You don’t want it too sweet because the filling is sweet enough. Brown sugar works too if you want a deeper, molasses flavor.
Pinch of salt — Always add a pinch. It makes the buttery flavor pop. I use kosher salt.
For the Lemon Cheesecake Filling
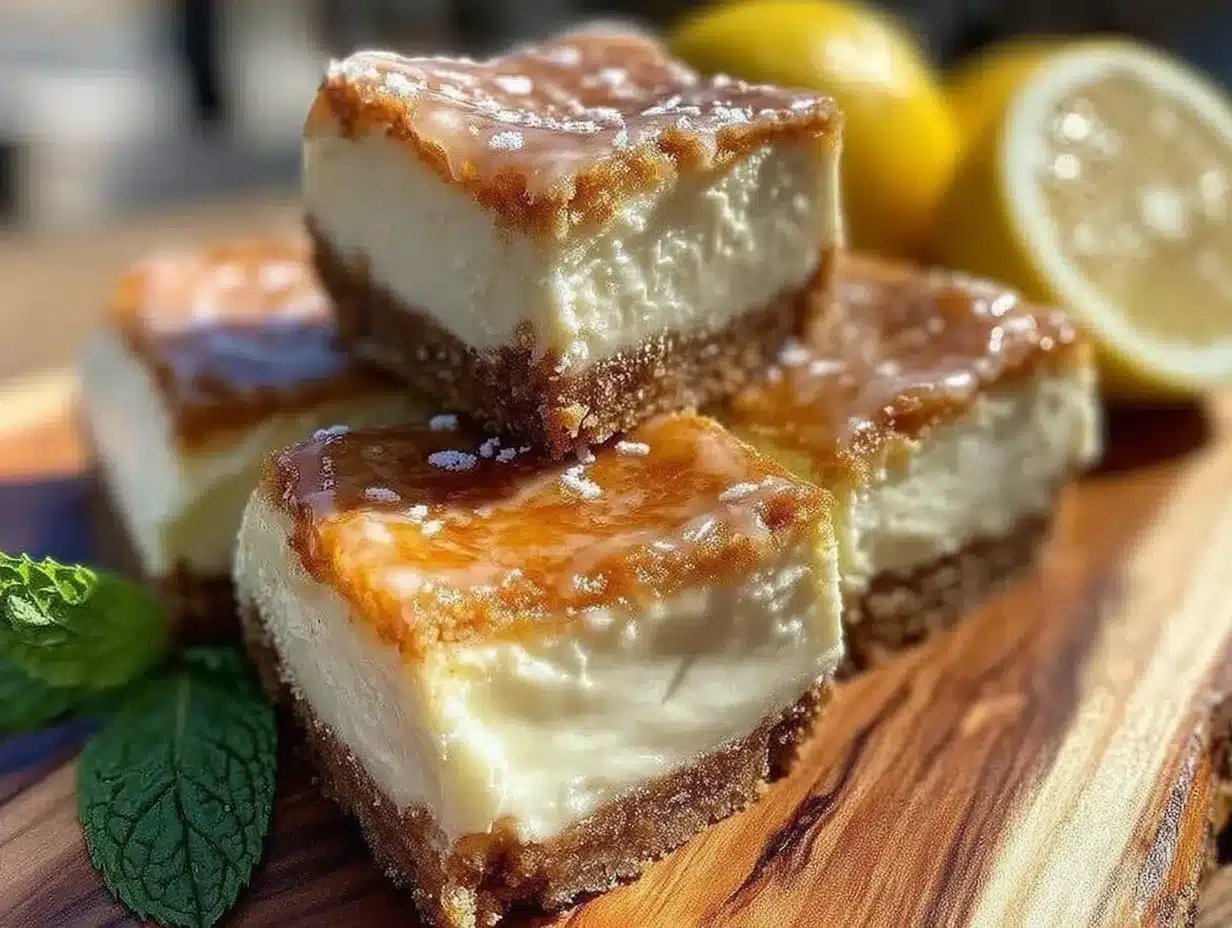
Full-fat cream cheese (24 oz / 680g, softened) — This is non-negotiable. Use the block kind, not the spreadable stuff in a tub. Let it sit on the counter for 30 minutes before you start. Softened cream cheese mixes smoothly; cold cream cheese creates lumps that you’ll never get out.
Granulated sugar (1 cup / 200g) — This balances the tartness of the lemon. Don’t reduce it too much, or it’ll be too sour. If you like it less sweet, go down to ¾ cup, but I recommend sticking to the full amount.
Large eggs (3 large) — Room temperature eggs blend better. If you forget to take them out, just drop them in a bowl of warm water for 5 minutes. Don’t use cold eggs straight from the fridge.
Heavy cream (2 tablespoons / 30ml) — This adds extra richness and helps keep the texture silky. Some recipes use sour cream, but I prefer the lightness of heavy cream for these bars.
Fresh lemon juice (3-4 tablespoons / 45-60ml) — Yes, fresh. Bottled lemon juice has a metallic taste that ruins the delicate flavor. Squeeze two or three lemons. If your lemons are small, use three. If they’re huge, four. Taste it! It should be bright and tangy.
Lemon zest (1 tablespoon) — This is where the real lemon flavor lives. The oils in the peel are concentrated. Use a microplane or fine grater. Make sure to get the yellow part only, not the white pith, which is bitter.
Vanilla extract (1 teaspoon) — Just a splash to round out the flavors. Pure vanilla, not imitation.
All-purpose flour (2 tablespoons / 15g) — A tiny bit of flour helps stabilize the filling so it doesn’t crack or collapse. It’s optional but recommended for that perfect bar texture.
Equipment Needed
You don’t need fancy gadgets for this. Here’s what I actually use:
9×9 Inch Baking Pan — This is the standard size for bars. If you want thicker bars, use an 8×8 pan, but you might need to increase baking time slightly. Line it with parchment paper leaving an overhang on the sides—this is the #1 way to get clean, perfect bars out later.
Large Mixing Bowl — Something big enough to hold all the filling ingredients without splattering. Glass or stainless steel works best.
Fork or Whisk — I prefer a whisk for the filling because it incorporates air and makes it lighter. A fork works fine if you’re doing it by hand.
Microplane or Zester — For the lemon zest. A box grater works too, but a microplane is faster and gives finer zest.
Pastry Brush or Spoon — To press the crust into the pan. I use the bottom of a measuring cup to pack it down tight. It’s faster than using your fingers.
Offset Spatula — For smoothing the filling over the crust. Or just use a regular spoon if you’re in a hurry.
Refrigerator — Obviously. You need space for the bars to chill and set. If your fridge is packed, make these on a day when you know they’ll have room.
How to Make It: Step-by-Step
Alright, let’s make this! I’m walking you through exactly how I do it, including the little tricks I’ve picked up over the years. It’s easier than it looks.
Step 1: Prep Your Pan and Oven (2 minutes)
Preheat your oven to 350°F (175°C). Line your 9×9 inch baking pan with parchment paper. Leave a generous overhang on the long sides—this is crucial. You’ll need this “handle” to lift the bars out later. If you don’t line it, you’ll be digging out sticky cheesecake with a knife, and nobody wants that.
Step 2: Make the Crust (5 minutes)
In a medium bowl, mix the graham cracker crumbs, melted butter, sugar, and salt. It should look like wet sand. If it’s too dry, add another tablespoon of butter. If it’s too soupy, add a sprinkle more crumbs. Press this mixture firmly and evenly into the bottom of your prepared pan. Use the bottom of a glass or measuring cup to pack it down tight. You want it solid, or the bars will fall apart. Bake for 8-10 minutes until it’s lightly golden and smells amazing. Remove from oven and let it cool while you make the filling. You can turn the oven off now.
Step 3: Mix the Filling (5-7 minutes)
In your large mixing bowl, beat the softened cream cheese and sugar together until completely smooth and creamy. This takes about 2 minutes. Scrape down the sides of the bowl with a spatula to make sure there are no lumps of cream cheese hiding. If you see lumps, keep mixing—they’ll cause cracks later.
Beat in the eggs one at a time, mixing on low speed just until combined. Don’t overmix the eggs, or you’ll incorporate too much air, which can cause the cheesecake to rise and then crack. Add the heavy cream, vanilla, lemon juice, and lemon zest. Mix until just combined. Finally, stir in the flour until no white streaks remain. The batter should be thick, smooth, and pale yellow.
Step 4: Assemble and Bake (20-25 minutes)
Pour the filling over the cooled crust. Spread it out evenly with an offset spatula or the back of a spoon. Tap the pan gently on the counter a few times to release any air bubbles. Bake at 350°F for 20-25 minutes. The edges should be set, but the center should still have a slight jiggle when you shake the pan. It will continue to set as it cools. Do not overbake, or it will become dry and crumbly.
Step 5: Cool and Chill (Critical Step!)
Let the bars cool in the pan on a wire rack for 15 minutes. Then, cover the pan with plastic wrap and refrigerate for at least 4 hours, but ideally overnight. This is where the magic happens. The flavors meld, and the texture becomes firm and sliceable. If you try to cut them warm, they’ll be a mess. Patience pays off.
Step 6: Slice and Serve
Once fully chilled, lift the bars out of the pan using the parchment overhang. Place them on a cutting board. Use a sharp knife to cut into squares. For clean cuts, wipe the knife with a damp cloth between each slice. Dust with powdered sugar or top with a few lemon slices for presentation. Serve and enjoy!
Expert Tips & Tricks
Here’s everything I’ve learned from making these dozens of times. These tips will save you from my mistakes.
Softened Cream Cheese is Key
I cannot stress this enough. If your cream cheese is cold, you will have lumps. And those lumps won’t disappear no matter how long you mix. Let it sit on the counter for 30-60 minutes before you start. If you’re in a rush, microwave it in 10-second bursts, checking often. It should be soft enough to leave a fingerprint but not melted.
Don’t Overmix the Batter
Once you add the eggs, mix on low speed and stop as soon as they’re incorporated. Overmixing adds air, which leads to rising and cracking. We want a dense, creamy texture, not a fluffy soufflé.
The Jiggle Test
When you take them out of the oven, the center should look slightly glossy and jiggle like Jell-O when you shake the pan. If it’s firm, you’ve overbaked it. It will set completely in the fridge. If it’s liquidy, it needs more time.
Chill Overnight for Best Results
I know it’s tempting to eat them right away. Don’t. The flavor develops overnight. The lemon becomes more pronounced, and the texture improves. I’ve made these and eaten them after 2 hours, and after 24 hours. The difference is night and day.
Clean Slices
Wipe your knife with a hot, damp cloth between cuts. This removes any sticky cheesecake residue and ensures each square looks perfect. It’s a small step that makes a big difference in presentation.
Variations & Substitutions
Once you’ve nailed the basic version, here’s how you can mix it up. I’ve tried all of these.
Raspberry Swirl
After pouring the filling, drop small spoonfuls of raspberry jam on top. Use a toothpick to swirl it through the batter. It adds a beautiful pink marbled effect and a burst of berry flavor. My favorite twist!
Blueberry Lemon
Sprinkle 1 cup of fresh blueberries over the crust before adding the filling. They’ll bake right in and add pops of color and tartness. Just be careful not to break the berries too much when spreading the filling.
Gluten-Free Version
Use gluten-free graham crackers for the crust. The filling is naturally gluten-free, so just swap the crumbs. Most major brands work well, but check the label to be sure.
Dairy-Free Option
Use vegan cream cheese and dairy-free butter. The texture might be slightly different, but it still tastes great. I’ve used Kite Hill cream cheese with success. It’s tangy and holds up well.
Extra Zesty
Double the lemon juice and zest if you’re a lemon lover. I sometimes add 1 teaspoon of lemon extract for an extra punch. It’s intense, but delicious.
Crust Variations
Use crushed cookies instead of graham crackers. Oreos make a chocolate crust (great with chocolate cheesecake). Digestive biscuits work too and are very similar to graham crackers. Sandies or butter cookies are also delicious.
Serving & Storage
How to Serve:
I usually serve these straight from the fridge. They’re best cold. Top with a dollop of whipped cream, fresh berries, or a drizzle of lemon curd. They look elegant at dinner parties but are easy to eat as finger food. I often cut them into small squares for parties so people can have two or three.
Side Dishes:
These bars are rich, so they pair well with light sides if served as part of a larger meal. A simple green salad with vinaigrette works great. They also go well with coffee or tea. I love having one with my morning coffee on the weekend.
Storage Instructions:
Refrigerator: Store in an airtight container for up to 5 days. They actually taste better after a couple of days. Layer them between parchment paper if stacking to prevent sticking.
Freezing: Yes, you can freeze these! Wrap the whole pan tightly in plastic wrap and then foil. Freeze for up to 2 months. Thaw in the fridge overnight. Or, cut into bars first and freeze individually on a baking sheet, then transfer to a freezer bag. They thaw perfectly.
Reheating: Do not reheat. Cheesecake bars are meant to be served chilled. Reheating will make the texture greasy and the flavor flat.
Nutrition Information
I’m not a nutritionist, but here’s the breakdown if you’re tracking. Keep in mind that these are rich, indulgent bars, so portion control is key.
Per bar (makes 16 bars):
- Calories: 280
- Protein: 4g
- Carbs: 28g
- Fat: 18g
- Sugar: 20g
- Sodium: 180mg
Look, this is dessert. It’s not a health food. But it’s homemade, so you know exactly what’s in it. When I want to make it slightly lighter, I use a bit less sugar and add more lemon zest. But usually? I just enjoy a small square and savor it. Balance is everything.
Final Thoughts
So that’s my go-to lemon cheesecake bars with buttery graham crust! I’ve probably talked your ear off at this point, but when you make a recipe this often, you have a lot to say about it.
This has saved weeknight dessert plans more times than I can count. It’s my answer to “what’s for dessert?” when I’m tired, don’t want takeout, and still want something that tastes really good. My kids are happy, my husband’s happy, and I’m happy because I’m not stressed about cooking.
Make it yours! Try different fruit swirls, swap the crust, or adjust the lemon. The best recipes are the ones you adapt to your family’s tastes. If you make this, drop a comment and let me know what you think! I love hearing how recipes turn out in your kitchen. And if something doesn’t work, tell me that too—I’m here to help troubleshoot.
Happy baking! And I hope your kitchen smells half as good as mine does right now.
Frequently Asked Questions
Can I use bottled lemon juice?
You can, but fresh lemon juice tastes so much better. Bottled juice often has preservatives that give it a metallic or flat taste. Fresh juice has that bright, zesty pop that makes these bars special. If you absolutely must use bottled, choose one without preservatives, but fresh is always best.
Why did my cheesecake bars crack?
Cracking usually happens from overmixing (too much air) or overbaking (too much heat). Make sure to mix the eggs gently and stop as soon as they’re incorporated. Also, check the bars when the center still has a slight jiggle. If you bake them until they’re completely firm in the pan, they’ll likely crack as they cool. Let them cool gradually in the turned-off oven with the door slightly ajar for extra insurance.
Can I make this ahead for a party?
Absolutely. These bars actually improve with time. You can make them 2-3 days ahead and keep them in the fridge. They’re perfect for meal prep or party planning. Just keep them covered to prevent them from absorbing other fridge smells.
Do I need a water bath?
No, you don’t. For bars, a water bath isn’t necessary. It’s more important for large, round cheesecakes. The smaller size and shorter baking time of these bars make them less prone to cracking. Just follow the cooling instructions, and you’ll be fine.
Can I substitute sour cream for heavy cream?
Yes! Sour cream adds a nice tang that complements the lemon. Use ¼ cup of sour cream instead of the heavy cream. It will make the texture slightly denser but very creamy. I’ve used both and prefer the heavy cream for a lighter texture, but sour cream is delicious too.
How do I get clean slices?
Use a sharp knife. Wipe it with a hot, damp cloth between each cut. This removes any sticky residue and ensures each slice is neat. If you don’t have a sharp knife, use a plastic knife—it’s less likely to stick to the cheesecake.
What if I don’t have a 9×9 pan?
You can use an 8×8 pan for thicker bars, but increase the baking time by 5-10 minutes. Or, use a 10×15 jelly roll pan for thinner bars, and decrease the baking time by 5 minutes. Keep an eye on them, as the baking time will vary depending on the pan size.
Pin This Recipe!
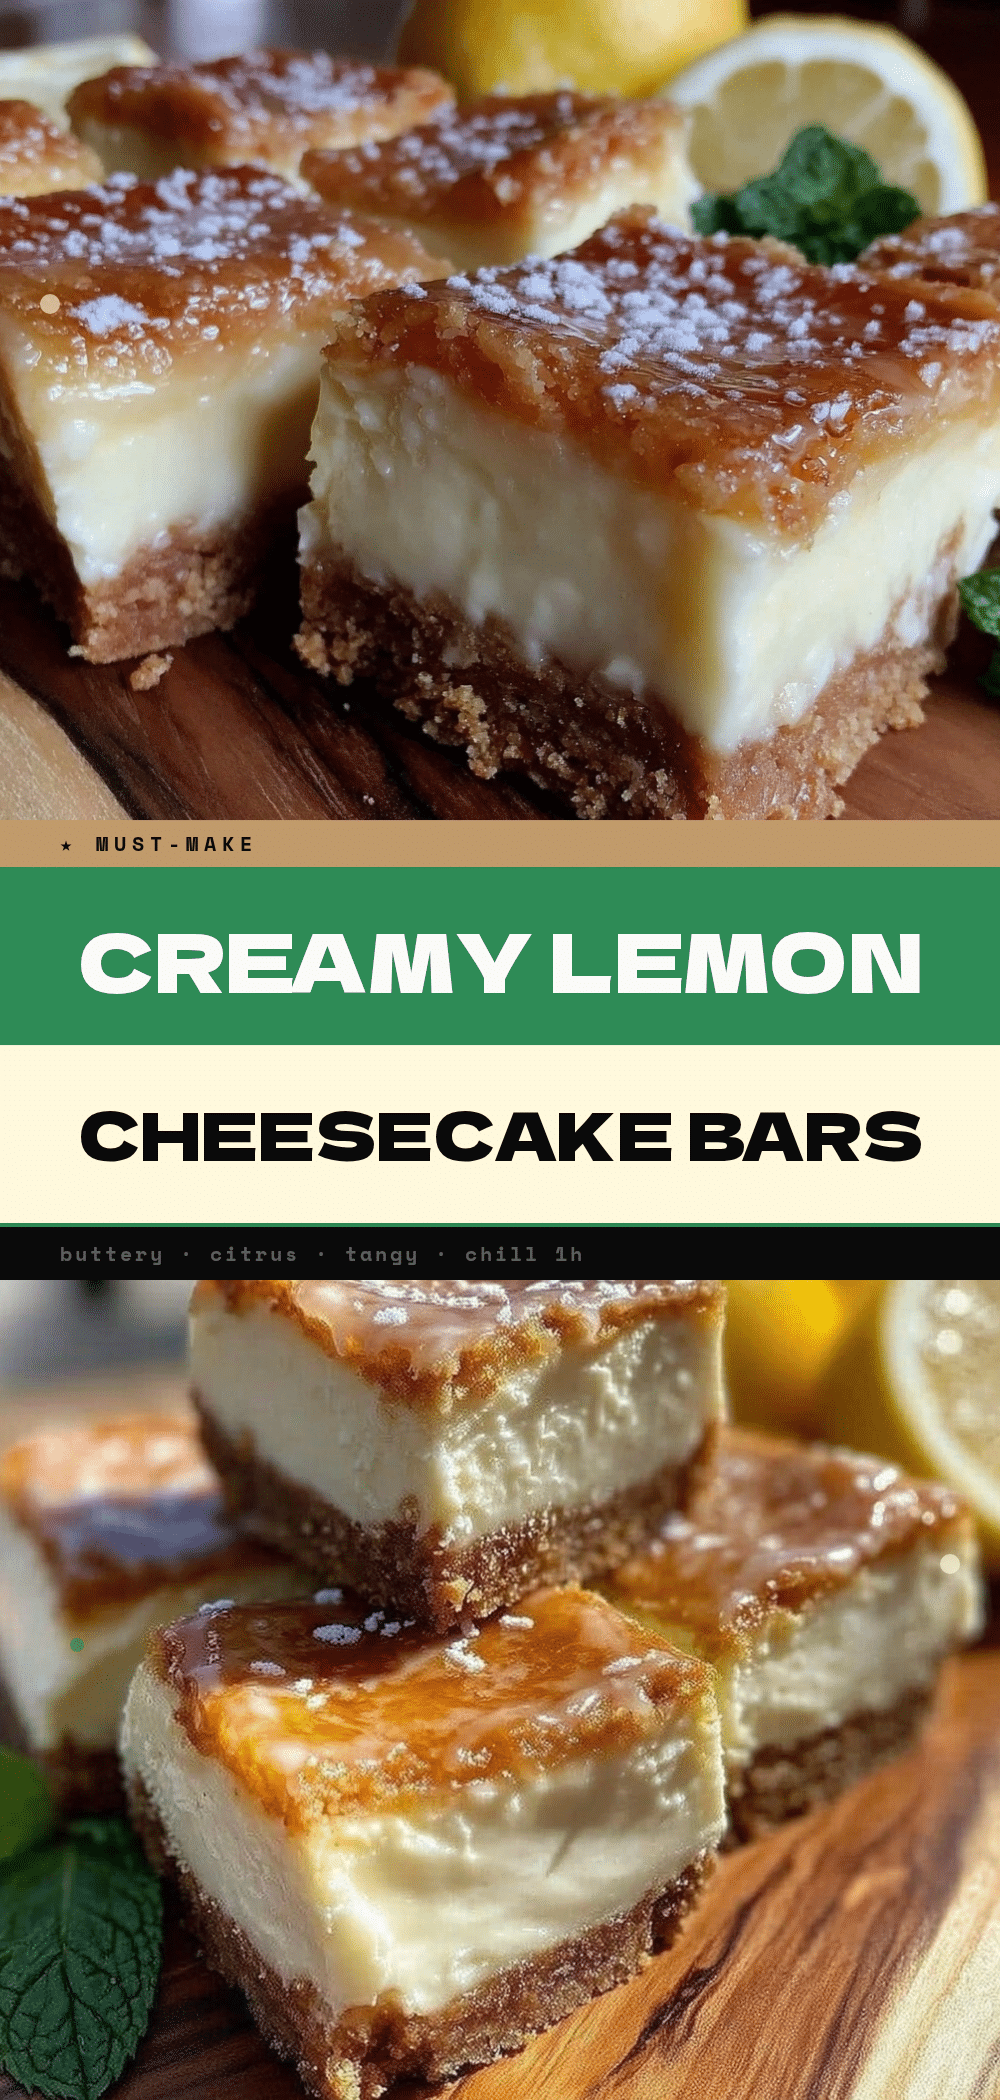
Lemon Cheesecake Bars: Easy 5pm Dessert
- Total Time: 45 minutes
- Yield: 16 servings 1x
Description
Light, zesty, and creamy lemon cheesecake bars with a buttery graham cracker crust. This easy recipe requires no stand mixer, uses simple pantry ingredients, and is ready in under 45 minutes of active time plus chilling.
Ingredients
- 1 ½ cups (150g) graham cracker crumbs
- 6 tablespoons (85g) unsalted butter, melted
- 2 tablespoons (25g) granulated sugar
- Pinch of salt
- 24 oz (680g) full-fat cream cheese, softened
- 1 cup (200g) granulated sugar
- 3 large eggs, room temperature
- 2 tablespoons (30ml) heavy cream
- 3–4 tablespoons (45-60ml) fresh lemon juice
- 1 tablespoon lemon zest
- 1 teaspoon vanilla extract
- 2 tablespoons (15g) all-purpose flour
Instructions
- Preheat oven to 350°F (175°C). Line a 9×9 inch baking pan with parchment paper, leaving an overhang on the long sides for easy removal.
- In a medium bowl, mix graham cracker crumbs, melted butter, 2 tablespoons sugar, and salt until it resembles wet sand. Press firmly into the bottom of the prepared pan. Bake for 8-10 minutes until lightly golden. Remove from oven and let cool. Turn oven off.
- In a large mixing bowl, beat softened cream cheese and 1 cup sugar until completely smooth and creamy, about 2 minutes. Scrape down the sides of the bowl.
- Beat in eggs one at a time on low speed, mixing just until combined. Do not overmix.
- Add heavy cream, vanilla extract, lemon juice, and lemon zest. Mix until just combined.
- Stir in flour until no white streaks remain. The batter should be thick, smooth, and pale yellow.
- Pour filling over the cooled crust and spread evenly. Tap the pan gently on the counter to release air bubbles.
- Bake at 350°F for 20-25 minutes. The edges should be set, but the center should still have a slight jiggle.
- Let bars cool in the pan on a wire rack for 15 minutes.
- Cover with plastic wrap and refrigerate for at least 4 hours, ideally overnight, until firm.
- Lift bars out of the pan using parchment overhang. Cut into squares using a sharp knife, wiping the knife with a damp cloth between cuts.
Notes
Ensure cream cheese is fully softened to avoid lumps. Do not overmix the batter after adding eggs to prevent cracking. For clean slices, wipe the knife with a hot, damp cloth between cuts. These bars are best served chilled and can be stored in the refrigerator for up to 5 days or frozen for up to 2 months.
- Prep Time: 15 minutes
- Cook Time: 30 minutes
- Category: Dessert
- Cuisine: American
Nutrition
- Serving Size: 1 bar
- Calories: 280
- Sugar: 20
- Sodium: 180
- Fat: 18
- Saturated Fat: 10
- Carbohydrates: 28
- Fiber: 1
- Protein: 4
Keywords: lemon cheesecake bars, easy dessert, 5pm dessert, no mixer dessert, graham cracker crust, lemon bars, quick baking, family friendly dessert



