I have a confession to make. Last Tuesday, I came home from work completely drained. My brain was fried, the kids had already eaten their dinners (which was a win in itself), and the last thing I wanted to do was stand over a hot stove for an hour. I opened the fridge, stared at a bag of frozen chicken drumsticks, and had that familiar pang of guilt. I knew I needed to make dinner, but I didn’t have the energy for a complicated roast or a slow-cooked stew.
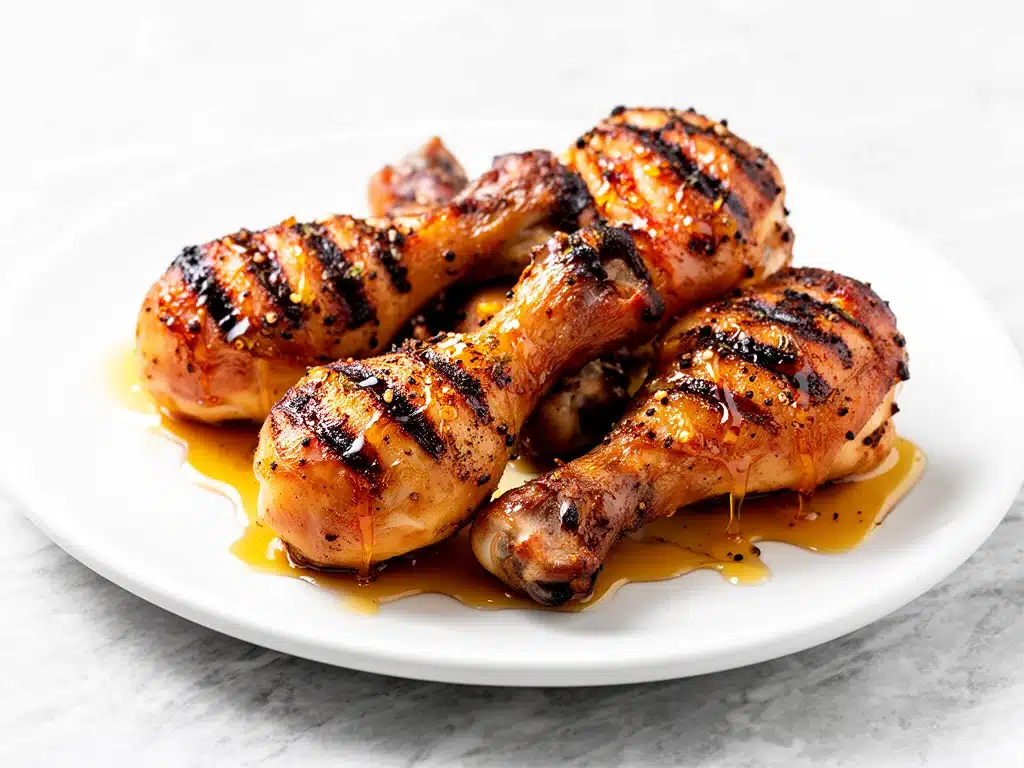
That’s when I decided to try a shortcut that actually works. I grabbed some honey, my favorite bottled BBQ sauce, and a few pantry staples. I threw the drumsticks in the oven with a glaze that smelled like a summer cookout but took less time than ordering takeout. Thirty minutes later, I pulled a tray of sticky, golden, juicy drumsticks out of the oven. The smell filled the house, my kids ran in asking what smelled so good, and my husband just nodded approvingly. It was perfect. Not “good for a weeknight” perfect. Actually perfect.
That night changed how I think about busy dinners. I’ve made these Juicy Honey Glazed BBQ Chicken Drumsticks at least six times since then. They’re cheap, they’re forgiving, and they taste like you spent hours planning. If you’re tired of dry chicken or complicated marinades that require overnight prep, this is your new go-to. It’s the kind of meal that makes you feel like a hero without the stress.
I’ve tested this recipe with different brands of BBQ sauce, varied the honey amounts, and even tried it in the air fryer (more on that later). The version below is the one that consistently gets clean plates and second helpings. It’s sweet, it’s smoky, it’s juicy, and it takes exactly 30 minutes from start to finish if you time it right. Let me walk you through why this simple combination works so well.
Why You’ll Love This Recipe
There are plenty of chicken recipes out there, but this one hits a sweet spot that’s hard to beat. Here’s why this honey glazed BBQ chicken has earned a permanent spot in my weekly rotation:
- Zero Marinating Time — Seriously. You don’t need to plan ahead. The honey and soy sauce (yes, add a splash of soy sauce for depth) penetrate the meat quickly enough while it cooks. I’ve made this at 6 PM on a whim with no prior prep.
- One Pan, Less Cleanup — Line your baking sheet with foil, toss the chicken in, and you’re done. No washing multiple bowls, no scrubbing pots. My husband handles the cleanup on the nights I cook because it’s so easy.
- Kid-Approved Flavor — The honey makes it sweet enough for picky eaters, while the BBQ sauce adds a smokiness that adults love. It’s like a candy version of BBQ chicken, but it’s still dinner. My 8-year-old asks for these specifically now.
- Super Affordable — Chicken drumsticks are one of the cheapest cuts of chicken. You can feed four people for under $10, depending on where you shop. That’s a win for the wallet and the waistline.
- Flexible Cooking Methods — Make it in the oven, the air fryer, or even the grill. I usually use the oven because it’s hands-off, but the air fryer is faster if you’re in a rush.
- Perfectly Juicy Every Time — Drumsticks have more fat and connective tissue than breasts, which means they stay moist even if you slightly overcook them. You can’t ruin these. Trust me.
Basically, this is the recipe I make when I want to eat well, save money, and not spend my evening cleaning up. It’s reliable, delicious, and incredibly satisfying.
Ingredients You’ll Need
Here’s the best part: you probably have most of this in your pantry already. I’m not asking you to buy exotic spices or specialty items. This is real, everyday cooking.
For the Chicken
- Chicken drumsticks (2 pounds / 900g) — Don’t buy pre-cut packs if you can help it. Sometimes they’re tiny. Look for larger drumsticks for better meat-to-bone ratio. Pat them dry with paper towels—this helps the glaze stick.
- Vegetable oil (1 tablespoon) — Just enough to coat the chicken so the seasoning adheres. Olive oil works too, but I prefer neutral oil for high heat.
For the Honey BBQ Glaze
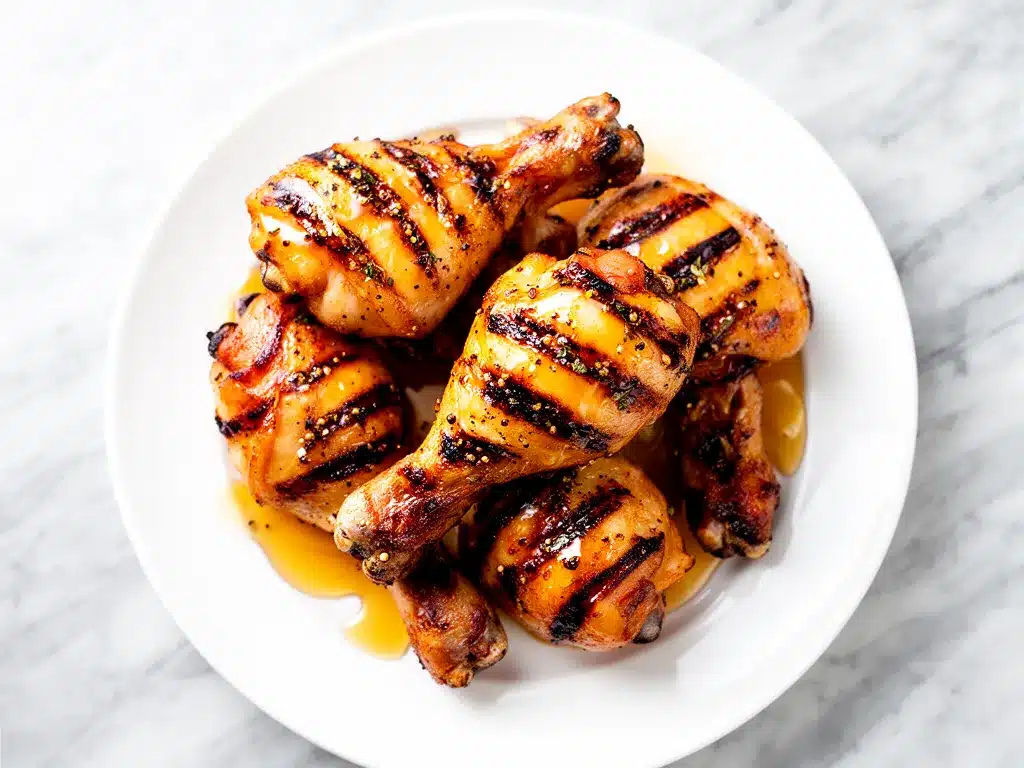
- Barbecue sauce (1 cup / 240ml) — I use Sweet Baby Ray’s or a similar thick, smoky sauce. If you have a homemade BBQ sauce, that’s even better. Avoid thin, watery sauces; they won’t glaze properly.
- Honey (1/4 cup / 80g) — This is the star. It caramelizes beautifully in the oven. Use real honey, not corn syrup blends. The flavor difference is noticeable.
- Soy sauce (1 tablespoon) — This sounds weird with honey, but it adds saltiness and umami that balances the sweetness. Don’t skip it. It’s the secret ingredient.
- Apple cider vinegar (1 teaspoon) — Cuts through the richness and adds a tangy bite. If you don’t have this, lemon juice works.
- Garlic powder (1 teaspoon) — Fresh garlic can burn in the oven, so powder is safer and more even. If you have fresh garlic, use 2 cloves minced, but keep an eye on it.
- Smoked paprika (1/2 teaspoon) — Adds that authentic BBQ smokiness without needing a smoker. If you don’t have this, regular paprika is fine.
- Black pepper (1/2 teaspoon) — Freshly cracked is best.
- Salt (1/2 teaspoon) — Adjust based on your soy sauce and BBQ sauce saltiness. Taste the glaze before baking if you’re unsure.
Optional Add-ins
- Red pepper flakes — For a little heat. I add a pinch because I like a sweet-and-spicy combo.
- Fresh parsley — For garnish. It adds color and freshness against the dark glaze.
Equipment Needed
You don’t need fancy gadgets for this. Here’s what I actually use:
- Baking sheet — A standard 18×13 inch sheet pan works perfectly. I use rimmed sheets to catch any drips.
- Parchment paper or foil — Line your pan! Cleanup is a breeze if you do. I prefer foil because I can just crumple it up and toss it.
- Mixing bowl — Small to medium size for whisking the glaze.
- Pastry brush — For applying the glaze. Silicone brushes are easier to clean than bristle ones.
- Cooking thermometer — Optional but recommended. Chicken is done at 165°F (74°C). I like to check to ensure consistency.
- Tongs — For flipping the chicken. Makes it easier to handle without burning your fingers.
How to Make It: Step-by-Step
Alright, let’s get cooking. This is straightforward, but there are a few tricks to get that sticky, caramelized finish.
Step 1: Prep the Oven and Pan (5 minutes)
Preheat your oven to 400°F (200°C). Line a large baking sheet with aluminum foil and spray it lightly with non-stick cooking spray. The foil makes cleanup instant, and the spray prevents sticking.
Step 2: Dry the Chicken (2 minutes)
Pat the drumsticks dry with paper towels. This is crucial. If the chicken is wet, the glaze will slide off. You want a dry surface so the seasoning sticks and the skin crisps up.
Step 3: Season the Chicken (2 minutes)
Place the drumsticks in a large bowl. Drizzle with the vegetable oil and sprinkle with salt and black pepper. Toss until every piece is lightly coated. You don’t need a heavy seasoning here; the glaze does the heavy lifting.
Step 4: Make the Glaze (3 minutes)
In a small bowl, whisk together the BBQ sauce, honey, soy sauce, apple cider vinegar, garlic powder, smoked paprika, and red pepper flakes (if using). The mixture should be thick and glossy. If it’s too thick, add a teaspoon of water. If it’s too thin, add a bit more honey.
Step 5: First Bake (15 minutes)
Arrange the drumsticks on the prepared baking sheet, leaving space between them for air circulation. Bake for 15 minutes. This cooks the chicken through without burning the sugar in the glaze.
Step 6: Glaze and Broil (5-7 minutes)
Remove the pan from the oven. Brush a generous layer of the glaze over each drumstick. Return to the oven and broil for 5-7 minutes. Watch closely! Honey burns fast. You want the glaze to bubble and caramelize, turning a deep golden-brown. If your oven runs hot, check at 4 minutes.
Step 7: Rest and Serve (3 minutes)
Remove from the oven and let the chicken rest for 3 minutes. This allows the juices to redistribute. Sprinkle with fresh parsley if desired. Serve immediately while hot and sticky.
Expert Tips & Tricks
Here’s everything I’ve learned from making these dozens of times. These tips will save you from common mistakes.
- Don’t Skip the Drying Step — I know it’s tedious, but wet chicken = soggy skin. Pat them dry. Really dry.
- Brush, Don’t Pour — Use a pastry brush to get the glaze into the crevices. Pouring it on just makes a mess on the pan.
- Watch the Broiler — Sugar burns quickly. Keep the oven door slightly ajar if you want to monitor it closely, or set a timer for 4 minutes. You want amber, not black.
- Save Some Glaze — Reserve a little glaze before brushing the chicken. Use it as a dipping sauce on the side. Kids love dipping.
- Internal Temperature — Chicken is safe at 165°F (74°C). If you’re worried, use a thermometer. The meat should pull away from the bone easily.
Variations & Substitutions
Once you’ve mastered the basic version, here’s how you can mix it up:
- Spicy Version — Add 1 teaspoon of cayenne pepper or swap the BBQ sauce for a spicy variety. Great for heat lovers.
- Gluten-Free — Use gluten-free BBQ sauce and tamari instead of soy sauce. Most major BBQ brands are GF, but always check.
- Air Fryer Method — Cook at 380°F (190°C) for 12 minutes, flip, glaze, and cook for another 5-7 minutes. Faster, but less caramelized.
- Grill Method — Grill over medium heat for 15 minutes, flip, glaze, and grill for 5 more minutes. Adds a nice char.
- Low-Sugar Option — Use sugar-free BBQ sauce and a smaller amount of honey. It’s still sweet, just less so.
Serving & Storage
These drumsticks are best served hot and fresh. They pair well with roasted vegetables, coleslaw, or corn on the cob. I often serve them with a simple green salad to balance the richness.
Storage: Store leftovers in an airtight container in the fridge for up to 3 days. The glaze will thicken as it cools.
Reheating: Reheat in the oven at 350°F (175°C) for 10 minutes to restore crispiness. Microwaving makes the skin soggy, so avoid it if you can.
Freezing: You can freeze cooked drumsticks for up to 3 months. Thaw in the fridge overnight and reheat in the oven.
Nutrition Information
I’m not a nutritionist, but here’s the breakdown per serving (based on 4 servings, 2 drumsticks each):
- Calories: 320
- Protein: 22g
- Carbs: 18g
- Fat: 18g
- Sugar: 14g
- Sodium: 650mg
It’s a decent protein source, but keep in mind the sugar content from the honey and BBQ sauce. If you’re watching sugar, use the low-sugar variation.
Final Thoughts
These Juicy Honey Glazed BBQ Chicken Drumsticks are my secret weapon for busy weeknights. They’re easy, affordable, and taste like a treat. I hope they become a favorite in your kitchen too. If you make them, let me know how they turn out! I love hearing from readers who try new recipes.
Frequently Asked Questions
Can I use chicken breasts instead of drumsticks?
You can, but breasts cook faster and dry out more easily. If you use breasts, reduce the cooking time to 20-25 minutes total and watch them closely. Drumsticks are more forgiving.
Why is my glaze burning?
Honey burns at high temperatures. If your glaze is browning too fast, lower the broiler temperature or move the pan to a lower rack. You can also bake at 375°F instead of broiling for a slower caramelization.
Can I make this ahead of time?
You can prep the glaze and season the chicken ahead of time, but don’t glaze until right before baking. The sugar in the glaze can make the chicken soggy if it sits too long.
Is this recipe healthy?
It’s a balanced meal with protein and carbs. The sugar content is moderate, so enjoy in moderation. The low-sugar variation is a better option for strict diets.
Can I freeze the glaze?
Yes, the glaze freezes well for up to 3 months. Thaw in the fridge before using. It’s great to have extra on hand for other recipes.
Pin This Recipe!
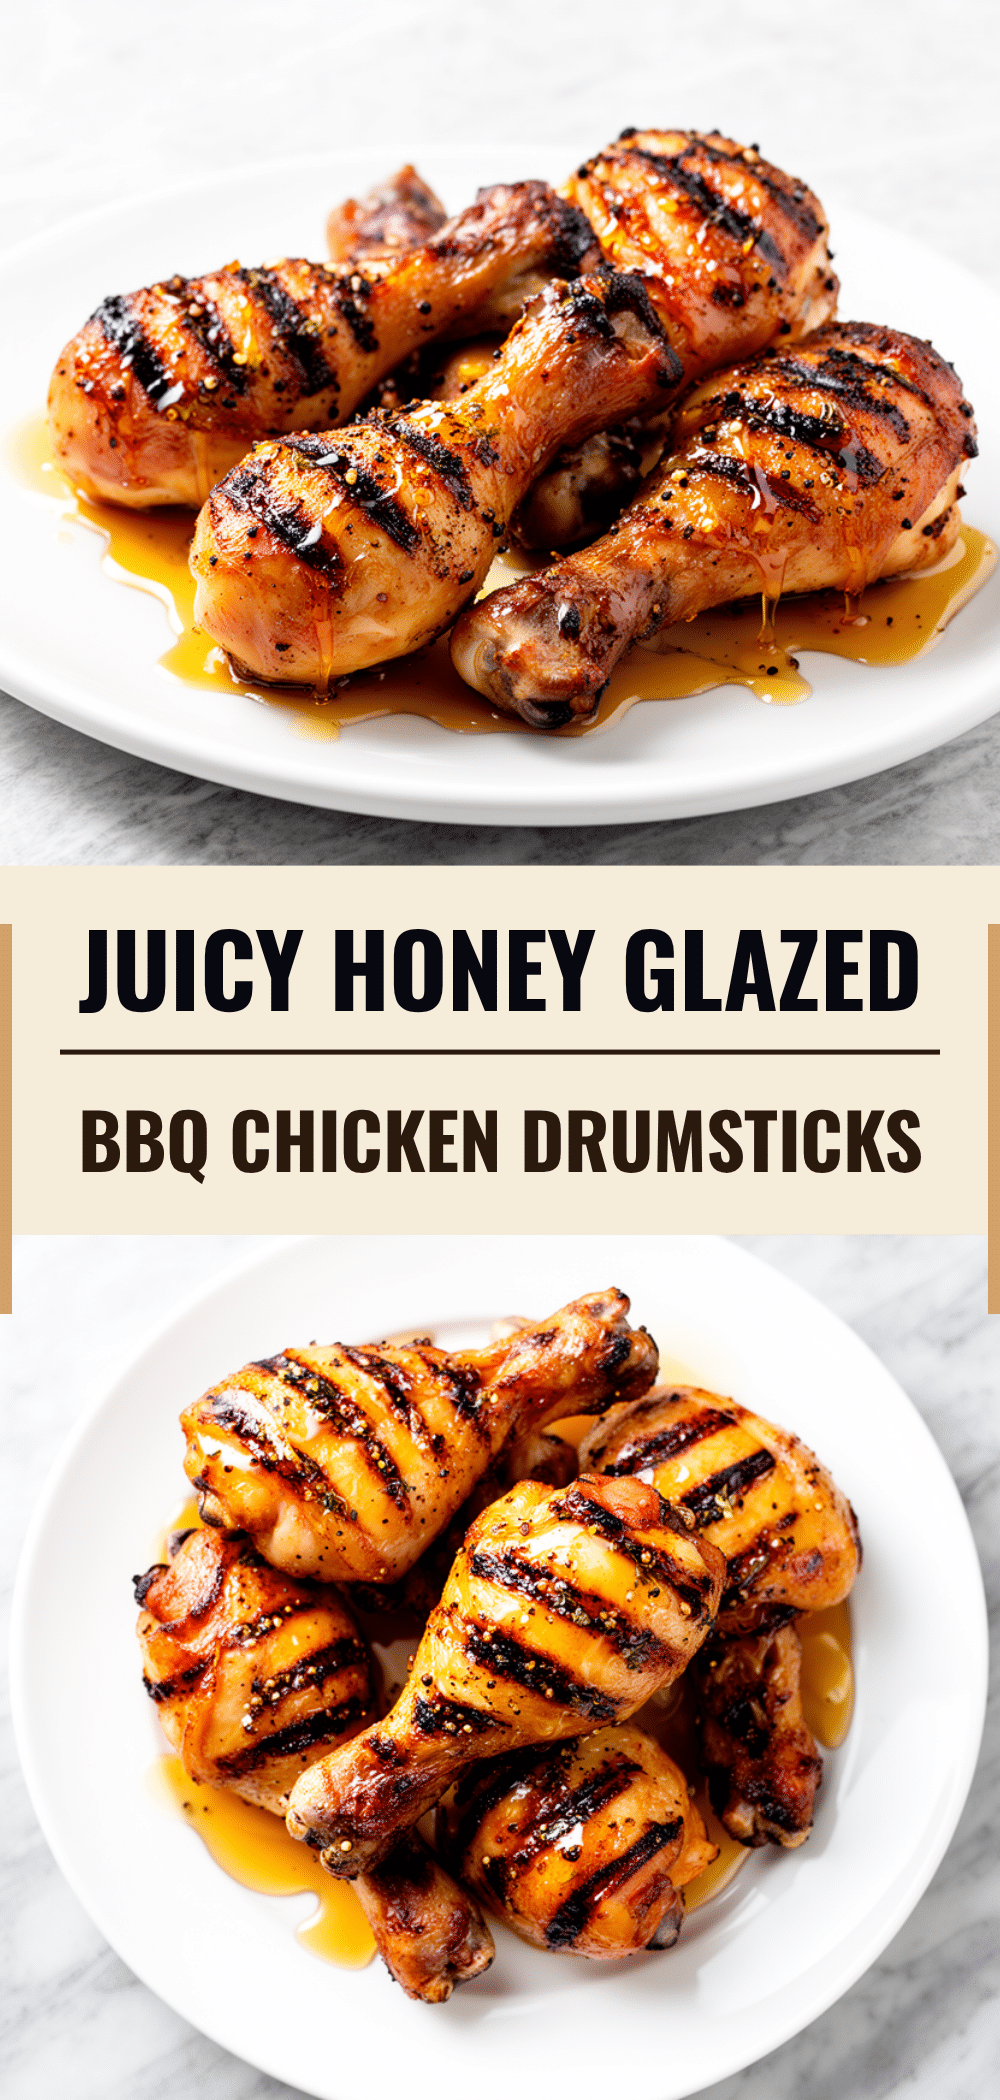
Juicy Honey Glazed BBQ Chicken Drumsticks: 30-Min Meal
- Total Time: 30 minutes
- Yield: 4 servings 1x
Description
A quick and easy weeknight dinner featuring sticky, golden chicken drumsticks coated in a sweet and smoky honey BBQ glaze. Ready in just 30 minutes with minimal cleanup.
Ingredients
- 2 pounds chicken drumsticks
- 1 tablespoon vegetable oil
- 1 cup barbecue sauce
- 1/4 cup honey
- 1 tablespoon soy sauce
- 1 teaspoon apple cider vinegar
- 1 teaspoon garlic powder
- 1/2 teaspoon smoked paprika
- 1/2 teaspoon black pepper
- 1/2 teaspoon salt
- Red pepper flakes (optional)
- Fresh parsley (optional, for garnish)
Instructions
- Preheat oven to 400°F (200°C). Line a large baking sheet with aluminum foil and spray lightly with non-stick cooking spray.
- Pat the chicken drumsticks dry with paper towels to ensure the glaze sticks and skin crisps.
- Place drumsticks in a large bowl, drizzle with vegetable oil, and sprinkle with salt and black pepper. Toss to coat evenly.
- In a small bowl, whisk together BBQ sauce, honey, soy sauce, apple cider vinegar, garlic powder, smoked paprika, and red pepper flakes (if using).
- Arrange drumsticks on the prepared baking sheet, leaving space between them for air circulation.
- Bake for 15 minutes.
- Remove pan from oven and brush a generous layer of glaze over each drumstick.
- Return to oven and broil for 5-7 minutes, watching closely to prevent burning. The glaze should bubble and caramelize to a deep golden-brown.
- Remove from oven and let chicken rest for 3 minutes before serving. Garnish with fresh parsley if desired.
Notes
Patting the chicken dry is crucial for crispy skin. Watch the broiler closely as honey burns quickly. Reserve some glaze for dipping. Chicken is done at 165°F (74°C).
- Prep Time: 12 minutes
- Cook Time: 18 minutes
- Category: Main Course
- Cuisine: American
Nutrition
- Serving Size: 2 drumsticks per ser
- Calories: 320
- Sugar: 14
- Sodium: 650
- Fat: 18
- Saturated Fat: 4
- Carbohydrates: 18
- Protein: 22
Keywords: chicken drumsticks, honey BBQ chicken, quick dinner, weeknight meals, easy chicken recipe, baked chicken, family friendly



