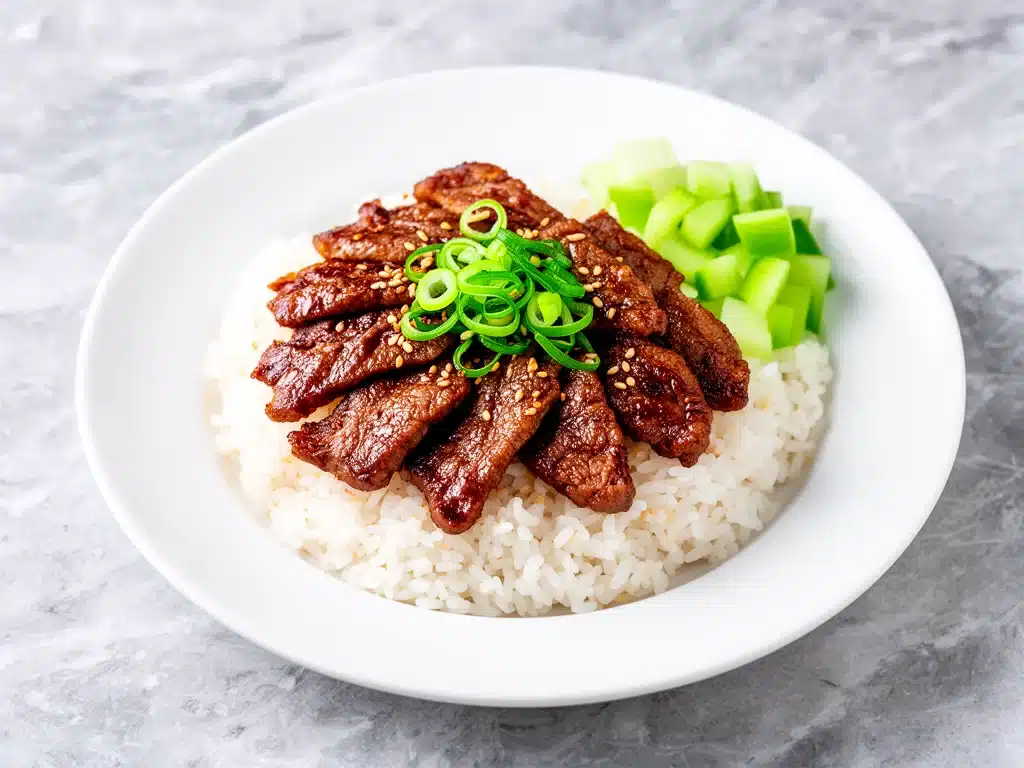
Last Tuesday, I was standing in my kitchen at 7:30 PM, staring at the fridge like it owed me money. I was exhausted. The kind of exhausted where the idea of chopping vegetables feels like climbing Mount Everest, but the thought of eating cold leftovers makes me want to cry. My phone was in my hand, thumb hovering over my favorite delivery app. I knew exactly what I wanted: a bowl of beef bulgogi rice, the kind with caramelized edges, sweet and savory sauce, and those perfectly steamed broccoli florets.
But then I remembered the last time I ordered it. It was fine. Sure. But it cost me $18, came in a flimsy plastic container that leaked slightly, and honestly? The beef was chewy. I realized I’d been spending a fortune on mediocre Asian takeout when I had half the ingredients in my pantry and a few key items in my fridge.
So I put the phone down. I grabbed a ribeye steak, some soy sauce, brown sugar, and garlic. I threw together what I thought would be a quick, mediocre dinner. Ten minutes later, the smell of sizzling marinated beef filled the apartment. My partner walked in, sniffed the air, and asked, “Did you order takeout?” When I said no, he didn’t believe me. He took one bite, closed his eyes, and said, “This is better than takeout.”
That was the moment my relationship with delivery apps changed. I’ve made these Homemade Beef Bulgogi Rice Bowls at least a dozen times since then. Sometimes I use flank steak because it’s cheaper. Sometimes I use sirloin. Sometimes I add extra veggies. But the core method stays the same: a simple, sweet-savory marinade that turns cheap cuts of beef into tender, restaurant-quality magic. It’s fast (under 20 minutes active time), it’s affordable, and it tastes like you spent an hour simmering it. Spoiler alert: you didn’t.
Why You’ll Love This Beef Bulgogi Rice Bowl Recipe
There’s a reason I keep coming back to this bowl. It’s not just about the taste (though the taste is incredible). It’s about how it fits into real life. Here’s the truth about why this recipe has become a permanent fixture in our weekly rotation:
- It’s Actually Faster Than Delivery — From fridge to fork in 25 minutes. And that’s including the time to cook the rice. If you have leftover rice (and you should, see my tips below), it’s done in 10 minutes. Try beating UberEats on that.
- Pantry Staples, Fancy Flavor — You don’t need to go to a specialty Asian market for this. Soy sauce, sugar, garlic, sesame oil, and pear (or apple) are things most people have. The marinade does all the heavy lifting, so you don’t need complex techniques.
- Meal Prep Friendly — I make a double batch of the beef on Sundays. It stores beautifully in the fridge for 3-4 days. During the week, I just reheat a portion over rice with some veggies. It’s my secret weapon for busy workdays when I don’t want to cook but still want to eat good food.
- Customizable for Everyone — My partner loves it with extra broccoli. I like it with sautéed spinach. My kids prefer it with just the beef and rice. The bowl format means everyone can build their own experience without me feeling like a short-order cook.
- High Protein, Low Stress — This isn’t just comfort food; it’s actual fuel. A good bowl has protein, carbs, and veggies. It keeps you full without the 3 PM crash that comes from heavy, greasy takeout.
This recipe has saved me hundreds of dollars on delivery fees and countless hours of waiting for drivers who can’t find my apartment. It’s reliable, it’s delicious, and it makes my kitchen smell amazing instead of like a greasy restaurant.
Ingredients You’ll Need for the Best Beef Bulgogi
Here’s the thing about bulgogi: the marinade is 90% of the flavor. The beef is just the canvas. I’m particular about a few things here, but honestly, you can swap a lot of this out depending on what’s in your kitchen.
For the Beef
Beef (1.5 lbs / 700g) — I recommend flank steak or skirt steak. They have great flavor and absorb the marinade well. Sirloin works too if you want something leaner. Avoid stew meat—it’s too tough for quick cooking. Slice it thinly against the grain. Trust me on this. If you don’t slice it right, it’ll be chewy.
For the Marinade
Soy Sauce (½ cup / 120ml) — This is the salty base. I use regular soy sauce, not low-sodium, because I want that deep umami flavor. If you need gluten-free, use tamari. It works perfectly.
Brown Sugar (3 tablespoons / 45g) — Bulghogi is sweet. The sugar caramelizes in the pan, giving you those delicious dark, crispy bits. Don’t skip this. It balances the salt.
Sesame Oil (1 tablespoon / 15ml) — Toasted sesame oil is non-negotiable. It adds that nutty aroma that smells like a Korean BBQ restaurant. If you have it, use it. If you don’t, the flavor will just be… flat.
Garlic (4 cloves, minced / about 2 tablespoons) — Yes, four cloves. Bulghogi is garlicky. It’s supposed to punch you in the face with flavor. Fresh garlic only. Jarred stuff tastes metallic in this context.
Fresh Ginger (1 teaspoon, grated) — Adds a little zing. If you don’t have fresh, use ¼ teaspoon ground ginger. It’s not the same, but it works.
Rice Vinegar (1 tablespoon / 15ml) — A little acidity cuts through the richness of the beef and sugar. If you don’t have rice vinegar, white wine vinegar works in a pinch.
For the Sweet Secret (Optional but Recommended)
Ripe Pear or Apple (¼ cup, grated) — This is the restaurant trick. The enzymes in the fruit tenderize the beef, and the natural sugars boost the caramelization. I use a ripe pear because it’s sweeter. If you don’t have fruit, just add an extra tablespoon of sugar and a splash of water. It’s fine.
For the Bowl
White Rice (2 cups cooked / about 1 cup uncooked) — Short-grain Japanese rice is best because it’s sticky and holds the sauce well. Jasmine rice works too, but it’s fluffier. Do not use brown rice unless you want to chew for 20 minutes.
Broccoli (1 head, cut into florets) — The classic pairing. Steam or stir-fry it. I usually steam it in the microwave while the beef cooks.
Sesame Seeds (1 tablespoon) — For garnish. Toast them in a dry pan for 30 seconds. It sounds fancy, but it just adds crunch and aroma.
Green Onions (2, sliced) — Freshness and color. Sprinkle on top right before serving.
Equipment Needed
You don’t need fancy gear for this. I’m not going to lie to you and tell you that you need a clay pot or a specific type of wok. Here’s what I actually use:
Large Skillet or Wok — I use a 12-inch cast iron skillet. It holds heat well, which is crucial for searing the beef quickly. If you don’t have cast iron, a stainless steel skillet or a non-stick pan works fine. Just make sure it’s big enough to spread the beef in a single layer. Crowding the pan steams the meat instead of searing it.
Sharp Knife — This is the most important tool. You need to slice the beef thinly. A dull knife will tear the meat and make it impossible to slice against the grain. If your knife is dull, sharpen it or buy a new one. It’s worth it.
Measuring Spoons and Cups — Standard stuff. I prefer measuring spoons for the spices and oils for accuracy.
Mixing Bowl — Just a medium bowl to mix the marinade and beef. Glass or ceramic is nice because it doesn’t retain odors, but plastic works too.
Rice Cooker or Pot — If you have a rice cooker, use it. It’s foolproof. If not, a simple pot with a tight-fitting lid works. Just remember the 2:1 water-to-rice ratio.
Colander — For rinsing the rice. This step is important to remove excess starch so your rice isn’t gummy.
How to Make Beef Bulgogi Rice Bowls
Alright, let’s get cooking. This is straightforward, but there are a few tricks to get that perfect texture. I’m walking you through exactly how I do it, including the little mistakes I made so you don’t have to.
Step 1: Prep the Beef (5 minutes)
Take your beef out of the fridge. Let it sit for 10 minutes while you chop veggies. You want it slightly chilled but not freezing cold—this makes it easier to slice thinly. Slice the beef against the grain into thin strips. “Against the grain” means you’re cutting perpendicular to the direction of the muscle fibers. This shortens the fibers, making the meat tender. If you cut with the grain, it’ll be chewy. I’ve ruined a few steaks before I got this right.
Step 2: Make the Marinade (3 minutes)
In your mixing bowl, whisk together the soy sauce, brown sugar, sesame oil, minced garlic, grated ginger, rice vinegar, and grated pear (if using). Mix until the sugar is dissolved. It should look like a thin, dark brown liquid. Taste it. It should be sweet and salty. If it’s too salty, add a splash more water or pear juice. If it’s too sweet, add a splash more soy sauce.
Step 3: Marinate the Beef (15-30 minutes)
Add the sliced beef to the marinade. Toss it around to make sure every piece is coated. Cover the bowl with plastic wrap or a lid. Let it sit in the fridge for at least 15 minutes. If you have time, let it marinate for up to 2 hours. But don’t go over 4 hours, or the meat can get mushy from the enzymes (if using fruit) or the salt. I usually marinate it while I cook the rice. It’s the perfect amount of time.
Step 4: Cook the Rice (15-20 minutes)
Rinse your rice under cold water until the water runs clear. This removes excess starch. Add the rice and water (2:1 ratio) to your pot or rice cooker. Bring to a boil, then reduce heat to low, cover, and simmer for 15-18 minutes. Turn off the heat and let it sit, covered, for 5 more minutes. Fluff with a fork. This step is hands-off, so use this time to prep your veggies.
Step 5: Cook the Beef (5-7 minutes)
Heat your skillet over medium-high heat. Add a teaspoon of neutral oil (like vegetable or canola) to coat the pan. Once the oil is shimmering, add the beef and marinade. DO NOT STIR IMMEDIATELY. Let it sear for 1-2 minutes. You want some caramelization. Then, toss and stir-fry for another 3-4 minutes until the beef is cooked through and the sauce has thickened and glazed the meat. It should look glossy and dark. If the sauce is too thin, let it cook for another minute. If it’s too thick, add a splash of water.
Step 6: Prep the Veggies (While beef cooks)
While the beef is searing, steam your broccoli. I put it in a microwave-safe bowl with a tablespoon of water, cover it, and microwave for 2-3 minutes. It should be tender-crisp. Alternatively, you can stir-fry it in the same pan after the beef is done, but I like to keep the beef separate so it doesn’t get soggy.
Step 7: Assemble the Bowls
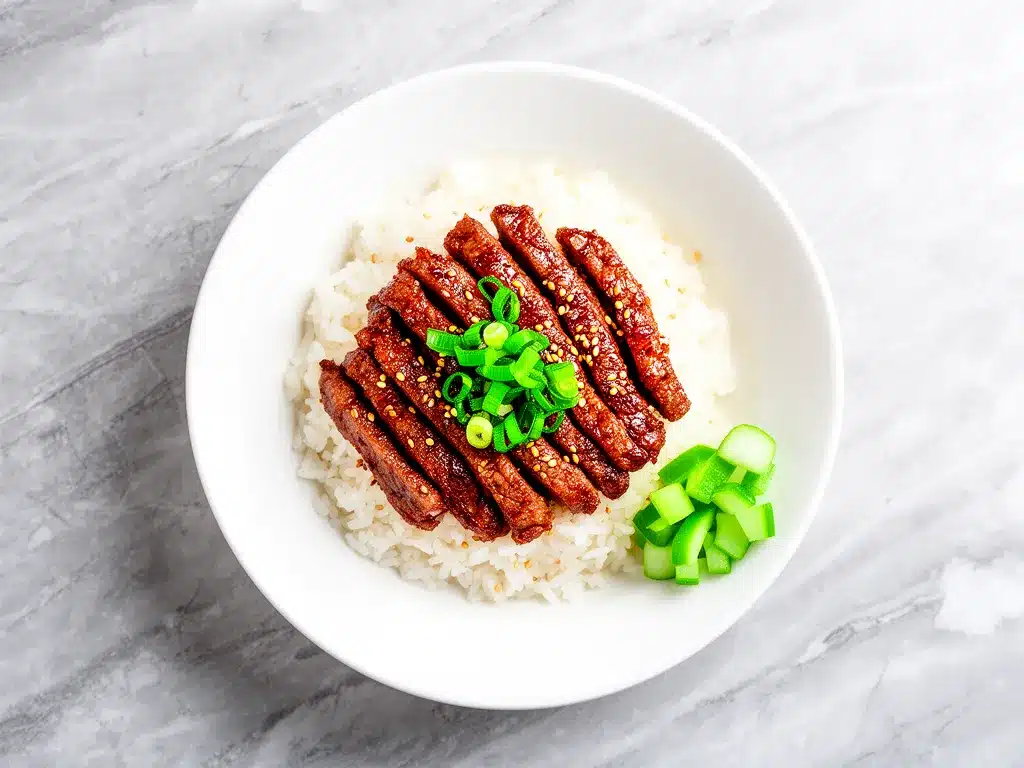
Take your warm bowls. Spoon a generous portion of rice into the bottom. Top with the glazed beef. Arrange the broccoli on the side. Sprinkle with toasted sesame seeds and sliced green onions. Drizzle with a little extra sesame oil if you want extra nuttiness. Serve immediately.
Total Time: About 30 minutes (10 minutes active, 20 minutes mostly hands-off)
Expert Tips for Perfect Bulgogi
Here’s everything I’ve learned from making this dozens of times. These tips will save you from my mistakes.
Slice Against the Grain — I can’t stress this enough. Look at the beef. See the lines running through it? Cut perpendicular to those lines. This is the single biggest factor in tenderness. If you’re unsure, freeze the beef for 20 minutes before slicing. It firms up and makes slicing easier.
Don’t Crowd the Pan — If you put too much beef in the pan at once, it’ll steam instead of sear. The moisture from the meat will trap itself, and you’ll get gray, boiled beef instead of caramelized, flavorful beef. Cook in batches if you’re making a large amount. I usually cook 1.5 lbs in one go if my pan is big enough, but if it’s packed, do two batches.
Use a Ripe Pear — The enzymatic tenderizing is real. A ripe pear breaks down the protein structures in the beef. If you don’t like pears, apple works too. But make sure it’s ripe. A hard, green apple won’t have the same effect.
Save the Sauce — The sauce in the pan after cooking the beef is liquid gold. It’s concentrated flavor. Don’t throw it away! Drizzle it over the rice. It’s like free gravy.
Toast Your Sesame Seeds — Raw sesame seeds are fine, but toasted sesame seeds are amazing. Just pop them in a dry pan for 1-2 minutes until they smell nutty and turn golden. It takes 30 seconds but makes a huge difference.
Make-Ahead Strategy — You can marinate the beef overnight. It’ll be very tender. But if you’re meal prepping, cook the beef separately from the veggies. Store them in separate containers. Reheat the beef gently so it doesn’t overcook.
Variations & Substitutions
Once you’ve nailed the basic version, here’s how you can mix it up. I’ve tried all of these.
Pork Bulgogi — Use pork shoulder or pork belly instead of beef. Pork loves this marinade. It’s slightly sweeter and richer. I use pork when I’m trying to save money.
Chicken Bulgogi — Use chicken thighs. They stay juicy. Chicken cooks faster, so reduce the cooking time to 3-4 minutes. It’s lighter but still delicious.
Tofu Bulgogi — For a vegetarian version, use extra-firm tofu. Press it first, then cube it. Marinate it for 30 minutes. Pan-fry it until crispy. It absorbs the sauce beautifully. My vegetarian friend loves this version.
Spicy Bulgogi — Add 1 tablespoon of gochujang (Korean chili paste) to the marinade. It adds heat and depth. If you don’t have gochujang, use sriracha or red pepper flakes. It’s a great twist if you like spice.
Vegetable-Loaded — Add sliced mushrooms, bell peppers, or carrots to the pan with the beef. Cook them alongside the beef. They absorb the sauce too. This is how I get my kids to eat more vegetables.
Gluten-Free — Use tamari instead of soy sauce. Everything else is naturally gluten-free. Just check your sesame oil to make sure it’s pure.
Dairy-Free — This recipe is naturally dairy-free. No butter or cream here. Just soy, sugar, oil, and beef. Safe for most dairy allergies.
Serving & Storage
How to Serve: I usually serve this straight from the skillet at the dinner table. It looks rustic and stays warm. But here are other ways I’ve enjoyed it:
- Side Dishes: Cucumber salad (salted and drained, with vinegar and sugar), kimchi (for tang), or a simple seaweed salad. I also like it with crispy garlic chicken on the side for a protein boost.
- Toppings Bar: When I have guests, I put out: extra sesame seeds, gochujang, sliced jalapeños, and crispy fried onions. Everyone customizes their bowl.
Storage Instructions:
Refrigerator: Store the beef, rice, and veggies in separate airtight containers for up to 4 days. The beef will keep well. The rice will harden, but that’s normal. The veggies will soften slightly.
Reheating: Best method: Microwave the rice and beef together with a splash of water. Cover it. Microwave in 30-second intervals, stirring in between. The water creates steam and rehydrates the rice. The beef will heat through quickly. Do not overheat the beef, or it’ll get tough. If you’re using a skillet, add a splash of water and heat gently over low heat.
Freezing: You can freeze the cooked beef for up to 3 months. The texture might change slightly, but it’s still good for sandwiches or salads. I don’t recommend freezing the rice or veggies—they don’t thaw well.
Meal Prep: I make a big batch of rice on Sunday. I marinate the beef on Monday morning. By Tuesday night, I have a fast, healthy dinner ready in 10 minutes. It’s a game-changer for busy weeks.
Nutrition Information
I’m not a nutritionist, but here’s the breakdown if you’re tracking.
Per Serving (based on 4 servings):
- Calories: 450
- Protein: 35g
- Carbs: 40g
- Fiber: 2g
- Sugar: 12g
- Fat: 15g
- Sodium: 900mg
What’s Good: High protein from the beef. Good carbs from the rice for energy. The veggies add fiber and vitamins. It’s a balanced meal.
What to Know: Higher sodium from the soy sauce. If you’re watching salt, use low-sodium soy sauce and reduce the amount. The sugar content is moderate, mostly from the marinade. You can reduce the brown sugar by half if you want a less sweet version.
My Take: Look, this is comfort food. It’s not a diet recipe. But it’s way better than takeout, costs less, and I know exactly what’s in it. When I want to make it lighter, I use less rice and more broccoli. But usually? I just eat a reasonable portion and enjoy it.
Final Thoughts
So that’s my go-to beef bulgogi rice bowl! I’ve probably talked your ear off at this point, but when you make a recipe this often, you have a lot to say about it.
This has saved weeknight dinners more times than I can count. It’s my answer to “what’s for dinner” when I’m tired, don’t want takeout, and still want something that tastes really good. My kids are happy, my partner’s happy, and I’m happy because I’m not stressed about cooking.
Make it yours! Try different add-ins, swap in your favorite vegetables, adjust the garlic (though more is always better in my opinion). The best recipes are the ones you adapt to your family’s tastes.
If you make this, drop a comment and let me know what you think! I love hearing how recipes turn out in your kitchen. And if something doesn’t work, tell me that too—I’m here to help troubleshoot.
Happy cooking! And I hope your kitchen smells half as good as mine does right now.
Frequently Asked Questions
Can I use beef brisket instead of flank steak?
You can, but brisket is tougher. If you use brisket, slice it extremely thinly and marinate it for at least 2 hours. The longer marinade helps tenderize it. Flank steak is quicker and easier for a weeknight meal, but brisket has a richer flavor. I prefer flank for speed.
Why is my beef chewy?
Two reasons: You didn’t slice it against the grain, or you overcooked it. Slice against the grain, and cook it quickly over high heat. Beef bulgogi should be cooked medium-rare to medium. Overcooking makes it tough.
Can I make the marinade ahead of time?
Yes! The marinade keeps in the fridge for up to a week. I usually make a big batch and keep it in a jar. Then I just grab a slice of beef, toss it in, and cook it. It’s super convenient.
What if I don’t have a pear or apple?
Just use an extra tablespoon of brown sugar and a tablespoon of water. The fruit is just for tenderizing and natural sweetness. The brown sugar provides the sweetness, and the soy sauce provides the salt. It’ll still be delicious.
Can I use jasmine rice?
Yes, but adjust the water ratio. Jasmine rice usually needs less water than short-grain rice. Use a 1.5:1 water-to-rice ratio. Short-grain rice is stickier and holds the sauce better, but jasmine works fine if you prefer the fluffier texture.
How do I reheat leftovers without drying out the beef?
Add a splash of water or broth when reheating. This creates steam and keeps the beef moist. Microwave it in short bursts, stirring in between. If you’re using a skillet, add a little oil or water and heat gently. Don’t crank the heat up high.
Is this recipe gluten-free?
Not traditionally, because soy sauce contains wheat. But if you swap regular soy sauce for tamari (gluten-free soy sauce), it’s completely gluten-free. Just check your sesame oil to make sure it’s pure. Everything else is naturally gluten-free.
Pin This Recipe!
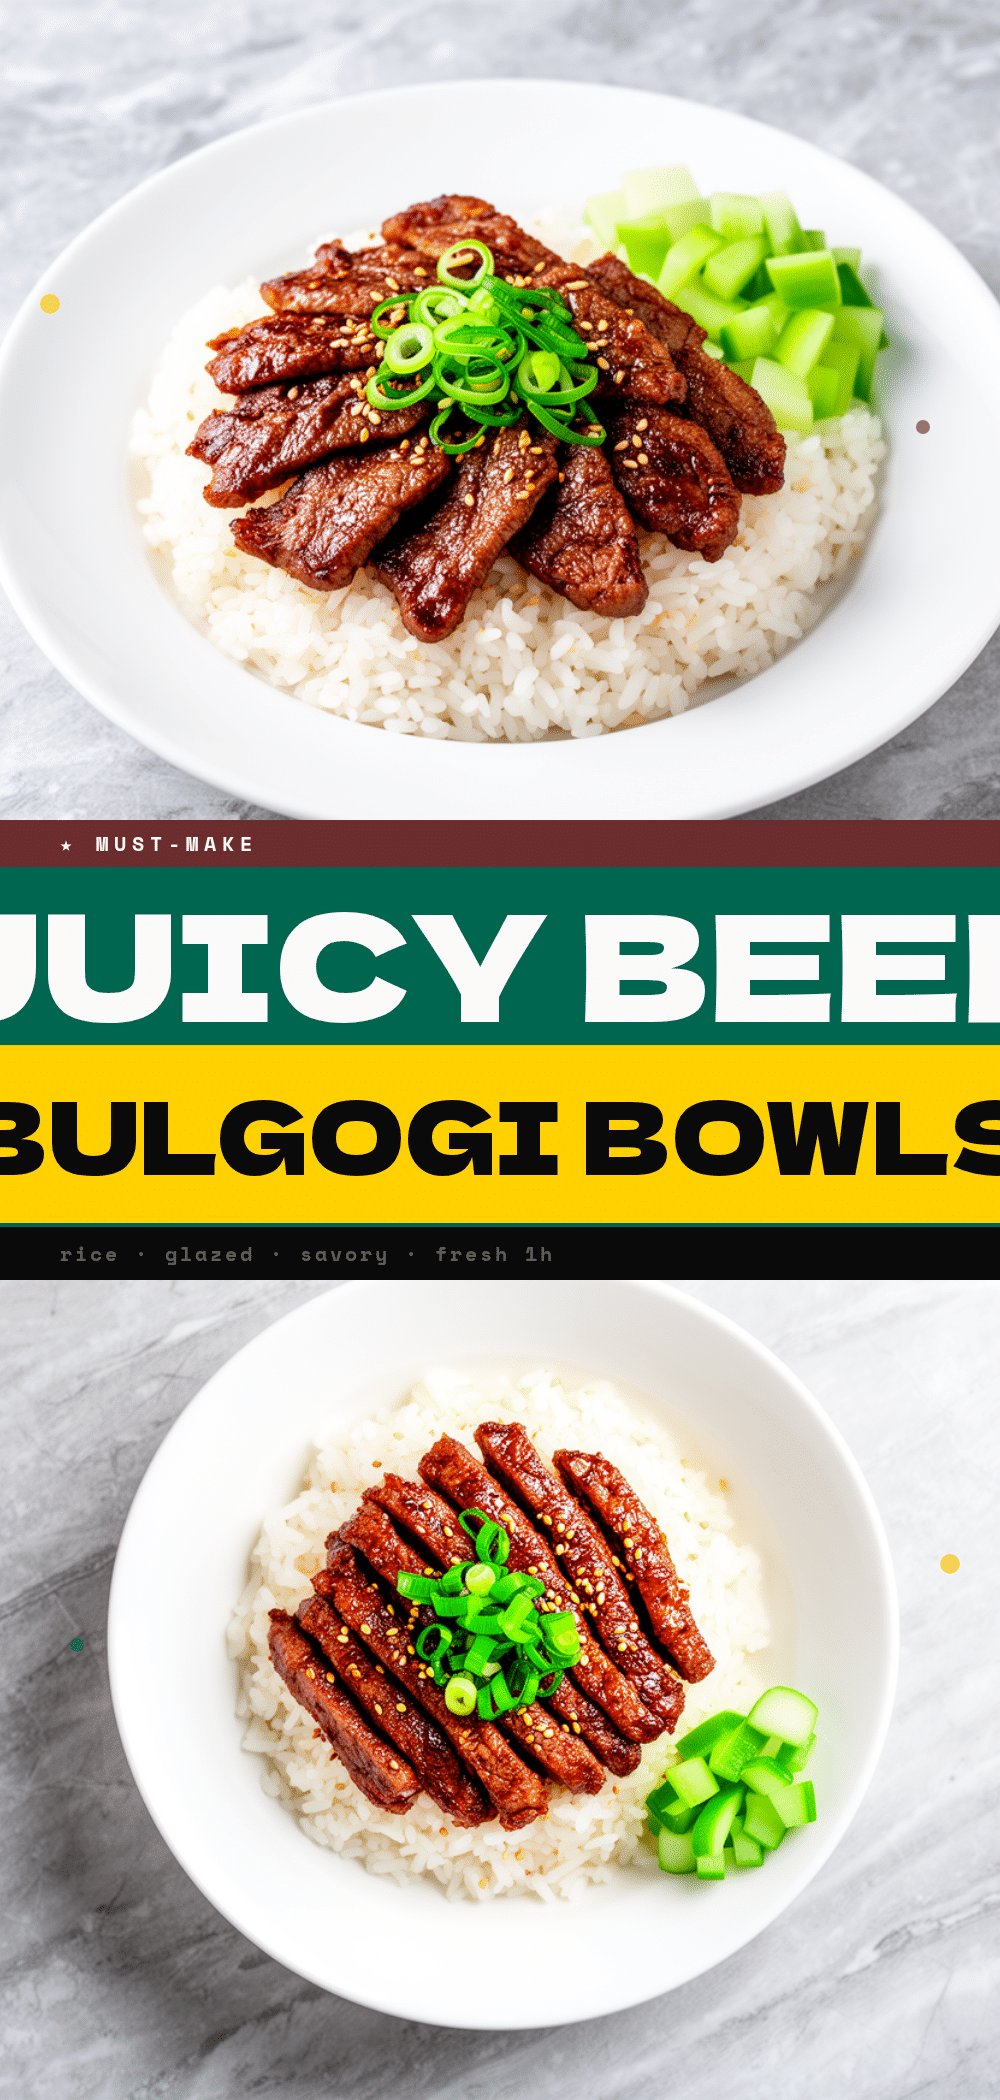
Homemade Beef Bulgogi Rice Bowls
- Total Time: 30 minutes
- Yield: 4 servings 1x
Description
A quick, affordable, and delicious homemade version of takeout beef bulgogi. This recipe features tender marinated beef, sweet-savory sauce, and steamed broccoli served over rice, ready in under 30 minutes.
Ingredients
- 1.5 lbs flank steak or skirt steak, sliced thinly against the grain
- 1/2 cup soy sauce (or tamari for gluten-free)
- 3 tablespoons brown sugar
- 1 tablespoon toasted sesame oil
- 4 cloves garlic, minced
- 1 teaspoon fresh ginger, grated
- 1 tablespoon rice vinegar
- 1/4 cup ripe pear or apple, grated (optional but recommended)
- 2 cups cooked short-grain white rice
- 1 head broccoli, cut into florets
- 1 tablespoon sesame seeds, toasted
- 2 green onions, sliced
- 1 teaspoon neutral oil (for cooking)
Instructions
- Slice the beef against the grain into thin strips. Let it sit for 10 minutes to slightly chill for easier slicing.
- In a mixing bowl, whisk together soy sauce, brown sugar, sesame oil, garlic, ginger, rice vinegar, and grated pear until the sugar is dissolved.
- Add the sliced beef to the marinade, ensuring all pieces are coated. Cover and refrigerate for 15-30 minutes (do not exceed 4 hours).
- Rinse rice under cold water until clear. Cook rice with a 2:1 water-to-rice ratio in a pot or rice cooker. Simmer for 15-18 minutes, then let sit covered for 5 minutes before fluffing.
- Heat a large skillet or wok over medium-high heat with neutral oil. Add the beef and marinade. Do not stir immediately; let it sear for 1-2 minutes to caramelize.
- Stir-fry the beef for 3-4 minutes until cooked through and the sauce has thickened and glazed the meat.
- While the beef cooks, steam the broccoli florets in the microwave with a tablespoon of water for 2-3 minutes until tender-crisp.
- Assemble bowls by spooning rice into the bottom, topping with glazed beef, arranging broccoli on the side, and garnishing with toasted sesame seeds and green onions.
Notes
Slice beef against the grain to ensure tenderness. Do not crowd the pan when cooking beef to allow for proper searing rather than steaming. The grated pear acts as a natural tenderizer. Leftovers can be stored in the fridge for up to 4 days.
- Prep Time: 10 minutes
- Cook Time: 20 minutes
- Category: Main Course
- Cuisine: Korean
Nutrition
- Serving Size: 1 bowl per serving
- Calories: 450
- Sugar: 12
- Sodium: 900
- Fat: 15
- Carbohydrates: 40
- Fiber: 2
- Protein: 35
Keywords: beef bulgogi, rice bowls, korean food, quick dinner, meal prep, takeout alternative, high protein



