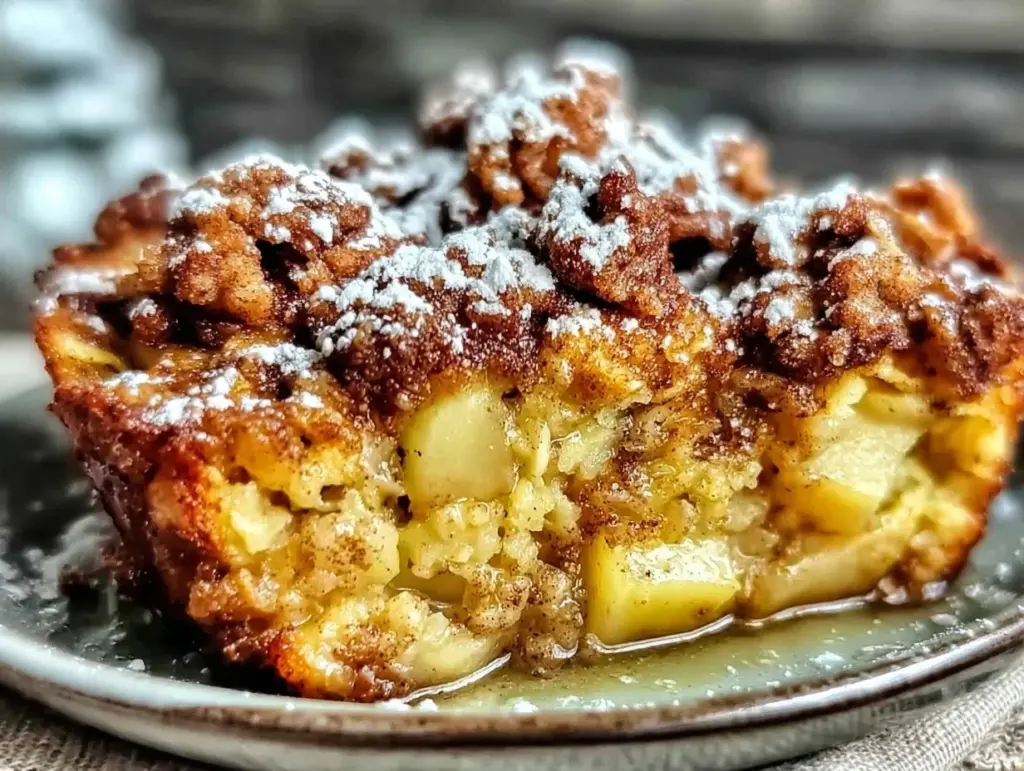
I used to hate mornings. Like, genuinely dread-them part of my day. Back when I was juggling a full-time job and two kids under the age of five, breakfast was usually a frantic race against the clock. I’d be grabbing my keys, shoving a granola bar into my son’s backpack, and realizing I hadn’t eaten anything since midnight. The solution? Meal prep Sunday, right? But let’s be real—meal prep sounds great until you actually have to stand in the kitchen at 6 AM on a Tuesday when it’s dark, cold, and you just want to sleep five more minutes.
That’s when I discovered this apple breakfast baked oatmeal. It’s the kind of recipe that feels like a cheat code for busy parents. The night before, I just dump everything into a baking dish. No chopping frenzy, no standing over a hot stove stirring porridge until my arm falls off. I put it in the fridge, hit the pillow, and wake up to the smell of cinnamon and baked apples. It’s warm, it’s comforting, and it tastes like a dessert for breakfast (which, honestly, is my favorite kind of breakfast).
I’ve been making this apple breakfast baked oatmeal for three years now. It’s survived toddler tantrums, toddler illnesses, and my own attempts to “optimize” it with weird ingredients I found on Pinterest. Spoiler alert: the original version is the best. It’s hearty, it’s sweet but not sugary, and it keeps you full until lunch. Plus, it’s a true one-pan meal. You mix it in the dish, bake it in the dish, and eat out of the dish if you’re feeling lazy. Zero cleanup stress. If you’re looking for a way to start your morning without the chaos, this is it.
Why You’ll Love This Recipe
Look, I know there are a thousand breakfast recipes out there. Eggs, toast, smoothies, yogurt parfaits. But here’s the thing: this apple breakfast baked oatmeal is different. It’s not just food; it’s a strategy for surviving the morning rush. Here’s why it’s become a staple in my house:
- Zero Morning Stress — Seriously, the only active time in the morning is scooping it onto a plate. The mixing happens the night before. I’ve made this while half-asleep, and it still turns out perfect. If you can pour milk and chop an apple, you can make this.
- Tastes Like Apple Pie, But It’s Healthy — It has that warm, cozy flavor of apple cinnamon crisp, but with the fiber and protein to actually fuel your day. It feels indulgent, but it’s packed with oats and fruit. My kids think they’re getting away with something delicious.
- Actually Keeps You Full — I’ve tried “healthy” breakfasts that left me hungry by 10 AM. Not this. The combination of oats, eggs, and apples creates a slow-burning energy. I don’t hit the pantry until lunchtime. It’s substantial without being heavy.
- Freezer Friendly — This is the big one. I make a double batch, freeze half, and I have breakfast for two weeks. You can freeze individual squares or the whole dish. Just reheat a square in the microwave for 60 seconds. It’s like having a mini bakery in your freezer.
- One Pan, One Dish — Do you know how much I love this? I hate dishes. This recipe requires one baking dish and one mixing bowl. That’s it. If you mix it directly in the baking dish, it’s just one dish. My husband calls it the “lazy person’s dream,” and I’ll take that compliment.
This isn’t just a recipe; it’s my peace of mind on weekday mornings. It’s the answer when I’m running late, when I want something warm, and when I need to know my family is eating something that isn’t processed sugar.
Ingredients You’ll Need
Here’s the best part: you probably have most of this already. This isn’t a recipe that requires a trip to three different specialty stores. It’s pantry staples and fresh fruit. I’m particular about three things here, but mostly, it’s super flexible.
For the Oat Base
Old-fashioned rolled oats (3 cups / 270g) — Do not use instant oats. They’ll turn to mush. Do not use steel-cut oats. They won’t cook right in this time frame. You need the flat, chewy kind. I use the store brand, but I make sure they’re not “quick” oats. This is the texture foundation.
Baking powder (1 teaspoon) — Just a little bit to help it rise. It gives that fluffy, cake-like texture instead of a dense porridge feel.
Cinnamon (2 teaspoons) — The star spice. Use ground cinnamon. If you have pumpkin pie spice, you can use that too, but cinnamon is classic. Don’t skimp on this; it’s what makes it smell amazing.
Salt (½ teaspoon) — Essential. It balances the sweetness. I use kosher salt.
For the Wet Mix
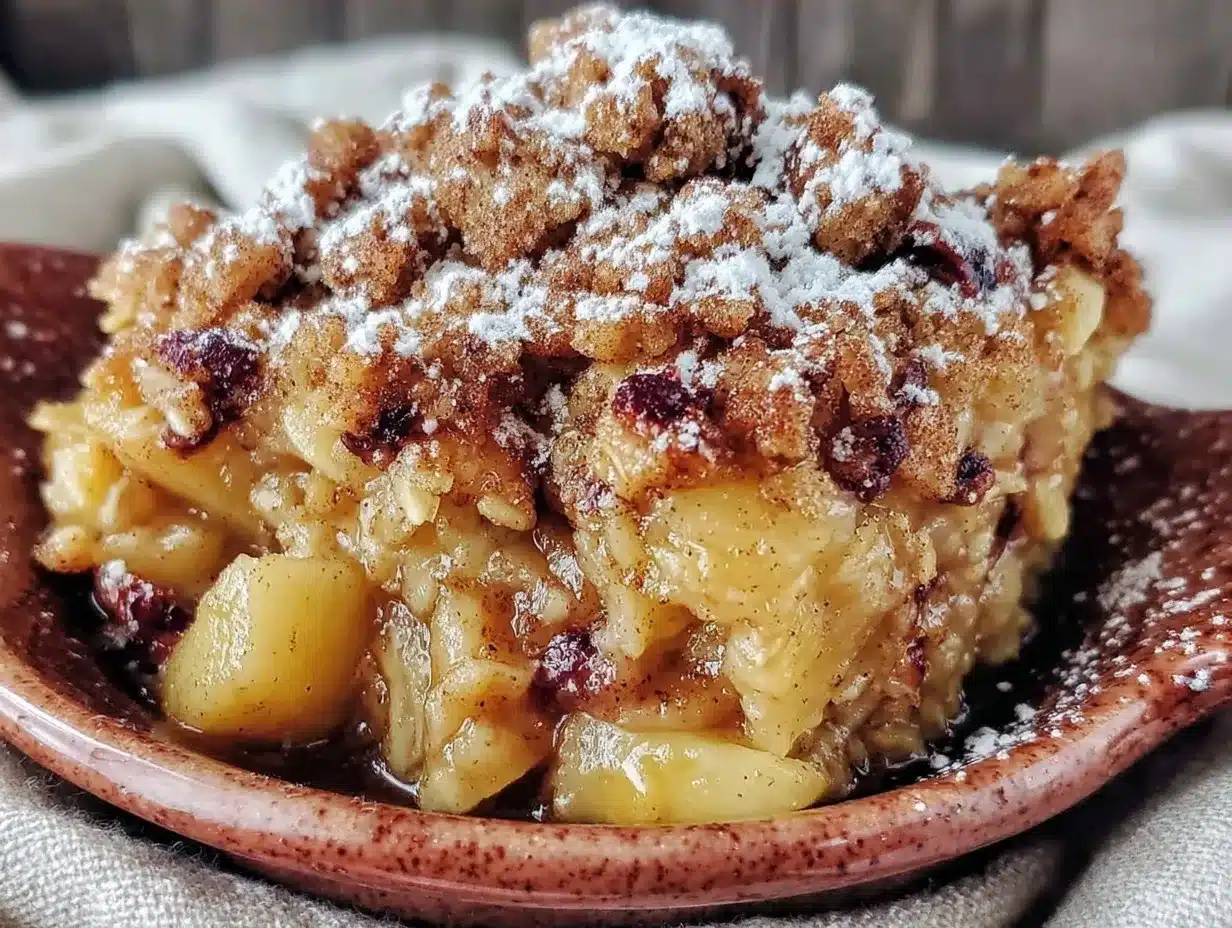
Large eggs (2 large) — These bind everything together. Room temperature is nice, but cold eggs from the fridge work fine too. I just crack them in directly.
Milk (2 cups / 480ml) — I use whole milk for richness, but any milk works. Almond, oat, soy, dairy-free—whatever your family drinks. Just avoid water; you want creaminess.
Maple syrup (¼ cup / 60ml) — Real maple syrup, not pancake syrup. It adds a deep, caramel flavor. If you’re watching sugar, you can use honey, but maple is traditional here. I use about ¼ cup because I like it sweet, but you can cut it to 2 tablespoons if you prefer less sugar.
Vanilla extract (1 teaspoon) — Pure vanilla, please. Artificial tastes chemical in baked goods. It rounds out the apple flavor.
The Stars: Apples and Extras
Apples (3 medium, peeled and diced) — I use a mix of Granny Smith and Honeycrisp. Granny Smith gives that tart bite, Honeycrisp adds sweetness. You can use Fuji or Gala, but make sure they’re firm. You don’t want them turning into applesauce in the oven. Peel them? I usually do, because some people (like my kids) hate apple skins. But if you want the fiber and color, leave them on.
Chopped walnuts or pecans (½ cup / 60g) — Optional, but I highly recommend it. The crunch contrasts with the soft oats. I buy them pre-chopped to save time. If you have a nut allergy, just skip them or use seeds.
Dark chocolate chips (¼ cup / 40g) — This is my secret weapon. A handful of mini chocolate chips makes it taste like a breakfast cookie. I add them right before baking so they don’t melt completely into the batter.
Quick tip: I usually peel and dice my apples the night before and keep them in a bowl in the fridge. It saves me from having to wash a knife and cutting board in the morning.
Equipment Needed
You don’t need fancy gadgets. Here’s what I actually use:
9×13 inch baking dish — Glass or ceramic is best because it heats evenly. I use a Pyrex dish. It’s cheap, durable, and easy to clean. A metal pan works too, but glass gives a better crust.
Large mixing bowl — Or just use the baking dish itself. I’ve been known to mix right in the dish to save a bowl. Just make sure it’s big enough to stir comfortably.
Measuring cups and spoons — Standard stuff. I keep a set by the coffee maker.
Box grater or knife — For the apples. I use a knife because I like uniform cubes. A grater makes smaller pieces that cook faster but might get mushy.
Spatula — For mixing. A rubber spatula is good for scraping the bowl.
Cling wrap or foil — To cover the dish for overnight soaking in the fridge.
Freezer-safe container (optional) — If you’re making a double batch for freezing.
Pro tip: I keep my baking dishes stacked in the oven. It’s the perfect size for this recipe, and it’s always clean and ready to go. If you don’t have a 9×13, you can use an 8×8, but it’ll be thicker and might need a few extra minutes in the oven.
How to Make It: Step-by-Step
Alright, let’s make this! I’m walking you through exactly how I do it, including the little tricks I’ve picked up over the years. This is so simple you could do it in your pajamas.
Step 1: Prep Your Apples (5 minutes)
Peel and dice your apples. I want them in ½-inch cubes. Too small, and they dissolve. Too big, and you get huge chunks of raw apple in your bite. If you’re doing this the night before, toss the diced apples with a little lemon juice to prevent browning. It’s not necessary, but it keeps them looking fresh. Set them aside.
Step 2: Mix the Dry Ingredients (2 minutes)
In your 9×13 baking dish (or a large bowl), combine the rolled oats, baking powder, cinnamon, and salt. Stir them together with a spatula or your hand. You want the spices distributed evenly so every bite tastes like cinnamon, not just one spicy corner. If you’re adding nuts, mix them in now.
Step 3: Mix the Wet Ingredients (2 minutes)
In a separate bowl (or the same one if you’re washing the first one), whisk the eggs, milk, maple syrup, and vanilla extract. Whisk until it’s uniform. No streaks of egg white. I just beat it with a fork until it’s yellow and smooth.
Step 4: Combine Everything (2 minutes)
Pour the wet mixture over the dry ingredients. Add the diced apples. Stir everything together until the oats are fully submerged in the liquid. This is important. The oats need to soak up the milk. If there are dry patches of oats at the bottom, stir them in. It should look like a thick, wet porridge batter.
Why this matters: Letting it sit allows the oats to soften overnight. This means they cook faster in the morning and have a better texture. It’s the secret to that tender, cake-like consistency.
Step 5: The Soak (Overnight)
Cover the dish tightly with plastic wrap or foil. Put it in the fridge. That’s it. Go to sleep. The mixture will thicken as the oats absorb the liquid. In the morning, it will look like a solid block. That’s good. That’s perfect.
Step 6: Bake It (30-35 minutes)
Preheat your oven to 350°F (175°C). Take the dish out of the fridge and let it sit for 10 minutes while the oven heats. This takes the chill off. Sprinkle chocolate chips on top if you’re using them. Bake for 30-35 minutes. You’ll know it’s done when the top is golden brown and slightly firm to the touch, and the edges are bubbling. If the top is browning too fast, cover it loosely with foil after 20 minutes.
Sensory cue: The smell will fill your house. It will smell like a bakery. If you can smell it from the bedroom, you’re doing it right.
Step 7: Cool and Serve (10 minutes)
Let it cool for 10 minutes before cutting. It’s hot, and it needs to set. If you cut it immediately, it’ll be mushy. Slice it into squares. It holds its shape well. Serve with a dollop of Greek yogurt, a drizzle of maple syrup, or just plain. It’s good either way.
Expert Tips & Tricks
Here’s everything I’ve learned from making this dozens of times. These tips will save you from my mistakes.
Choose the Right Apples
This is the most common mistake. Don’t use Red Delicious. They get mealy and bland. Use firm, tart apples. Granny Smith is my go-to, but I often mix it with a sweeter apple like Gala or Fuji for balance. The apple needs to survive the baking time without turning into sauce.
Don’t Skip the Soak
I know you’re tempted to bake it immediately. Don’t. The overnight soak is what makes the texture so good. The oats absorb the liquid and become creamy rather than chewy. If you’re in a rush, let it sit for at least 30 minutes on the counter, but overnight is best.
Customize Your Sweetness
I like it sweet, but your taste might differ. Start with ¼ cup of maple syrup. If you prefer less sugar, use 2 tablespoons. You can also add a teaspoon of brown sugar for a deeper caramel flavor. Taste the batter before baking—it should taste slightly too sweet, because it will mellow out during baking.
The Chocolate Chip Secret
I add chocolate chips right before baking, not when mixing. This keeps them from melting into the batter. You get little pockets of melted chocolate in each bite. It’s like a breakfast cookie. If you’re avoiding sugar, skip them or use dark chocolate chips with 70% cacao.
Cooling is Crucial
I’ve cut into it hot, and it’s a disaster. It’s soft and falls apart. Let it cool for at least 10 minutes. The structure sets as it cools. If you’re taking it to work, let it cool completely before putting the lid on, or it’ll get soggy from steam.
Freezing Like a Pro
Let the baked oatmeal cool completely. Then, cut it into squares. Wrap each square individually in plastic wrap, then put them in a freezer bag. They last for 3 months. To reheat, just microwave for 60-90 seconds. It’s like fresh-baked every time. I keep a bag in the freezer for those mornings when I overslept.
Variations & Substitutions
Once you’ve nailed the basic version, here’s how you can mix it up. I’ve tried all of these.
Berry Blast
Swap the apples for 2 cups of fresh or frozen berries. Blueberries, raspberries, or blackberries work great. Frozen berries will bleed color into the oats, making it pretty purple. Just add a tablespoon of cornstarch to the dry mix to help thicken the juices.
Pumpkin Spice
In the fall, I swap the apples for 1 cup of pumpkin puree. Add 1 tablespoon of pumpkin pie spice and a little extra maple syrup. It’s like eating pumpkin pie for breakfast. This pairs well with pumpkin chocolate chip bread vibes.
Protein Power
Add a scoop of vanilla protein powder to the dry mix. You might need an extra ¼ cup of milk because protein powder absorbs liquid. This makes it a great post-workout breakfast. I use whey isolate because it doesn’t change the texture as much.
Gluten-Free
Use certified gluten-free rolled oats. That’s it. Everything else is naturally gluten-free. Just make sure your baking powder and other ingredients are GF too. It tastes exactly the same.
Dairy-Free
Use almond milk, oat milk, or coconut milk instead of dairy milk. Use maple syrup instead of honey (if you’re vegan). The texture might be slightly less creamy, but it’s still delicious.
Nut-Free
Just omit the nuts. Or add seeds like pumpkin seeds or sunflower seeds for crunch. It’s still hearty and satisfying.
Serving & Storage
How to Serve: I usually serve this warm, straight from the oven. It’s best with a dollop of Greek yogurt for extra protein and a drizzle of maple syrup. But it’s also good cold, like a breakfast bar. I pack cold squares in my kids’ lunches sometimes. They love it.
Side Dishes: This is a complete meal on its own, but if you want more protein, add some bacon or sausage on the side. A simple fruit salad or a handful of almonds works too. I usually just have a cup of coffee and eat this.
Refrigerator: Store leftovers in an airtight container for up to 5 days. It actually gets better after a day or two as the flavors meld. I keep a container in the fridge for quick grab-and-go mornings.
Reheating: Microwave for 60-90 seconds. Add a splash of milk if it looks dry. It’ll be soft and warm. If you have an air fryer, reheat at 350°F for 3-4 minutes. It gets a nice crispy edge.
Freezing: As mentioned, freeze individual squares for up to 3 months. Thaw in the fridge overnight or microwave from frozen. It freezes really well because of the moisture from the apples and milk.
Pro tip: If you’re meal prepping for the week, bake the whole dish, let it cool, cut it into 12 squares, and store them in the fridge. You have breakfast for two weeks if you freeze half. It’s a game-changer for busy mornings.
Nutrition Information
I’m not a nutritionist, but here’s the breakdown if you’re tracking. This is per serving (based on 9 squares).
Per Serving:
– Calories: 220
– Protein: 8g
– Carbs: 42g
– Fiber: 5g
– Sugar: 14g
– Fat: 5g
– Saturated Fat: 1g
– Cholesterol: 45mg
– Sodium: 180mg
– Calcium: 100mg
What’s Good: High in fiber from the oats and apples. Good amount of protein from the eggs and oats. No refined flour. It’s a solid start to the day.
What to Know: Sugar content comes from the apples and maple syrup. You can reduce the syrup if you’re watching sugar. It contains dairy and eggs. It’s naturally gluten-free if you use GF oats.
My Take: Look, this is comfort food. It’s sweet, it’s warm, it’s satisfying. It’s not a diet food, but it’s way better than a donut or a sugary cereal. I use it as a treat, but a nutritious one. When I want to make it lighter, I use unsweetened applesauce instead of some of the milk and skip the chocolate chips. But usually? I just enjoy it and move on with my day.
Final Thoughts
So that’s my go-to apple breakfast baked oatmeal! I’ve probably talked your ear off at this point, but when you make a recipe this often, you have a lot to say about it. This has saved my mornings more times than I can count. It’s my answer to “what’s for breakfast” when I’m tired, don’t want to cook, and still want something that tastes really good. My kids are happy, my husband’s happy, and I’m happy because I’m not stressed about cooking.
Make it yours! Try different apples, swap in your favorite nuts, adjust the sweetness. The best recipes are the ones you adapt to your family’s tastes. If you make this, drop a comment and let me know what you think! I love hearing how recipes turn out in your kitchen. And if something doesn’t work, tell me that too—I’m here to help troubleshoot.
Happy cooking! And I hope your kitchen smells half as good as mine does right now.
Frequently Asked Questions
Can I use steel-cut oats instead of rolled oats?
No, I don’t recommend it. Steel-cut oats are much harder and take longer to cook. They won’t soften properly in this short baking time, and you’ll end up with a chewy, hard texture. If you must use them, you’d need to soak them overnight in hot water first, but even then, the texture will be different. Stick to old-fashioned rolled oats for the best result.
Why did my baked oatmeal turn out mushy?
This usually happens if you use instant oats instead of rolled oats, or if you add too much liquid. Make sure you’re using old-fashioned rolled oats. Also, check your liquid measurements. If your apples were very juicy, they might have released extra water. Next time, try reducing the milk by ¼ cup if you’re using very juicy apples.
Can I make this ahead and freeze it?
Yes! This is one of the best features of this recipe. Bake the whole dish, let it cool completely, cut it into squares, and freeze them individually on a baking sheet. Once frozen, transfer them to a freezer bag. They last for up to 3 months. Reheat in the microwave for 60-90 seconds. It tastes almost as good as fresh.
Can I use frozen apples?
You can, but they’ll release more water into the batter. If you use frozen apples, don’t thaw them first. Just toss them in, but you might need to add a tablespoon of flour or cornstarch to the dry mix to absorb the extra liquid. The texture might be slightly softer, but it’s still delicious.
How do I store leftovers?
Store leftovers in an airtight container in the fridge for up to 5 days. They’re best eaten cold or reheated in the microwave. If you’re taking them to work, pack them in a container with a napkin. They hold up well and don’t get soggy.
Can I make this in a muffin tin?
Yes! Grease a muffin tin and divide the batter among the cups. Bake at 350°F for 18-22 minutes. They’ll make great portable breakfast muffins. Keep an eye on them, as they can burn on the bottom if the oven is too hot.
Is this recipe gluten-free?
Yes, if you use certified gluten-free rolled oats. Oats are naturally gluten-free, but they’re often processed in facilities that handle wheat, so cross-contamination is a risk. If you’re celiac, make sure your oats are labeled GF. Everything else in the recipe is naturally gluten-free.
Pin This Recipe!
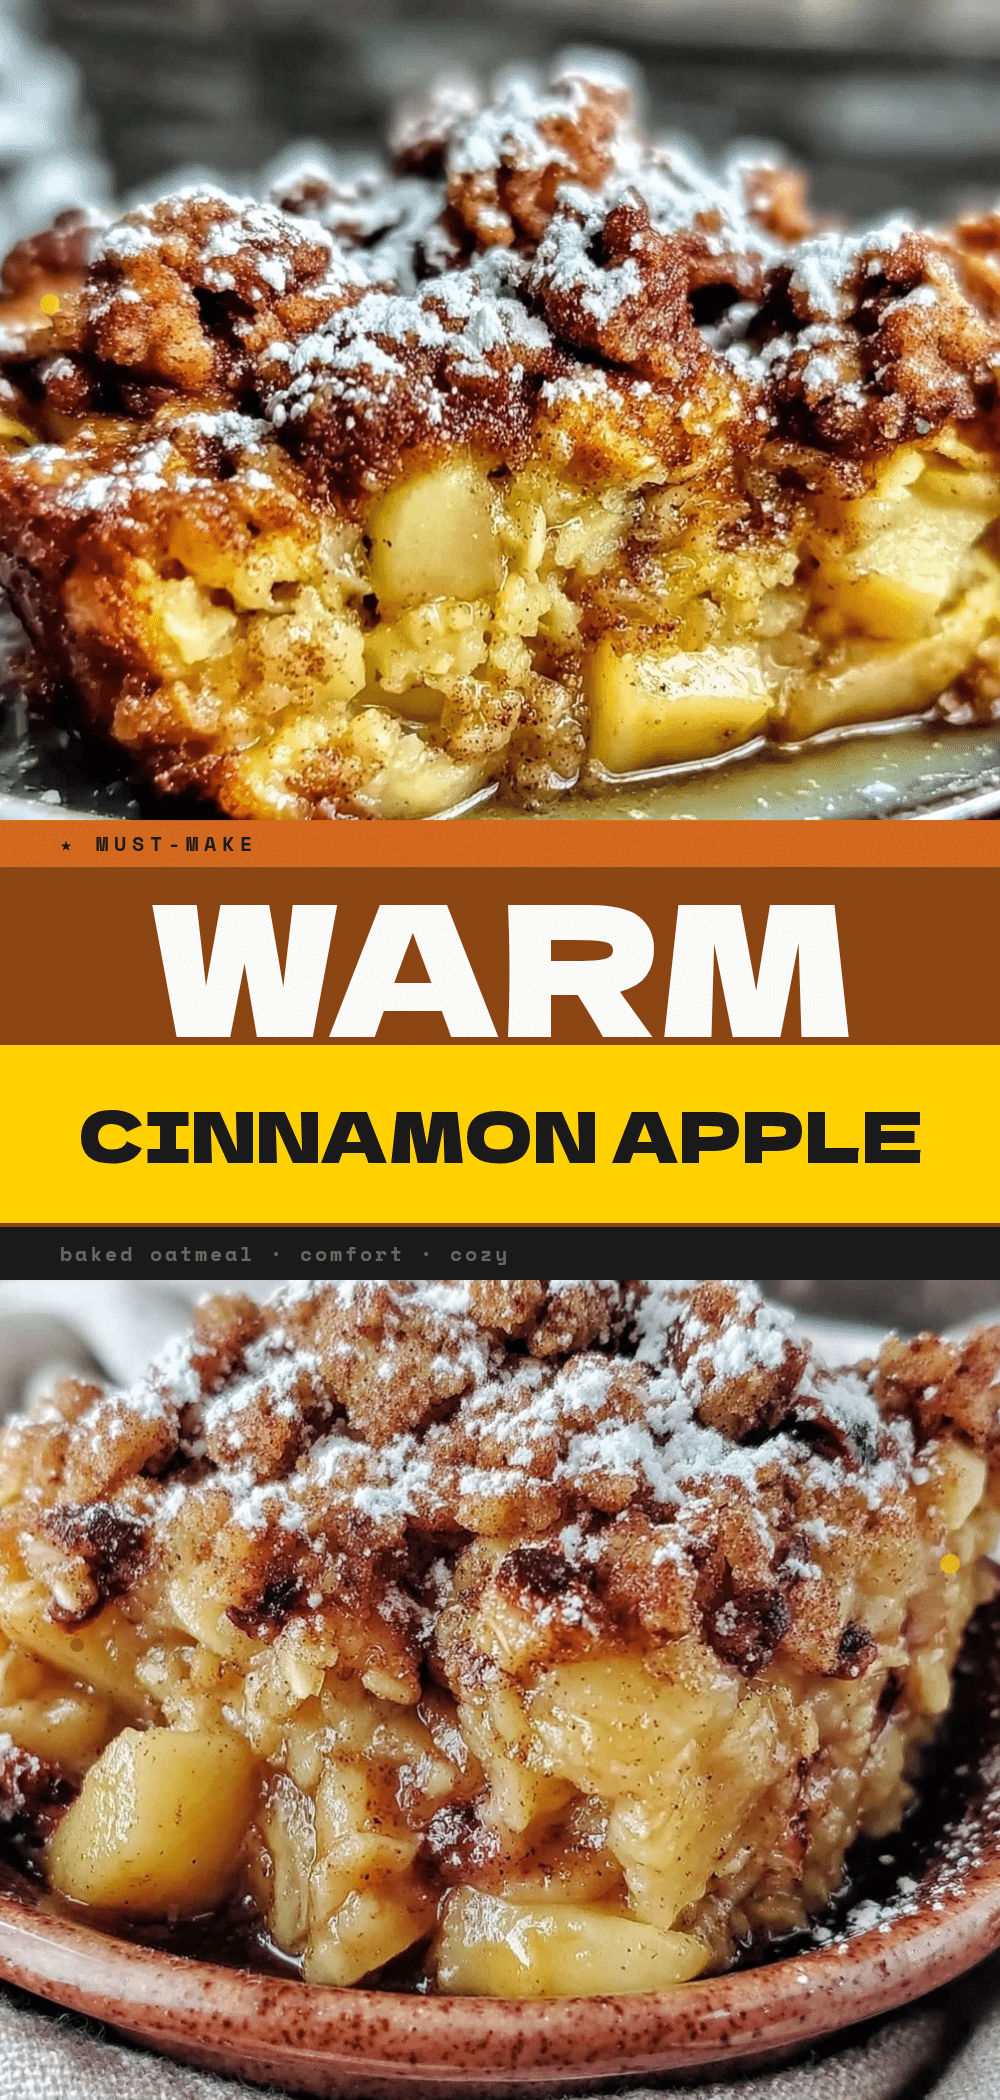

Apple Breakfast Baked Oatmeal: Easy 1-Pan Morning Meal
- Total Time: 45 minutes
- Yield: 9 servings 1x
Description
A hearty, one-pan baked oatmeal that combines rolled oats, apples, and cinnamon for a comforting breakfast. It requires minimal morning effort as it is mixed the night before and baked in the morning, resulting in a cake-like texture that tastes like apple pie.
Ingredients
- 3 cups old-fashioned rolled oats
- 1 teaspoon baking powder
- 2 teaspoons ground cinnamon
- ½ teaspoon kosher salt
- 2 large eggs
- 2 cups milk (whole, almond, oat, or soy)
- ¼ cup maple syrup
- 1 teaspoon vanilla extract
- 3 medium apples, peeled and diced (Granny Smith and Honeycrisp mix recommended)
- ½ cup chopped walnuts or pecans (optional)
- ¼ cup dark chocolate chips (optional)
Instructions
- Preheat oven to 350°F (175°C).
- Peel and dice apples into ½-inch cubes. If prepping the night before, toss with a little lemon juice to prevent browning.
- In a 9×13 inch baking dish or large bowl, combine rolled oats, baking powder, cinnamon, and salt. Stir to distribute spices evenly. Add nuts if using.
- In a separate bowl, whisk together eggs, milk, maple syrup, and vanilla extract until uniform.
- Pour the wet mixture over the dry ingredients. Add the diced apples. Stir until oats are fully submerged and the mixture resembles a thick porridge batter.
- Cover the dish tightly with plastic wrap or foil and refrigerate overnight (or at least 30 minutes).
- Remove from fridge and let sit for 10 minutes while oven heats. Sprinkle chocolate chips on top if using.
- Bake for 30-35 minutes until the top is golden brown, slightly firm to the touch, and edges are bubbling. Cover loosely with foil if browning too quickly.
- Let cool for 10 minutes before slicing into squares to allow it to set.
Notes
Do not use instant or steel-cut oats as they will alter the texture. The overnight soak is crucial for the tender, cake-like consistency. For freezing, cool completely, cut into squares, wrap individually, and freeze for up to 3 months. Reheat in microwave for 60-90 seconds.
- Prep Time: 10 minutes
- Cook Time: 30-35 minutes
- Category: Breakfast
- Cuisine: American
Nutrition
- Serving Size: 1 square
- Calories: 220
- Sugar: 14
- Sodium: 180
- Fat: 5
- Saturated Fat: 1
- Carbohydrates: 42
- Fiber: 5
- Protein: 8
Keywords: baked oatmeal, apple breakfast, overnight oats, meal prep breakfast, healthy oatmeal, one pan breakfast, gluten-free breakfast



