Last Tuesday, it was 4:45 PM. I was staring into the fridge, which was essentially empty except for a jar of peanut butter, a stick of butter that had been there since last week, and some eggs that were probably still good. My kids were already arguing over who got the iPad. I didn’t have time to drive to the store, and I definitely didn’t have the energy to make something complicated. I needed dessert. I needed it fast. And I needed it to taste like I’d spent an hour baking when really, I’d spent about 20 minutes.
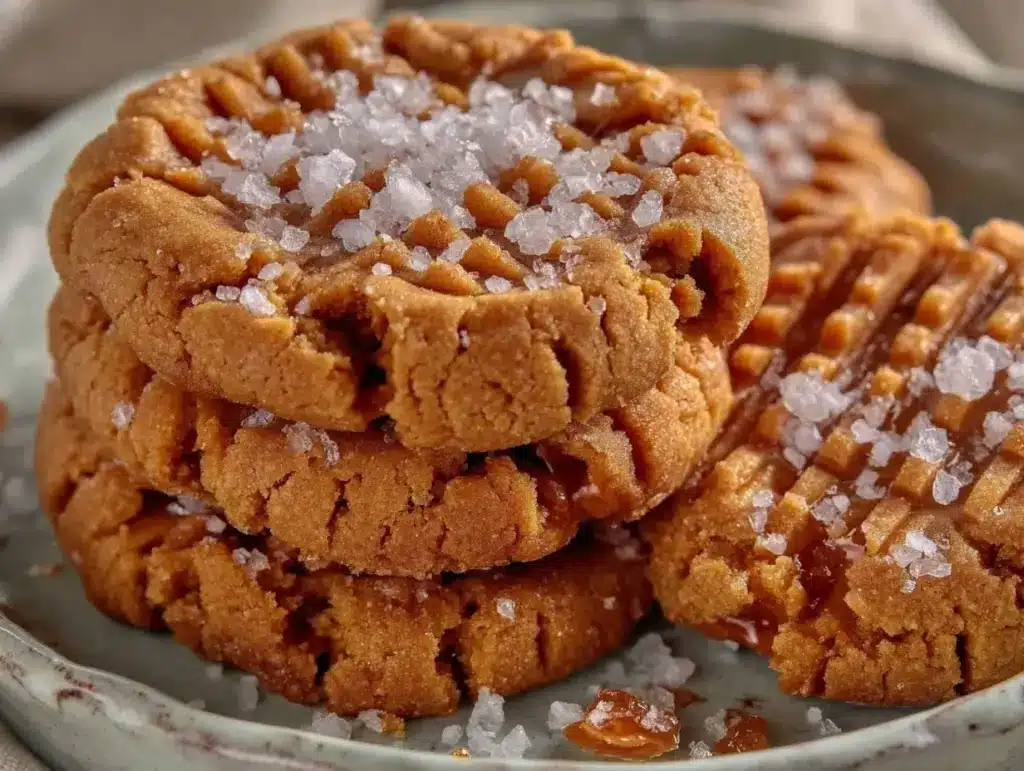
So I threw together these chewy peanut butter cookies with sea salt. I didn’t even have vanilla extract, so I skipped it. What came out of the oven ten minutes later? Absolutely incredible. Crisp edges, soft centers, and those little flakes of sea salt that make peanut butter taste like it came from a high-end bakery. My kids devoured them before I could even finish my own cup of coffee.
This is hands-down the best 5pm sea salt treat I’ve ever made. It’s the kind of recipe that saves your weeknight sanity. You know that panic when the clock hits 5, you’re hungry, and there’s nothing planned? This is the answer. It’s not just “good for a quick cookie.” It’s genuinely one of the best cookies I make, period. I’ve tested this recipe at least a dozen times—sometimes because I was lazy, sometimes because I was testing variations—but the result is always the same: chewy, salty, sweet perfection.
I’ve been making these since the kids were toddlers, and they still ask for them on weekends. It’s become our little ritual. If I’m having a rough day, I make a batch. If they’re having a rough day, I make a batch. It’s comforting in the most literal sense.
Why You’ll Love These Chewy Peanut Butter Cookies
Look, there are a thousand cookie recipes out there. I have a folder on my phone with over 500 recipes, and most of them gather digital dust. But these chewy peanut butter cookies with sea salt? They get made every single week. Here’s why they keep coming back into my kitchen:
Pantry Staples Only — Seriously, you probably have everything you need right now. Peanut butter, butter, sugar, eggs, flour. No fancy ingredients. No last-minute dash to the grocery store. If you can find peanut butter, you can make these. I once made them with almond butter because we ran out, and while they were good, nothing beats the classic peanut butter flavor. But the point is, it’s flexible.
Lightning Fast — From start to finish, these take about 20 minutes. That includes prep time. I’m not lying. I’ve timed myself. You mix, you scoop, you bake. No chilling dough for hours (though you can if you want, but who has time for that at 5pm?). These are ready to eat almost immediately, which is crucial when you’re dealing with hungry kids.
The Texture is Perfect — Most peanut butter cookies are dry. They crumble and leave your mouth feeling like a desert. These aren’t like that. They’re chewy. Soft in the middle, slightly crisp on the edges. The key is underbaking them just a tiny bit. I learned that the hard way. My first batch was rock hard. Now? I pull them out when they look just slightly underdone, and they finish cooking on the hot baking sheet. Game changer.
Salt Makes It Better — I know, I know. It’s a cookie. Why salt? Because salt amplifies flavor. Without the sea salt, these are just sweet peanut butter cookies. With it, they’re complex, savory-sweet, and addictive. I use flaky sea salt because it crunches nicely. If you don’t have flaky salt, kosher salt works, but flaky is best.
Impress Without Effort — I’ve brought these to school bake sales, office potlucks, and neighbor drop-offs. People always ask, “Did you buy these?” No. I made them in 20 minutes. It’s a low-effort, high-reward win. It makes you look like a baking pro when really, you just followed a simple recipe.
This is my go-to when I need to feel accomplished in the kitchen without the commitment. It’s reliable, delicious, and fast. And honestly? It’s just really good. Like, “eat three in a row and don’t feel guilty” good.
Ingredients You’ll Need
Here’s the best part: you don’t need a specialty store for this. I’m particular about two things here—peanut butter and salt—but the rest is basic pantry stuff. Let’s break it down.
For the Dough
Peanut butter (1 cup / 250g) — Use creamy, natural peanut butter. I prefer Jif or Skippy for consistency because they have added sugar and oils that help the cookies hold together. If you use 100% natural peanut butter that separates, you might need to add a little more flour because the oil can make the dough too wet. But honestly, the standard stuff works best for this chewy texture.
Butter (½ cup / 115g, softened) — Softened means cool to the touch but leaves an indent when you poke it. Not melted! Melted butter makes flat, greasy cookies. I take my butter out of the fridge 30 minutes before I start. If I forget, I microwave it on low for 5 seconds at a time until it’s soft. Don’t rush this.
Granulated sugar (½ cup / 100g) — This helps with the crisp edges. I use regular white sugar. Some people add brown sugar for chewiness, but I’ve found that pure granulated sugar gives me the perfect contrast between the crisp edge and soft center. If you want them chewier, swap half for brown sugar, but I like this balance.
Light brown sugar (½ cup / 110g) — This adds moisture and that caramel-like flavor. It’s essential for the chew. Don’t skip it. If you’re out, you can use all granulated sugar, but you’ll lose some of that softness.
Egg (1 large) — Room temperature is best, but cold works too. It binds everything together. Just one egg. Keep it simple.
All-purpose flour (1 ½ cups / 190g) — Spoon and level it. Don’t scoop directly from the bag, or you’ll pack it down and get dry cookies. I use Gold Medal flour. It’s reliable. If you need gluten-free, you can use a 1:1 gluten-free flour blend, but the texture will be slightly different.
Baking soda (1 teaspoon) — Fresh is key. If your baking soda is older than 6 months, it might not work. Test it by dropping a little in vinegar—it should fizz. If it doesn’t, toss it and get new stuff.
Salt (½ teaspoon) — This goes into the dough to balance the sweetness. I use table salt or fine sea salt here.
For the Topping
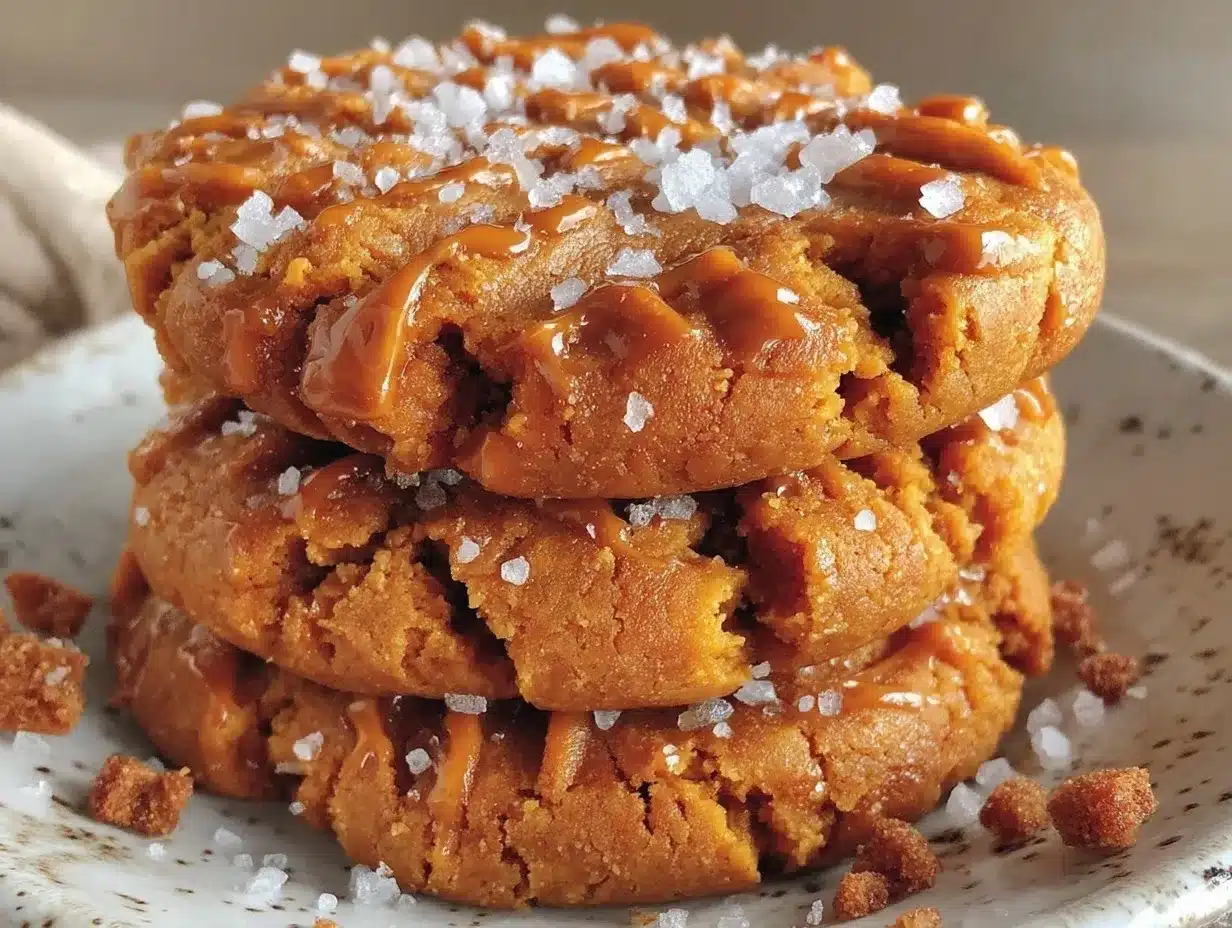
Flaky sea salt — This is the magic dust. Maldon is my favorite, but any flaky sea salt works. Sprinkle it on right after they come out of the oven. The heat melts it slightly into the cookie, giving you those salty bursts.
Optional: Chocolate chips — I sometimes add a handful of semi-sweet chocolate chips. It’s not traditional, but it’s delicious. If you do this, reduce the sea salt slightly so it doesn’t get too salty.
Equipment Needed
You don’t need fancy gear. Here’s what I actually use:
Mixing bowls — Two medium bowls. One for wet ingredients, one for dry. Or just one big one if you’re lazy (which I often am). I use glass bowls because I can see through them.
Electric mixer — A hand mixer or stand mixer makes this easier, but you can do it by hand with a sturdy spoon. It takes about 2 minutes of arm work. I use my hand mixer because it’s faster, but honestly, hand-mixing works fine if you’re strong.
Baking sheets — Two large baking sheets. I use the ones that came with my oven. Line them with parchment paper. Trust me, parchment paper is worth the 10 cents. Cleanup is zero. Without it, you’re scrubbing burnt sugar off metal.
Cooling rack — Not strictly necessary, but it helps the cookies cool evenly. I sometimes just leave them on the baking sheet to cool for 5 minutes, then move them to the counter.
Cookie scoop — I use a small ice cream scoop or a tablespoon. Uniform size means even baking. If you eyeball it, some will burn before others are done. A scoop saves you from that.
Oven — Obviously. Preheat to 350°F (175°C). Make sure it’s actually that hot. Ovens lie sometimes. If you’re serious, get an oven thermometer. I’m not that serious, but I do check mine occasionally.
How to Make It: Step-by-Step
Alright, let’s make these. It’s super simple. I’m walking you through exactly how I do it, so you don’t mess it up like I did the first time.
Step 1: Prep Your Oven and Pans (2 minutes)
Preheat your oven to 350°F (175°C). Line two baking sheets with parchment paper. If you don’t have parchment, grease them lightly with butter or cooking spray, but parchment is better. Slide the sheets into the oven to warm up while you mix. This helps the cookies bake evenly from the start.
Step 2: Mix the Wet Ingredients (3 minutes)
In a large bowl, combine the softened butter, granulated sugar, and brown sugar. Beat them together until they’re light and fluffy. If you’re using a hand mixer, this takes about 2 minutes. If you’re doing it by hand, get your arms ready. You want it to look pale and creamy. Add the egg and mix until combined. Then add the peanut butter. Mix until smooth. It will look a little weird and oily at first, but keep going. It comes together.
Step 3: Add the Dry Ingredients (2 minutes)
In a separate bowl (or just dump it in), whisk together the flour, baking soda, and ½ teaspoon of salt. Pour the dry ingredients into the wet mixture. Mix on low speed until just combined. Do not overmix! Once the flour streaks disappear, stop. Overmixing makes tough cookies. I usually switch to a spatula at this point to fold it in gently.
Step 4: Scoop and Chill (Optional but Recommended)
Scoop the dough into balls, about 1.5 tablespoons each. Roll them between your palms to smooth them out. If you’re in a huge rush, you can bake them right away. But if you have 20 minutes, pop them in the fridge. Chilling the dough prevents spreading and makes them chewier. I often skip this at 5pm, but if you have time, do it. It’s worth it.
Step 5: Bake (10-12 minutes)
Place the cookies on the baking sheets, leaving about 2 inches between them. They will spread. Bake for 10-12 minutes. Here’s the trick: take them out when they look slightly underdone. The centers will look soft and puffy. They will firm up as they cool. If you wait until they look fully set in the oven, they’ll be hard. Pull them out when the edges are just starting to turn golden.
Step 6: Add the Sea Salt (1 minute)
As soon as you pull the baking sheet out of the oven, sprinkle a pinch of flaky sea salt on each cookie. The heat will melt it slightly. Do this while they’re hot, or the salt won’t stick. If you wait until they’re cool, the salt will just roll off.
Step 7: Cool and Eat
Let them cool on the baking sheet for 5 minutes. This is the hardest part. Then transfer them to a wire rack to cool completely. Or eat them warm. I don’t judge. Warm cookies are the best cookies.
Expert Tips & Tricks
Here’s everything I’ve learned from making these dozens of times. These tips will save you from my mistakes.
Don’t Overbake
This is the #1 mistake. Peanut butter cookies continue to cook on the hot pan. If they look done in the oven, they’re done in the pan. Pull them out when they look slightly soft in the middle. They’ll firm up as they cool. This is how you get that chewy center.
Use Creamy Peanut Butter
Chunky peanut butter works, but it changes the texture. The chunks can burn or make the cookies uneven. For consistent, chewy results, stick to creamy. If you must use chunky, chop the pieces smaller.
Softened Butter is Key
If your butter is melted, your cookies will spread too much and become flat and crisp. If it’s too cold, it won’t mix well. Aim for cool-to-the-touch softness. This ensures the right texture.
Chill for Chew
If you have time, chill the dough balls for at least 20 minutes. This slows down the spreading and concentrates the flavor. It makes a noticeable difference in texture. I do this when I’m meal prepping or baking for guests.
Flaky Salt on Top
Don’t skip the sea salt. It balances the sweetness and adds a sophisticated touch. I use Maldon sea salt because the flakes are pretty and crunchy. If you don’t have it, kosher salt works, but sprinkle it sparingly.
Common Mistakes
Mistake: Cookies are too flat. Fix: Your butter was too soft or melted. Or you didn’t chill the dough. Next time, ensure butter is cool and chill the dough.
Mistake: Cookies are dry. Fix: You overbaked them. Pull them out earlier. Also, check your flour measurement. Too much flour makes dry cookies.
Mistake: Cookies are cakey. Fix: You overmixed the dough. Mix until just combined. Also, too much baking soda can make them cakey. Measure accurately.
Variations & Substitutions
Once you’ve nailed the basic version, here’s how you can mix it up. I’ve tried all of these.
Peanut Butter Chip Cookies
Add ½ cup of peanut butter chips to the dough. It’s like a Reese’s Cup in cookie form. My kids love this version. It’s sweeter and more intense.
Chocolate Drizzle
Melt ½ cup of chocolate chips with 1 tablespoon of coconut oil. Drizzle it over the cooled cookies. It looks fancy and tastes even better. Great for gifting.
Gluten-Free
Use a 1:1 gluten-free flour blend. The texture will be slightly more tender, but still delicious. I’ve used Bob’s Red Mill and it works well. Add a little extra xanthan gum if your blend doesn’t have it.
Vegan
Use vegan butter and a flax egg (1 tablespoon ground flaxseed + 3 tablespoons water, let sit for 5 minutes). Use vegan peanut butter (check labels, some have honey). They’re still good, but not quite the same as the original. My vegan friend says they’re “surprisingly good.”
Lower Sugar
Reduce the sugar to ½ cup total. They’ll be less sweet and more peanut-forward. Good for those watching sugar intake, but still tasty.
Spicy Peanut Butter
Add a pinch of cayenne pepper or chili powder to the dough. It’s weirdly delicious. The heat complements the salt and peanut butter. Try it once; you might be surprised.
Serving & Storage
These are best served fresh, but they keep well.
Storage
Store in an airtight container at room temperature for up to 5 days. They actually get chewier after a day or two. I’ve never had them go stale in that time. If you live in a humid climate, add a slice of bread to the container to keep them soft.
Freezing
You can freeze the dough balls! Scoop them onto a baking sheet, freeze until solid, then transfer to a freezer bag. Bake from frozen, adding 1-2 minutes to the bake time. This is perfect for having homemade cookies on hand anytime. Or freeze baked cookies for up to 3 months. Thaw at room temperature.
Serving Suggestions
Serve with a cold glass of milk. Classic. Or pair with a hot coffee for a cozy afternoon snack. I also like them with a scoop of vanilla ice cream. If you want to get fancy, serve them with a dollop of whipped cream. But honestly? Plain is best.
Leftovers
If you have any (unlikely), they’re great for lunchbox snacks. My kids pack them for school. They don’t get crushed easily, which is a plus.
Nutrition Information
I’m not a nutritionist, but here’s the breakdown if you’re tracking. Keep in mind these are estimates.
Per Cookie (makes about 24 cookies):
- Calories: 150
- Protein: 3g
- Carbs: 16g
- Fiber: 1g
- Sugar: 10g
- Fat: 9g
- Saturated Fat: 3g
- Sodium: 120mg
It’s a treat, so enjoy it in moderation. The peanut butter adds some protein and healthy fats, which is better than plain sugar cookies. But it’s still a cookie. Don’t overthink it.
Final Thoughts
So that’s my chewy peanut butter cookies with sea salt. I’ve probably talked your ear off, but when you make a recipe this often, you have a lot to say about it. These have saved my weeknight dessert game more times than I can count. They’re my answer to “what’s for dessert?” when I’m tired, broke, or just lazy.
My kids love them. My husband loves them. My friends love them. And I love them because they’re easy. Make them yours! Try different salts, add chips, or skip the salt if you prefer. The best recipes are the ones you adapt to your tastes.
If you make this, drop a comment and let me know what you think! I love hearing how recipes turn out in your kitchen. And if something doesn’t work, tell me that too—I’m here to help troubleshoot.
Happy baking! And I hope your kitchen smells as good as mine does right now.
Frequently Asked Questions
Can I use natural peanut butter?
You can, but it might change the texture. Natural peanut butter separates and has more oil, which can make the dough wetter. You might need to add a tablespoon or two more flour. I recommend standard creamy peanut butter for the best chewy texture, but natural works if you adjust the flour.
Why did my cookies spread too much?
Usually, this means your butter was too soft or melted, or you didn’t chill the dough. Make sure your butter is cool but soft. Also, ensure your baking soda is fresh. Old baking soda won’t help the cookies rise, so they spread flat. Chilling the dough for 20 minutes helps significantly.
Can I make these gluten-free?
Yes! Use a 1:1 gluten-free flour blend. The texture will be slightly more tender, but still delicious. I’ve used Bob’s Red Mill and it works well. Just make sure the blend includes xanthan gum, or add ½ teaspoon yourself.
How do I store leftovers?
Store in an airtight container at room temperature for up to 5 days. They get chewier after a day. If you want to freeze them, freeze the dough balls or the baked cookies. They keep well in the freezer for up to 3 months.
Can I double the recipe?
Absolutely! Double everything and use two baking sheets. The cooking time stays the same. I often double this recipe when I’m baking for a crowd or meal prepping. Just make sure you have enough space on the baking sheets for the cookies to spread.
What kind of sea salt should I use?
Flaky sea salt is best because it crunches nicely. Maldon is my favorite, but any flaky salt works. If you don’t have flaky salt, kosher salt is a good substitute. Avoid table salt for the topping as it’s too fine and can be too salty.
Can I add chocolate chips?
Yes! I sometimes add ½ cup of semi-sweet chocolate chips. It’s delicious and makes them taste like a Reese’s Cup. If you add chocolate chips, you might want to reduce the sea salt slightly so it doesn’t get too salty.
Pin This Recipe!
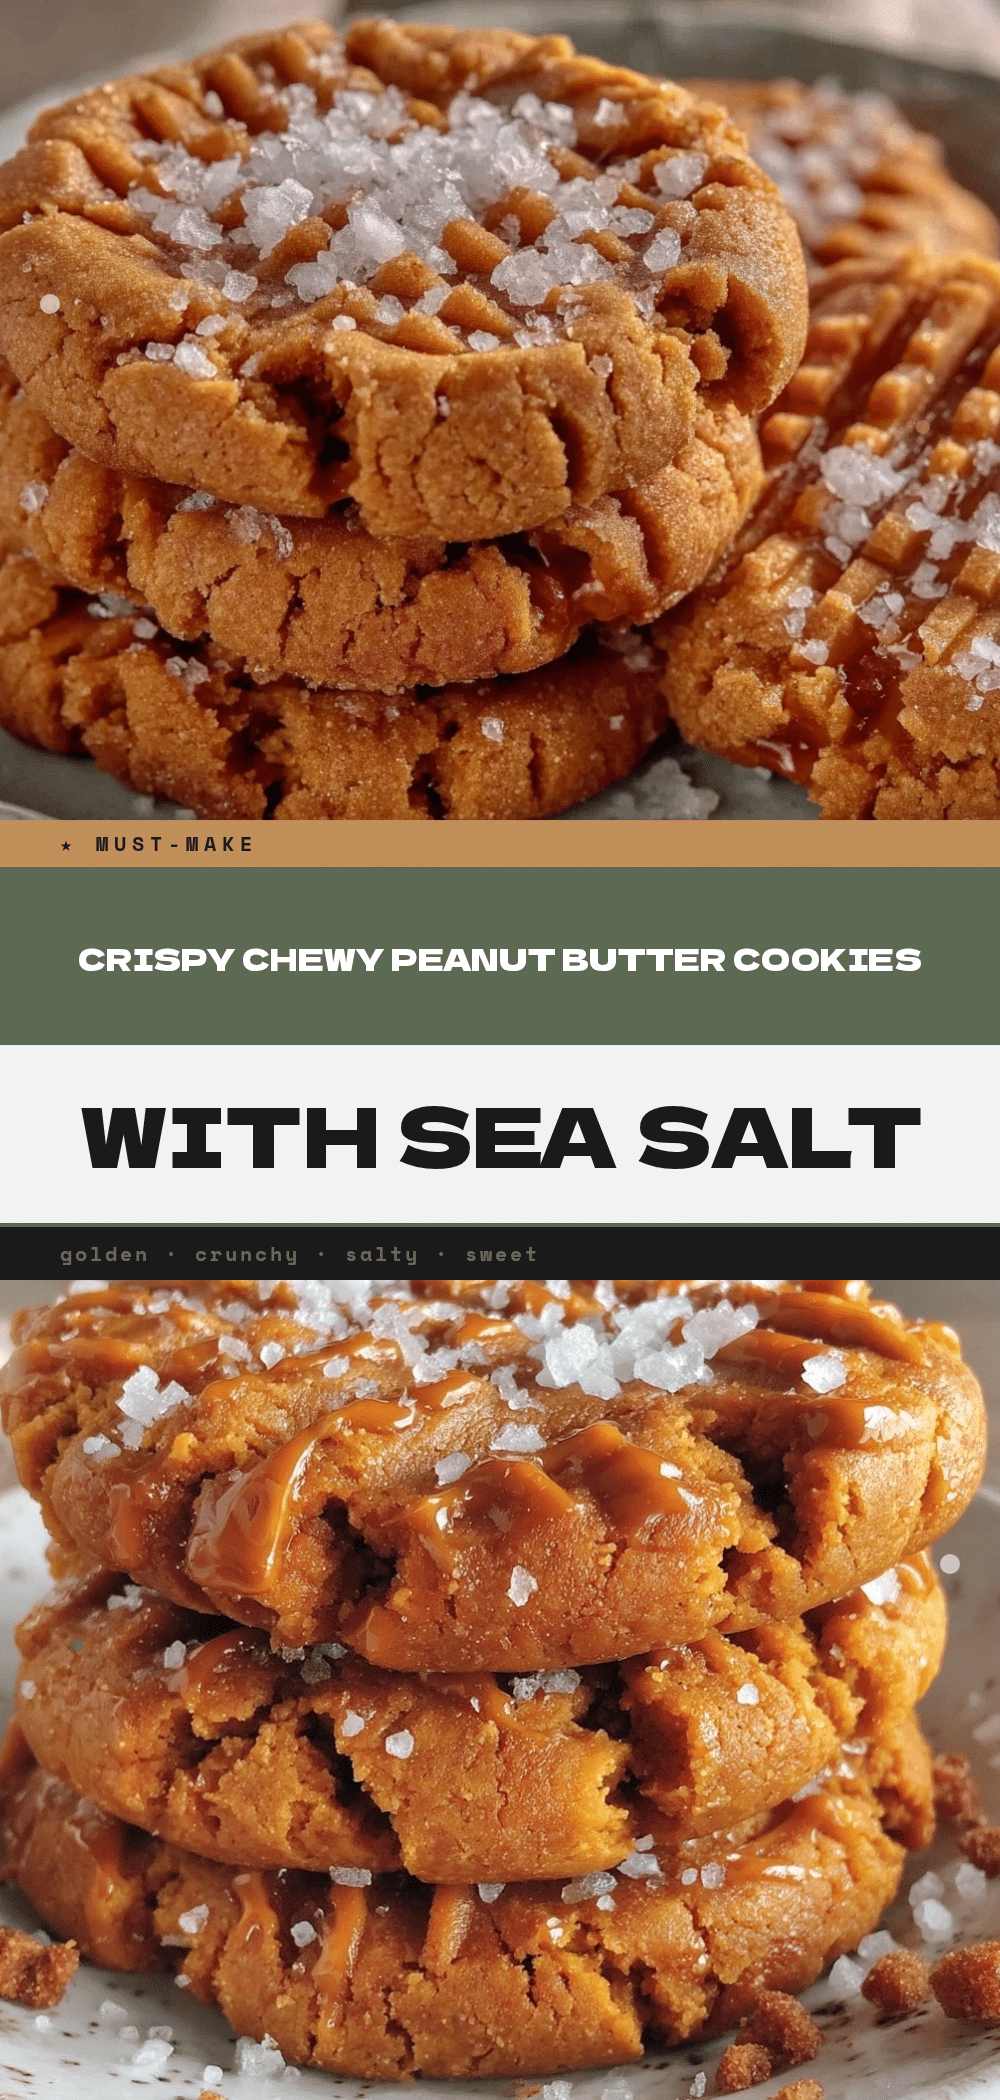
Chewy Peanut Butter Cookies: Best 5pm Sea Salt Treat
- Total Time: 20 minutes
- Yield: 24 cookies 1x
Description
These chewy peanut butter cookies with sea salt are a quick, weeknight-friendly dessert made with pantry staples. They feature crisp edges, soft centers, and a touch of flaky sea salt for a sophisticated flavor.
Ingredients
- 1 cup (250g) creamy peanut butter (Jif or Skippy recommended)
- ½ cup (115g) butter, softened
- ½ cup (100g) granulated sugar
- ½ cup (110g) light brown sugar
- 1 large egg, room temperature
- 1 ½ cups (190g) all-purpose flour
- 1 teaspoon baking soda
- ½ teaspoon salt (for dough)
- Flaky sea salt (for topping)
- Optional: ½ cup semi-sweet chocolate chips
Instructions
- Preheat oven to 350°F (175°C). Line two baking sheets with parchment paper.
- In a large bowl, beat softened butter, granulated sugar, and brown sugar until light and fluffy (about 2 minutes).
- Add the egg and mix until combined. Add the peanut butter and mix until smooth.
- In a separate bowl, whisk together flour, baking soda, and ½ teaspoon salt.
- Add dry ingredients to the wet mixture and mix on low speed until just combined. Do not overmix.
- Scoop dough into 1.5 tablespoon balls. For best results, chill dough for 20 minutes (optional).
- Place cookies on baking sheets, leaving 2 inches between them.
- Bake for 10-12 minutes. Remove when edges are just starting to turn golden but centers still look soft.
- Immediately sprinkle flaky sea salt on top of the hot cookies.
- Let cool on the baking sheet for 5 minutes before transferring to a wire rack.
Notes
Use creamy peanut butter for consistent texture. Ensure butter is softened but not melted. Do not overbake; cookies continue to cook on the hot pan. Chilling dough prevents spreading and enhances chewiness. Store in an airtight container for up to 5 days.
- Prep Time: 10 minutes
- Cook Time: 10-12 minutes
- Category: Dessert
- Cuisine: American
Nutrition
- Serving Size: 1 cookie
- Calories: 150
- Sugar: 10
- Sodium: 120
- Fat: 9
- Saturated Fat: 3
- Carbohydrates: 16
- Fiber: 1
- Protein: 3
Keywords: peanut butter cookies, sea salt cookies, quick dessert, weeknight baking, chewy cookies, 5pm treat, easy cookies



