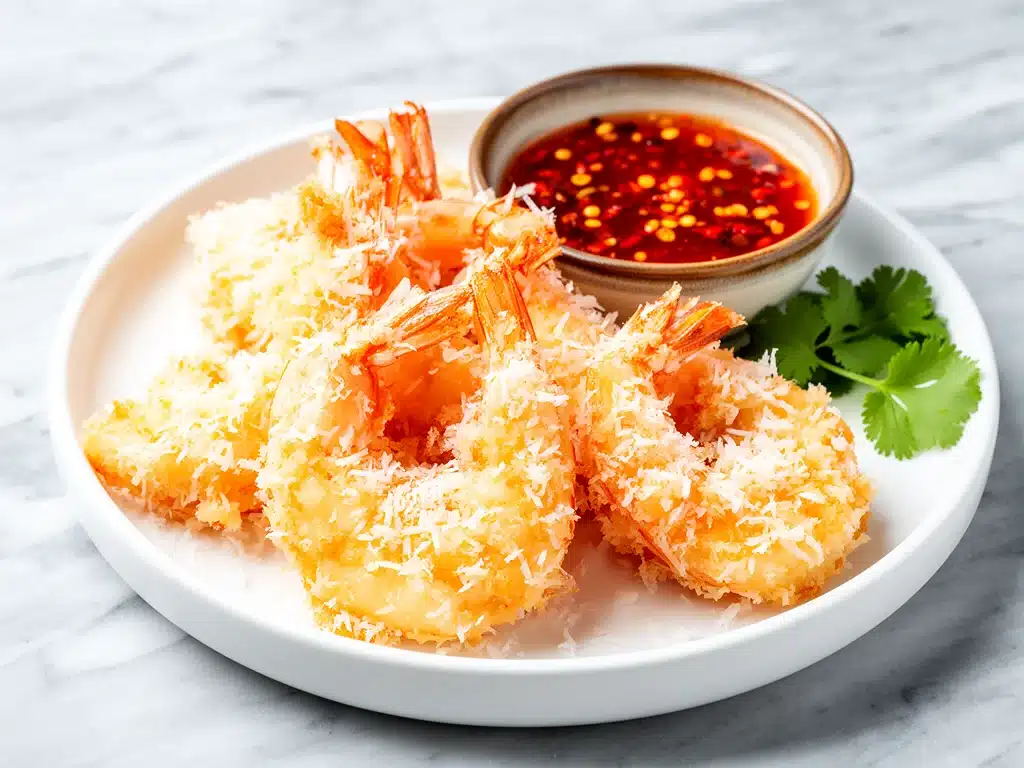
I have a confession to make. Last Friday night, I was staring at the takeout menu for the hundredth time that week, and my finger hovered over the “Crispy Coconut Shrimp” option. It was $18.99 for twelve pieces. Twelve pieces. That’s barely two bites per person if you’re actually trying to eat a meal and not just a snack.
I looked at my pantry. I looked at the clock. It was 6:45 PM. I was tired, I was hungry, and I knew that if I ordered, the food would arrive lukewarm and soggy by the time I got it to the table. So, I did something I rarely do. I ignored the menu.
I pulled out the coconut flakes, the shrimp, and a jar of sweet chili sauce. I didn’t even have a specific recipe in mind. I just started throwing things together. Ten minutes later, the smell of frying coconut and garlic hit the air. My husband walked in, sniffed the room, and said, “Is that the Thai place?”
I laughed and said, “Better. It’s homemade.”
That night, we finished the entire batch. No leftovers. No complaints about the price. Just pure, crispy, sweet, and spicy satisfaction. I’ve made this Crispy Coconut Shrimp recipe at least a dozen times since then. I’ve tweaked the batter, tested different frying methods, and finally cracked the code on getting that restaurant-quality crunch that actually stays crunchy. It’s faster than waiting for delivery, costs a fraction of the price, and honestly? It tastes fresher because you’re cooking it right then and there.
If you’re tired of paying restaurant prices for mediocre seafood, you need to try this at home. It’s become my go-to for date nights, game day parties, or just when I want to feel fancy without the fuss.
Why You’ll Love This Crispy Coconut Shrimp Recipe
There are about ten reasons I keep coming back to this shrimp, but here are the big ones that make it a permanent fixture in my weekly rotation.
Actual Crunch, Not Soggy Bread — This is the biggest issue with takeout coconut shrimp. It arrives soft. My method uses a double-dip coating technique that locks the coconut in place. I’ve tested this with air fryers and deep fryers, and the crunch holds up for at least 20 minutes after plating. That’s huge.
30 Minutes or Less — From thawing the shrimp to the first bite, it takes about 25-30 minutes. I use pre-peeled, deveined shrimp to save time. If you can boil water, you can make this. Seriously. I’ve made it on nights when I’ve been too exhausted to think, and it still comes out perfect.
Better Than the Takeout Sauce — Most places serve that watery, overly sweet sauce that tastes like sugar water. I use a high-quality sweet chili sauce (or make a quick glaze) that has actual chili heat and garlic flavor. It balances the sweetness of the coconut perfectly.
Impressive but Simple — When I serve this to friends, they always ask for the recipe. It looks like something from a high-end seafood restaurant, but it’s just fried shrimp with coconut. It’s a great way to feel like a gourmet chef without the stress.
Budget Friendly — I buy my shrimp in bulk and freeze it. A pound of shrimp costs about $12-15, and that feeds 3-4 people with sides. The coconut and flour are pantry staples. You’re saving at least $10-15 per meal compared to ordering out.
This is my answer to “what’s for dinner” when I want something special but easy. It’s reliable, delicious, and always a crowd-pleaser.
Ingredients You’ll Need for Crispy Coconut Shrimp
Here’s the best part: you probably have most of these ingredients already. I’m particular about a few things here, and I’ll tell you exactly why.
For the Shrimp
Large Shrimp (21-25 count) (1.5 pounds / 680g) — Buy them raw, peeled, and deveined. The “21-25 count” means there are 21 to 25 shrimp per pound. This is the sweet spot—big enough to feel luxurious, small enough to cook quickly. If you buy larger shrimp (16-20 count), they’ll take longer to cook and might get rubbery. I always buy the bag from Costco or my local grocer and freeze what I don’t use.
Kosher Salt (1 teaspoon) — For seasoning the shrimp before coating. Sea salt works too, but kosher sticks better to the wet batter.
Black Pepper (½ teaspoon) — Freshly cracked is best. Don’t use the old shaker stuff.
For the Coating Station
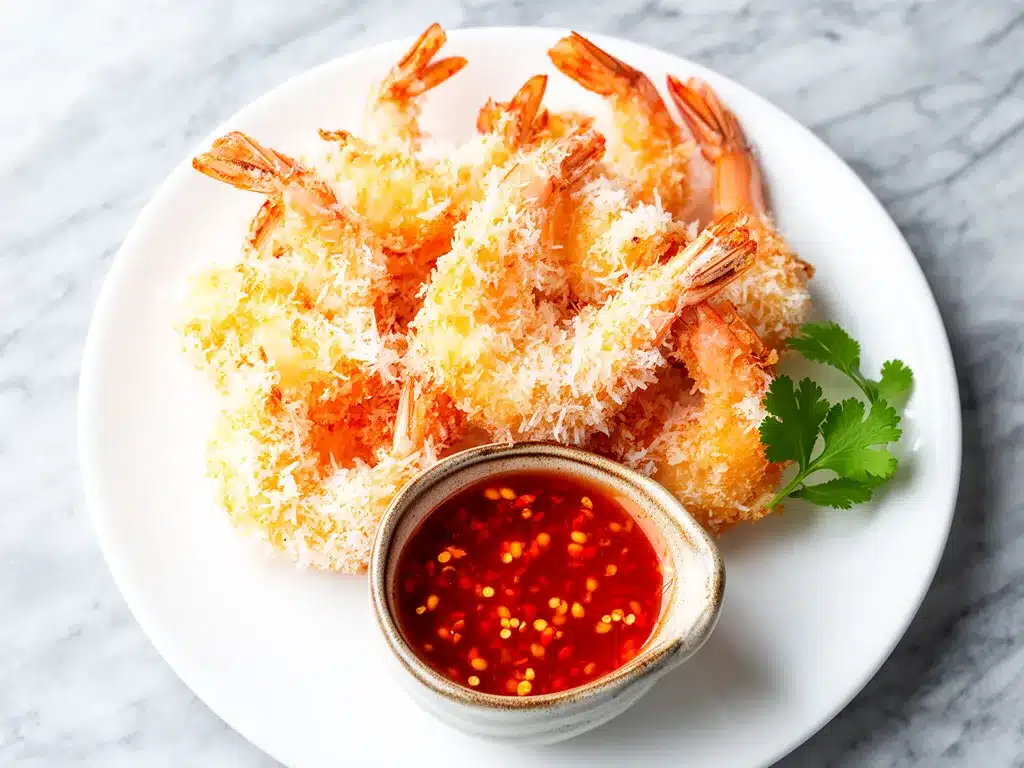
All-Purpose Flour (1 cup / 120g) — This creates the first layer of adhesion. It helps the egg wash stick to the shrimp. Don’t skip this step. I’ve tried skipping it once, and the coconut fell off in the pan. Don’t be like me.
Eggs (2 large) — Beaten with a fork. Room temperature eggs bind better, but cold ones work if you’re in a hurry.
Milk or Buttermilk (2 tablespoons) — I add this to the egg wash. It tenderizes the shrimp slightly and adds richness. Buttermilk is traditional, but regular milk works fine.
Shredded Sweetened Coconut (2 cups / 160g) — This is crucial. Do NOT use flaked coconut. You need shredded coconut. Look for bags labeled “sweetened shredded coconut” in the baking aisle. It’s finer and sticks better. I use Coco Lopez or Goya brands. If you can’t find it, check the international aisle.
Neutral Oil for Frying (2 cups / 480ml) — I use vegetable oil, canola oil, or peanut oil. Peanut oil gives a nice nutty flavor that complements the coconut, but it’s pricier. Canola is my everyday choice. Do NOT use olive oil—it has a low smoke point and will burn, making your shrimp taste bitter.
For the Sweet Chili Sauce
Sweet Chili Sauce (½ cup / 120ml) — I use Thai Kitchen brand. It’s consistent and has the right balance of sweet and spicy. If you can’t find it, you can make a quick substitute: mix ¼ cup honey, 2 tablespoons rice vinegar, 1 tablespoon soy sauce, and 1 teaspoon crushed red pepper flakes. Heat it up until it thins out.
Lime Juice (1 teaspoon) — A splash of acid cuts through the sweetness. Optional, but highly recommended if you like a tangy kick.
Optional Add-ins
Red Pepper Flakes — For extra heat in the sauce.
Fresh Cilantro — For garnish. Adds color and freshness.
Equipment Needed
You don’t need fancy equipment for this. Here’s what I actually use.
Three Shallow Bowls — I use pie dishes or shallow casserole dishes. You need one for flour, one for egg wash, and one for coconut. Wide bowls make dipping easier. If you use deep bowls, you’ll get coconut stuck in your fingers.
Large Skillet or Dutch Oven — I use a 12-inch cast iron skillet. It holds heat well, which is important for maintaining oil temperature. A Dutch oven works too if you want to fry in batches without overcrowding.
Cooking Thermometer — Highly recommended. Oil should be 350°F (175°C). If you don’t have one, drop a small piece of coconut in. If it sizzles immediately and turns golden in 2 minutes, you’re good. If it smokes, it’s too hot.
Wire Rack and Parchment Paper — For draining fried shrimp. Do NOT drain on paper towels—they’ll get soggy. The rack allows air circulation.
Tongs — For turning shrimp. Forks work but tongs are easier.
Colander — To drain shrimp after frying.
Mixing Spoon or Whisk — For the egg wash.
How to Make It: Step-by-Step
Alright, let’s make this! I’m walking you through exactly how I do it, including the little tricks I’ve picked up.
Step 1: Prep Your Shrimp (5 minutes)
If your shrimp are frozen, thaw them in cold water for 10 minutes. Pat them completely dry with paper towels. This is non-negotiable. Wet shrimp = slippery shrimp = no coating. If they’re wet, the flour won’t stick, and the coconut will fall off. I usually thaw them in a colander under running cold water, then lay them on a towel for 5 minutes to dry.
Season the dry shrimp with salt and pepper. Set aside.
Step 2: Set Up Your Coating Station (3 minutes)
Arrange three shallow bowls in a line. Bowl 1: Flour. Bowl 2: Beaten eggs mixed with milk. Bowl 3: Shredded coconut. Make sure the coconut is spread out evenly. If it’s clumped, break it up with your fingers.
Step 3: Dredge and Coat (10 minutes)
Take a shrimp, dredge it in flour, shaking off excess. Dip it into the egg wash, letting the excess drip off. Then, press it into the coconut. Use your hands to press the coconut firmly onto the shrimp. You want a thick, even coat. If there are bare spots, go back and add more coconut.
Place the coated shrimp on a plate. Repeat with all shrimp. If you’re frying in batches, you can leave them on the plate for now. If you’re doing it all at once, place them on a wire rack to keep them from sticking.
Step 4: Heat the Oil (5 minutes)
Pour oil into your skillet or Dutch oven. Heat over medium-high heat until it reaches 350°F (175°C). If you don’t have a thermometer, wait until the oil shimmers slightly but isn’t smoking. Too hot, and the coconut will burn before the shrimp cooks. Too cool, and the shrimp will absorb oil and get greasy.
Step 5: Fry the Shrimp (6-8 minutes)
Carefully place 4-5 shrimp into the hot oil. Do not overcrowd the pan. If you crowd it, the temperature drops, and you get soggy shrimp. Fry for 2-3 minutes per side, until golden brown and crispy. The coconut should be a deep golden color, not pale.
Flip once. Use tongs to turn them. They’re done when the shrimp is opaque and pink inside, and the coating is crunchy.
Remove with a slotted spoon or tongs and place on a wire rack over a baking sheet. Do not stack them. Let them rest for 2 minutes so the coating sets.
Step 6: Make the Sauce (2 minutes)
While the shrimp fries, warm the sweet chili sauce in a small saucepan over low heat. Add a splash of lime juice. Stir to combine. Keep it warm.
Step 7: Serve
Arrange the hot shrimp on a platter. Serve immediately with the warm sweet chili sauce for dipping. Garnish with cilantro if you like. Eat while hot. These are best eaten right out of the pan.
Total Time: About 30 minutes (10 minutes prep, 20 minutes cooking)
Expert Tips & Tricks
Here’s everything I’ve learned from making this dozens of times. These tips will save you from my mistakes.
Double-Dip for Extra Crunch — If you want restaurant-style crunch, dip the shrimp in egg wash, then coconut, then egg wash again, then coconut. It creates a thicker, more durable crust. I do this for parties.
Keep the Oil Temperature Steady — If the oil drops below 325°F, your shrimp will be greasy. If it goes above 375°F, the coconut burns. Adjust your heat as needed. Medium-high is usually right, but every stove is different.
Don’t Skip the Drying Step — I cannot stress this enough. Wet shrimp is the enemy. If you’re in a hurry, use a hair dryer on low. Yes, really. It sounds crazy, but it works.
Use Sweetened Coconut — Unsweetened coconut is too dry and doesn’t stick as well. The sugar in sweetened coconut helps it caramelize and crisp up. If you only have unsweetened, you can toss it with a teaspoon of sugar, but it’s not ideal.
Fry in Batches — Always fry in small batches. Overcrowding is the #1 reason people get soggy shrimp. Give each shrimp space in the pan.
Common Mistakes (and how to avoid them):
Mistake: Coconut burns before shrimp cooks. Fix: Lower the heat. Coconut burns faster than shrimp cooks. If you see it browning too fast, move the pan off the direct heat for a minute.
Mistake: Coating falls off. Fix: You didn’t dry the shrimp enough, or you didn’t press the coconut firmly. Also, make sure the egg wash is thick enough. If it’s too runny, add an egg.
Mistake: Shrimp is rubbery. Fix: You overcooked it. Shrimp cooks fast. 2-3 minutes per side is usually enough. If it’s curled into a tight “C” shape, it’s done. If it’s an “O” shape, it’s overcooked.
Variations & Substitutions
Once you’ve nailed the basic version, here’s how you can mix it up. I’ve tried all of these.
Air Fryer Version — Spray the coated shrimp lightly with cooking spray. Air fry at 400°F (200°C) for 8-10 minutes, flipping halfway. They’re less crispy than fried, but healthier. I like this when I’m trying to cut back on oil.
Spicy Version — Add 1 teaspoon of cayenne pepper to the flour. Or mix sriracha into the sweet chili sauce for extra heat.
Gluten-Free — Use gluten-free flour and cornstarch instead of all-purpose flour. The texture is slightly different but still good. I’ve used Bob’s Red Mill GF flour with success.
Dairy-Free — Skip the milk in the egg wash. Just use beaten eggs. The rest is naturally dairy-free.
Vegan Version — This is trickier. Use chickpea flour for the batter and flax eggs for the egg wash. Coat with coconut. It’s not the same, but it’s decent. I usually stick to the shrimp version because it’s so much better.
Different Sauces — Try mango chutney, peanut sauce, or a simple soy-ginger dip. All work well with coconut shrimp.
Serving & Storage
How to Serve: I usually serve this straight from the platter at the dinner table. It looks rustic and stays warm. Pair it with bacon cheddar ranch pasta salad for a complete meal. The creamy, savory pasta balances the sweet, crispy shrimp perfectly. You can also serve it with a simple green salad or steamed broccoli.
Sides: Jasmine rice, fried rice, or garlic bread are great options. If you want something light, a cucumber salad with rice vinegar works well.
Storage: Store leftovers in an airtight container in the fridge for up to 2 days. They will lose some crunch, but they’re still good.
Reheating: Reheat in an air fryer at 375°F for 3-4 minutes. This restores the crunch. Do NOT microwave them—they’ll get soggy and chewy. Oven reheating works too (350°F for 10 minutes), but air fryer is best.
Freezing: You can freeze uncooked coated shrimp. Place them on a baking sheet and freeze until solid, then transfer to a bag. Fry from frozen, adding 1-2 minutes to the cook time. I do this for meal prep.
Nutrition Information
I’m not a nutritionist, but here’s the breakdown if you’re tracking.
Per Serving (based on 4 servings, 6-8 shrimp each):
- Calories: 320
- Protein: 18g
- Carbs: 28g
- Fiber: 2g
- Sugar: 12g
- Fat: 14g
- Saturated Fat: 8g
- Cholesterol: 120mg
- Sodium: 450mg
What’s Good: High protein from the shrimp. The coconut provides healthy fats (MCTs). It’s a decent source of calcium from the coconut.
What to Know: Higher in calories and sugar due to the sweetened coconut and oil. The sodium is moderate. If you’re watching sugar, you can use unsweetened coconut and make your own sauce with less honey.
My Take: Look, this is a treat. It’s crispy, sweet, and indulgent. It’s not a daily health food. But it’s way better than takeout, and you control the ingredients. When I make it, I balance it with lighter sides like the cheesy broccoli and chicken fritters or a big salad to keep the meal balanced.
Final Thoughts
So that’s my go-to Crispy Coconut Shrimp! I’ve probably talked your ear off at this point, but when you make a recipe this often, you have a lot to say about it.
This has saved weeknight dinners more times than I can count. It’s my answer to “what’s for dinner” when I want something fancy but don’t want to spend an hour cooking. My kids love it, my husband loves it, and I love it because it’s fast and delicious.
Make it yours! Try different sauces, adjust the spice level, or add some veggies to the side. The best recipes are the ones you adapt to your family’s tastes.
If you make this, drop a comment and let me know what you think! I love hearing how recipes turn out in your kitchen. And if something doesn’t work, tell me that too—I’m here to help troubleshoot.
Happy cooking! And I hope your kitchen smells half as good as mine does right now.
Frequently Asked Questions
Can I use frozen shrimp?
Yes, but you must thaw them completely and dry them thoroughly. If you try to coat frozen shrimp, the ice will melt and ruin the coating. Thaw in cold water, then pat dry with paper towels.
Why did my coconut burn?
The oil was too hot. Coconut has sugar in it, which burns quickly. Keep your oil between 325°F and 350°F. If you see it browning too fast, lower the heat immediately.
Can I make this ahead?
You can coat the shrimp ahead and refrigerate them for up to 4 hours. Fry them right before serving. Do not fry ahead and reheat in the microwave—they’ll get soggy.
What kind of coconut should I use?
Shredded sweetened coconut. Flaked coconut is too large and won’t stick as well. Look for it in the baking aisle.
Can I bake this instead of frying?
You can, but it won’t be as crispy. Brush the coated shrimp with oil and bake at 400°F for 15-20 minutes, flipping halfway. Air frying is a better alternative for crispiness.
How do I store leftovers?
Store in an airtight container in the fridge for up to 2 days. Reheat in an air fryer or oven to restore crunch.
Can I double the recipe?
Absolutely. Just make sure you fry in batches so you don’t overcrowd the pan. Double the ingredients, but cook in the same amount of time per batch.
Pin This Recipe!
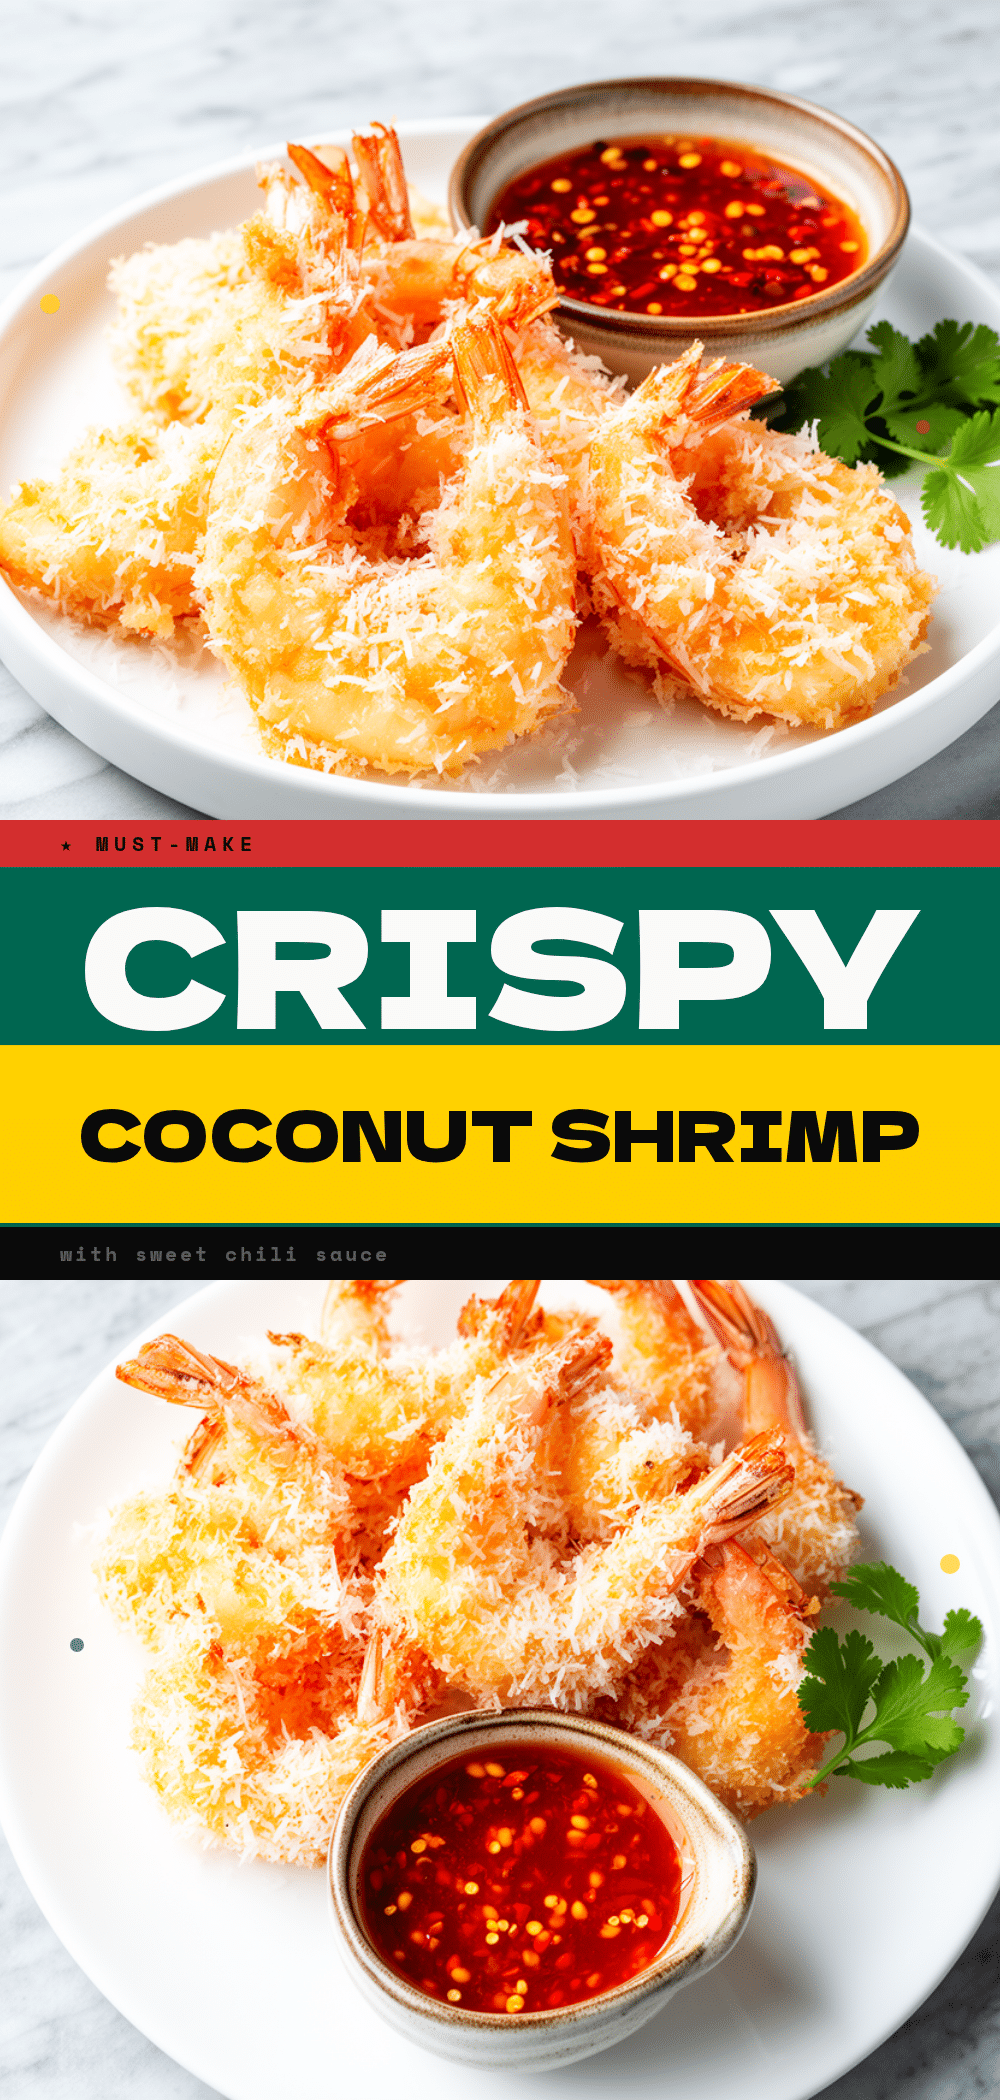

Crispy Coconut Shrimp: 30-Minute Best Takeout Alternative
- Total Time: 30 minutes
- Yield: 4 servings 1x
Description
A homemade version of restaurant-style crispy coconut shrimp that is ready in 30 minutes. This recipe uses a double-dip coating technique for maximum crunch and is served with a sweet chili sauce.
Ingredients
- 1.5 pounds large shrimp (21–25 count), peeled and deveined
- 1 teaspoon kosher salt
- 1/2 teaspoon black pepper
- 1 cup all-purpose flour
- 2 large eggs, beaten
- 2 tablespoons milk or buttermilk
- 2 cups shredded sweetened coconut
- 2 cups neutral oil for frying (vegetable, canola, or peanut)
- 1/2 cup sweet chili sauce
- 1 teaspoon lime juice
- Red pepper flakes (optional)
- Fresh cilantro for garnish (optional)
Instructions
- Thaw frozen shrimp in cold water if necessary, then pat them completely dry with paper towels. Season with salt and pepper.
- Set up a coating station with three shallow bowls: one with flour, one with beaten eggs mixed with milk, and one with shredded coconut.
- Dredge each shrimp in flour, shaking off excess. Dip into the egg wash, letting excess drip off, then press firmly into the coconut to coat evenly.
- Heat neutral oil in a large skillet or Dutch oven over medium-high heat to 350°F (175°C).
- Fry shrimp in batches (4-5 at a time) for 2-3 minutes per side until golden brown and crispy. Do not overcrowd the pan.
- Remove shrimp with a slotted spoon and place on a wire rack to drain. Let rest for 2 minutes.
- While shrimp fries, warm the sweet chili sauce in a small saucepan over low heat and stir in lime juice.
- Serve the hot shrimp immediately with the warm sweet chili sauce for dipping.
Notes
Ensure shrimp are completely dry before coating to prevent the batter from sliding off. Use sweetened shredded coconut, not flaked, for better adhesion and caramelization. Fry in small batches to maintain oil temperature and ensure crispiness. For extra crunch, double-dip the shrimp in egg and coconut. Reheat leftovers in an air fryer to restore crunch; do not microwave.
- Prep Time: 10 minutes
- Cook Time: 20 minutes
- Category: Main Course
- Cuisine: Asian Fusion
Nutrition
- Serving Size: 6-8 shrimp per servi
- Calories: 320
- Sugar: 12
- Sodium: 450
- Fat: 14
- Saturated Fat: 8
- Carbohydrates: 28
- Fiber: 2
- Protein: 18
Keywords: coconut shrimp, crispy shrimp, seafood recipe, takeout alternative, sweet chili sauce, easy dinner, party appetizer



