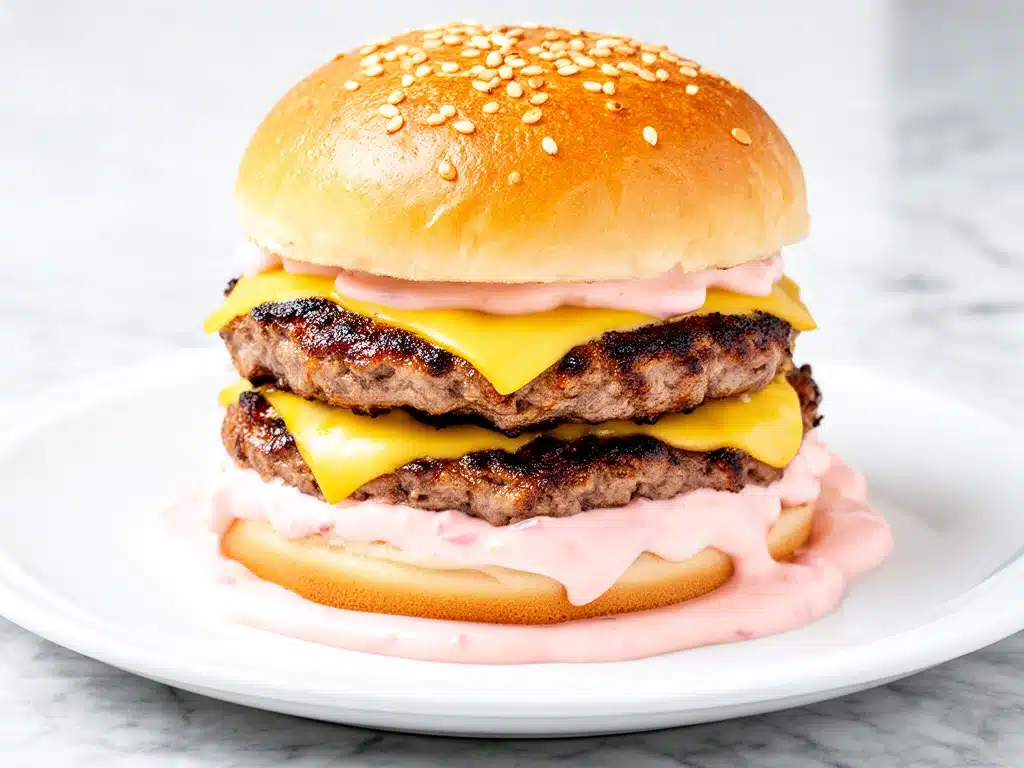
Last Thursday, I was exhausted. You know that specific kind of tired where your brain feels like static and the idea of chopping vegetables makes you want to cry? I had a package of ground beef in the fridge, a craving for something salty and savory, and zero energy for a complicated meal. I didn’t want to make a fancy burger with brioche buns and artisanal cheeses. I just wanted a burger. A real one. The kind that tastes like it came from a greasy spoon diner but with better meat.
So I did what any sleep-deprived parent does: I smashed it. Hard.
I’ve always been curious about the smashburger trend. You know the ones—the thin, crispy, lacy edges that crackle when you bite into them, with a juicy, rare center that’s basically a meat patty confit. I’d tried making them before, but they always came out flat as pancakes or dry as cardboard. I was skeptical. I thought it was just a social media gimmick. But that night, fueled by hunger and laziness, I threw two balls of meat onto the screaming hot cast iron, pressed down with a spatula like my life depended on it, and waited.
When I flipped them, I saw it. The Maillard reaction was happening in real-time. Those beautiful, dark brown crusts. The smell hit the kitchen like a freight train—charred beef, caramelized onions, and that distinct, mouth-watering scent of high-heat searing. I threw them on toasted buns, slathered them with a homemade special sauce that I whipped up in 30 seconds, and took one bite.
I stopped breathing for a second. It was better than the takeout place down the street. It was better than most restaurants. And it took less time than waiting for delivery.
That was the night I fell in love with the smashburger. Since then, I’ve made these juicy smashburgers with special sauce at least twenty times. I’ve tested different meats, different presses, different sauces, and different buns. I’ve learned what works, what doesn’t, and why your burger might be turning out dry (spoiler: it’s usually the heat). This recipe isn’t just about smashing meat. It’s about technique, patience, and understanding how to get that perfect crust without sacrificing the juice inside.
If you’re tired of dry, bland burgers that taste like they came from a freezer aisle, this is the recipe you’ve been waiting for. It’s simple, it’s fast, and it delivers restaurant-quality results right in your own kitchen. Let’s get into it.
Why You’ll Love This Smashburger Recipe
There are a lot of burger recipes out there. I’ve tried them all. Some are too fussy, requiring ingredients you can’t pronounce. Some take an hour to prep. But this juicy smashburger with special sauce hits a sweet spot that makes it my absolute go-to for weeknight dinners, game days, or just when I need a hug in food form.
Here’s why this version beats the rest:
- That Crispy, Lacy Crust — This is the holy grail of burgers. By smashing the meat thin against a hot surface, we create maximum surface area for browning. The result? A crust so crispy it shatters slightly when you bite it, contrasting with the tender, juicy interior. It’s texture heaven.
- Under 20 Minutes Total — Seriously. From fridge to plate, you’re looking at 15-20 minutes. The sauce takes 5 minutes to mix. The patties take 4 minutes to cook. I make these on nights when I get home at 7pm and just want to eat, not live in the kitchen. It’s faster than ordering UberEats and cheaper too.
- The Special Sauce is a Game-Changer — Most people just use ketchup and mayo. That’s fine. But this sauce? It’s tangy, creamy, slightly sweet, and packed with pickle flavor. It ties the whole burger together. I’ve made this sauce for everything else too—putting it on my cheesy broccoli and chicken fritters is a weirdly perfect combo. But on a burger? It’s legendary.
- Uses Cheap, Accessible Ingredients — You don’t need wagyu beef or truffle oil. Standard 80/20 ground chuck from the grocery store works perfectly. The magic is in the technique, not the price tag. This makes it budget-friendly without sacrificing quality.
- Perfect for Crowds — Because they cook so fast, you can whip up a dozen burgers in the time it takes to cook four traditional thick patties. I make these for family dinners and parties all the time. Everyone gets their perfect doneness because you can flip them individually.
This isn’t just a recipe; it’s a solution for anyone who loves burgers but hates the hassle. It’s reliable, delicious, and consistently impressive. Even my picky eaters (who usually complain about “too much crunch”) ask for seconds.
Ingredients You’ll Need
One of the best things about this juicy smashburger with special sauce is how simple the ingredient list is. You probably have most of this in your fridge and pantry already. I’m particular about a few things here—specifically the fat content of the beef and the quality of the pickles—but otherwise, it’s straightforward.
For the Burgers
Ground Beef (80/20 Ratio) (2 lbs / 900g) — This is non-negotiable. You need 80% lean, 20% fat. Leaner beef will dry out because there’s not enough fat to keep it juicy during the high-heat smash. I always buy chuck roast ground at home or ask the butcher to grind it. If you buy pre-ground, check the label. Sirloin is too lean. Brisket is too fatty. Chuck is the sweet spot.
Kosher Salt (1 tablespoon) — Use kosher salt, not table salt. Table salt is too fine and can make the meat tough if you overwork it. I use Diamond Crystal. If you use Morton, use half the amount because it’s denser.
Black Pepper (1 teaspoon, freshly cracked) — Freshly cracked adds a nice heat and aroma. Pre-ground pepper loses its punch quickly.
American Cheese Slices (8 slices) — I know, I know. Some people scoff at American cheese. But for a smashburger, you need something that melts instantly and evenly. Kraft singles or generic American cheese melt like butter. Provolone or Cheddar work, but they take longer to melt and can leave cold spots. For that classic diner style, stick with American.
Burger Buns (8 buns) — Potato rolls are my favorite. They’re soft, slightly sweet, and sturdy enough to hold the juices without getting soggy immediately. Brioche is good too, but a bit too rich. Standard sesame seed buns work fine if that’s all you have.
Butter (2 tablespoons, for toasting buns) — Unsalted is fine. We’re just toasting the buns to create a barrier against the sauce.
For the Special Sauce
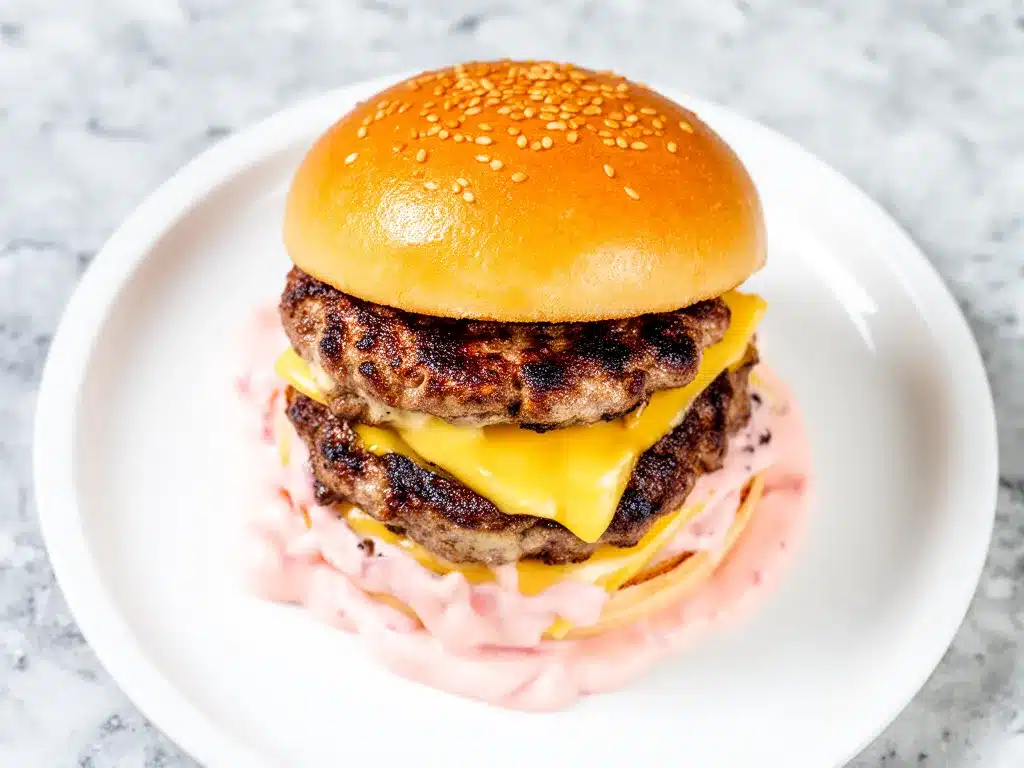
Mayonnaise (½ cup / 120ml) — Use full-fat mayo. Miracle Whip won’t give you the same rich texture. I use Hellmann’s or Duke’s. It’s the base of the sauce.
Ketchup (2 tablespoons) — Adds sweetness and tang. Heinz is the standard for a reason.
Relish or Chopped Pickles (2 tablespoons) — Sweet pickle relish is traditional. If you have dill pickles, chop them finely and use those for a tangier kick. I like a mix. The acidity cuts through the rich beef.
White Vinegar (1 teaspoon) — Brightens up the sauce. Don’t skip this. It adds the “zing” you’re missing from restaurant burgers.
Garlic Powder (½ teaspoon) — Adds savory depth without chunks of raw garlic. Fresh garlic doesn’t blend well into a cold sauce like this.
Onion Powder (½ teaspoon) — Complements the garlic powder. It’s subtle but necessary.
Worcestershire Sauce (1 teaspoon) — Adds umami and complexity. Just a dash is enough. It makes the sauce taste like it’s been simmering for hours, even though it’s been in the bowl for five minutes.
Hot Sauce (1-2 teaspoons, optional) — I use Frank’s RedHot or Tabasco. Start with 1 teaspoon if you’re sensitive to heat. It adds a nice background warmth.
Optional Toppings
Thinly Sliced Onions — Raw red onions add a sharp crunch. I like them thin. If you prefer cooked, caramelized onions are amazing, but for a smashburger, raw keeps it light.
Lettuce — Iceberg or Romaine. Shredded or leaves. I keep it simple. A little crunch goes a long way.
Tomato Slices — Only if you’re using ripe, in-season tomatoes. Otherwise, skip it. Watery tomatoes make burgers soggy.
Equipment Needed
You don’t need fancy gadgets for this. In fact, some fancy equipment might get in the way. Here’s what I actually use in my kitchen:
- Cast Iron Skillet or Griddle — This is crucial. Cast iron holds heat incredibly well. When you smash the cold meat onto the hot surface, the temperature shouldn’t drop significantly. A non-stick skillet works, but cast iron gives a better sear. I use a 12-inch Lodge skillet. It’s heavy, durable, and perfect for this.
- Heavy-Sided Spatula — You need a wide, sturdy spatula to press down on the meat. A flimsy plastic one will bend. I use a wide stainless steel spatula. Some people use a burger press, but a spatula gives you more control.
- Burger Press (Optional) — If you have a dedicated burger press, great. But I find a spatula works just as well. Just make sure it’s flat and wide enough to cover the meat ball.
- Large Mixing Bowl — For mixing the special sauce. A small bowl works if you’re making a smaller batch.
- Measuring Spoons — For the sauce. Accuracy matters here to get the balance right.
- Cutting Board — For prepping onions or tomatoes if you’re adding them.
Pro Tip: If you don’t have cast iron, a heavy stainless steel skillet works, but you need to preheat it longer. A non-stick pan is okay, but you won’t get that same deep, dark crust. And definitely don’t use a thin aluminum pan—it loses heat too fast.
How to Make It: Step-by-Step
Alright, let’s make this! I’m walking you through exactly how I do it, including the little tricks I’ve picked up over dozens of batches. The key here is speed and heat. Once you start cooking, things move fast.
Step 1: Prep the Meat Balls
Take your ground beef out of the fridge. Divide it into 8 equal portions. I usually weigh them out to 4 ounces each, but eyeballing it works too. Roll each portion into a loose ball. Don’t pack them tight! You want them loose so they smash easily. If you pack them tight, they’ll be tough. Place them on a plate or tray. Keep them cold until you’re ready to cook. This helps them hold their shape when they hit the heat.
Step 2: Make the Special Sauce
While the meat is resting, whisk together the mayo, ketchup, relish, vinegar, garlic powder, onion powder, Worcestershire, and hot sauce in a small bowl. Taste it. It should be tangy, creamy, and slightly spicy. If it’s too thick, add a splash more vinegar or water. If it’s too thin, add a bit more mayo. Set it aside in the fridge. Letting it sit for 10 minutes lets the flavors meld, but it’s good immediately too. This sauce is the soul of the burger, so take your time getting it right.
Step 3: Get the Pan Screaming Hot
Place your cast iron skillet over high heat. Turn the heat to high. Let it get hot. I mean really hot. You want the iron smoking slightly. This usually takes 5-7 minutes. If you’re using a griddle, preheat it to 400°F (200°C). The surface needs to be hot enough to sear the meat instantly. If it’s not hot enough, the meat will steam instead of sear, and you won’t get that crust.
Step 4: Season and Smash
Take a meat ball and place it in the center of the hot skillet. Sprinkle generously with salt and pepper on the top side. Immediately take your spatula and press down hard. Smash it flat. I’m talking full-body weight here. You want it to be about ¼ inch thick. The edges should look lacy and irregular. If the meat sticks, your pan isn’t hot enough, or you need a little oil. Once you smash it, leave it alone. Do not touch it for 2 minutes.
Step 5: The Sear
Let the patty cook undisturbed for 2 minutes. You’ll see the edges start to crisp up and turn dark brown. The bottom should be beautifully caramelized. This is where the flavor develops. If you lift it too early, the crust will stick to the pan and tear. Patience is key here.
Step 6: Flip and Cheese
Use your spatula to scrape under the patty and flip it. It should release easily if the crust is formed. Immediately place a slice of American cheese on the hot side. The residual heat will melt it quickly. Cook the other side for just 1-2 minutes. You don’t want to overcook it. Smashburgers are best when they’re medium-rare to medium. The thinness means they cook fast.
Step 7: Toast the Buns
While the burgers are finishing, grab a second skillet or use the side of your griddle. Melt a little butter and toast the cut sides of your buns until golden brown. This adds texture and prevents the bun from getting soggy from the sauce and juices. Remove the buns to a plate.
Step 8: Assemble
Take your toasted bun bottom. Slather it with a generous spoonful of special sauce. Place the cheesy patty on top. Add any other toppings you like—onions, lettuce, tomato. Top with the other bun half, more sauce on the inside, and press down gently. Serve immediately. The cheese is still gooey, the crust is still crispy, and the bun is still warm.
Total Time: About 20 minutes. Active Time: 10 minutes.
Expert Tips & Tricks
Here’s everything I’ve learned from making these burgers dozens of times. These tips will save you from my mistakes and ensure your burgers are consistently juicy and crispy.
- Keep the Meat Cold — I cannot stress this enough. Warm meat sticks to the pan. Cold meat smashes cleanly. If your meat warms up while you’re prepping, put it back in the fridge for 10 minutes. Cold fat also helps create those crispy edges.
- Don’t Overwork the Meat — When forming the balls, handle them as little as possible. Overworking makes the proteins bind too tightly, resulting in a dense, burger-sausage texture instead of a tender patty. Loose is good.
- Press Hard and Flat — When you smash, press until the patty is about ¼ inch thick. Any thicker, and you’re making a regular burger, not a smashburger. The thinness is what allows for that high surface-area-to-volume ratio, which equals maximum crust.
- Don’t Flip Too Early — This is the most common mistake. If you lift the patty to check it and it sticks, your crust isn’t formed yet. Wait another 30 seconds. The crust should release naturally from the pan. If it doesn’t, it’s not ready.
- Use a Clean Spatula — If you’re flipping multiple burgers, scrape your spatula clean between flips. Burnt bits from the first patty will stick to the second one and burn. Keep your cooking surface clean for the best sear.
- Toast the Buns — I know it’s an extra step, but toasting the buns in butter adds a layer of flavor and texture that is essential for the perfect bite. It also creates a hydrophobic barrier against the sauce.
Common Mistakes (and how to avoid them)
Mistake: The meat sticks to the pan.
Fix: Your pan wasn’t hot enough. Or you didn’t smash it hard enough. Make sure the pan is smoking hot before adding meat. And press down firmly to ensure full contact.
Mistake: The burgers are dry.
Fix: You used lean meat or overcooked them. Stick to 80/20 beef. And don’t cook them longer than 2 minutes per side. They’re thin; they cook fast.
Mistake: The sauce is too runny.
Fix: You added too much vinegar or pickle juice. Start with less pickle juice, or drain the relish well. You want a thick, spreadable consistency.
Variations & Substitutions
Once you’ve nailed the basic version, here’s how you can mix it up. I’ve tried all of these, and they’re all winners.
Double Smash
Take two small meat balls and smash them together on the pan to create one larger, thicker patty with double the crust. This is great if you have bigger appetites. It adds even more crispy edge.
Breakfast Smashburger
Top the cooked patty with a fried egg and a slice of cheese. The runny yolk mixes with the special sauce for an incredible breakfast burger. Serve on an English muffin or biscuit.
Spicy Smashburger
Add jalapeños to the special sauce, or swap the American cheese for Pepper Jack. If you like heat, this version is for you. I sometimes add a slice of crispy bacon too.
Veggie Smashburger
You can smash veggie patties too! Use a mix of black beans, rice, and spices. The technique is the same, but cook them a bit longer since they don’t need to reach a meat temperature. Serve with avocado and chipotle mayo.
Gluten-Free Option
Use gluten-free buns. Make sure your beef and cheese are certified gluten-free if you have celiac disease. The special sauce is naturally gluten-free, but check your Worcestershire sauce (some brands contain malt vinegar).
Dairy-Free Option
Use a vegan cheese slice that melts well (like Miyoko’s or Chao). Use vegan mayo for the sauce. The technique remains the same. It’s surprisingly good, though the texture of the cheese is different.
Serving & Storage
These burgers are best served immediately. The crust softens quickly if you let them sit, so assemble and eat right away.
How to Serve
I usually serve these with a side of crispy fries or sweet potato fries. A simple green salad with a vinaigrette works too, to cut through the richness. For a complete meal, I sometimes add a side of coleslaw. It’s classic diner fare.
Storage Instructions
Refrigerator: Leftover patties can be stored in an airtight container for up to 3 days. The sauce can be stored separately for up to 1 week. To reheat, warm the patty in a skillet over medium heat for 1-2 minutes per side to crisp it up again. Don’t microwave it, or it’ll get rubbery.
Freezing: You can freeze the uncooked meat balls. Place them on a baking sheet, freeze until solid, then transfer to a freezer bag. They’ll keep for up to 3 months. Thaw in the fridge before cooking. Do not freeze cooked burgers with cheese; the texture of the cheese will be weird when reheated.
Meal Prep: I don’t recommend pre-assembling these for meal prep. The buns get soggy. Prep the meat balls and make the sauce ahead of time. Cook the burgers fresh when you’re ready to eat.
Nutrition Information
I’m not a nutritionist, but here’s the breakdown if you’re tracking. Keep in mind that this is a rich, indulgent meal, so portion control matters.
Per Serving (1 Burger with Bun and Sauce):
- Calories: ~650
- Protein: 35g
- Carbs: 35g
- Fat: 40g
- Sodium: 900mg
What’s Good: High protein, satisfying, uses real ingredients.
What to Know: Higher in calories and fat due to the beef and cheese. If you’re watching your sodium, use low-sodium beef and reduce the salt in the sauce.
My Take: This is comfort food. It’s not a diet meal. But it’s made from scratch, so you know exactly what’s in it. Enjoy it as a treat or a hearty weeknight dinner.
Final Thoughts
So that’s my go-to juicy smashburger with special sauce! I’ve probably talked your ear off at this point, but when you make a recipe this often, you have a lot to say about it.
This recipe has saved weeknight dinners more times than I can count. It’s my answer to “what’s for dinner” when I’m tired, don’t want takeout, and still want something that tastes really good. My kids are happy, my husband’s happy, and I’m happy because I’m not stressed about cooking.
Make it yours! Try different add-ins, swap in your favorite vegetables, adjust the garlic (though more is always better in my opinion). The best recipes are the ones you adapt to your family’s tastes.
If you make this, drop a comment and let me know what you think! I love hearing how recipes turn out in your kitchen. And if something doesn’t work, tell me that too—I’m here to help troubleshoot.
Happy cooking! And I hope your kitchen smells half as good as mine does right now.
Frequently Asked Questions
Can I use lean beef like 90/10 or 95/5?
You can, but the burgers will be much drier. The 20% fat in 80/20 beef is what keeps the patty juicy during the high-heat smash. If you only have lean beef, consider adding a little grated butter to the meat before forming the balls, or be prepared for a leaner, more steak-like texture.
Why did my meat stick to the pan?
Usually, this means the pan wasn’t hot enough when you added the meat, or you tried to lift it too soon. The meat needs to sear and release naturally. If it sticks, wait 30 more seconds. Also, make sure you’re using cold meat. Warm meat sticks more easily.
Can I make the special sauce ahead of time?
Yes! In fact, it tastes better if you let it sit in the fridge for a few hours. The flavors meld together, and the garlic and onion powders soften. It keeps in an airtight container in the fridge for up to a week.
What’s the best type of cheese for smashburgers?
American cheese is the classic choice because it melts instantly and evenly. Provolone and Cheddar work too, but they take longer to melt and can leave cold spots. If you use a harder cheese, try shredding it finely so it melts faster.
Can I cook these on a grill?
Technically, yes, but it’s harder to get that flat, crispy crust on a grill grate. You’d need a very hot, clean grill and a heavy press. A cast iron skillet on the stovetop or a flat-top griddle is much easier to control and gives better results for smashburgers.
How do I reheat leftovers without drying them out?
Don’t microwave them! Reheat the patties in a skillet over medium heat for 1-2 minutes per side. This restores the crust. Reheat the buns separately in a toaster or dry skillet. Assemble fresh with new sauce if possible, as old sauce can get watery.
Pin This Recipe!
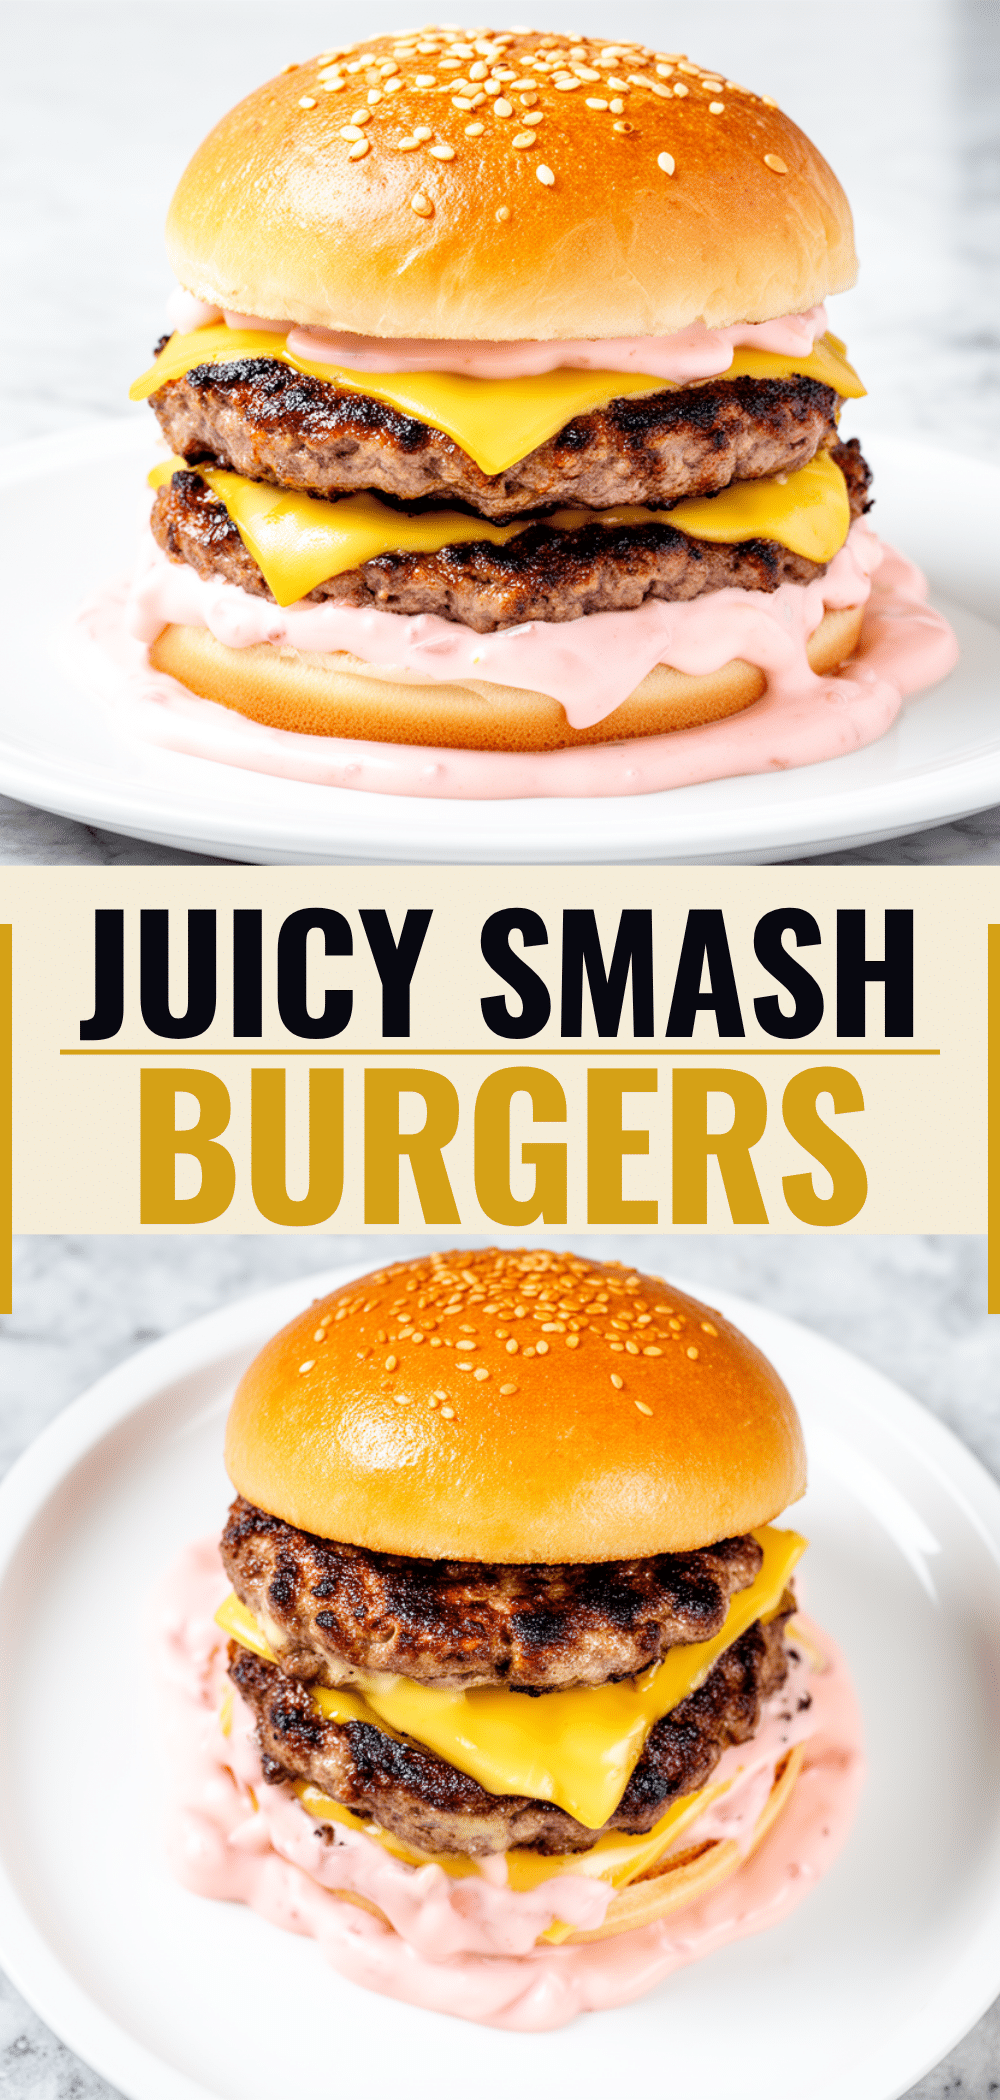
Juicy Smashburgers with Special Sauce: Easy Best Homemade Recipe
- Total Time: 20 minutes
- Yield: 4 servings 1x
Description
These juicy smashburgers feature a crispy, lacy crust and a tender center, served with a tangy homemade special sauce. Ready in under 20 minutes, this recipe uses simple ingredients and high-heat searing for restaurant-quality results.
Ingredients
- 2 lbs (900g) ground beef (80/20 ratio)
- 1 tablespoon kosher salt
- 1 teaspoon freshly cracked black pepper
- 8 slices American cheese
- 8 burger buns (potato rolls recommended)
- 2 tablespoons butter (for toasting buns)
- 1/2 cup (120ml) full-fat mayonnaise
- 2 tablespoons ketchup
- 2 tablespoons sweet pickle relish or chopped pickles
- 1 teaspoon white vinegar
- 1/2 teaspoon garlic powder
- 1/2 teaspoon onion powder
- 1 teaspoon Worcestershire sauce
- 1–2 teaspoons hot sauce (optional)
Instructions
- Divide ground beef into 8 equal portions (approx. 4 oz each) and roll into loose balls. Keep cold until ready to cook.
- In a small bowl, whisk together mayonnaise, ketchup, relish, vinegar, garlic powder, onion powder, Worcestershire sauce, and hot sauce. Set aside in the fridge.
- Place a cast iron skillet or griddle over high heat and preheat until smoking hot (approx. 5-7 minutes).
- Place a meat ball in the hot skillet and season generously with salt and pepper on top.
- Immediately press down hard with a heavy spatula to flatten the patty to about 1/4 inch thick. Leave undisturbed for 2 minutes to develop a crust.
- Flip the patty. It should release easily. Immediately place a slice of American cheese on top.
- Cook the second side for 1-2 minutes until the cheese is melted and the patty is medium-rare to medium.
- While burgers cook, toast the cut sides of the buns in butter in a separate skillet or on the griddle until golden brown.
- Assemble the burger: slather the bottom bun with special sauce, add the cheesy patty, add optional toppings (onions, lettuce, tomato), top with the other bun half, and serve immediately.
Notes
Keep the meat cold to prevent sticking and ensure clean smashing. Do not overwork the meat when forming balls. Ensure the pan is smoking hot before adding meat to achieve the Maillard reaction (crispy crust). If the meat sticks, the pan is likely not hot enough or the crust hasn’t formed yet. For best results, serve immediately as the crust softens quickly.
- Prep Time: 10 minutes
- Cook Time: 10 minutes
- Category: Main Course
- Cuisine: American
Nutrition
- Serving Size: 1 burger with bun an
- Calories: 650
- Sugar: 6
- Sodium: 900
- Fat: 40
- Saturated Fat: 12
- Carbohydrates: 35
- Fiber: 2
- Protein: 35
Keywords: smashburger, smash burger, special sauce, ground beef recipe, quick dinner, cast iron burger, homemade burger sauce, juicy burger



