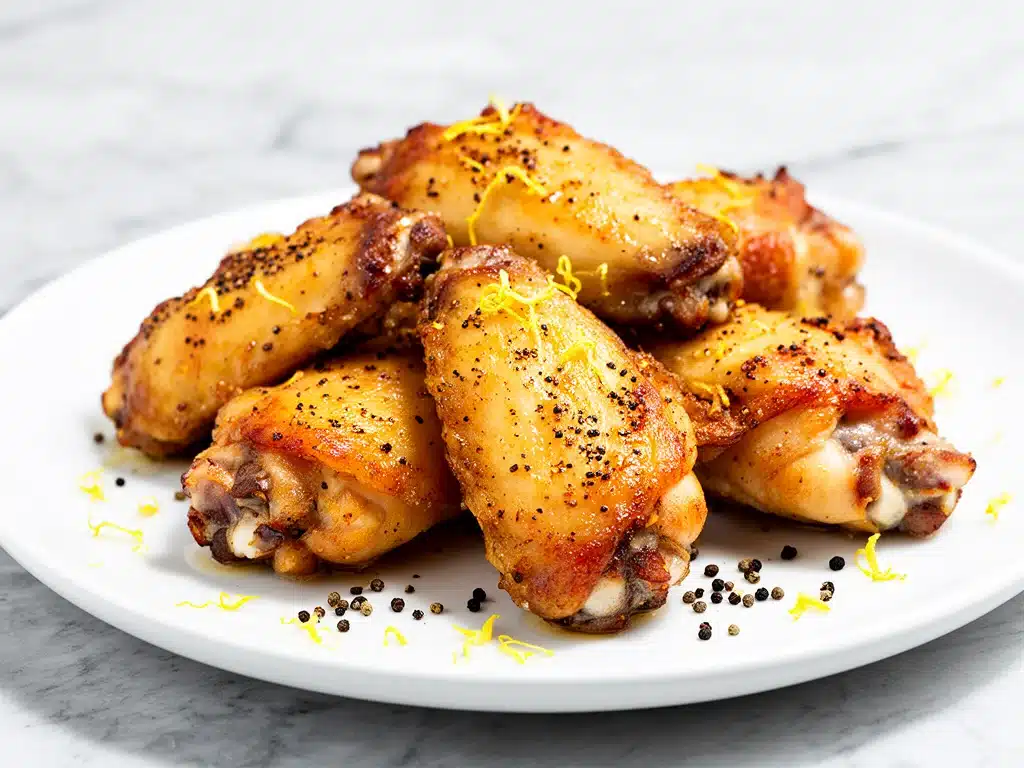
Let me tell you a secret that took me way too long to learn: the best chicken wings aren’t fried. Not really. Sure, fried wings have their place—like when you’re watching the Super Bowl and don’t care about the calorie count—but for a Tuesday night craving or a party where you want to actually enjoy the food instead of feeling sluggish afterward? You need to bake them.
Last Friday, I was staring at the delivery menu on my phone, thumb hovering over the “Place Order” button. I wanted those sticky, spicy, lemony wings I’d gotten at that little spot downtown two weeks ago. But then I remembered I had a half-package of chicken wings in the freezer, a lemon in the fruit bowl, and exactly 15 minutes of free time before my husband got home. I decided to gamble. I threw the wings in the oven, whipped up a quick lemon-pepper glaze, and waited.
When I pulled them out, the kitchen smelled like a citrus grove mixed with something savory and crisp. I took one bite. It was tangy, peppery, and had that perfect snap of skin that fried wings usually get. My husband walked in, saw the plate, and said, “Is this the takeout place?” I smiled and said, “Better. It’s homemade, and it cost me half the price.”
This baked lemon pepper chicken wings recipe is my new obsession. It’s crispy without being greasy, juicy on the inside, and packed with flavor that actually wakes up your palate. I’ve tested this method at least eight times now—sometimes with baking powder, sometimes without, sometimes with a marinade, sometimes dry-rubbed—and I’ve finally nailed the version that delivers that restaurant-quality crunch in a healthy, easy-to-make package. If you’re tired of ordering out and spending $20 on wings that arrive soggy, this is the recipe you’ve been waiting for.
Why You’ll Love This Recipe
There are a lot of chicken wing recipes out there, but this baked lemon pepper version hits a specific sweet spot. It’s not just “healthy chicken.” It’s flavorful, fun, and ridiculously easy to pull together. Here’s why this has become a staple in my weekly rotation:
- Actually Crispy Skin — Most baked wings turn out rubbery. This method uses a simple dry-rub technique with baking powder to draw out moisture, ensuring the skin gets shatteringly crisp. I’ve tried every trick in the book, and this is the only one that works consistently.
- Lightning Fast Prep — You’re looking at about 10 minutes of active prep time. The rest is just waiting in the oven. I can get this from fridge to fork in under 45 minutes, which is perfect for busy weeknights.
- Flavor That Pops — The lemon-pepper combo is classic for a reason. It’s bright, zesty, and slightly spicy. It cuts through the richness of the chicken without weighing you down. My kids love them, and my foodie friends are always asking for the recipe.
- Healthier Than Takeout — No deep fryer, no excess oil splatter, no grease dripping onto your plate. These wings are baked, so you get the texture you crave with a fraction of the fat. It’s guilt-free snacking.
- Perfect for Any Occasion — Whether it’s game day, a casual dinner party, or just a late-night snack, these wings fit. They’re also great for meal prep if you like having protein ready to go (though they’re best fresh).
I’ve served these to everyone from my picky eater brother to my wine-snob sister-in-law, and they all ask for seconds. There’s something about the combination of sharp lemon and bold pepper that just makes people happy. Plus, cleanup is a breeze since you’re just wiping down a baking sheet. No pots of oil to dispose of. Win-win.
Ingredients You’ll Need
One of the best things about this baked lemon pepper chicken wings recipe is how simple the ingredient list is. You probably have most of this already in your pantry. I’m particular about a few things here, though, so pay attention to the details.
For the Wings
Chicken wings (2 pounds / 900g) — I use whole wings (drumette and flat connected). If you can only find flats, that works too, just adjust cooking time slightly. Look for wings that are pink and fresh, not gray or slimy. I buy mine from the local butcher, but grocery store brands work fine.
Baking powder (1 tablespoon / 15g) — This is the secret weapon. It raises the pH of the skin, helping it brown and crisp up in the oven. Make sure it’s aluminum-free baking powder, not baking soda. Baking soda will make them taste soapy. I always check the label.
Sea salt (1 teaspoon / 6g) — Kosher salt works well too. I like to use flaky sea salt for the final sprinkle because it adds a nice crunch.
For the Lemon Pepper Glaze
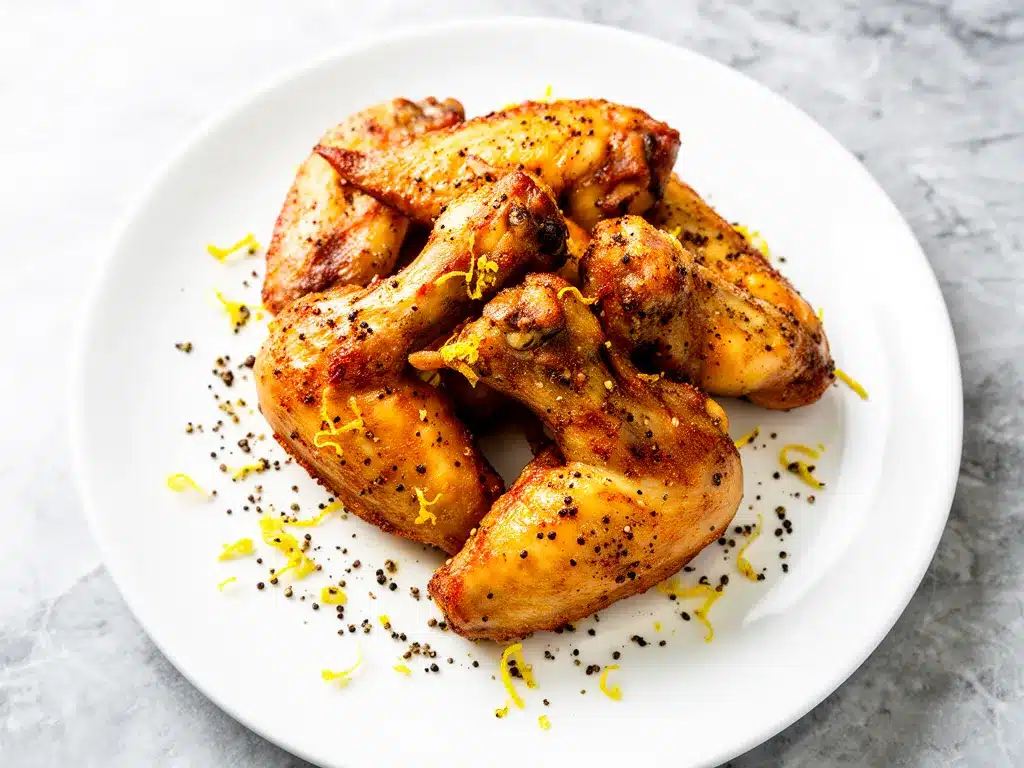
Unsalted butter (4 tablespoons / 60g) — Melted. I use unsalted so I can control the sodium. If you’re out, margarine works, but butter tastes better. Real talk: don’t skimp on quality butter here.
Fresh lemon juice (2 tablespoons / 30ml) — Yes, fresh. Bottled lemon juice has a metallic aftertaste that ruins the brightness. I juice two lemons to be safe. If you’re feeling lazy, you can use 1 tablespoon of lemon zest plus 1 tablespoon of bottled juice, but fresh is best.
Fresh lemon zest (1 tablespoon / 5g) — The oils in the zest carry so much flavor. Use a microplane or fine grater. Just the yellow part, not the white pith, which is bitter.
Freshly cracked black pepper (1 to 2 teaspoons / 2-4g) — Use a pepper mill. Pre-ground pepper loses its punch quickly. I like a generous amount of pepper, but adjust to your spice tolerance.
Garlic powder (1 teaspoon / 2g) — Adds savory depth. I use the powder, not fresh garlic, because fresh garlic can burn in the oven and turn bitter. Powder gives a consistent flavor.
Cayenne pepper (½ teaspoon / 1g) — Optional, but I recommend it. It adds a gentle heat that balances the lemon. If you’re sensitive to spice, skip it or use just a pinch.
Dried parsley (1 teaspoon / 1g) — For color and a hint of herbal flavor. It makes the wings look fresh and inviting. Fresh parsley is great as a garnish, but dried holds up better in the glaze.
Optional Add-ins
Hot sauce (1-2 teaspoons) — If you like it spicy, add a dash of Frank’s RedHot or your favorite hot sauce to the glaze. It adds a tangy kick that pairs well with lemon.
Honey (1 tablespoon) — For a sweet-and-sour twist, stir honey into the glaze. It caramelizes nicely in the oven. I do this when I want a slightly sweeter profile.
Equipment Needed
You don’t need fancy gear for this. Here’s what I actually use:
Baking sheet — A standard 13×18 inch sheet pan. I use a rimmed sheet so the juices don’t spill. Dark pans cook faster, so keep an eye on them. I prefer light-colored aluminum sheets for even browning.
Wire rack — This is optional but highly recommended. Placing wings on a rack allows air to circulate underneath, ensuring all sides crisp up. If you don’t have one, line your baking sheet with parchment paper and flip the wings halfway through.
Small saucepan — For melting the butter and mixing the glaze. You could use a microwave-safe bowl, but a saucepan gives you better control.
Whisk — To emulsify the butter and lemon juice. A small whisk works best.
Measuring spoons — Standard stuff. I keep a set in every kitchen.
Microplane or grater — For the lemon zest. A standard grater works too, but a microplane gives you finer zest that distributes more evenly.
Pepper mill — For fresh cracked pepper. It makes a huge difference in flavor intensity.
How to Make It: Step-by-Step
Alright, let’s make these baked lemon pepper chicken wings! I’m walking you through exactly how I do it, including the little tricks I’ve picked up over time.
Step 1: Prep the Wings (5 minutes)
Pat the chicken wings completely dry with paper towels. This is crucial. Moisture is the enemy of crispiness. If the skin is wet, it will steam instead of bake. I spend a good 3-4 minutes drying them—don’t rush this step. Once they’re dry, place them in a large bowl.
Step 2: Season the Wings (2 minutes)
Sprinkle the baking powder and salt over the wings. Toss them gently but thoroughly until every wing is coated. The baking powder will help draw out moisture and crisp the skin. Let them sit on the baking sheet (lined with parchment or a wire rack) for 15 minutes while you preheat the oven. This resting time helps the baking powder work its magic.
Step 3: Preheat the Oven (10 minutes)
Preheat your oven to 400°F (200°C). I like to bake at a high temperature to get that Maillard reaction—the browning that creates flavor and crunch. Make sure the oven is fully heated before you put the wings in.
Step 4: Bake the Wings (35-40 minutes)
Place the wings on the baking sheet, ensuring they aren’t touching each other. Crowding leads to steaming. Bake for 20 minutes, then flip the wings. Continue baking for another 15-20 minutes, or until the skin is golden brown and crispy. The internal temperature should reach 165°F (74°C). If you don’t have a thermometer, cut into the thickest part to check—no pink, and the juices should run clear.
Step 5: Make the Glaze (5 minutes)
While the wings bake, melt the butter in a small saucepan over low heat. Remove from heat and whisk in the lemon juice, lemon zest, black pepper, garlic powder, cayenne, and parsley. The mixture should be smooth and fragrant. If it looks separated, just keep whisking—it’ll come together.
Step 6: Glaze and Finish (5 minutes)
Remove the wings from the oven. While they’re still hot, toss them in the lemon pepper glaze. Use a large bowl and toss gently to coat every wing. The heat from the wings will help the glaze stick. Return the glazed wings to the baking sheet and broil for 2-3 minutes, watching closely to prevent burning. The glaze should bubble and caramelize slightly.
Step 7: Serve
Transfer to a serving platter. Sprinkle with extra cracked pepper and fresh parsley if you like. Serve immediately with celery sticks, carrot sticks, and your favorite dipping sauce. I love ranch or blue cheese, but honestly, these are so flavorful you might not need anything.
Total Time: About 45 minutes (10 minutes prep, 35 minutes cook time)
Expert Tips & Tricks
Here’s everything I’ve learned from making this dozens of times. These tips will save you from my mistakes.
Pat Them Dry
I can’t stress this enough. Wet wings = soggy wings. I use a whole roll of paper towels if I have to. The drier the skin, the crispier the result.
Don’t Skip the Resting Time
Letting the seasoned wings sit for 15 minutes before baking allows the baking powder to work on the skin. It’s a small step that makes a big difference in texture.
Use Fresh Lemon
Bottled lemon juice is a no-go. It has preservatives that change the flavor. Fresh lemon juice and zest give that bright, clean taste that defines this dish. If you’re in a pinch, you can use a bit of bottled juice, but fresh is best.
Flip Midway
If you’re not using a wire rack, flipping the wings halfway through ensures even browning. Otherwise, one side might be soggy while the other is crispy.
Watch the Broil
The broiler is powerful. Keep an eye on the wings during the final 2-3 minutes. You want caramelization, not charcoal. If they’re browning too fast, lower the rack or reduce the broil time.
Common Mistakes (and how to avoid them)
Mistake: Wings are soggy.
Fix: You didn’t dry them enough, or you overcrowded the pan. Dry thoroughly and space them out.
Mistake: Glaze isn’t sticking.
Fix: The wings were too cool when you tossed them. Glaze them while they’re still hot from the oven.
Mistake: Wings are undercooked.
Fix: Use a meat thermometer. Chicken wings need to reach 165°F internally. Don’t guess.
Variations & Substitutions
Once you’ve nailed the basic version, here’s how you can mix it up. I’ve tried all of these.
Spicy Lemon Pepper
Add 1 teaspoon of cayenne pepper to the glaze, or mix in 1 tablespoon of hot sauce. For extra heat, add some red pepper flakes to the dry rub.
Honey Lemon Pepper
Stir 1 tablespoon of honey into the glaze. It adds a nice sweetness that balances the acidity. Great for kids or those who prefer milder flavors.
Herb-Infused
Add 1 teaspoon of dried thyme or rosemary to the glaze. It adds an earthy note that pairs well with lemon. I like this version for dinner parties.
Garlic Lover’s
Add 1 teaspoon of minced fresh garlic to the glaze. Sauté it briefly in the butter before adding the lemon juice for a deeper garlic flavor.
Dietary Modifications
Gluten-Free: This recipe is naturally gluten-free, but check your baking powder and spices for hidden gluten. Most are safe, but always verify.
Dairy-Free: Substitute butter with olive oil or dairy-free butter. The flavor will be slightly different, but still delicious.
Lower-Fat: Use chicken breast pieces instead of wings. They cook faster and have less fat. The texture won’t be as juicy, but it’s a lighter option.
Serving & Storage
How to Serve:
I usually serve these straight from the oven, hot and steaming. They’re great as an appetizer or a main dish with a side salad. I pair them with crisp pasta salad or roasted vegetables for a complete meal. They’re also perfect for game day with celery and carrots.
Side Dishes:
- Coleslaw (creamy or vinegar-based)
- Roasted asparagus
- Crisp green salad with lemon vinaigrette
- Cheesy broccoli fritters for a fun twist
Storage Instructions:
Refrigerator: Store leftovers in an airtight container for up to 3 days. The skin may soften in the fridge, but you can revive it by reheating in the oven at 375°F for 10 minutes.
Reheating: Avoid the microwave—it makes the skin soggy. Reheat in the oven or air fryer for best results. If you must use the microwave, do it in short bursts and let them sit for a minute after.
Freezing: You can freeze uncooked, seasoned wings for up to 3 months. Thaw in the fridge before baking. Cooked wings don’t freeze well—the texture suffers. I recommend freezing the raw wings if you want to meal prep.
Nutrition Information
I’m not a nutritionist, but here’s the breakdown if you’re tracking. Note that these are estimates and can vary based on wing size and exact ingredients.
Per Serving (based on 4 servings, 8 wings each):
- Calories: 320
- Protein: 22g
- Carbs: 2g
- Fiber: 0g
- Sugar: 1g
- Fat: 24g
- Saturated Fat: 8g
- Cholesterol: 85mg
- Sodium: 380mg
What’s Good:
- High in protein
- Low in carbs
- Contains healthy fats from olive oil/butter
What to Know:
- Higher in calories due to chicken skin and butter
- Contains dairy (unless substituted)
- Low sodium if you control the salt
My Take:
Look, this is comfort food. It’s not a diet recipe, but it’s way better than deep-fried takeout. The baking process reduces the fat content significantly. When I want to make it lighter, I use less butter and more lemon juice. But usually? I just enjoy a reasonable portion and appreciate the flavor.
Final Thoughts
So that’s my go-to baked lemon pepper chicken wings! I’ve probably talked your ear off at this point, but when you make a recipe this often, you have a lot to say about it. This has saved me from ordering takeout more times than I can count. It’s my answer to “what’s for dinner” when I want something flavorful, satisfying, and easy.
Make it yours! Try different add-ins, swap in your favorite herbs, or adjust the spice level. The best recipes are the ones you adapt to your family’s tastes. If you make this, drop a comment and let me know what you think! I love hearing how recipes turn out in your kitchen. And if something doesn’t work, tell me that too—I’m here to help troubleshoot.
Happy cooking! And I hope your kitchen smells half as good as mine does right now.
Frequently Asked Questions
Can I use baking soda instead of baking powder?
No, don’t use baking soda. It’s much stronger and will leave a soapy, metallic taste. Baking powder is the right choice for crisping skin. If you only have baking soda, you can mix 1 teaspoon baking soda with 3 teaspoons cream of tartar to mimic baking powder, but baking powder is easier.
Why did my wings turn out soggy?
Usually, this means the skin was too moist before baking, or the wings were crowded on the pan. Pat them dry thoroughly and give them space. Also, make sure your oven is fully preheated. A cold oven leads to steaming.
Can I make this in an air fryer?
Yes! Air fryers are great for wings. Cook at 380°F for 20-25 minutes, shaking the basket halfway through. They’ll be even crispier than oven-baked. Adjust cooking time based on your air fryer model.
How do I store leftover glaze?
Store extra glaze in an airtight container in the fridge for up to 1 week. It can be used as a dressing for salads or a dip for vegetables. Just whisk it well before using, as the butter may solidify.
Can I freeze cooked wings?
It’s not recommended. The skin will lose its crispiness and become chewy. Freezing is better for raw, seasoned wings. Thaw them in the fridge and bake as usual.
What dipping sauces go well with lemon pepper wings?
Classic ranch, blue cheese, and honey mustard are all great. You can also try a yogurt-based herb dip or a spicy sriracha mayo. The lemon flavor pairs well with creamy, tangy sauces.
Can I use chicken drumsticks instead of wings?
Yes, but they take longer to cook. Increase baking time to 45-50 minutes, flipping halfway through. Check for doneness with a thermometer (165°F internally).
Pin This Recipe!
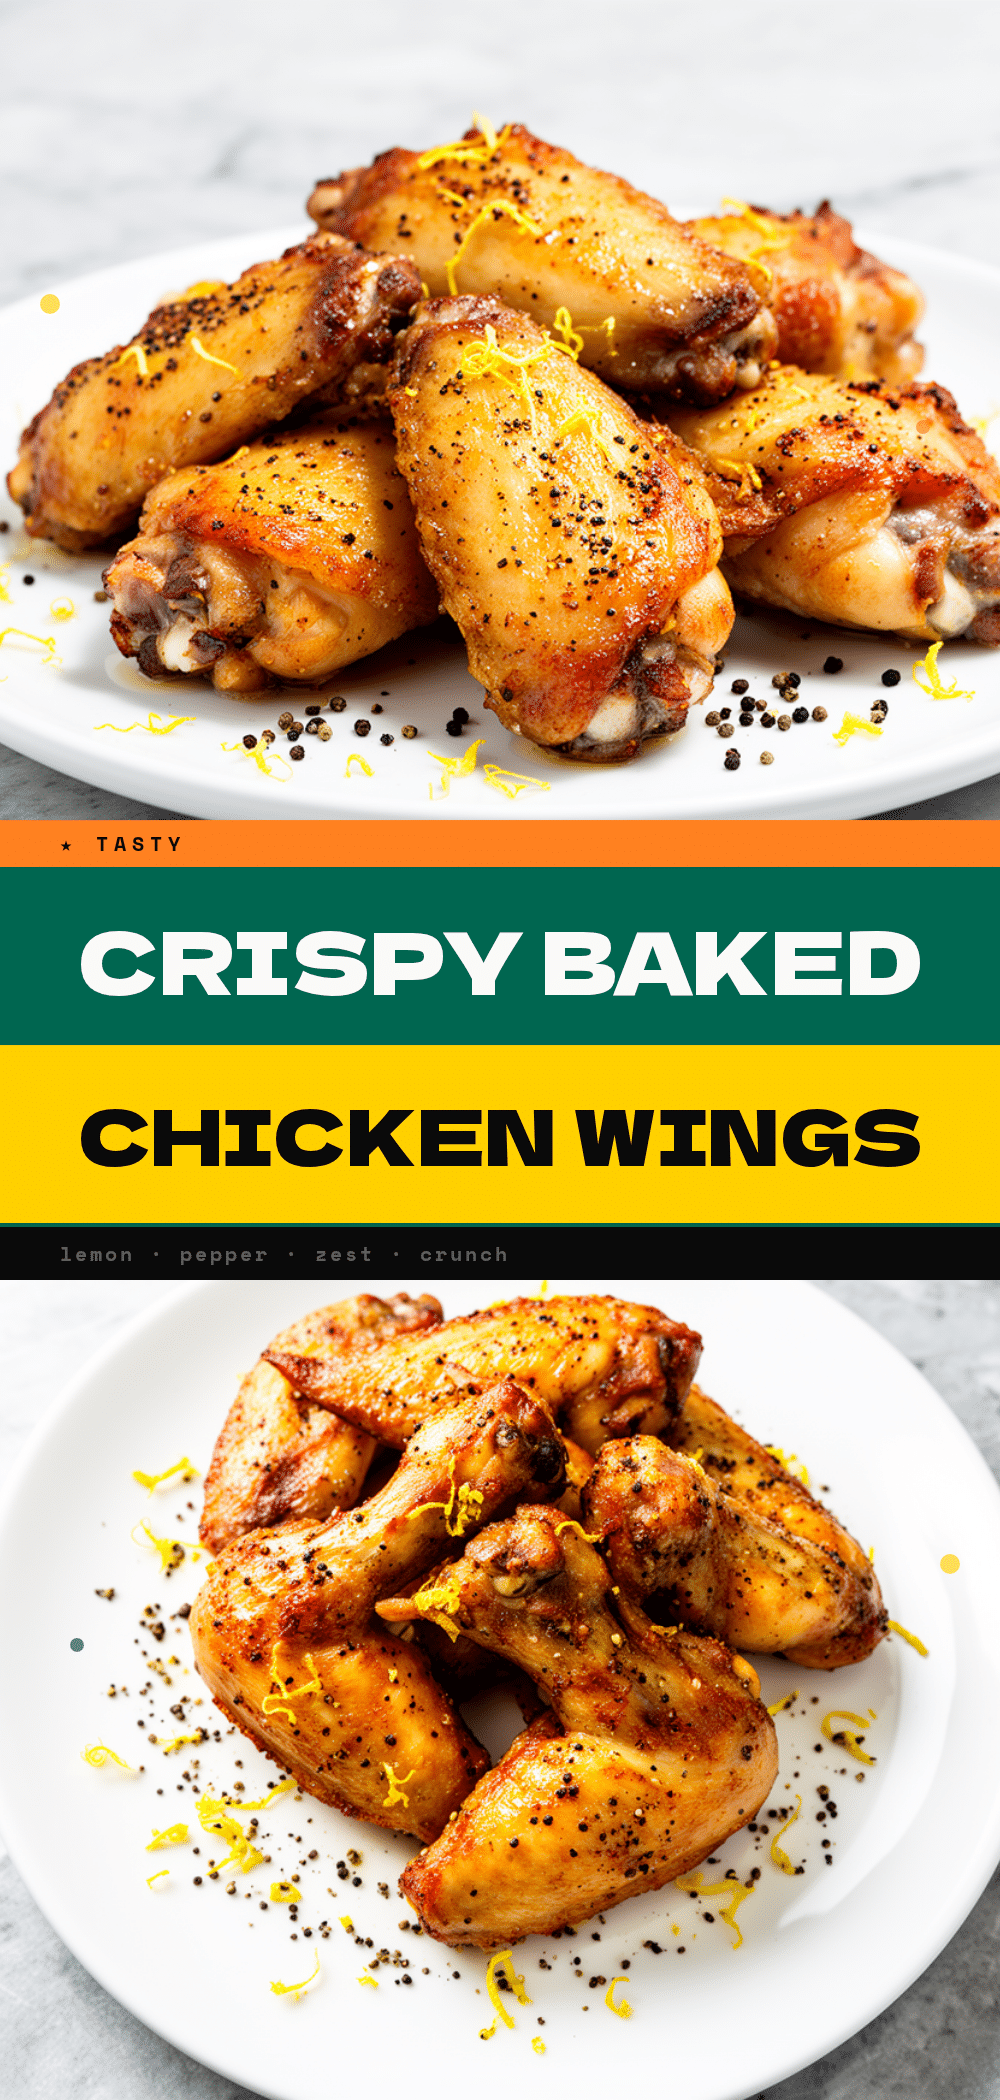
Baked Lemon Pepper Chicken Wings: 15 Min Easier Takeout
- Total Time: 45 minutes
- Yield: 4 servings 1x
Description
Crispy, juicy baked chicken wings with a tangy lemon-pepper glaze. This recipe delivers restaurant-quality crunch without the grease, using a simple dry-rub technique with baking powder for maximum crispiness.
Ingredients
- 2 pounds chicken wings (whole wings, drumette and flat connected)
- 1 tablespoon baking powder (aluminum-free)
- 1 teaspoon sea salt
- 4 tablespoons unsalted butter (melted)
- 2 tablespoons fresh lemon juice
- 1 tablespoon fresh lemon zest
- 1 to 2 teaspoons freshly cracked black pepper
- 1 teaspoon garlic powder
- ½ teaspoon cayenne pepper (optional)
- 1 teaspoon dried parsley
Instructions
- Pat chicken wings completely dry with paper towels to ensure crispiness.
- Place dried wings in a large bowl and sprinkle with baking powder and salt. Toss gently to coat evenly.
- Place wings on a baking sheet lined with parchment or a wire rack and let sit for 15 minutes.
- Preheat oven to 400°F (200°C).
- Arrange wings on the baking sheet, ensuring they are not touching.
- Bake for 20 minutes, then flip the wings.
- Continue baking for another 15-20 minutes until skin is golden brown and crispy and internal temperature reaches 165°F.
- While wings bake, melt butter in a small saucepan over low heat.
- Remove butter from heat and whisk in lemon juice, lemon zest, black pepper, garlic powder, cayenne, and parsley until smooth.
- Remove wings from oven and toss immediately in the lemon pepper glaze while still hot.
- Return glazed wings to the baking sheet and broil for 2-3 minutes, watching closely to prevent burning.
- Serve immediately with celery sticks, carrot sticks, and dipping sauce.
Notes
Patting the wings dry is crucial for crispiness. Do not use baking soda as it will leave a soapy taste. If not using a wire rack, flip wings halfway through baking. Glaze wings while they are still hot to help the sauce stick. Avoid microwaving leftovers as it makes the skin soggy; reheat in oven or air fryer.
- Prep Time: 10 minutes
- Cook Time: 35 minutes
- Category: Appetizer
- Cuisine: American
Nutrition
- Serving Size: 2 wings per serving
- Calories: 320
- Sugar: 1
- Sodium: 380
- Fat: 24
- Saturated Fat: 8
- Carbohydrates: 2
- Protein: 22
Keywords: baked chicken wings, lemon pepper wings, crispy chicken wings, healthy takeout alternative, easy dinner, game day food



