I have a confession to make. Last summer, I tried to make “real” ice cream from scratch. You know the kind—the custard base, the tempering eggs, the churning, the freezing. I spent three hours prepping, only to end up with icy, grainy disappointment because my freezer wasn’t cold enough or I got distracted by laundry (life happens, okay?). I stared at that sad, slushy mess and realized I was done with the hassle.
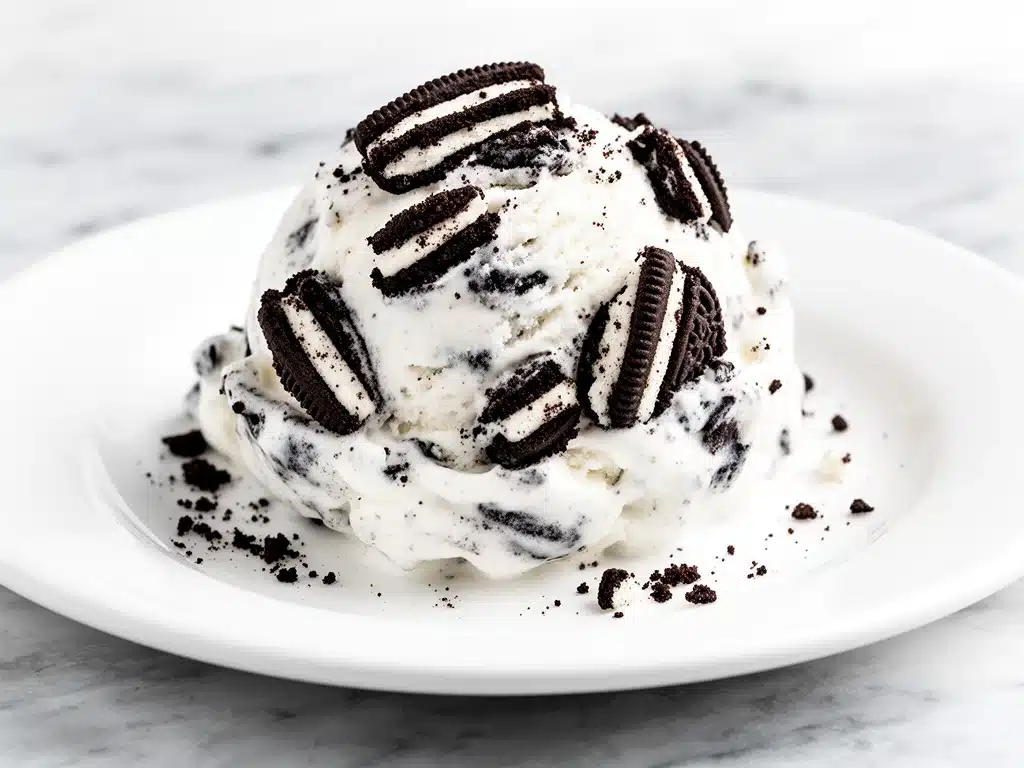
That was the day I discovered no-churn cookies and cream ice cream. Seriously. Three ingredients. No machine. No tempering eggs. Just pure, creamy, cookie-filled bliss that tastes like it came from a fancy gelato shop but costs pennies to make. I’ve made this at least a dozen times since that icy failure, and it has become my go-to dessert when I want to impress guests without actually doing any work.
This no-churn cookies and cream ice cream with simple ingredients is the kind of recipe that feels like magic. You whip heavy cream, mix it with sweetened condensed milk, and fold in crushed Oreos. That’s it. No ice cream maker needed. No complicated techniques. Just spoon, stir, freeze, and enjoy. It’s become my secret weapon for summer parties, movie nights, and those moments when I need a little sweet comfort after a long day.
Why You’ll Love This No-Churn Cookies and Cream Ice Cream
There are about ten reasons I keep coming back to this recipe, but here are the big ones. This isn’t just “okay” homemade ice cream. It’s genuinely better than most store-bought tubs and rivals what you’d pay $8 for at a parlor.
Stupid Simple — Seriously, if you can open a can and crush cookies, you can make this. I’ve walked my teenage niece through it over FaceTime while she was at her friend’s house. She sent me a photo of her lopsided bowl and called it “chef’s kiss.”
Lightning Fast Prep — From start to finish, the active work takes about 15 minutes. The rest is just waiting in the freezer. I make this on Tuesdays when I’m too tired to cook dinner and need something sweet to survive until morning.
Pantry-Friendly — You probably have two out of three ingredients already. Heavy cream, sweetened condensed milk, and Oreos. That’s it. I keep a can of condensed milk in the back of my pantry specifically for this recipe because it’s so versatile.
Crowd-Pleaser — I’ve served this to my vegan friend (with modifications), my sugar-free cousin (using sugar-free Oreos), and my ice-cream-snob dad. Everyone loved it. The texture is creamy, the flavor is rich, and the cookie pieces give it that perfect crunch.
Makes Amazing Leftovers — Actually tastes better the next day. I deliberately make extra for lunch throughout the week. By day two, the cookies have softened slightly, creating these little pockets of cookie-dough-like texture that are addictive.
Budget-Smart — Feeds 8-10 people for under $8. That’s less than one trip to the ice cream shop. I’ve calculated this. I’m a numbers person when it comes to dessert economics.
This is my go-to when I need dessert to just work. No complicated techniques, no weird ingredients, just reliable, delicious food that makes everyone happy. And honestly? It makes me happy because I’m not stressed about cooking.
Ingredients You’ll Need
Here’s the best part: you probably have most of this already. This no-churn cookies and cream ice cream with simple ingredients lives up to its name. You don’t need fancy gadgets or obscure items. Just three things and maybe a little patience.
Heavy Cream (2 cups / 480ml) — Full-fat only. Do not use half-and-half or light cream. You need the fat content for that creamy, rich texture. I keep a carton in my fridge at all times for this recipe. If your cream is too cold, it won’t whip properly. Let it sit out for 10 minutes before starting.
Sweetened Condensed Milk (1 can / 14oz or 397g) — This is the magic ingredient. It adds sweetness, creaminess, and prevents ice crystals from forming. I always buy the regular canned version, not the evaporated milk. They look similar but are very different. Check the label.
Chocolate Sandwich Cookies (24 cookies / about 150g) — I use standard Oreos. Double Stuf works too and gives you more cookie flavor. I’ve tried other brands, but Oreos have the perfect texture and sweetness balance. Don’t skimp on the count—these are the star of the show.
Vanilla Extract (1 teaspoon / 5ml) — Optional but recommended. It adds depth and rounds out the flavor. I use pure vanilla, not imitation. The difference is noticeable, especially in a recipe with so few ingredients.
Salt (a pinch) — Just a tiny pinch. It enhances the chocolate flavor and balances the sweetness. I learned this from a professional baker friend who said salt is the secret ingredient in almost everything sweet.
Personal Tips:
- Brand recommendations: I always use Reddi-wip if I’m being lazy, but whipping heavy cream yourself gives better volume and texture.
- Shopping shortcuts: Buy the large pack of Oreos. You’ll use them for this recipe and probably other things too.
- Substitutions: No Oreos? Use any chocolate sandwich cookie. Even ginger snaps work if you want a twist. I’ve tried it—it’s good.
- Storage: Sweetened condensed milk keeps for months in the pantry. Heavy cream only lasts a week once opened, so plan accordingly.
Equipment Needed
You don’t need fancy equipment for this. Here’s what I actually use.
Large mixing bowl — I use a 4-quart stainless steel bowl. It needs to be big enough to fold the cookies in without spilling. My ancient mixing bowl from college still works fine.
Electric hand mixer or stand mixer — You can do this by hand, but it takes forever and your arms will hurt. I use my hand mixer on medium-high speed. It takes about 3-4 minutes to whip the cream.
Silicone spatula — For folding in the cookies. I prefer silicone because it scrapes the bowl clean. Wooden spoons work too but leave cream stuck to the sides.
Rolling pin or food processor — To crush the cookies. I use a rolling pin because it’s fun and gives me control over the crunch level. Food processor works faster but turns them into dust. I like chunks.
9×5 inch loaf pan — Or any freezer-safe container. I use a loaf pan because it’s the perfect size for this recipe. It fits in my freezer like a glove.
Plastic wrap or lid — To cover the pan while freezing. I use plastic wrap pressed directly against the surface to prevent ice crystals. It’s a small step that makes a big difference.
Optional but nice:
- Measuring cups and spoons — Pretty standard stuff. Dollar store versions work fine.
- Zester or grater — For adding chocolate shavings on top. Makes it look fancy.
Tool tips: Don’t have a hand mixer? You can use a whisk, but you’ll need to whip for 10-15 minutes. My arms shake for hours after that. Not recommended unless you’re training for a marathon.
How to Make It: Step-by-Step
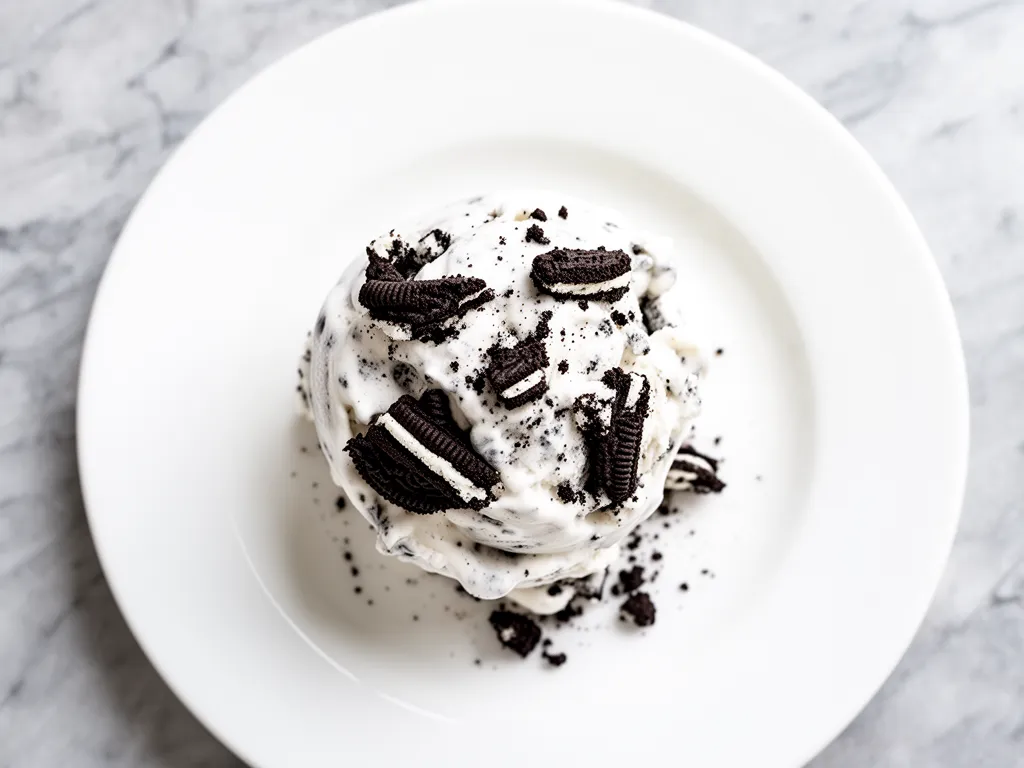
Alright, let’s make this! I’m walking you through exactly how I do it, including the little tricks I’ve picked up over dozens of attempts.
Step 1: Crush the Cookies (5 minutes)
Open the package of Oreos and separate the cookies from the filling if you want less sweetness. I usually leave the filling in because it adds to the creaminess. Place the cookies in a zip-top bag or food processor. Crush them into chunks about the size of chocolate chips. I like a mix of fine crumbs and larger chunks. Too fine and you lose the texture. Too large and you get mouthfuls of cookie. Aim for that Goldilocks zone.
Step 2: Whip the Heavy Cream (3-4 minutes)
Pour the cold heavy cream into your large mixing bowl. Using an electric mixer on medium-high speed, whip until stiff peaks form. This means when you lift the beaters, the cream stands up straight without drooping. It should look thick and glossy, like whipped topping from a can but fresher. Don’t over-whip or it’ll turn into butter. I’ve done this. It’s embarrassing and messy.
Step 3: Fold in the Condensed Milk (2 minutes)
Pour the sweetened condensed milk over the whipped cream. Add the vanilla extract and pinch of salt. Using your silicone spatula, gently fold the mixture together. Fold from the bottom up, turning the bowl as you go. You want to incorporate the milk without deflating the cream. It should look marbled at first, then uniform. This takes about 30-60 seconds of gentle folding. Be patient here.
Step 4: Add the Cookies (1 minute)
Reserve about 1/4 cup of the crushed cookies for topping. Fold the remaining cookies into the cream mixture. Again, be gentle. You want the cookies distributed evenly without breaking them into dust. The mixture will look thick and chunky. This is exactly what you want.
Step 5: Freeze (6 hours minimum)
Spread the mixture into your prepared loaf pan. Smooth the top with the spatula. Sprinkle the reserved cookies on top for decoration. Cover tightly with plastic wrap, pressing it directly against the surface to prevent ice crystals. Freeze for at least 6 hours, preferably overnight. The longer it freezes, the firmer it gets. I usually make this the night before I want to eat it.
Step 6: Serve (2 minutes)
Let the ice cream sit at room temperature for 5-10 minutes before scooping. This makes it easier to get clean scoops. Serve in bowls or cones with extra cookie crumbles on top. Enjoy immediately. It’s best eaten within the first week for optimal texture.
Total Time: About 15 minutes active work, plus 6+ hours freezing.
Expert Tips & Tricks
Here’s everything I’ve learned from making this dozens of times. These tips will save you from my mistakes.
Cold Cream is Non-Negotiable
Your heavy cream must be cold. Like, fridge-cold cold. If it’s warm, it won’t whip. I learned this the hard way with a sad, soupy mess. Put your bowl and beaters in the freezer for 15 minutes before starting. It helps.
Don’t Skip the Salt
That pinch of salt is crucial. It balances the sweetness and enhances the chocolate flavor. I once forgot it and the ice cream tasted one-dimensional. Like, just sweet. Not good. Always add salt.
Fold, Don’t Stir
When combining the cream and condensed milk, use a folding motion. Stirring deflates the air you worked so hard to whip in. Folding preserves the volume. Your ice cream will be lighter and creamier.
Save Cookies for Topping
Reserve some cookies to sprinkle on top before freezing. It looks pretty and gives you a crunchy bite in every scoop. Plus, it makes guests think you put in extra effort (even though you didn’t).
Let It Sit Before Scooping
Fresh from the freezer, this ice cream is hard as a rock. Let it sit for 5-10 minutes at room temperature. It softens just enough to scoop cleanly. Trying to scoop it straight from the freezer is a recipe for broken spoons and broken spirits.
Common Mistakes (and how to avoid them):
- Mistake: Ice crystals form — Fix: Make sure your container is airtight. Press plastic wrap directly against the surface. Store in the coldest part of your freezer.
- Mistake: Ice cream is too soft — Fix: Freeze longer. Or add more cookies, which help structure the ice cream.
- Mistake: Cookies sink to the bottom — Fix: Fold them in gently but thoroughly. Distribute evenly before freezing.
Pro Tricks I’ve Learned:
- For Restaurant-Quality Finish — Swirl in a spoonful of chocolate sauce before freezing. It creates beautiful marbled patterns.
- For Extra Flavor — Add a tablespoon of cocoa powder to the condensed milk. Makes it more chocolatey.
- For Better Texture — Freeze the loaf pan before adding the mixture. It helps the ice cream set faster and firmer.
Variations & Substitutions
Once you’ve nailed the basic version, here’s how you can mix it up. I’ve tried all of these.
Double Chocolate Version
Add 2 tablespoons of cocoa powder to the condensed milk. Use chocolate cake cookies instead of Oreos. This is for serious chocolate lovers. My husband prefers this version.
Mint Chip Twist
Add 1 teaspoon peppermint extract to the cream. Use mint Oreos or add mini chocolate chips. Refreshing and perfect for summer. I make this for Fourth of July parties.
Salted Caramel
Swirl in 1/4 cup of caramel sauce before freezing. Sprinkle flaky sea salt on top. This is my favorite variation. It’s rich and salty and sweet all at once.
Strawberry Cream
Replace Oreos with crushed strawberry shortcake cookies. Add fresh strawberry puree to the condensed milk. It’s like a strawberry milkshake in ice cream form. Great for spring.
Gluten-Free
Use gluten-free chocolate sandwich cookies. Everything else is naturally gluten-free. I’ve used Glutino cookies and they work great. Just check the label to be sure.
Dairy-Free
Replace heavy cream with coconut cream (chilled) and sweetened condensed milk with coconut condensed milk. Use dairy-free cookies. It’s different but still tasty. My lactose-intolerant friend requests this version.
Lower-Sugar
Use sugar-free condensed milk and sugar-free cookies. It’s less sweet but still creamy. I make this when I’m trying to cut back on sugar. Not as good, but still good.
Different Flavors:
- Peanut butter (swirl in PB before freezing)
- Espresso (add 1 tablespoon instant coffee to condensed milk)
- Lemon (add zest and juice to cream)
- Chocolate chip (add mini chips instead of cookies)
Serving & Storage
I usually serve this straight from the loaf pan at the dinner table—it looks rustic and stays cold. But here are other ways I’ve enjoyed it:
How to Serve:
- Classic scoops in waffle cones
- Over warm brownies (my go-to Friday night dinner)
- In milkshakes with a splash of milk
- On top of pie for a “dessert pizza” vibe
Side Dishes:
- Warm chocolate chip cookies (obviously)
- Fresh berries for contrast
- Chocolate sauce drizzle
- Whipped cream dollop (if you’re feeling fancy)
Toppings Bar:
When I have guests, I put out: extra cookie crumbles, chocolate chips, caramel sauce, sprinkles, and whipped cream. Everyone customizes their bowl. It’s fun and interactive.
Storage Instructions:
Refrigerator:
Ice cream doesn’t store well in the fridge. It melts. Store in the freezer only.
Freezer:
Store in an airtight container for up to 2 weeks. The cookies will soften over time, but the flavor stays good. I usually eat it within the first week for best texture.
Reheating:
Let it sit at room temperature for 5-10 minutes before eating. Don’t microwave it. It’ll melt into soup. If it’s too hard, let it sit longer.
Pro tip: If the ice cream gets icy, blend it in a food processor for 30 seconds to restore creaminess. It works like magic.
Nutrition Information
I’m not a nutritionist, but here’s the breakdown if you’re tracking.
Per Serving (based on 8 servings):
- Calories: 320
- Protein: 4g
- Carbs: 42g
- Fiber: 1g
- Sugar: 38g
- Fat: 16g
- Saturated Fat: 10g
- Cholesterol: 45mg
- Sodium: 120mg
- Calcium: 80mg
What’s Good:
- Calcium from the dairy
- Quick energy from carbs
- Easy to modify for dietary needs
What to Know:
- Higher in calories from cream and sugar
- Contains dairy and gluten
- Moderate sodium
My Take:
Look, this is ice cream with cream and sugar. It’s not a diet food. It’s a treat. But it’s way better than store-bought, costs less, and I know exactly what’s in it. When I want to make it lighter, I use less cookies and more fruit. But usually? I just eat a reasonable portion and enjoy it. Life’s too short for guilt.
Final Thoughts
So that’s my no-churn cookies and cream ice cream! I’ve probably talked your ear off at this point, but when you make a recipe this often, you have a lot to say about it.
This has saved summer evenings more times than I can count. It’s my answer to “what’s for dessert” when I’m tired, don’t want to bake, and still want something that tastes really good. My kids are happy, my husband’s happy, and I’m happy because I’m not stressed about cooking.
Make it yours! Try different cookie flavors, add mix-ins, or swap the dairy. The best recipes are the ones you adapt to your family’s tastes. I’ve made this with crispy garlic chicken leftovers on top (yes, really) and it was surprisingly good. Don’t knock it until you try it.
If you make this, drop a comment and let me know what you think! I love hearing how recipes turn out in your kitchen. And if something doesn’t work, tell me that too—I’m here to help troubleshoot.
Happy scooping! And I hope your kitchen smells half as good as mine does right now.
Frequently Asked Questions
Q: Can I use whipped topping instead of heavy cream?
A: You can, but the texture will be different. Whipped topping is lighter and less rich. I’ve used Cool Whip when I ran out of cream—it works in a pinch, but it’s not as creamy. Heavy cream gives you that dense, rich texture that makes no-churn ice cream so good.
Q: Why did my ice cream turn out icy?
A: Usually means your cream wasn’t cold enough, or you didn’t freeze it long enough. Make sure your cream is fridge-cold. Freeze for at least 6 hours, preferably overnight. Also, make sure your container is airtight. Ice crystals form when air gets in.
Q: Can I make this ahead for a party?
A: Absolutely! This is perfect for make-ahead desserts. Make it 2-3 days before your party. It’ll be rock hard, so just let it sit at room temperature for 10 minutes before serving. I do this all the time for gatherings.
Q: Can I use other cookies besides Oreos?
A: Yes! Try chocolate cake cookies, ginger snaps, or even graham crackers. I’ve used strawberry cream cheese roll-ups crushed up and it was amazing. Get creative. The cookies are the star, so use your favorites.
Q: How long does this ice cream last?
A: Up to 2 weeks in the freezer. After that, the cookies get too soft and the texture changes. I usually eat it within the first week. If it’s been frozen longer, blend it to restore creaminess.
Q: Can I double this recipe?
A: Yes! Double everything and use a larger container. The cooking times stay the same. I do this when I’m feeding a crowd. Just make sure your container fits in your freezer.
Q: Is this recipe gluten-free?
A: Not with regular Oreos. Use gluten-free chocolate sandwich cookies to make it gluten-free. Everything else is naturally gluten-free. I’ve used Glutino cookies and they work great.
Q: Can I make this dairy-free?
A: Yes! Use coconut cream instead of heavy cream and coconut condensed milk. Use dairy-free cookies. It’s different but still tasty. My lactose-intolerant friend requests this version all the time.
Pin This Recipe!
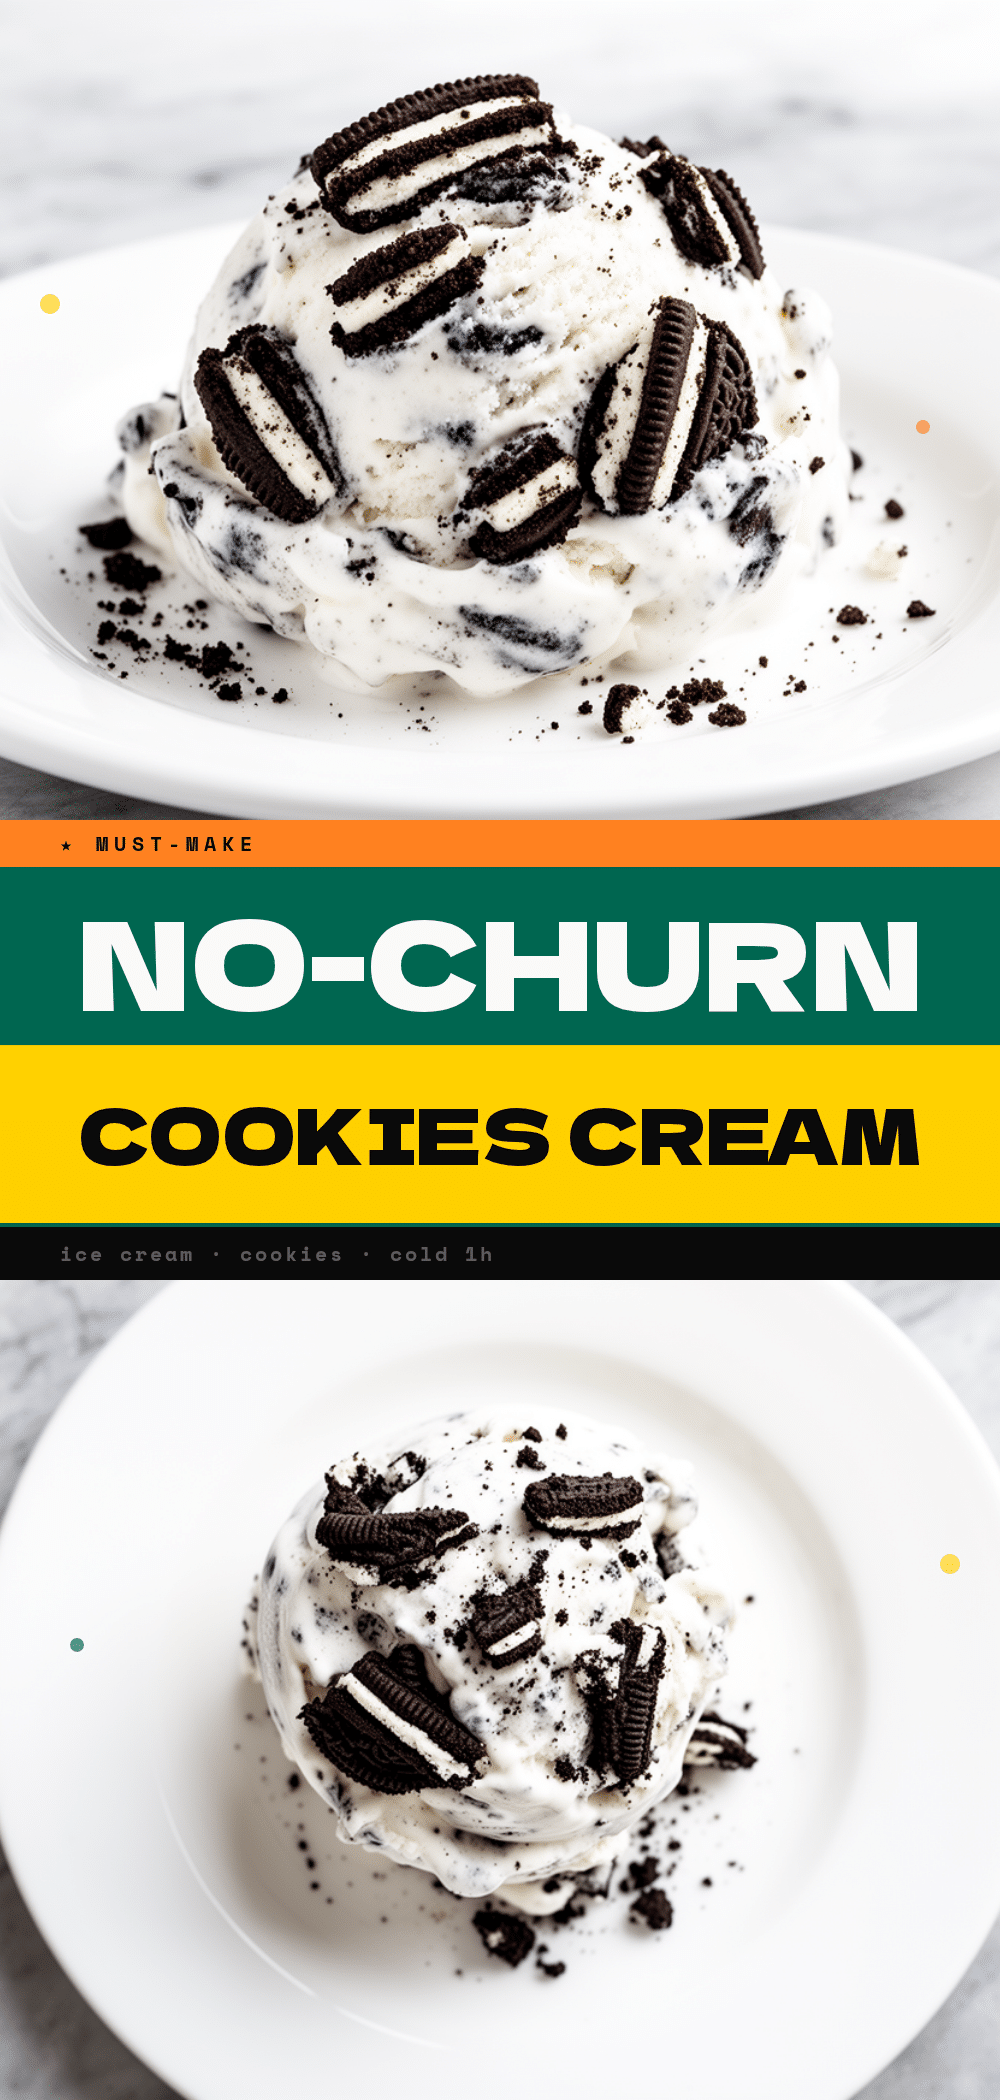
No-Churn Cookies and Cream Ice Cream: Easy 3-Ingredient Recipe
- Total Time: 6 hours 15 minutes
- Yield: 8 servings 1x
Description
A simple, creamy no-churn ice cream made with just heavy cream, sweetened condensed milk, and crushed Oreos. No ice cream machine required, this dessert is ready in minutes of active prep time and freezes to perfection.
Ingredients
- 2 cups (480ml) heavy cream, cold
- 1 can (14oz / 397g) sweetened condensed milk
- 24 chocolate sandwich cookies (Oreos), crushed
- 1 teaspoon vanilla extract
- 1 pinch salt
Instructions
- Crush the cookies into chunks about the size of chocolate chips, aiming for a mix of fine crumbs and larger pieces.
- Pour the cold heavy cream into a large mixing bowl and whip with an electric mixer on medium-high speed until stiff peaks form.
- Pour the sweetened condensed milk over the whipped cream, adding vanilla extract and salt.
- Gently fold the mixture together using a silicone spatula until uniform, being careful not to deflate the cream.
- Reserve about 1/4 cup of crushed cookies for topping, then fold the remaining cookies into the cream mixture.
- Spread the mixture into a 9×5 inch loaf pan, smooth the top, and sprinkle reserved cookies on top.
- Cover tightly with plastic wrap pressed directly against the surface and freeze for at least 6 hours or overnight.
- Let the ice cream sit at room temperature for 5-10 minutes before scooping and serving.
Notes
Ensure heavy cream is very cold for best whipping results. Do not over-whip the cream or it will turn to butter. Press plastic wrap directly against the surface of the ice cream to prevent ice crystals. For best texture, consume within the first week.
- Prep Time: 15 minutes
- Cook Time: 0 minutes
- Category: Dessert
- Cuisine: American
Nutrition
- Serving Size: 1 scoop
- Calories: 320
- Sugar: 38
- Sodium: 120
- Fat: 16
- Saturated Fat: 10
- Carbohydrates: 42
- Fiber: 1
- Protein: 4
Keywords: no-churn ice cream, cookies and cream, easy dessert, 3 ingredient recipe, summer dessert, ice cream without machine



