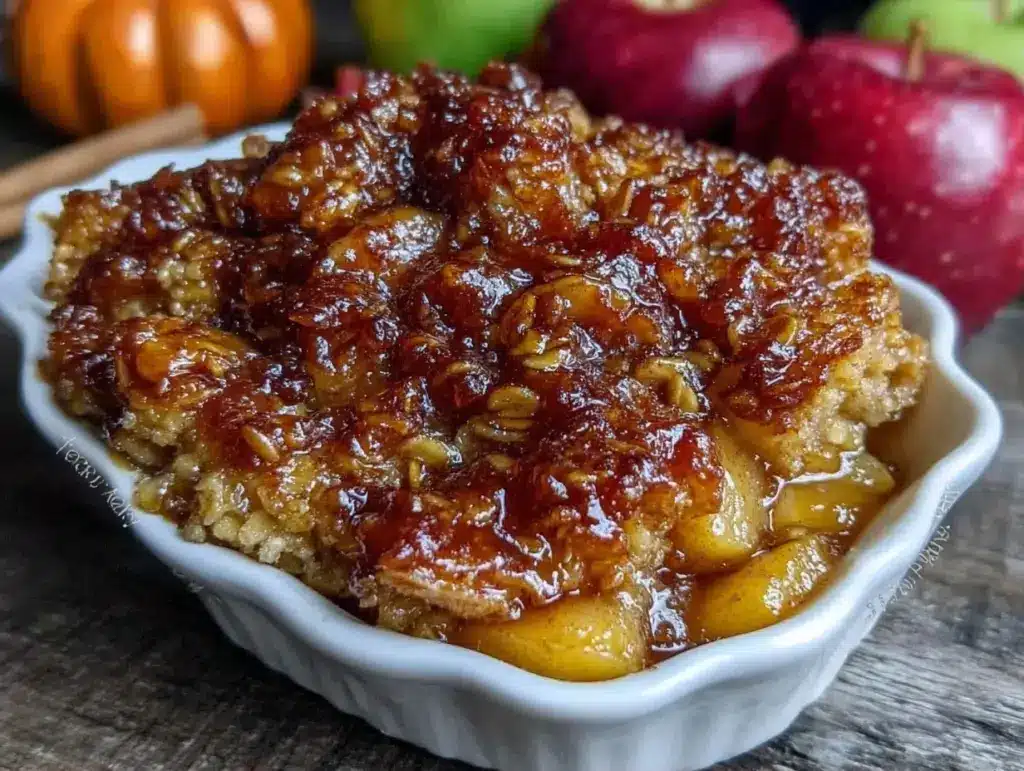
It was 5:15 PM on a Tuesday, and I was staring into the abyss of my pantry. You know the look. My husband had just walked in, dropped his keys, and asked the question that strikes fear into every parent’s heart: “What’s for dinner?” I had already decided on that fall crockpot chicken and dumplings for the main course, which meant I needed something fast to follow. I didn’t have the energy to bake a pie. I didn’t have the patience to peel apples for twenty minutes. And I definitely didn’t have the willpower to resist the bag of cookies sitting on the counter.
So, I threw together what I thought would be a lazy compromise. I just chopped up three apples, tossed them with cinnamon, and crumbled some oats over the top with butter and brown sugar. I popped it in the oven while I helped my kid with math homework. Twenty minutes later, the smell of warm cinnamon and baked apples drifted through the house, and my husband wandered in asking what smelled so good. He took one bite and said, “This tastes like autumn in a bowl.”
I’ve made this easy fall dessert apple crisp with buttery oat crumble at least thirty times since then. Thirty. Because it’s the answer to that specific 5pm panic. It’s sweet, it’s warm, it requires zero special equipment, and the cleanup is literally just one baking dish and a mixing bowl. If you’re tired of complicated desserts that take hours, this is the one you need to pin right now.
Why You’ll Love This Apple Crisp
There are about ten reasons I keep coming back to this recipe, but let’s be real about the main ones. This isn’t just “okay” dessert. It’s the kind of dessert that makes people forget they’re eating it on a random Tuesday night.
Stupid Simple — Seriously, if you can peel an apple and dump ingredients into a bowl, you can make this. I’ve walked my teenage daughter through it over FaceTime while she was at college. She nailed it the first time.
Lightning Fast — 10 minutes of prep, 25 minutes in the oven. That’s it. You can have it from start to finish in under 40 minutes. Perfect for when you want something homemade but don’t want to spend your evening at the stove.
Pantry-Friendly — You probably have 90% of these ingredients already. Flour, sugar, butter, oats, cinnamon. I keep these stocked specifically so I can throw this together on a whim. No special trips to the store needed.
Makes Amazing Leftovers — Actually tastes better the next day. The flavors meld together, and the crumble gets even crispier if you reheat it. I deliberately make extra for breakfast with a spoon and some yogurt. (Yes, breakfast. Don’t judge.)
Budget-Smart — Apples are cheap, especially in the fall. This feeds 4-6 people for under $10. That’s cheaper than ordering takeout, and way healthier.
This is my go-to when I need dessert to just work. No fancy techniques, no weird ingredients, just reliable, delicious food that makes everyone happy. It’s the dessert equivalent of a warm hug.
Ingredients You’ll Need
Here’s the best part: this recipe is so simple that the quality of your ingredients really shines through. I’m particular about a couple of things here, and I’ll tell you exactly why.
For the Apples
Apples (6 medium, about 2.5 lbs / 1.1 kg) — This is the star. I use a mix of Granny Smith and Honeycrisp. Granny Smith gives that tart crunch, and Honeycrisp adds sweetness and softness. If you only use one type, go for a tart apple like Granny Smith or Braeburn. Avoid Red Delicious—they turn to mush and have no flavor.
Lemon juice (1 tablespoon / 15ml) — Squeeze this over the sliced apples. It prevents browning and adds a tiny bit of brightness that cuts through the sweetness. You won’t taste the lemon, I promise.
Granulated sugar (2 tablespoons / 25g) — Just a little bit to help the apples release their juices and caramelize. Don’t skip this, or they’ll be bland.
Ground cinnamon (1 teaspoon / 2g) — The classic fall spice. If you’re feeling fancy, you can add a pinch of nutmeg or allspice, but cinnamon is the backbone here.
Ground ginger (¼ teaspoon / 0.5g) — Optional, but I love the warmth it adds. It’s subtle, so don’t worry if you don’t have it.
For the Buttery Oat Crumble
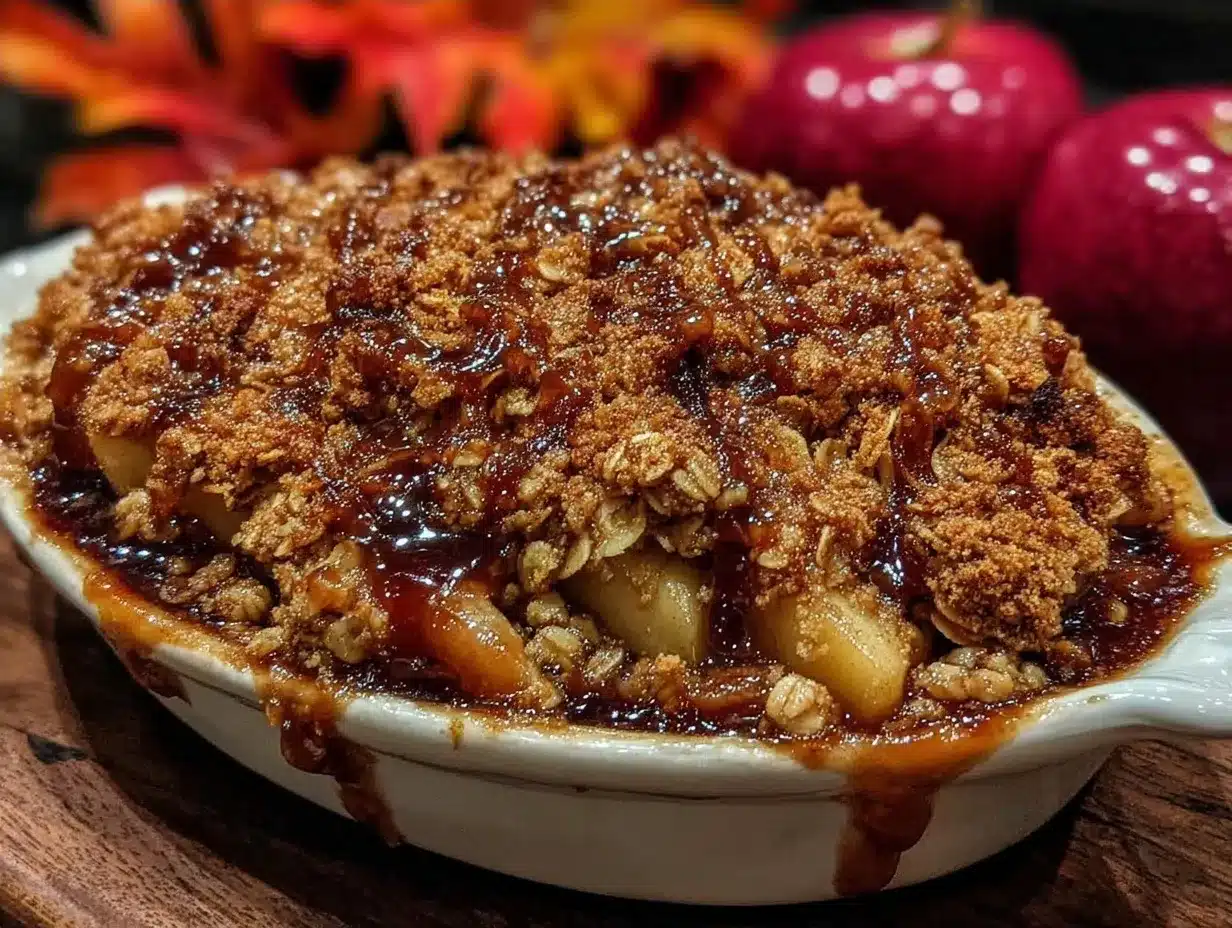
All-purpose flour (1 cup / 125g) — The base of the crumble. Don’t use self-rising flour; it’ll mess up the texture.
Old-fashioned rolled oats (1 cup / 90g) — This is what makes it a “crisp” instead of a “cobbler.” The oats give it that chewy, hearty texture. Quick oats work in a pinch, but they’ll make it more like a cake topping. Stick to old-fashioned if you can.
Brown sugar (1 cup / 200g, packed) — This is non-negotiable. Brown sugar gives that deep, molasses-rich flavor and keeps the crumble chewy. Light or dark brown sugar both work. White sugar makes it too sweet and hard.
Unsalted butter (½ cup / 113g, cold and cubed) — Cold butter is key. Cut it into cubes and toss it in. When it hits the oven, those little chunks of butter melt slowly, creating pockets of crispiness. If your butter is too soft, the crumble will be greasy.
Flaky sea salt (½ teaspoon / 2g) — I sprinkle this on top before baking. It contrasts with the sweetness and makes the flavors pop. Regular table salt works, but flaky salt looks pretty and tastes better.
Vanilla extract (1 teaspoon / 5ml) — Added to the apples. It rounds out the flavor and makes it taste like a bakery dessert.
Equipment Needed
You don’t need fancy equipment for this. Here’s what I actually use:
9×9 inch baking dish — I use a glass Pyrex dish because it heats evenly. A metal pan works too, but watch it closely so the top doesn’t burn. A ceramic dish is fine, but it might take a minute longer to bake.
Large mixing bowl — For tossing the apples. Any bowl that’s bigger than you think you need.
Small mixing bowl — For the crumble topping. A ramekin or small cereal bowl works.
Peeler and knife — For prepping the apples. A Y-peeler is faster, but a paring knife works great for detailed work.
Fork or pastry cutter — To mix the butter into the flour/oat mixture. I just use my fingers—it’s faster and more fun.
Spatula — For stirring the apples and spreading the topping.
That’s it. No stand mixer, no food processor, no fancy gadgets. Just basic kitchen tools you probably already have.
How to Make It: Step-by-Step
Alright, let’s make this! I’m walking you through exactly how I do it, including the little tricks I’ve picked up.
Step 1: Prep the Oven and Dish (5 minutes)
Preheat your oven to 350°F (175°C). Grease your 9×9 inch baking dish with a little butter or non-stick spray. I like to use butter because it adds flavor, but spray is easier for cleanup. Set it aside.
Step 2: Peel and Slice the Apples (10 minutes)
Peel the apples. I usually leave the skin on for nutrition, but for this recipe, I peel them because the texture is nicer in a crisp. Slice them into ¼-inch thick wedges. Don’t make them too thin, or they’ll disappear into mush. Don’t make them too thick, or they won’t cook through. Aim for uniform pieces so they bake evenly.
Throw the apple slices into your large mixing bowl. Squeeze the lemon juice over them and toss to coat. Add the granulated sugar, cinnamon, ginger, and vanilla. Toss everything together until the apples are evenly coated. They should look glossy and fragrant.
Step 3: Make the Crumble Topping (5 minutes)
In your small bowl, combine the flour, rolled oats, and brown sugar. Mix them with a fork until they’re evenly distributed. Now, add the cold, cubed butter. This is the fun part. Use your fingers to rub the butter into the dry ingredients. You’re looking for a coarse, crumbly texture with some pea-sized chunks of butter remaining. Don’t overmix it into a paste—that’s the secret to a crunchy topping.
Step 4: Assemble and Bake (25 minutes)
Pour the apple mixture into your prepared baking dish. Spread it out evenly. Sprinkle the crumble topping over the apples. You don’t need to cover every single inch; some apple peeking through is actually pretty and helps the fruit cook. Sprinkle the flaky sea salt on top.
Place the dish in the preheated oven. Bake for 25-30 minutes. You’ll know it’s done when the topping is golden brown and the apples are bubbling up through the crumble. The bubbles mean the juices are thickening, which is what you want.
Step 5: Cool and Serve (10 minutes)
Remove the dish from the oven and let it cool for at least 10 minutes. I know this is hard, but the filling is extremely hot and will burn your mouth if you dig in immediately. Plus, cooling lets the juices set so it’s not soupy.
Serve warm with a scoop of vanilla ice cream or a dollop of whipped cream. I usually serve it straight from the dish at the dinner table—it looks rustic and stays warm. But here are other ways I’ve enjoyed it:
- With Ice Cream: Classic. Vanilla bean is best.
- With Whipped Cream: For a lighter touch.
- With Cheddar Cheese: Sounds weird, right? But a thin slice of sharp cheddar on warm apple crisp is amazing. I learned this from my British friend.
- Plain: It’s sweet enough on its own if you’re watching sugar.
Total Time: About 40 minutes (10 minutes active, 30 minutes hands-off)
Expert Tips & Tricks
Here’s everything I’ve learned from making this dozens of times. These tips will save you from my mistakes.
Choose the Right Apples
This is the #1 tip. If you use soft apples like Gala or Fuji, they’ll turn to applesauce. You need apples that hold their shape. Granny Smith, Honeycrisp, Braeburn, or Pink Lady are your best friends. If you’re not sure, call your grocer and ask—they’ll steer you right.
Cold Butter is Key
I can’t stress this enough. If your butter is soft, your crumble will be greasy and dense. Cube it straight from the fridge. If you’re ahead of schedule, you can even throw the cubes in the freezer for 10 minutes before adding them to the flour.
Don’t Skip the Salt
Salt isn’t just for savory dishes. A pinch of salt in the topping balances the sweetness of the brown sugar and brings out the apple flavor. It’s the difference between “sweet” and “delicious.”
Let It Cool
I know, I know. But cooling is crucial. The filling is liquid hot. If you serve it immediately, it’s a mess. Let it sit for 10-15 minutes. The juices will thicken, and the texture will be perfect.
Common Mistakes (and how to avoid them):
Mistake: Topping is soggy
Fix: Make sure your oven is fully preheated. If the oven isn’t hot enough when the crisp goes in, the topping steams instead of crisps. Also, don’t cover it while it’s hot—trapped steam makes it soggy.
Mistake: Apples are undercooked
Fix: Slice them uniformly. If some slices are thin and some are thick, the thin ones will disintegrate before the thick ones are tender. Use a ruler if you’re being paranoid (I don’t, but you might).
Pro Tricks I’ve Learned:
For Extra Crunch
Add ¼ cup of chopped pecans or walnuts to the crumble. Toast them in a dry pan for 2 minutes before adding for extra flavor. It makes it feel fancy.
For Better Flavor
Add a tablespoon of bourbon or apple cider to the apple mixture before baking. It deepens the apple flavor without making it taste alcoholic. My husband loves this trick.
Make-Ahead Strategy
You can assemble the crisp up to 24 hours ahead. Cover it tightly and refrigerate. When you’re ready to bake, add 5-10 minutes to the cooking time because the apples are cold. This is perfect for dinner parties.
Variations & Substitutions
Once you’ve nailed the basic version, here’s how you can mix it up. I’ve tried all of these.
Pear Crisp
Swap apples for ripe pears. Pears are softer, so use slightly firmer pears and reduce the baking time by 5 minutes. Add a teaspoon of cardamom instead of ginger for a floral twist.
Berry Crisp
I’ve used this topping for mixed berries too. Swap apples for 4 cups of fresh or frozen berries. Add 2 tablespoons of cornstarch to the berries to thicken the juices. It’s like a triple berry crumble but with apples. Wait, no, that’s just berry crisp. But it works!
Gluten-Free
Use gluten-free rolled oats and gluten-free all-purpose flour. Everything else is naturally gluten-free. I’ve used Bob’s Red Mill GF flour and it works great. The texture is slightly denser, but still delicious.
Dairy-Free
Replace butter with cold coconut oil or a dairy-free butter stick. Coconut oil adds a slight coconut flavor, which actually pairs well with apples. Use dairy-free ice cream on top.
Lower Sugar
Reduce the brown sugar to ¾ cup and use a sugar substitute like erythritol. The apples are sweet enough that you won’t miss much. I make this version when I’m trying to be “healthy.”
Spiced Apple
Add a pinch of nutmeg, allspice, and cloves to the apple mixture. It makes it taste like apple pie filling. Great for the holidays.
Serving & Storage
How to Serve
I usually serve this straight from the skillet at the dinner table—it looks rustic and stays warm. But here are other ways I’ve enjoyed it:
Side Dishes:
This is a dessert, so it doesn’t need sides. But if you’re serving it as part of a larger meal, it pairs well with cozy chicken and wild rice soup for a full fall meal. Or fall chicken and apple sausage skillet if you want to double down on the apple theme.
Toppings Bar:
When I have guests, I put out: vanilla ice cream, whipped cream, caramel sauce, chopped nuts. Everyone customizes their bowl.
Wine Pairing:
Not a wine expert, but my wine-snob friend says a crisp Riesling or a light Pinot Noir works great with this. Or just have a glass of apple cider. It’s fall, after all.
Storage Instructions
Refrigerator:
Store in an airtight container for up to 4 days. The topping will soften in the fridge—totally normal. It’s still good, just not as crunchy.
Reheating:
Best method: Add to a skillet with a splash of water over low heat, or microwave in 30-second intervals. I prefer the microwave for quick reheating. It brings back the warmth and softness. If you want it crunchy again, pop it under the broiler for 1-2 minutes. Watch it closely—it burns fast.
Freezing:
Honestly, this doesn’t freeze well because the apples release water when thawed. The texture gets mushy. Make it fresh or store in the fridge for up to 4 days. If you must freeze, freeze the unbaked crisp. Wrap it tightly in plastic and foil. Bake from frozen, adding 15-20 minutes to the time. It’s not ideal, but it works.
Meal Prep:
Make the topping ahead and store in the fridge. Peel and slice the apples and store them in a bowl of water to prevent browning. Assemble and bake when ready. This saves 10 minutes of prep time.
Nutrition Information
I’m not a nutritionist, but here’s the breakdown if you’re tracking.
Per Serving (based on 6 servings):
- Calories: 280
- Protein: 3g
- Carbs: 45g
- Fiber: 4g
- Sugar: 28g
- Fat: 10g
- Saturated Fat: 6g
- Cholesterol: 25mg
- Sodium: 120mg
What’s Good:
– Good source of fiber from oats and apples
– Contains vitamin C from apples
– Reasonable portion size if you control the serving
What to Know:
– Higher in sugar from brown sugar and apples
– Contains gluten and dairy
– Moderate sodium
My Take:
Look, this is dessert. It has sugar and butter. It’s not a diet recipe. But it’s way better than store-bought, costs less, and I know exactly what’s in it. When I want to make it lighter, I reduce the sugar and use less butter. But usually? I just eat a reasonable portion and enjoy it. Life’s too short to deny yourself apple crisp.
Final Thoughts
So that’s my go-to easy fall dessert apple crisp with buttery oat crumble! I’ve probably talked your ear off at this point, but when you make a recipe this often, you have a lot to say about it.
This has saved weeknight dinners more times than I can count. It’s my answer to “what’s for dessert” when I’m tired, don’t want takeout, and still want something that tastes really good. My kids are happy, my husband’s happy, and I’m happy because I’m not stressed about cooking.
Make it yours! Try different apples, swap in your favorite nuts, adjust the spices. The best recipes are the ones you adapt to your family’s tastes. If you make this, drop a comment and let me know what you think! I love hearing how recipes turn out in your kitchen. And if something doesn’t work, tell me that too—I’m here to help troubleshoot.
Happy cooking! And I hope your kitchen smells half as good as mine does right now.
Frequently Asked Questions
Can I use frozen apples?
You can, but thaw them first and drain the excess liquid. Frozen apples release a lot of water, which can make the crisp soupy. If you use them straight from frozen, increase the baking time by 10-15 minutes. Fresh apples are definitely better, but frozen works in a pinch.
Why did my topping turn out soggy?
Usually means your butter was too soft, or your oven wasn’t hot enough. Make sure your butter is cold and cubed, and preheat your oven fully before putting the crisp in. Also, don’t cover it while it’s hot—steam makes it soggy.
Can I make this ahead for a dinner party?
Absolutely. Assemble the crisp up to 24 hours ahead and refrigerate. When you’re ready to serve, bake it as directed, adding 5-10 minutes to the time because the apples are cold. This is perfect for saving stress during a party.
Can I use quick oats instead of rolled oats?
You can, but the texture will be different. Quick oats are finer and will make the topping more cake-like. Rolled oats give that classic crunchy, chewy texture. If you only have quick oats, it’ll still taste good, just not quite the same.
How do I reheat leftovers without it getting dry?
Add a splash of water or milk to a skillet, add your leftover crisp, and heat gently over low heat, stirring frequently. The extra liquid brings back the moisture. Microwave works too—heat in 30-second intervals, stirring between. Don’t overheat it, or the oats will get tough.
Can I double this recipe?
Yes! Use a 9×13 inch baking dish instead of a 9×9. Double all the ingredients and bake for 35-40 minutes. Check for doneness by looking for bubbling apples and a golden brown top.
What’s the best apple for apple crisp?
Granny Smith and Honeycrisp are my favorites. Granny Smith holds its shape and adds tartness. Honeycrisp adds sweetness and texture. You can also use Braeburn, Pink Lady, or Jonagold. Avoid Red Delicious or McIntosh—they turn to mush.
Pin This Recipe!
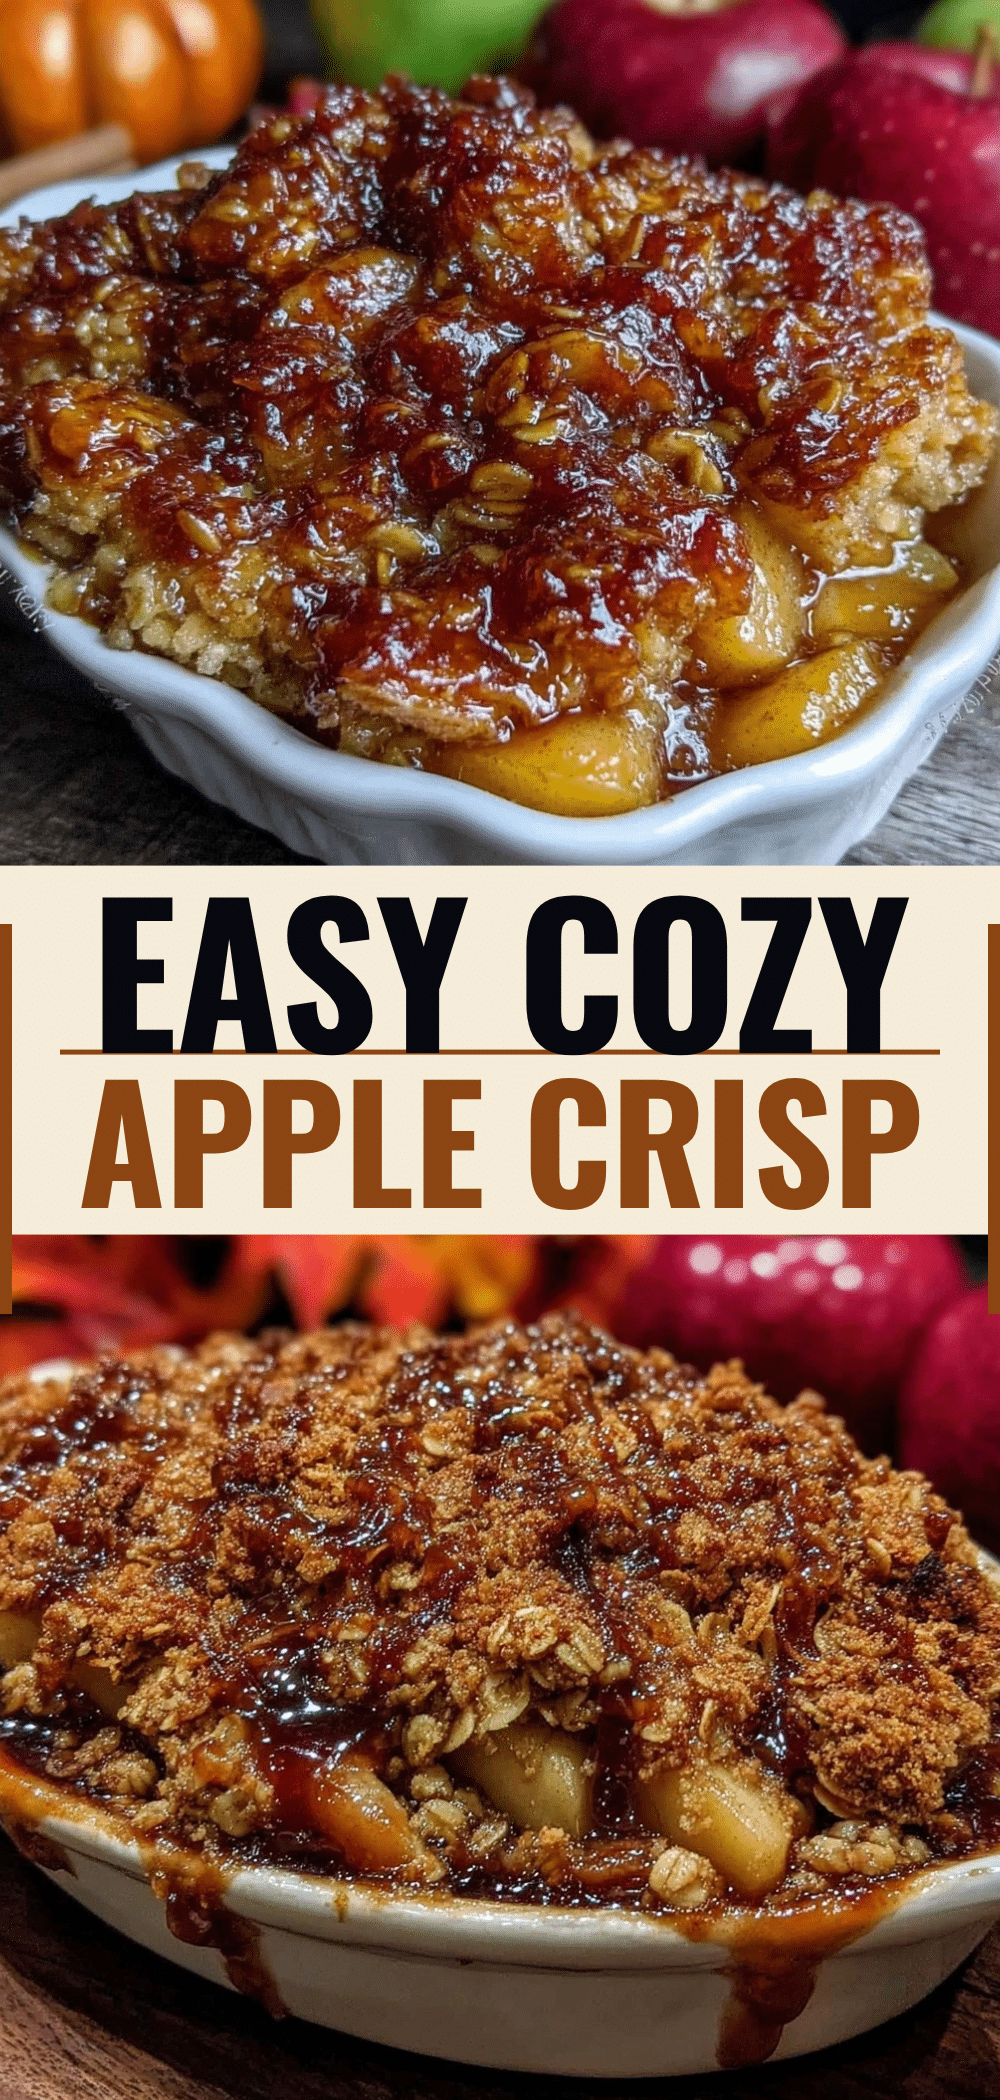
Easy Apple Crisp: Perfect 5pm Weeknight Dessert
- Total Time: 40 minutes
- Yield: 6 servings 1x
Description
A simple, fast, and pantry-friendly apple crisp with a buttery oat crumble topping. Perfect for busy weeknights, this dessert requires minimal prep and uses basic ingredients you likely already have.
Ingredients
- 6 medium apples (about 2.5 lbs / 1.1 kg), peeled and sliced into ¼-inch wedges (mix of Granny Smith and Honeycrisp recommended)
- 1 tablespoon lemon juice
- 2 tablespoons granulated sugar
- 1 teaspoon ground cinnamon
- ¼ teaspoon ground ginger (optional)
- 1 teaspoon vanilla extract
- 1 cup all-purpose flour
- 1 cup old-fashioned rolled oats
- 1 cup packed brown sugar
- ½ cup unsalted butter, cold and cubed
- ½ teaspoon flaky sea salt
Instructions
- Preheat oven to 350°F (175°C). Grease a 9×9 inch baking dish with butter or non-stick spray.
- In a large mixing bowl, combine sliced apples, lemon juice, granulated sugar, cinnamon, ginger, and vanilla. Toss until apples are evenly coated.
- In a small bowl, combine flour, rolled oats, and brown sugar. Add cold cubed butter and rub it into the dry ingredients with your fingers until the mixture resembles coarse crumbs with some pea-sized butter chunks remaining.
- Pour the apple mixture into the prepared baking dish and spread evenly. Sprinkle the crumble topping over the apples and sprinkle with flaky sea salt.
- Bake for 25-30 minutes, or until the topping is golden brown and the apples are bubbling.
- Remove from oven and let cool for at least 10 minutes before serving to allow juices to thicken.
- Serve warm with vanilla ice cream, whipped cream, or cheddar cheese.
Notes
Use cold butter for the crumble to ensure a crunchy texture. Avoid soft apples like Gala or Fuji as they turn to mush. Let the crisp cool for 10 minutes before serving to prevent burning and allow filling to set. Can be made ahead and refrigerated for up to 24 hours before baking.
- Prep Time: 10 minutes
- Cook Time: 25-30 minutes
- Category: Dessert
- Cuisine: American
Nutrition
- Serving Size: 1 slice
- Calories: 280
- Sugar: 28
- Sodium: 120
- Fat: 10
- Saturated Fat: 6
- Carbohydrates: 45
- Fiber: 4
- Protein: 3
Keywords: apple crisp, easy dessert, weeknight dinner, fall dessert, oat crumble, quick dessert, gluten-free option, dairy-free option



