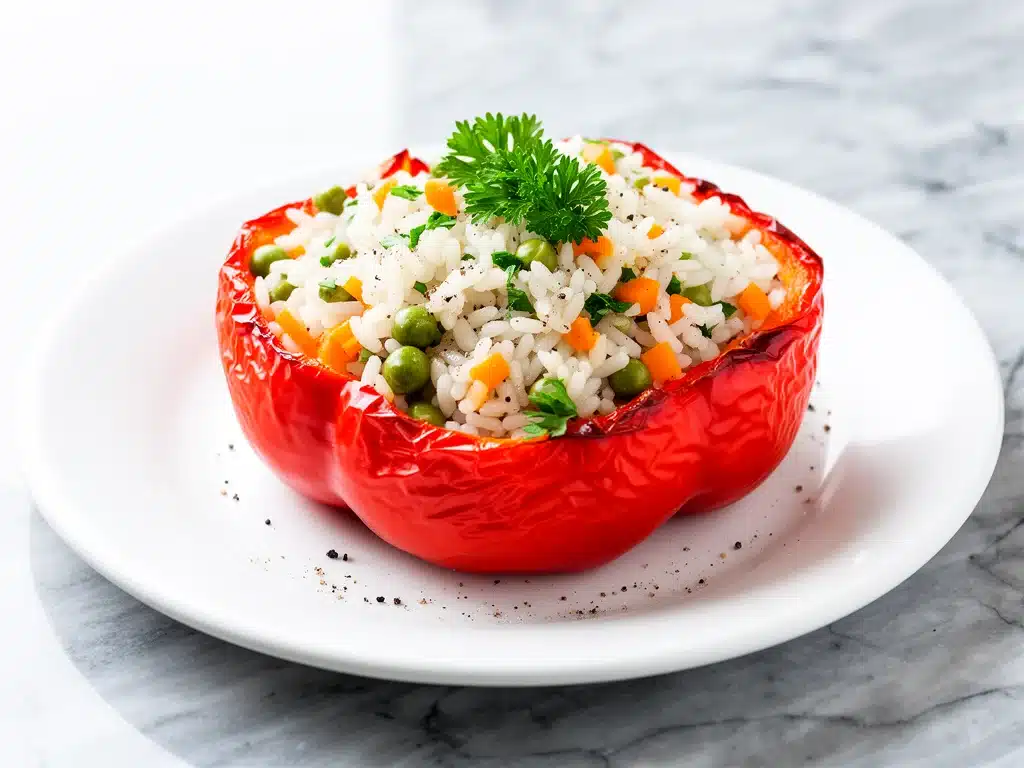
Last Tuesday, I was standing in my kitchen at 6:45 PM, staring into the refrigerator with that specific kind of despair that only happens when you’re tired, hungry, and don’t want to cook. The fridge contained a lonely half-jar of salsa, three sad bell peppers that were slowly turning translucent, and a bag of rice that I’d bought three months ago and forgotten about. I had zero energy for chopping, zero desire to order overpriced takeout, and zero patience for complicated recipes.
So, I did what I always do when I’m lazy but want to eat something decent: I threw everything I had into one pot. I wasn’t aiming for gourmet. I was aiming for “edible and warm.”
But then, something weird happened. The rice absorbed all that creamy salsa sauce. The peppers softened just enough to be tender but still held their shape. The cheese melted into this golden, gooey blanket that smelled like comfort food heaven. I took one bite and actually stopped scrolling through my phone. My kids, who usually pick at their food, asked for seconds. My husband, who claims he’s “too full” by 7 PM, went back for a third bowl.
That accidental Tuesday dinner became the start of a new obsession. I’ve made these creamy vegetarian stuffed bell peppers with rice at least a dozen times since then. I’ve tweaked the spices, tested different cheeses, and even tried using leftover quinoa (which worked surprisingly well). But the core recipe remains the same: simple, creamy, utterly satisfying, and better than anything you can order from a delivery app.
Here’s the thing about stuffed peppers. Most recipes feel like a chore. You have to boil the peppers first, or brown the meat separately, or deal with a million tiny ingredients. This version? It’s a one-pot wonder. The peppers act as edible bowls, holding a rich, cheesy filling that’s easy to make and impossible to resist. It’s the kind of dish that makes people think you spent hours in the kitchen, when really, you just spent 15 minutes prepping and 45 minutes chilling while it baked.
If you’re looking for a weeknight meal that feeds a family, satisfies picky eaters, and leaves you with minimal cleanup, this is it. Let me show you how to make it.
Why You’ll Love This Recipe
I know, I know. “Another stuffed pepper recipe?” But hear me out. This isn’t your grandmother’s dry, meat-heavy stuffed peppers from the 1980s. This is a modern, creamy, vegetarian twist that feels like a treat rather than a health food side dish. Here’s why this creamy vegetarian stuffed bell peppers with rice has permanently replaced takeout in our house:
- Zero Meat Required — Seriously. No ground beef, no sausage, no weird meat substitutes. Just rice, beans, cheese, and veggies. It’s hearty enough that you won’t miss the meat, and light enough that you won’t feel sluggish afterward. It’s perfect for Meatless Monday or just any night when you want something fresh.
- Creamy, Not Dry — Most stuffed peppers end up dry because the rice absorbs all the liquid. I’ve cracked the code: I mix a creamy salsa and a little sour cream into the filling. The result? Moist, flavorful, and rich without needing a heavy cream sauce.
- One Pot (Mostly) — You cook the rice and the filling in one pot. Then you stuff the peppers. Then they bake. That’s it. No browning meat, no sautéing onions separately, no washing three different pans. I love a recipe that respects my time.
- Kid-Approved — My kids are notorious for picking out “green bits.” But these peppers? They love the cheese pull. They love the soft texture. They think they’re getting away with eating vegetables when they’re really just eating cheesy rice in a pepper bowl. Win-win.
- Great for Meal Prep — These reheat beautifully. I often make a double batch on Sunday and freeze half. When Wednesday night hits and I’m too tired to cook, I pull one out, microwave it for two minutes, and it tastes just as good as fresh.
It’s that rare recipe that works for busy weeknights, lazy Sundays, and even dinner parties if you dress it up with some fresh cilantro. It’s reliable, delicious, and frankly, it’s just fun to eat.
Ingredients You’ll Need
Here’s the best part: you probably have most of this already. I’m not asking you to go to three different stores for obscure ingredients. This is pantry-friendly cooking.
For the Filling
Long-grain white rice (1 cup / 185g uncooked) — I use jasmine or basmati because they stay fluffy. Brown rice works too, but it takes longer to cook and has a chewier texture that doesn’t meld as well with the creaminess. If you’re using leftover cooked rice, you’ll need about 3 cups.
Black beans (1 can / 15oz or 425g) — Rinsed and drained. They add protein and texture. You can use pinto beans or kidney beans if you prefer, but black beans hold their shape well and look pretty against the red salsa.
Creamy salsa (1 ½ cups / 360g) — This is the secret weapon. Don’t use chunky salsa; you want something smooth so the filling stays cohesive. I like brands like Pace or Herdez, but any creamy tomato salsa works. It adds flavor, moisture, and a bit of tang.
Sour cream (½ cup / 120g) — Full-fat is best here. It adds richness and helps bind the filling. Greek yogurt works in a pinch, but it’s tangier and thinner.
Shredded Mexican cheese blend (2 cups / 200g) — Look for a bag labeled “Mexican Blend” or “Four Cheese Blend.” It usually has mozzarella, cheddar, Monterey Jack, and queso quesadilla. The mozzarella gives the stretch, the cheddar gives the flavor. Don’t use pre-shredded if you can avoid it—it has anti-caking agents that prevent melting. Grate your own block for best results.
Enchilada sauce (½ cup / 120ml) — I use red enchilada sauce for depth. Green sauce is good too, but red has a richer flavor that stands up to the cheese. If you don’t have enchilada sauce, you can substitute with tomato sauce plus a teaspoon of chili powder.
Onion (1 medium yellow onion, diced / about 150g) — White onion works too. Yellow is sweeter and mellows out beautifully when cooked.
Garlic (3 cloves, minced / about 1 tablespoon) — Fresh only. Jarred garlic has a weird metallic taste that really shows up in a simple sauce like this.
Cumin (1 teaspoon) — Ground cumin gives that classic “Mexican” flavor. Don’t skip it.
Chili powder (1 teaspoon) — Adds warmth and color. Adjust to your spice tolerance.
Salt and black pepper — To taste. I usually use about 1 teaspoon salt, but taste your salsa first—it’s often salty.
For the Peppers
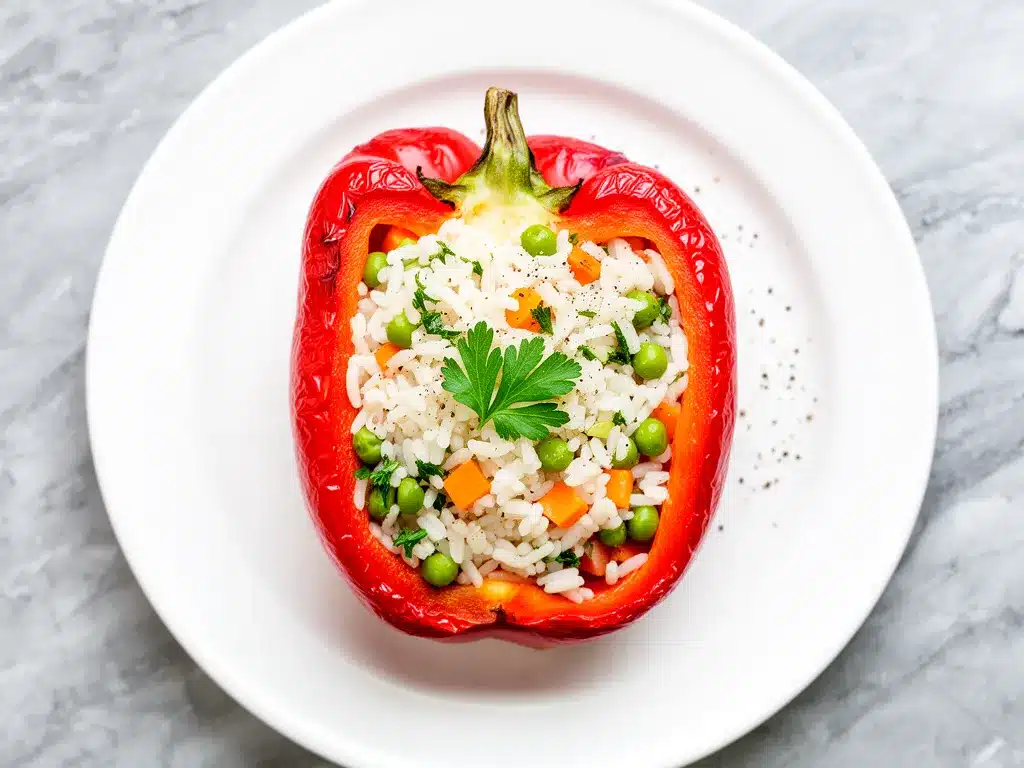
Bell peppers (4 large, any color) — I like using a mix of red, yellow, and orange for color. Red peppers are the sweetest, yellow are mild, and green are slightly bitter. All work great. Make sure they’re firm and not bruised.
Extra shredded cheese (½ cup / 50g) — For topping. Sprinkle this on before baking for a golden, bubbly crust.
For Garnish (Optional but Recommended)
Fresh cilantro — Chopped. Adds freshness.
Lime wedges — A squeeze of lime brightens everything up.
Sour cream — For dolloping on top.
Equipment Needed
You don’t need fancy gear for this. Here’s what I actually use:
Medium saucepan with lid — For cooking the rice. A 3-quart pot works perfectly. If you’re using pre-cooked rice, you can skip this step.
Large skillet — 10 or 12-inch. I use this to sauté the onions and garlic. Cast iron is great, but any heavy-bottomed skillet works.
Baking dish — A 9×13-inch casserole dish. This is crucial. You need something wide and shallow so the peppers can sit upright. A deep dish won’t work because the peppers will tip over.
Sharp knife and cutting board — For slicing the tops off the peppers and dicing the onion.
Measuring cups and spoons — Standard stuff.
Fork — For fluffing the rice.
Small bowl — For mixing the filling.
That’s it. No food processor, no stand mixer, no special gadgets. Just basic kitchen tools.
How to Make It: Step-by-Step
Alright, let’s make this! I’m walking you through exactly how I do it, including the little tricks I’ve picked up over the years.
Step 1: Prep the Peppers (5 minutes)
Preheat your oven to 375°F (190°C). While it heats, wash the bell peppers and pat them dry. Using a sharp knife, slice about ½ inch off the top of each pepper. This creates a lid. Then, use a small spoon or paring knife to scrape out the seeds and white membranes from the inside. You want to leave the pepper walls intact—don’t cut too deep or you’ll create holes. Set the peppers aside. If any pepper is too short to stand upright on its own, you can slice a tiny bit off the bottom to create a flat base, but be careful not to cut through the bottom.
Step 2: Cook the Rice (15-20 minutes)
If you’re using uncooked rice, cook it now. Rinse 1 cup of rice under cold water until the water runs clear. This removes excess starch and prevents mushy rice. In your saucepan, combine the rinsed rice, 2 cups of water, and a pinch of salt. Bring to a boil, then reduce heat to low, cover, and simmer for 15-18 minutes until the water is absorbed and the rice is tender. Remove from heat and let it sit, covered, for 5 minutes. Then fluff with a fork. If you’re using leftover cooked rice, you can skip this step and just measure out 3 cups.
Step 3: Sauté the Aromatics (5 minutes)
While the rice cooks, heat 1 tablespoon of oil (olive or vegetable) in your large skillet over medium heat. Add the diced onion and cook for 3-4 minutes until soft and translucent. Add the minced garlic and cook for 1 more minute until fragrant. Be careful not to burn the garlic—it turns bitter quickly. Scrape the onion and garlic into a large mixing bowl.
Step 4: Mix the Filling (3 minutes)
To the bowl with the onions and garlic, add the cooked rice, rinsed black beans, creamy salsa, sour cream, enchilada sauce, cumin, chili powder, salt, pepper, and 1 ½ cups of the shredded cheese. Stir everything together until well combined. The mixture should be moist and creamy. If it looks too dry, add a splash more salsa or sour cream. Taste and adjust seasoning if needed.
Step 5: Stuff the Peppers (5 minutes)
Place the hollowed-out peppers upright in your 9×13-inch baking dish. They should fit snugly. If you have extra space, you can place them closer together so they support each other. Spoon the filling into each pepper, mounding it slightly on top. Don’t pack it down too tightly—the rice will expand a bit as it bakes. Sprinkle the remaining ½ cup of cheese over the top of each stuffed pepper.
Step 6: Bake (35-40 minutes)
Cover the baking dish tightly with aluminum foil. This traps steam and helps the peppers soften. Bake for 25 minutes. Then, remove the foil and bake for another 10-15 minutes until the cheese is bubbly and golden, and the peppers are tender when pierced with a fork. If you want extra crispy cheese, you can broil for the last 1-2 minutes, but watch it closely so it doesn’t burn.
Step 7: Rest and Serve
Remove from the oven and let the peppers rest for 5 minutes before serving. This helps the filling set slightly so it doesn’t fall out when you scoop them. Garnish with fresh cilantro, a dollop of sour cream, and a squeeze of lime. Serve immediately.
Expert Tips & Tricks
Here’s everything I’ve learned from making this dozens of times. These tips will save you from my mistakes.
Don’t Skimp on the Cream — The creamy salsa and sour cream are what make this recipe special. Without them, it’s just rice and beans. The fat and moisture create that luxurious texture that keeps people coming back. If you’re worried about calories, you can use light sour cream, but full-fat tastes better.
Rinse Your Rice — I can’t stress this enough. Unrinsed rice is gummy and sticky. Rinsing it until the water runs clear ensures fluffy, separate grains that mix well with the filling.
Check Pepper Doneness — Bell peppers vary in thickness. Thin-walled peppers (like some red ones) cook faster than thick-walled green ones. Check them at 30 minutes. If they’re tender, they’re done. If not, cover and bake for another 10 minutes.
Make Ahead Strategy — You can assemble these peppers up to 24 hours ahead. Cover and refrigerate. When ready to bake, add 10-15 minutes to the baking time since they’re starting cold. This is great for dinner parties.
Freezing Tips — These freeze well baked. Let them cool completely, then wrap individual peppers in plastic wrap and foil. Freeze for up to 3 months. Thaw in the fridge overnight and reheat in the oven at 350°F until warm.
Variations & Substitutions
Once you’ve nailed the basic version, here’s how you can mix it up. I’ve tried all of these.
Chicken Version — Add 2 cups of cooked, shredded chicken to the filling. I often use leftover rotisserie chicken. It makes the meal more filling and adds protein. Just mix it in with the rice and beans.
Vegetable Booster — Sauté 1 cup of diced zucchini or corn with the onions. Or stir in 1 cup of frozen corn kernels when mixing the filling. Adds sweetness and texture.
Spicy Kick — Add a diced jalapeño with the onions, or use a spicy salsa instead of creamy salsa. Top with sliced jalapeños before baking.
Gluten-Free — This recipe is naturally gluten-free. Just make sure your salsa and enchilada sauce are certified gluten-free (some brands add wheat flour as a thickener).
Lighter Version — Use Greek yogurt instead of sour cream, and reduce the cheese by half. It’s still good, just less rich. I make this when I’m trying to eat lighter.
Quinoa Swap — Use cooked quinoa instead of rice. It’s higher in protein and has a nuttier flavor. Works great with this filling.
Serving & Storage
How to Serve: I usually serve these straight from the baking dish at the dinner table—it looks rustic and stays warm. Pair them with a simple green salad, garlic bread, or a side of Mexican street corn. They’re hearty enough to be the main event.
Leftovers: Store in an airtight container in the fridge for up to 4 days. The filling will firm up as it cools, which is normal.
Reheating: Microwave individual portions for 2-3 minutes, stirring halfway through. Or reheat in the oven at 350°F for 15-20 minutes, covered with foil, to keep them moist. If they look dry, add a splash of water or salsa before reheating.
Freezing: As mentioned, these freeze well. Wrap tightly and label with the date. Thaw in the fridge before reheating.
Nutrition Information
I’m not a nutritionist, but here’s the breakdown if you’re tracking. These are estimates based on 4 servings.
- Calories: 450
- Protein: 18g
- Carbs: 55g
- Fiber: 8g
- Sugar: 6g
- Fat: 18g
- Saturated Fat: 9g
- Cholesterol: 40mg
- Sodium: 680mg
It’s a balanced meal with carbs from the rice, protein from the beans and cheese, and fiber from the peppers and beans. It’s not “diet” food, but it’s wholesome and filling. If you’re watching sodium, use low-sodium beans and salsa.
Final Thoughts
So that’s my go-to creamy vegetarian stuffed peppers! I’ve probably talked your ear off at this point, but when you make a recipe this often, you have a lot to say about it. This dish has saved weeknight dinners more times than I can count. It’s my answer to “what’s for dinner” when I’m tired, don’t want takeout, and still want something that tastes really good. My kids are happy, my husband’s happy, and I’m happy because I’m not stressed about cooking.
Make it yours! Try different peppers, swap in your favorite beans, adjust the spice level. The best recipes are the ones you adapt to your family’s tastes. If you make this, drop a comment and let me know what you think! I love hearing how recipes turn out in your kitchen. And if something doesn’t work, tell me that too—I’m here to help troubleshoot.
Happy cooking! And I hope your kitchen smells half as good as mine does right now.
Frequently Asked Questions
Can I use canned rice instead of cooking it from scratch?
Yes! Just make sure it’s cooked, not instant rice that’s already pre-cooked and dried. You’ll need about 3 cups of cooked rice. If you’re using leftover rice from the fridge, let it come to room temperature before mixing—it’s easier to work with.
Why did my peppers leak filling?
This usually happens if you cut the bottom too deep or if the filling was too wet. Make sure you don’t poke holes in the bottom of the pepper. Also, if your salsa was very watery, drain it slightly before mixing. Adding a bit more cheese can help bind the filling.
Can I make these ahead of time?
Absolutely. Assemble them up to 24 hours in advance, cover, and refrigerate. When ready to bake, add 10-15 minutes to the cooking time. This is perfect for busy weeknights or dinner parties.
Do I have to boil the peppers first?
No! That’s an old-school method that makes them mushy. Baking them raw works perfectly. The steam in the oven softens them just enough. If you prefer extra-soft peppers, you can microwave them for 2-3 minutes before stuffing, but it’s not necessary.
Can I freeze these?
Yes, freeze them after baking. Let them cool completely, wrap individually in plastic wrap and foil, and freeze for up to 3 months. Thaw in the fridge overnight and reheat in the oven.
What cheese is best for this?
Mexican blend is classic because it melts well and has great flavor. Monterey Jack, cheddar, and mozzarella are all good options. Avoid hard cheeses like Parmesan—they don’t melt the same way. Fresh mozzarella is too wet for this recipe.
Can I use green bell peppers?
Yes, but they’re more bitter than red or yellow peppers. If you use green, I recommend adding a pinch more sugar to the filling to balance the bitterness. Red peppers are the sweetest and most popular for this recipe.
Pin This Recipe!
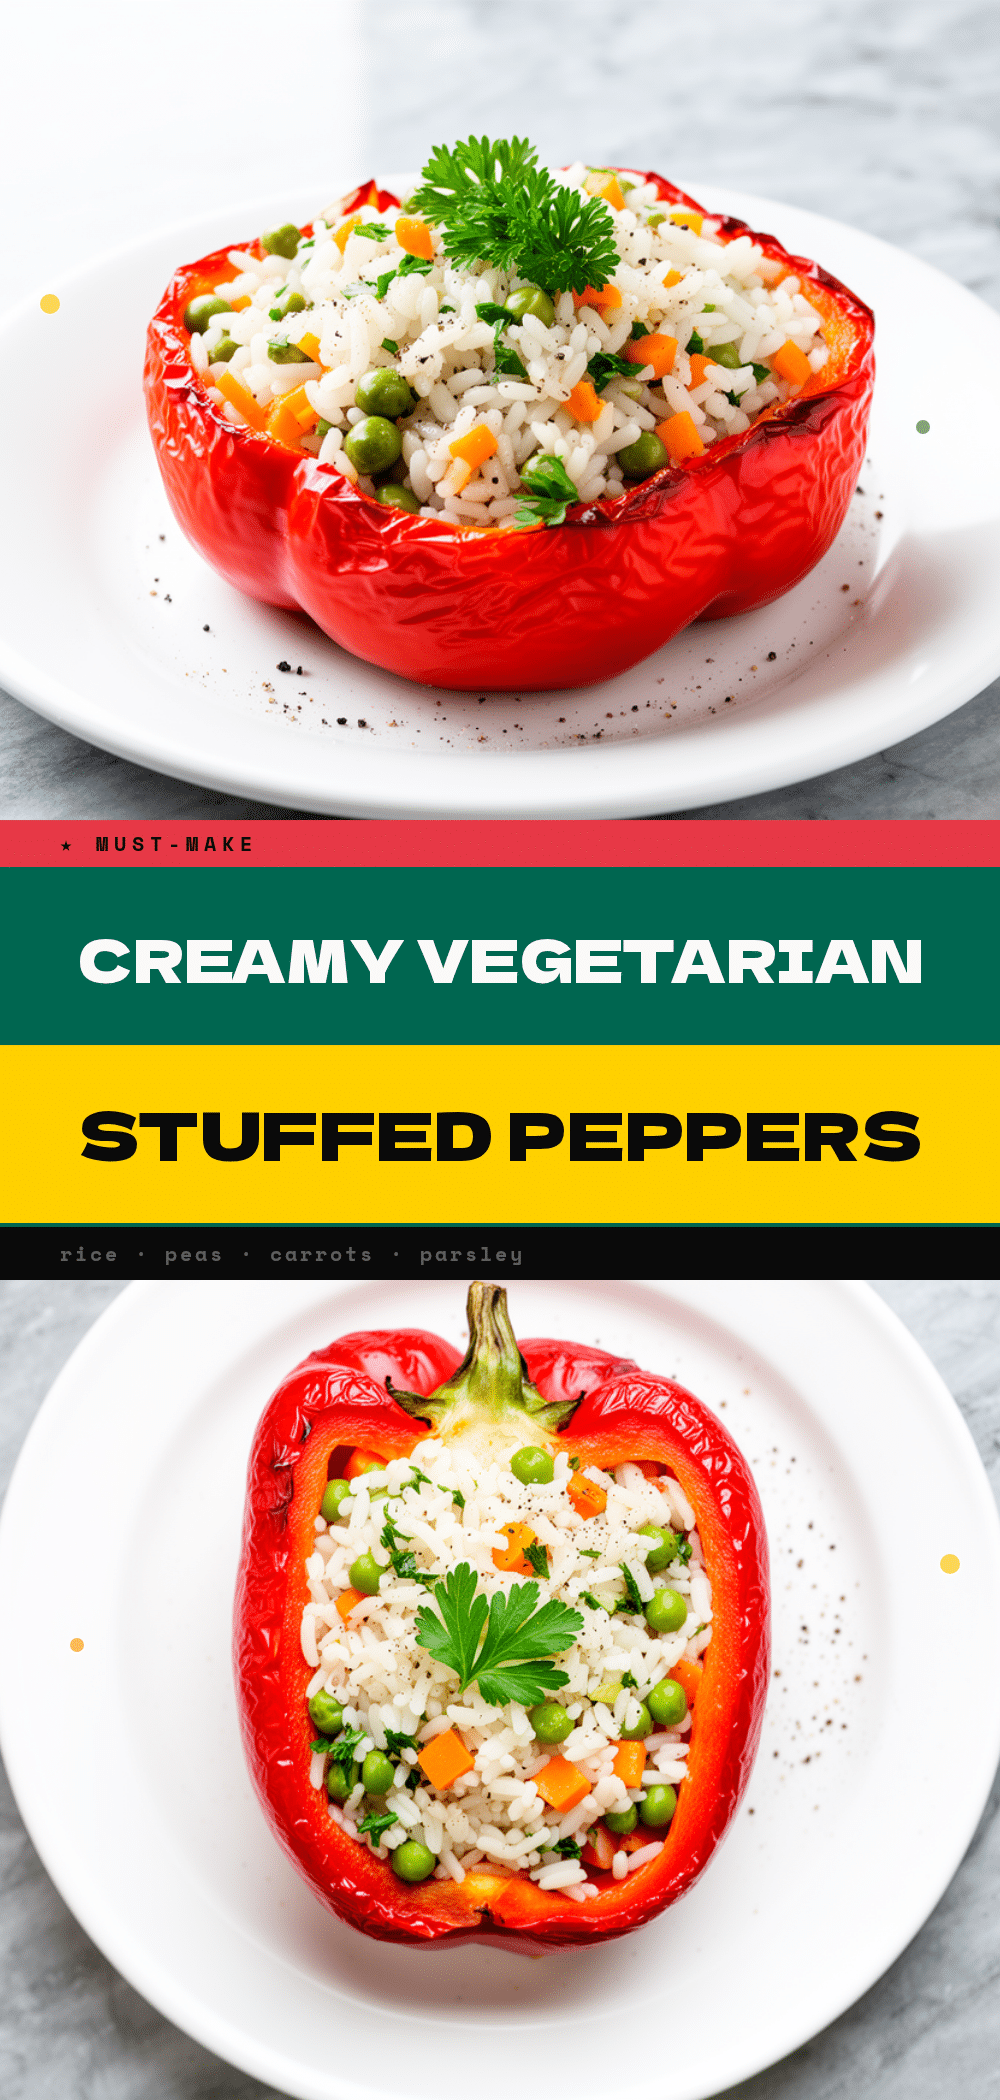
Creamy Vegetarian Stuffed Bell Peppers: Better Than Takeout
- Total Time: 60 minutes
- Yield: 4 servings 1x
Description
A simple, one-pot creamy vegetarian stuffed bell pepper recipe that uses rice, black beans, creamy salsa, and cheese. It’s kid-approved, freezer-friendly, and tastes better than takeout.
Ingredients
- 1 cup long-grain white rice (uncooked)
- 1 can (15oz) black beans, rinsed and drained
- 1 ½ cups creamy salsa
- ½ cup sour cream
- 2 cups shredded Mexican cheese blend (divided)
- ½ cup red enchilada sauce
- 1 medium yellow onion, diced
- 3 cloves garlic, minced
- 1 teaspoon ground cumin
- 1 teaspoon chili powder
- Salt and black pepper to taste
- 4 large bell peppers (any color)
- 1 tablespoon oil (olive or vegetable)
- Fresh cilantro for garnish
- Lime wedges for serving
Instructions
- Preheat oven to 375°F (190°C).
- Wash bell peppers and pat dry. Slice about ½ inch off the top of each pepper to create a lid. Scrape out seeds and white membranes, leaving walls intact. Set aside.
- Rinse 1 cup of rice under cold water. In a saucepan, combine rice, 2 cups water, and a pinch of salt. Bring to a boil, reduce heat to low, cover, and simmer for 15-18 minutes. Remove from heat and let sit covered for 5 minutes, then fluff with a fork.
- Heat oil in a large skillet over medium heat. Sauté diced onion for 3-4 minutes until soft. Add minced garlic and cook for 1 minute until fragrant. Transfer to a large mixing bowl.
- To the bowl, add cooked rice, black beans, creamy salsa, sour cream, enchilada sauce, cumin, chili powder, salt, pepper, and 1 ½ cups of shredded cheese. Stir to combine.
- Place hollowed peppers upright in a 9×13-inch baking dish. Spoon filling into each pepper, mounding slightly. Sprinkle remaining ½ cup cheese over the top.
- Cover baking dish tightly with aluminum foil. Bake for 25 minutes. Remove foil and bake for another 10-15 minutes until cheese is bubbly and peppers are tender.
- Let rest for 5 minutes before serving. Garnish with cilantro, sour cream, and lime.
Notes
Rinse rice until water runs clear to prevent gumminess. If peppers are too short to stand, slice a tiny bit off the bottom. Can be assembled 24 hours ahead and refrigerated. Freeze baked peppers for up to 3 months.
- Prep Time: 15 minutes
- Cook Time: 45 minutes
- Category: Main Course
- Cuisine: Mexican
Nutrition
- Serving Size: 1 stuffed pepper per
- Calories: 450
- Sugar: 6
- Sodium: 680
- Fat: 18
- Saturated Fat: 9
- Carbohydrates: 55
- Fiber: 8
- Protein: 18
Keywords: stuffed peppers, vegetarian, creamy, one-pot, meal prep, family dinner, gluten-free option



