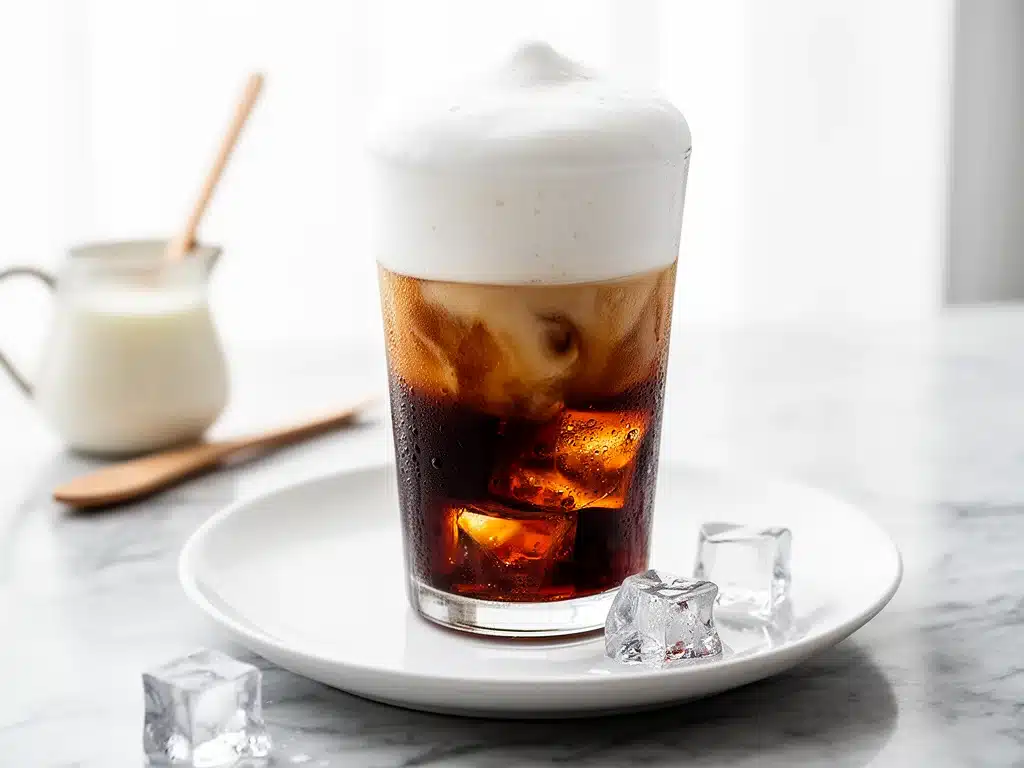
Last Tuesday, I stood in line at my local coffee shop, staring at the menu board like it held the secrets to the universe. The barista asked if I wanted the new seasonal syrup, and I realized I had spent $8.50 on a drink that was mostly ice and foam I could make in my own kitchen for about 40 cents. I felt ridiculous. Not because of the money, but because I had been accepting it for years. That’s when I decided to try making cold foam at home. It turned out to be ridiculously simple, and now I make Homemade Cold Foam Iced Coffee almost every single morning.
I’ve made this recipe dozens of times over the last few months, tweaking the milk ratios and sweetness levels until it was perfect. What started as a money-saving experiment has become my favorite part of the morning routine. There’s something deeply satisfying about whipping up that silky, sweet cloud of foam and watching it float on top of my iced coffee. It’s fancy, it’s fun, and it’s genuinely delicious. If you’ve ever wanted café-quality drinks without the café price tag or the wait, this is your moment.
I’m not a barista. I don’t have a $3,000 espresso machine. I have a French press, a microwave, and a handheld frother that cost $12. And that’s all you need to make the best iced coffee you’ll ever have. This Homemade Cold Foam Iced Coffee is about elevating your daily brew with a little bit of luxury that you control. No more guessing what’s in that syrup bottle. No more spending half your paycheck on milk drinks. Just pure, creamy, coffee-y goodness.
Why You’ll Love This Homemade Cold Foam Iced Coffee
Once you try making your own cold foam, you’ll never go back to store-bought or café versions. It’s not just about saving money (though that’s a nice bonus). It’s about customization and that fresh-made taste. Here’s why this Homemade Cold Foam Iced Coffee has taken over my kitchen:
- Customizable Sweetness — I control exactly how sweet it is. Want zero sugar? Done. Want a drizzle of caramel? Easy. You’re the boss of your own drink.
- Ready in 5 Minutes — Seriously. Froth the milk, pour the coffee, combine. It’s faster than driving to a drive-thru and waiting in line. My morning routine just got a whole lot smoother.
- Rich, Cafe-Quality Texture — That thick, velvety foam isn’t just air; it’s creamy and luxurious. It stays on top of the coffee for ages, giving you that perfect sip of foam followed by the cold brew.
- Uses Simple Ingredients — You probably already have everything you need. Milk, vanilla, maybe a little sweetener. That’s it. No weird syrups or hard-to-find items.
- Perfect for Meal Prep — I make a batch of cold brew on Sundays and froth milk fresh each morning. It’s the perfect grab-and-go breakfast drink. Speaking of breakfast, if you need something to eat with your coffee, these strawberry cream cheese roll-ups are the perfect 10-minute companion.
- Feels Like a Treat — Even though it’s cheap to make, it feels indulgent. I love having a little “special” drink while I work from home or read the paper. It sets a nice tone for the day.
This Homemade Cold Foam Iced Coffee is my go-to when I want something fancy but don’t want to leave the house. It’s reliable, delicious, and makes me feel like a pro barista every single time.
Ingredients You’ll Need
Here’s the best part: you don’t need a fancy syrup machine or exotic ingredients to make this. I’m particular about a few things, but overall, this list is short and sweet. (Get it? Sweet.)
For the Cold Foam
Whole Milk (½ cup / 120ml) — This is the gold standard for foam. Whole milk creates the thickest, creamiest foam. Skim milk works, but the foam is lighter and dissipates faster. I stick with whole for that rich texture.
Vanilla Syrup (1-2 tablespoons) — I use Torani or Monin brand because they dissolve easily and don’t separate. You can also use vanilla extract mixed with a teaspoon of sugar, but syrup gives a smoother flavor. If you want a different flavor, try pumpkin spice or caramel syrup!
Heavy Cream (1 tablespoon / 15ml) — Optional, but I add this for extra richness. It makes the foam stiffer and more luxurious. If you’re watching calories, skip this, but you’ll miss the texture.
Ice Cubes (a few, for chilling the milk) — Not always necessary, but if your milk is warm from the fridge, a couple of cubes help cool it down before frothing. Cold milk froths better.
For the Iced Coffee
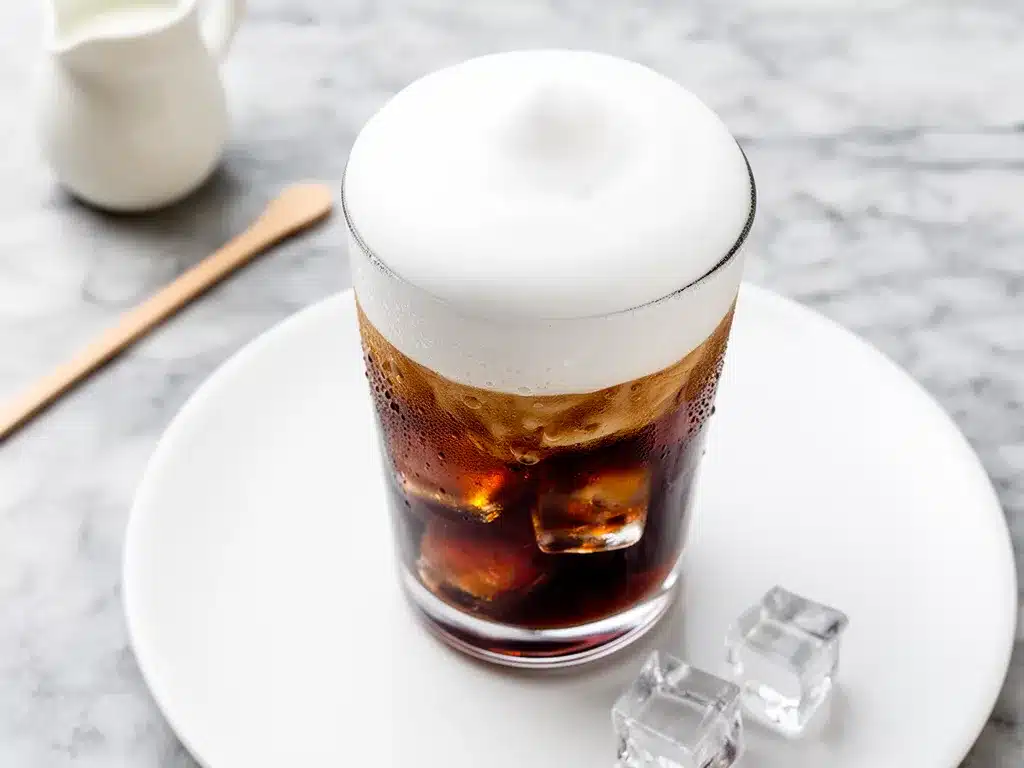
Cold Brew Coffee (1 cup / 240ml) — This is key. You can use strong brewed coffee that’s been chilled, or actual cold brew concentrate. I prefer cold brew because it’s naturally smoother and less acidic. If you don’t have cold brew, brew a strong pot of coffee and refrigerate it until cold.
Milk (½ cup / 120ml) — This goes in the glass with the coffee. I use oat milk or almond milk here to keep it lighter, but whole milk works too. It’s your base.
Optional Toppings — Caramel drizzle, cocoa powder, or a sprinkle of cinnamon. I keep it simple with just the foam, but sometimes I like a little drizzle on top for presentation.
Pro Tip: I keep my vanilla syrup in the fridge to keep it fresh. It lasts for months. Also, if you’re making this for guests, set up a little syrup station. They’ll love customizing their own drinks. And if you need a savory snack to balance out the sweet coffee, this easy bacon cheddar ranch pasta salad is a great option for a light lunch.
Equipment Needed
You don’t need fancy equipment for this. Here’s what I actually use:
Handheld Milk Frother — This is the game-changer. I have a cheap one from Amazon that works perfectly. It whips the milk into foam in seconds. If you don’t have one, a French press works surprisingly well too.
French Press — If you don’t want to buy a frother, your French press is your best friend. Pump the plunger up and down rapidly for 30 seconds, and you’ll get foam. It takes a bit more effort, but it works.
Mug or Glass — A tall glass or mug works best. I like clear glasses so you can see the layers of foam and coffee. It looks beautiful on Pinterest, too.
Measuring Spoons — For the syrup and cream. Accuracy helps with consistency.
Microwave — Only if you need to warm the milk slightly before frothing. Cold milk froths better, but room temp is fine. Just don’t use hot milk.
Small Bowl or Pitcher — For mixing the foam ingredients. Any small container works.
How to Make It: Step-by-Step
Alright, let’s make this! I’m walking you through exactly how I do it, including the little tricks I’ve picked up.
Step 1: Prepare Your Cold Brew (5 minutes)
Start by ensuring your coffee is cold. If you’re using cold brew concentrate, dilute it with water or milk according to the package directions. If you’re using regular coffee that’s been chilled, make sure it’s completely cold. Warm coffee will melt the foam too quickly. Pour 1 cup of cold coffee into your serving glass.
Step 2: Chill the Milk (2 minutes)
Take your whole milk out of the fridge. If it’s been sitting out, put it in the fridge for 10 minutes or add a couple of ice cubes to a small cup of milk to chill it quickly. Cold milk froths much better than room temperature milk. This is a crucial step for Homemade Cold Foam Iced Coffee success.
Step 3: Mix the Foam Ingredients (1 minute)
In a small bowl or pitcher, combine ½ cup of cold whole milk, 1-2 tablespoons of vanilla syrup, and 1 tablespoon of heavy cream (if using). Whisk them together gently with a spoon just to combine. You don’t need to froth yet; just make sure the syrup and cream are dissolved in the milk.
Step 4: Froth the Milk (30-60 seconds)
This is the fun part. Take your handheld frother and plunge it into the milk mixture. Hold the frother near the surface of the milk and turn it on. Move it up and down slightly to incorporate air. You’ll see the milk expand and become thick and foamy. This should take about 30-60 seconds. Stop when you have a thick, creamy foam that holds its shape. If using a French press, pump the plunger vigorously for 30 seconds.
Step 5: Assemble the Drink (1 minute)
Spoon the thick foam gently over the top of the cold coffee. You want it to float on top, creating a beautiful layer. If you’re adding toppings like caramel drizzle or cocoa powder, do it now. Serve immediately with a straw so you can sip through the foam.
Visual Cue: You’ll know the foam is ready when it looks like soft peaks of whipped cream. It should be thick enough to hold its shape on a spoon.
Expert Tips & Tricks
Here’s everything I’ve learned from making this dozens of times. These tips will save you from my mistakes.
Use Cold Milk — I can’t stress this enough. Cold milk froths better and stays stable longer. If your foam separates, it’s probably because the milk was too warm.
Don’t Over-Froth — Once the foam reaches a thick consistency, stop. Over-frothing can make it airy and loose, which doesn’t sit as nicely on the coffee.
High Fat Content Helps — Whole milk creates better foam than skim because of the fat content. If you’re using plant-based milks, look for “barista” versions which have added oils for better frothing.
Sweeten the Foam, Not the Coffee — By putting the syrup in the foam, you get a sweet sip with every mouthful. If you sweeten the coffee, it can become too sweet overall.
Make Ahead Foam? — Unfortunately, cold foam doesn’t hold well for more than an hour. It deflates. Make it fresh right before drinking for the best experience.
Experiment with Flavors — Once you master vanilla, try hazelnut, caramel, or even lavender syrup. The possibilities are endless.
Pro Trick: If you want a stronger coffee flavor, use cold brew concentrate instead of regular cold brew. It’s more intense and pairs beautifully with the sweet foam.
Variations & Substitutions
Once you’ve nailed the basic version, here’s how you can mix it up. I’ve tried all of these.
Pumpkin Spice Cold Foam — Swap vanilla syrup for pumpkin spice syrup. Add a pinch of pumpkin pie spice to the foam. Perfect for fall.
Caramel Drizzle Foam — Use caramel syrup instead of vanilla. Drizzle caramel on top of the foam before serving. Decadent.
Mocha Cold Foam — Add 1 teaspoon of cocoa powder to the milk before frothing. It creates a chocolatey foam that’s amazing with coffee.
Dairy-Free Version — Use oat milk or almond milk. Barista editions of oat milk froth the best. You might need to add a little extra sweetener since plant milks can be less sweet.
Unsweetened Version — Skip the syrup and heavy cream. Use just cold whole milk. It’s still creamy and frothy, just less sweet. Great if you’re watching sugar.
Matcha Cold Foam — Whisk 1 teaspoon of matcha powder into the milk before frothing. It creates a green, earthy foam that’s unique and energizing.
Protein Boost — Add a scoop of vanilla protein powder to the milk before frothing. It changes the texture slightly but adds a protein kick.
Serving & Storage
How to Serve: I usually serve this immediately after making it, while the foam is still thick and fluffy. It looks beautiful in a clear glass, with the layers of coffee and foam visible. Add a straw and maybe a few ice cubes on top for extra chill.
Storage Instructions: The cold foam doesn’t store well. It deflates within an hour. The cold brew coffee can be stored in the fridge for up to a week. Make the foam fresh each time for the best texture.
Reheating: This is an iced drink, so no reheating needed. Just enjoy it cold!
Pro Tip: If you’re making this for guests, have the cold brew ready in the fridge and the frother on the counter. Everyone can make their own foam as they go. It’s interactive and fun.
Nutrition Information
I’m not a nutritionist, but here’s the breakdown if you’re tracking. This is per serving based on the standard recipe.
Per Serving:
- Calories: 120
- Protein: 4g
- Carbs: 12g
- Fat: 6g
- Sugar: 10g
What’s Good: It’s relatively low calorie compared to café drinks. The protein from the milk helps keep you full. You control the sugar, so it can be adjusted.
What to Know: The calories come mainly from the milk and syrup. If you use skim milk and no syrup, it’s very low calorie. The fat content is moderate from the whole milk.
My Take: Look, this is a treat drink. It’s not a health food, but it’s better than most café options. When I want to make it lighter, I use almond milk and sugar-free syrup. But usually? I just enjoy it as a delicious morning ritual.
Final Thoughts
So that’s my go-to Homemade Cold Foam Iced Coffee! I’ve probably talked your ear off at this point, but when you find a recipe this good, you have a lot to say about it.
This has saved my mornings more times than I can count. It’s my answer to “I want something fancy but I’m tired” when I don’t want to leave the house. My kids are happy with their sweet foam, and I’m happy because I’m not stressed about coffee shops.
Make it yours! Try different syrups, swap in your favorite milk, adjust the sweetness. The best drinks are the ones you customize to your tastes.
If you make this, drop a comment and let me know what flavor you tried! I love hearing how recipes turn out in your kitchen. And if something doesn’t work, tell me that too—I’m here to help troubleshoot.
Happy brewing! And I hope your kitchen smells half as good as mine does right now.
Frequently Asked Questions
Can I use skim milk for cold foam?
You can, but the foam won’t be as thick or creamy. Skim milk has less fat, which helps create structure in the foam. If you use skim, you might need to froth it longer. Whole milk is definitely better for that rich texture.
Why did my foam deflate quickly?
This usually happens if the milk was too warm or if you over-frothed it. Make sure your milk is cold and stop frothing once it reaches a thick consistency. Also, using milk with higher fat content helps the foam last longer.
Can I make cold foam with plant-based milk?
Yes! Oat milk is the best for frothing because it has a natural creaminess. Almond and soy milk can work, but they might not foam as thickly. Look for “barista” versions of plant milks, which are formulated to froth better.
How long does cold brew last in the fridge?
Cold brew can last up to two weeks in the fridge if stored in an airtight container. Make sure it’s completely cooled before storing to prevent condensation.
Can I use hot coffee instead of cold brew?
You can, but you’ll need to let it cool completely first. Hot coffee will melt the foam immediately. If you’re in a rush, you can put the hot coffee in the fridge or add ice to cool it down quickly.
What’s the best frother to use?
A handheld electric frother is the easiest and most consistent. But a French press works great too! Just pump the plunger up and down rapidly for 30-60 seconds. No fancy equipment needed.
Can I add alcohol to this drink?
Absolutely! A splash of coffee liqueur or bourbon adds a nice kick. It turns your morning coffee into an evening treat. Just be careful with the sweetness if you add a sweet liqueur.
Pin This Recipe!
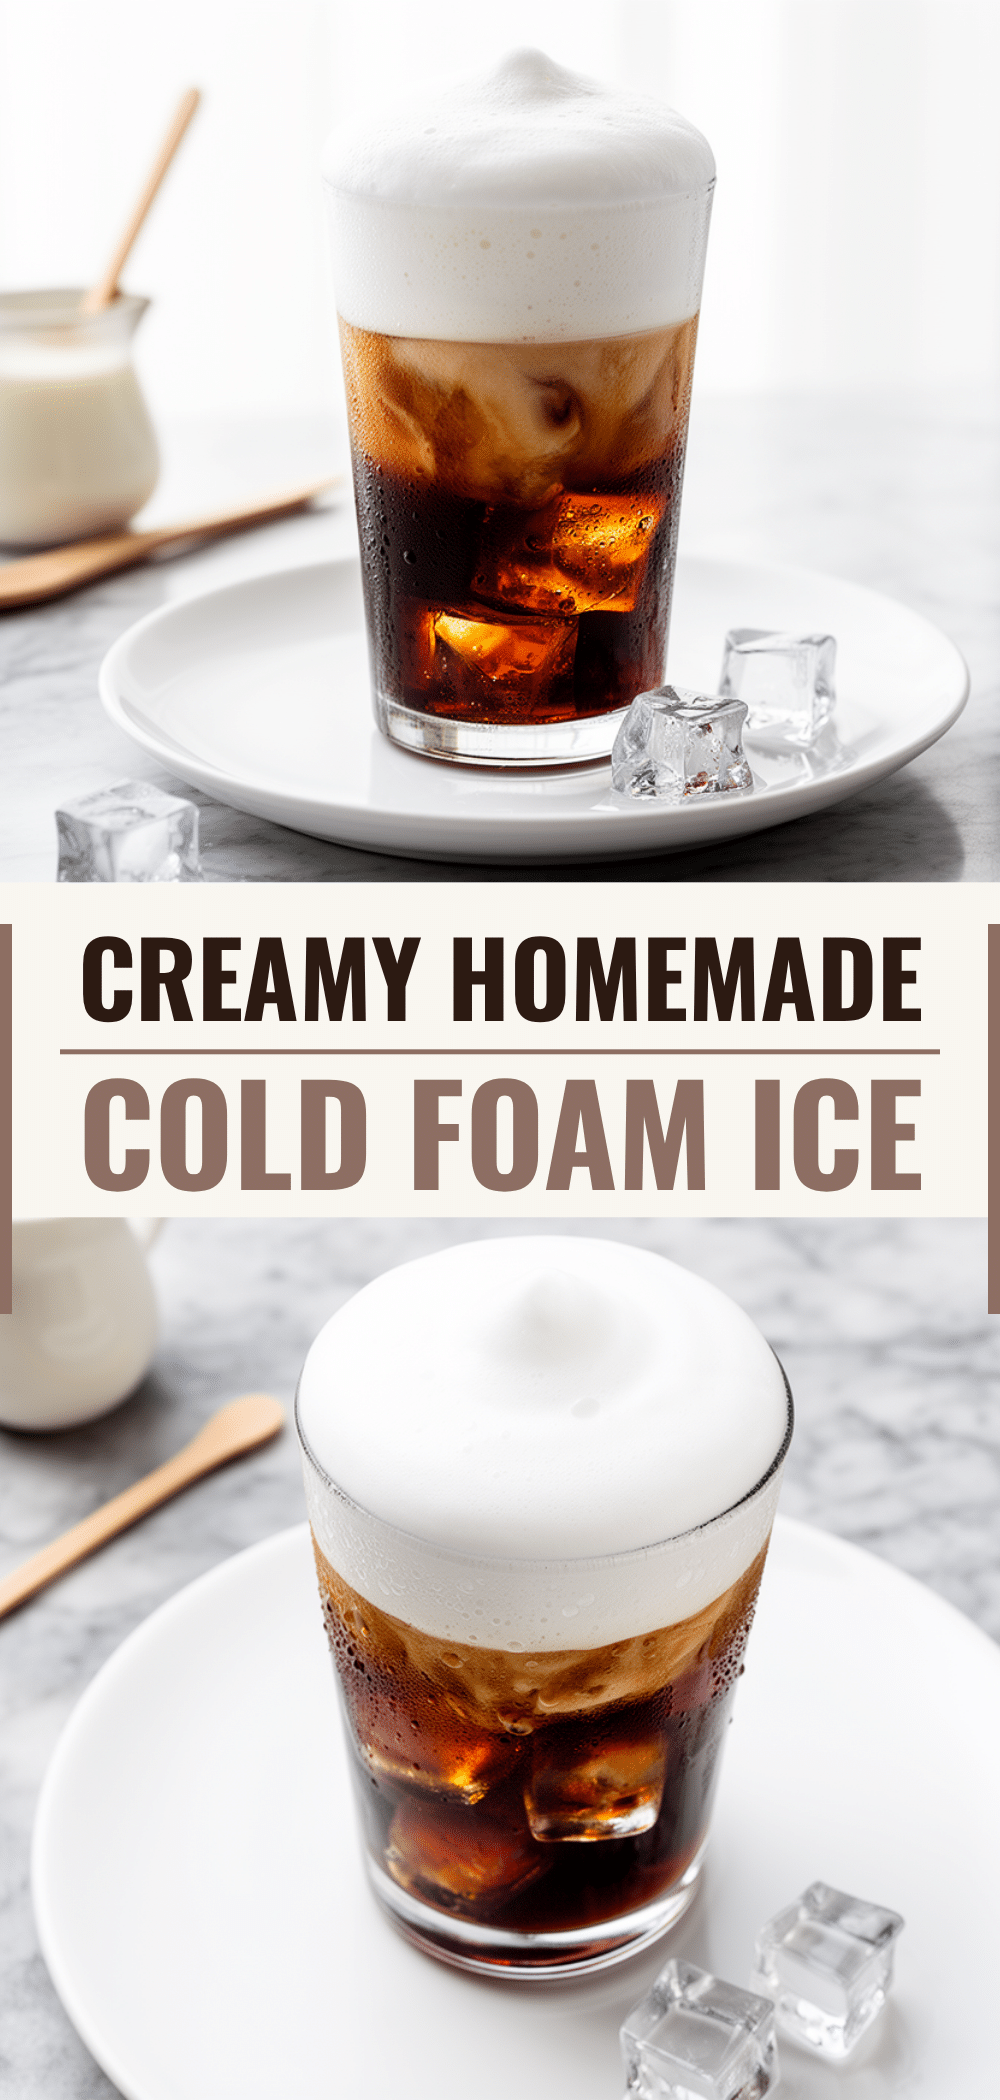

Homemade Cold Foam Iced Coffee
- Total Time: 5 minutes
- Yield: 1 serving 1x
Description
Create café-quality cold foam iced coffee at home in just 5 minutes using simple ingredients and basic equipment. This customizable, rich, and creamy drink is a budget-friendly morning treat.
Ingredients
- 1 cup (240ml) cold brew coffee or strong chilled brewed coffee
- 1/2 cup (120ml) whole milk
- 1–2 tablespoons vanilla syrup
- 1 tablespoon heavy cream (optional)
- Ice cubes (for chilling milk, optional)
- Optional toppings: caramel drizzle, cocoa powder, cinnamon
Instructions
- Ensure your coffee is completely cold. Pour 1 cup of cold brew or chilled coffee into a serving glass.
- Chill the whole milk. If it is not cold enough, add a few ice cubes to a small cup of milk for 10 minutes or until cold.
- In a small bowl or pitcher, combine the cold whole milk, vanilla syrup, and heavy cream (if using). Whisk gently to dissolve the syrup and cream.
- Using a handheld milk frother, plunge into the milk mixture near the surface. Move up and down for 30-60 seconds until the milk expands and becomes thick, creamy foam. Alternatively, use a French press by pumping the plunger vigorously for 30 seconds.
- Spoon the thick foam gently over the top of the cold coffee to create a layered effect. Add optional toppings like caramel drizzle or cocoa powder. Serve immediately with a straw.
Notes
Use cold milk for the best foam texture and stability. Do not over-froth as it can make the foam airy. The foam does not store well and should be made fresh. Cold brew can be stored in the fridge for up to two weeks.
- Prep Time: 5 minutes
- Cook Time: 0 minutes
- Category: Beverage
- Cuisine: American
Nutrition
- Serving Size: 1 glass
- Calories: 120
- Sugar: 10
- Sodium: 50
- Fat: 6
- Saturated Fat: 3.5
- Carbohydrates: 12
- Protein: 4
Keywords: cold foam, iced coffee, homemade coffee, cold brew, morning routine, budget coffee, dairy-free options, easy recipe



