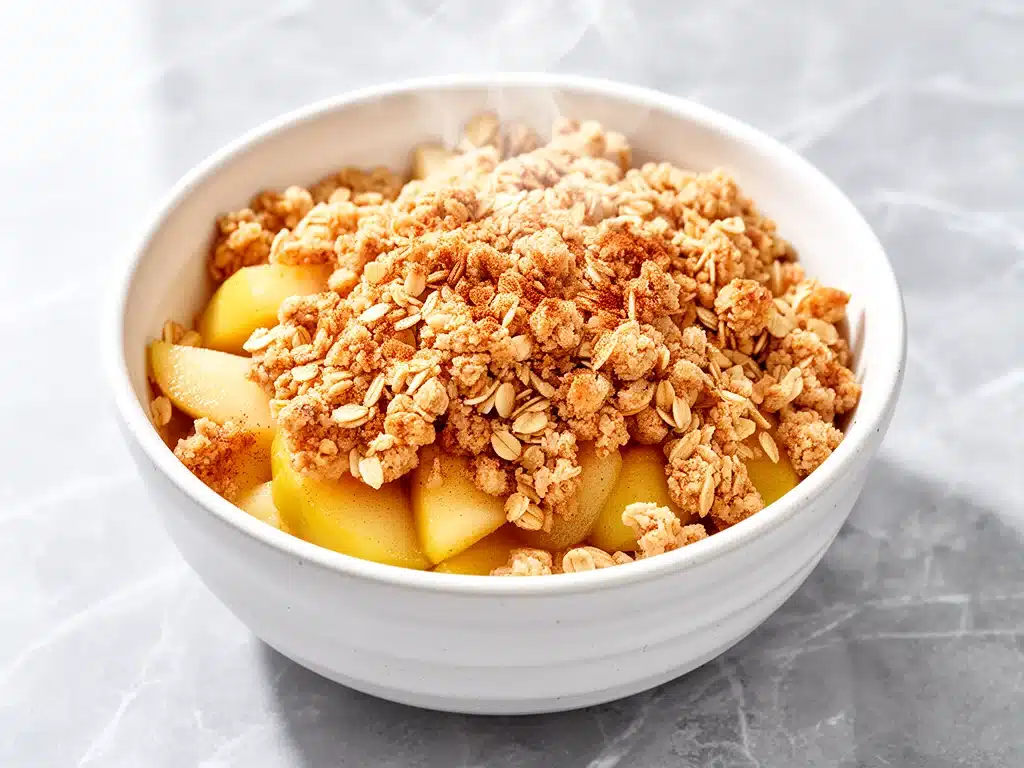
There is a specific kind of magic that happens when the first frost hits the ground and the air turns crisp. For me, it’s the signal that summer salads are done and it’s time to bring out the big guns in the kitchen. Not the complicated, three-day projects, but the ones that fill the entire house with the smell of caramelized sugar and spiced fruit. That’s where this apple cinnamon crisp comes in. It’s not just a dessert; it’s a hug in a bowl.
I remember the first time I made this for a potluck. I was nervous. Potlucks are tricky because you’re competing with casseroles, chips, and whatever store-bought cake someone picked up on the way. But when I pulled this out of the oven, the conversation stopped. People started lining up. My aunt, who claims she “doesn’t really have a sweet tooth,” took two helpings. That’s when I knew I had something special. This apple cinnamon crisp with buttery oat topping isn’t just easy to make; it’s the kind of dessert that makes you look like a professional baker without the stress.
The secret isn’t in fancy ingredients. It’s in the ratio of oats to butter and the way the apples break down just enough to create a sauce, but keep their structure. I’ve tested this recipe at least a dozen times—sometimes with Granny Smiths, sometimes with Honeycrisps, sometimes with a mix—and this method is the winner. It’s reliable, it’s forgiving, and it’s genuinely delicious. If you’re looking for a dessert that works for Thanksgiving, a Tuesday night treat, or a last-minute guest situation, this is it.
Why You’ll Love This Recipe
I’ve made my fair share of crisps, crumbles, and crudos over the years, and this apple cinnamon crisp consistently wins the gold medal in our house. Here’s why it keeps coming back to the rotation:
Stupid Simple Ingredients — Seriously, if you have apples, oats, flour, sugar, and butter, you’re already halfway done. I don’t call this a “clean eating” recipe, but it’s not filled with weird chemical additives either. It’s real food, real comfort.
Lightning Fast Prep — The active time is maybe 15 minutes. You peel and slice, you mix the topping, you dump it in the pan, and you wait. I can have this in the oven before my kids finish their homework. It’s the perfect weeknight dessert when you want something homemade but don’t have hours to spare.
Textural Perfection — This is the big one. Most crisp recipes get soggy or the topping turns into hard little rocks. Not this one. The buttery oat topping stays crumbly and crunchy, while the apples underneath turn into a warm, juicy compote. That contrast is everything.
Make-Ahead Friendly — I often make the topping the night before and keep it in the fridge. Then, when I pull the apples out, I just dump it on and bake. It saves so much mental energy when I’m tired after work. It’s also great because it reheats beautifully, though fresh out of the oven is hard to beat.
Customizable — Love ginger? Add it. Hate cinnamon? Use nutmeg. Want to add chocolate chips? Go for it. This recipe is a canvas. I’ve even added a handful of walnuts for extra crunch, and it was a hit. It’s flexible enough to adapt to whatever you have in your pantry.
This is my go-to when I need to impress without sweating. No complicated techniques, no tempering chocolate, just reliable, warm, delicious food that makes everyone happy.
Ingredients You’ll Need
Here’s the best part: you probably have most of this already. This isn’t a recipe that requires a trip to three different specialty stores. It’s pantry-friendly and produce-simple. I’m particular about a few things here, specifically the apples and the butter, and I’ll tell you exactly why.
For the Apple Filling
Apples (6-7 medium, about 2.5 lbs / 1.1 kg) — This is the star. I recommend a mix of tart and sweet. Granny Smiths hold their shape best, but they’re very tart. Honeycrisps or Jonagolds are sweeter and softer. I usually do 3 Granny Smiths and 4 Honeycrisps for the perfect balance. Avoid Red Delicious—they turn mushy and flavorless. You want apples that can handle the heat without turning into applesauce (unless you like applesauce, then go for it!).
Granulated Sugar (½ cup / 100g) — This helps draw out the juices from the apples and caramelizes as it bakes. I use white sugar for the clean sweetness, but brown sugar works too if you want a deeper, molasses flavor.
Apple Cider Vinegar (1 tablespoon / 15ml) — This is the secret weapon. It cuts the sweetness and brightens the apple flavor. You won’t taste vinegar; you’ll just taste “more apple.” Trust me on this.
Cinnamon (2 teaspoons) — Use good quality cinnamon. If yours is old and dusty, replace it. Fresh cinnamon makes a world of difference. Ground ginger (½ teaspoon) is optional but adds a nice warmth.
Lemon Juice (1 tablespoon / 15ml) — Prevents the apples from browning and adds a little acidity to balance the sugar.
Cornstarch (2 tablespoons / 16g) — This thickens the juices so you get that luscious syrup at the bottom of the bowl, not a watery mess.
For the Buttery Oat Topping
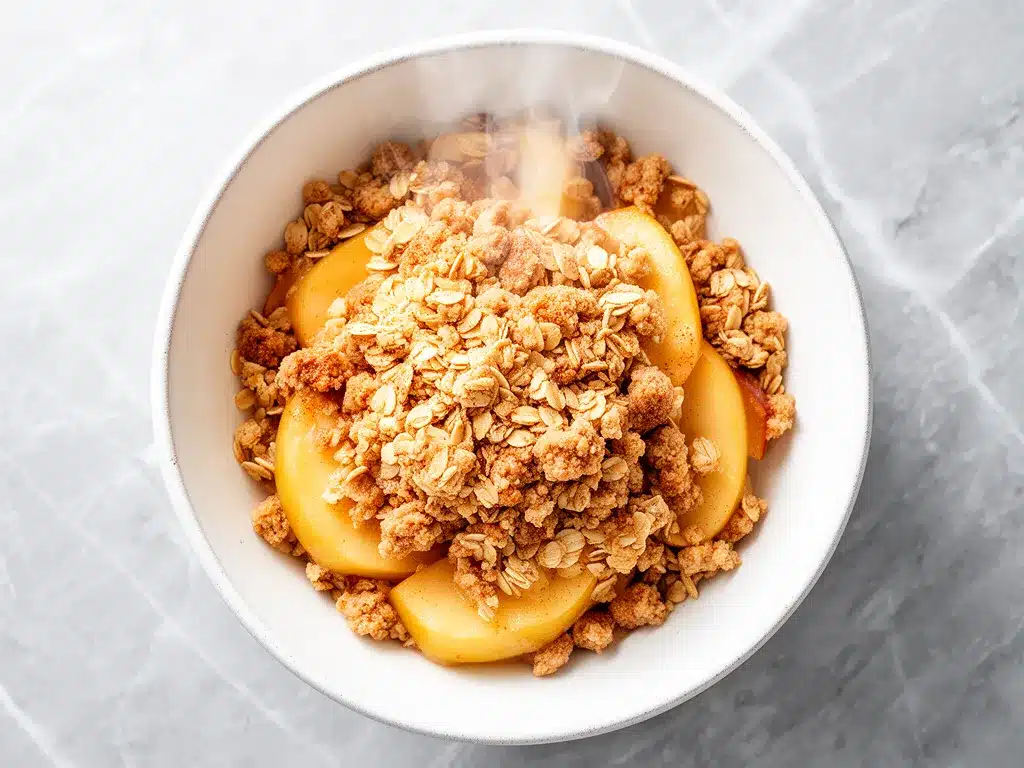
Old-Fashioned Rolled Oats (1 cup / 90g) — Do not use instant oats or steel-cut oats. Old-fashioned oats have the right texture—they crunch but still have a chew. Quick oats will turn into mush.
All-Purpose Flour (1 cup / 120g) — This binds the topping together so it’s not just loose crumbs. It gives it that cookie-like texture.
Light Brown Sugar (1 cup / 200g, packed) — Brown sugar is non-negotiable here. It adds moisture and that deep, toffee-like flavor. White sugar just doesn’t cut it for the topping.
Unsalted Butter (¾ cup / 170g, cold and cubed) — This is crucial. The butter needs to be cold so it creates little pockets of flakiness as it melts. If you use melted butter, you’ll get a cake-like crust, not a crisp. Cube it straight from the fridge.
Salt (½ teaspoon) — Enhances the flavor and balances the sweetness. Don’t skip it.
Equipment Needed
You don’t need fancy equipment for this. Here’s what I actually use:
9×13 Inch Baking Dish — A glass or ceramic dish works best because it distributes heat evenly. Metal works too, but watch the edges so they don’t burn. I use a Pyrex dish that’s seen better days—it’s chipped but still perfect for this.
Large Bowl — For mixing the apples. A big salad bowl is ideal.
Medium Bowl — For the topping mixture.
Peeler and Knife — I use a Y-peeler for speed, but a paring knife works fine if you’re being careful. Peel or don’t peel—the skin adds texture and nutrients, but some people prefer peeled apples. I leave the skins on for rustic appeal.
Fork or Pastry Cutter — To cut the butter into the flour/oat mixture. I use a fork because it’s easier to clean. A pastry cutter is faster if you have one.
Wire Rack — For cooling. You can serve it warm, but letting it sit for 10 minutes lets the juices set up slightly.
How to Make It: Step-by-Step
Alright, let’s make this! I’m walking you through exactly how I do it, including the little tricks I’ve picked up over the years.
Step 1: Prep the Oven and Dish (5 minutes)
Preheat your oven to 375°F (190°C). Grease your 9×13 inch baking dish with a little butter or non-stick spray. This prevents sticking and adds flavor. I usually just rub a cold stick of butter around the inside of the dish—it’s satisfying and effective.
Step 2: Prepare the Apples (10 minutes)
Peel, core, and slice the apples. Aim for uniform slices—about ¼ inch thick. This ensures they cook evenly. If some are thick and some are thin, the thin ones will turn to mush before the thick ones are tender. Toss the apple slices with sugar, cinnamon, ginger (if using), lemon juice, and cornstarch in a large bowl. Mix well until every slice is coated. Pour them into the prepared baking dish and spread them out evenly. This is your base.
Step 3: Make the Topping (5 minutes)
In a medium bowl, whisk together the rolled oats, flour, brown sugar, and salt. Add the cold, cubed butter. Here’s the trick: use your fingers, a fork, or a pastry cutter to work the butter into the dry ingredients. You’re looking for a coarse, crumbly texture. Some pieces should be the size of peas, and some should be larger chunks. Don’t overmix it into a paste. You want distinct bits of buttery oat.
Step 4: Assemble and Bake (45-50 minutes)
Sprinkle the topping evenly over the apples. Don’t press it down; let it sit loose and crumbly. This allows the heat to circulate and keeps it crunchy. Place the dish in the preheated oven. Bake for 45-50 minutes. You’ll know it’s done when the topping is golden brown and the juices are bubbling up around the edges. If the edges start browning too fast, cover them loosely with foil for the last 10 minutes. I learned this the hard way with a burnt crust that tasted bitter.
Step 5: Cool and Serve (15 minutes)
Remove from the oven and let it cool for at least 15 minutes. This is the hardest part, I know. But cooling lets the apple juices thicken up. If you dig in immediately, you’ll get a soupy mess. Serve warm with a scoop of vanilla ice cream or a dollop of whipped cream. The contrast of hot crisp and cold ice cream is legendary.
Expert Tips & Tricks
Here’s everything I’ve learned from making this dozens of times. These tips will save you from my mistakes.
Cold Butter is Key
I cannot stress this enough. Cold butter creates steam pockets as it melts, which creates flakiness and crunch. If you forget and the butter is soft, put it in the freezer for 10 minutes before using. Warm butter makes a soggy, dense topping. Cold butter makes a crisp, crumbly topping.
Don’t Skimp on the Cornstarch
Apples release a lot of water. The cornstarch is what turns that water into a luscious sauce. If you skip it, you’ll have a dry topping and watery apples. If you’re using very juicy apples (like Gala), you might even want to add an extra tablespoon. But don’t go below 2 tablespoons.
The Bubble Test
Watch the edges of the dish while it bakes. When you see thick, slow bubbles of syrup breaking through the topping, it’s almost done. If the topping is brown but no bubbles are showing, bake for another 5-10 minutes. Undercooked apples are crunchy and tart, which isn’t the goal for a crisp.
Room Temperature Ice Cream
Take your ice cream out of the freezer 5 minutes before serving. It’s easier to scoop and melts slightly faster, creating that perfect sauce over the warm crisp.
Common Mistakes
Mistake: Topping is soggy. Fix: You pressed it down too much, or your oven temperature was too low. Make sure the oven is fully preheated. The heat needs to hit the topping hard and fast to crisp it up.
Mistake: Apples are too tart. Fix: Use sweeter apples like Honeycrisp or Fuji, or add an extra ¼ cup of sugar.
Mistake: Burning the edges. Fix: Cover with foil after 30 minutes of baking.
Variations & Substitutions
Once you’ve nailed the basic version, here’s how you can mix it up. I’ve tried all of these.
Pear Crisp
Swap the apples for ripe pears. Pears are softer, so reduce the baking time to 35-40 minutes. Add a teaspoon of cardamom instead of cinnamon for a lovely floral note.
Strawberry Rhubarb Crisp
Rhubarb is very tart, so increase the sugar in the filling to ¾ cup. Use a 2:1 ratio of rhubarb to strawberries. This is a classic combination for a reason.
Nutty Version
Add ½ cup of chopped walnuts or pecans to the topping. Toast the nuts in a dry pan for 2 minutes before adding them for extra flavor. This adds a nice earthiness that pairs well with the cinnamon.
Gluten-Free
Swap the all-purpose flour for a 1:1 gluten-free flour blend. Make sure your oats are certified gluten-free if you have celiac disease, as regular oats are often cross-contaminated. The texture might be slightly denser, but it still tastes great.
Dairy-Free
Use cold vegan butter sticks instead of dairy butter. Earth Balance or Miyoko’s work well. The texture will be slightly different but still delicious. Serve with dairy-free ice cream.
Spice It Up
Add a pinch of nutmeg, allspice, or cloves to the filling. Or swap the cinnamon for pumpkin pie spice for a seasonal twist.
Serving & Storage
How to Serve:
I usually serve this straight from the baking dish at the dinner table—it looks rustic and stays warm. But here are other ways I’ve enjoyed it:
Side Dishes:
This is a dessert, so pair it with something light. A simple green salad with a vinaigrette cuts the richness. Or just serve it plain with the ice cream. I also like it with a cup of hot tea or coffee in the afternoon.
Toppings Bar:
When I have guests, I put out: vanilla ice cream, whipped cream, caramel sauce, and chopped nuts. Everyone customizes their bowl.
Storage Instructions:
Refrigerator:
Cover tightly with plastic wrap or foil and store in the fridge for up to 4 days. The topping will soften overnight, which is normal. It’s still delicious, just less crunchy.
Reheating:
Best method: Oven or toaster oven. Preheat to 350°F and bake for 15-20 minutes until warmed through. This helps re-crisp the topping. Microwave works in a pinch (1-2 minutes), but the topping will get chewy. If you microwave it, eat it quickly!
Freezing:
You can freeze the unbaked crisp. Assemble it, cover tightly with plastic and foil, and freeze for up to 3 months. Thaw in the fridge overnight and bake as directed, adding 10-15 minutes to the baking time. You can also freeze baked leftovers, but the texture suffers. I prefer to freeze unbaked.
Nutrition Information
I’m not a nutritionist, but here’s the breakdown if you’re tracking. Keep in mind that this is a dessert, so it’s indulgent.
Per Serving (based on 8 servings):
- Calories: 320
- Protein: 3g
- Carbs: 52g
- Fiber: 4g
- Sugar: 32g
- Fat: 12g
- Saturated Fat: 7g
- Cholesterol: 28mg
- Sodium: 180mg
What’s Good:
- Apples provide fiber and vitamin C.
- Oats offer some fiber and complex carbs.
- It’s a single-dish dessert, so less waste.
What to Know:
- High in sugar and calories due to butter and brown sugar.
- Contains gluten and dairy.
- Portion control is key. A small scoop goes a long way.
My Take:
Look, this is comfort food with butter and sugar. It’s not a diet recipe. But it’s way better than store-bought, costs less, and I know exactly what’s in it. When I want to make it lighter, I reduce the sugar in the topping and use less butter, but I won’t lie—the full version is worth the indulgence. Enjoy it as a treat, not a staple.
Final Thoughts
So that’s my go-to apple cinnamon crisp! I’ve probably talked your ear off at this point, but when you make a recipe this often, you have a lot to say about it. This has saved holiday dinners more times than I can count. It’s my answer to “what’s for dessert” when I’m tired, don’t want takeout, and still want something that tastes really good. My kids are happy, my guests are impressed, and I’m happy because I’m not stressed about cooking.
Make it yours! Try different apples, swap the spices, add nuts. The best recipes are the ones you adapt to your family’s tastes. If you make this, drop a comment and let me know what you think! I love hearing how recipes turn out in your kitchen. And if something doesn’t work, tell me that too—I’m here to help troubleshoot.
Happy cooking! And I hope your kitchen smells half as good as mine does right now.
Frequently Asked Questions
Can I use apple juice instead of cider vinegar?
You can, but the vinegar adds acidity that balances the sweetness. Apple juice will make it sweeter. If you use juice, reduce the sugar in the filling by 2 tablespoons. The vinegar is subtle, so you won’t taste it, but you’ll taste the difference in balance.
Why did my topping turn into a crust instead of crumbs?
This usually happens if the butter was too warm or if you mixed it too much. Make sure your butter is cold and cubed, and only mix until the crumbs form. Don’t knead it like dough. Also, ensure your oven is at the right temperature; too low and it steams instead of bakes.
Can I make this in a different size pan?
Yes, but adjust the baking time. A 9×9 inch square pan will result in a thicker crisp that might need 10-15 minutes more baking time. A larger pan (11×7) will result in a thinner crisp that bakes faster. Keep an eye on the browning.
Is it better to peel the apples?
It’s personal preference. Leaving the skins on adds fiber and texture, and the skins hold up well in baking. Peeling them results in a softer, more uniform texture. I usually leave them on for a rustic look, but I peel them for my picky eaters.
Can I add other fruits to this?
Absolutely. This recipe works great with mixed berries (blueberries, raspberries), peaches, or pears. If using berries, reduce the sugar slightly as they are naturally sweet. If using peaches, add a little extra cornstarch as they are very juicy.
How do I know when the apples are tender?
Pierce an apple slice with a knife. If it goes through easily with little resistance, they’re done. The juices should also be bubbling thickly around the edges. If the topping is brown but the apples are still hard, cover with foil and bake for another 10 minutes.
Can I prepare this ahead of time?
Yes! You can peel, slice, and toss the apples with the filling ingredients up to 24 hours in advance. Store them in the fridge in a covered bowl. When ready to bake, let them sit at room temperature for 20 minutes while you preheat the oven, then add the topping and bake. The topping can also be made ahead and stored in the fridge.
Pin This Recipe!
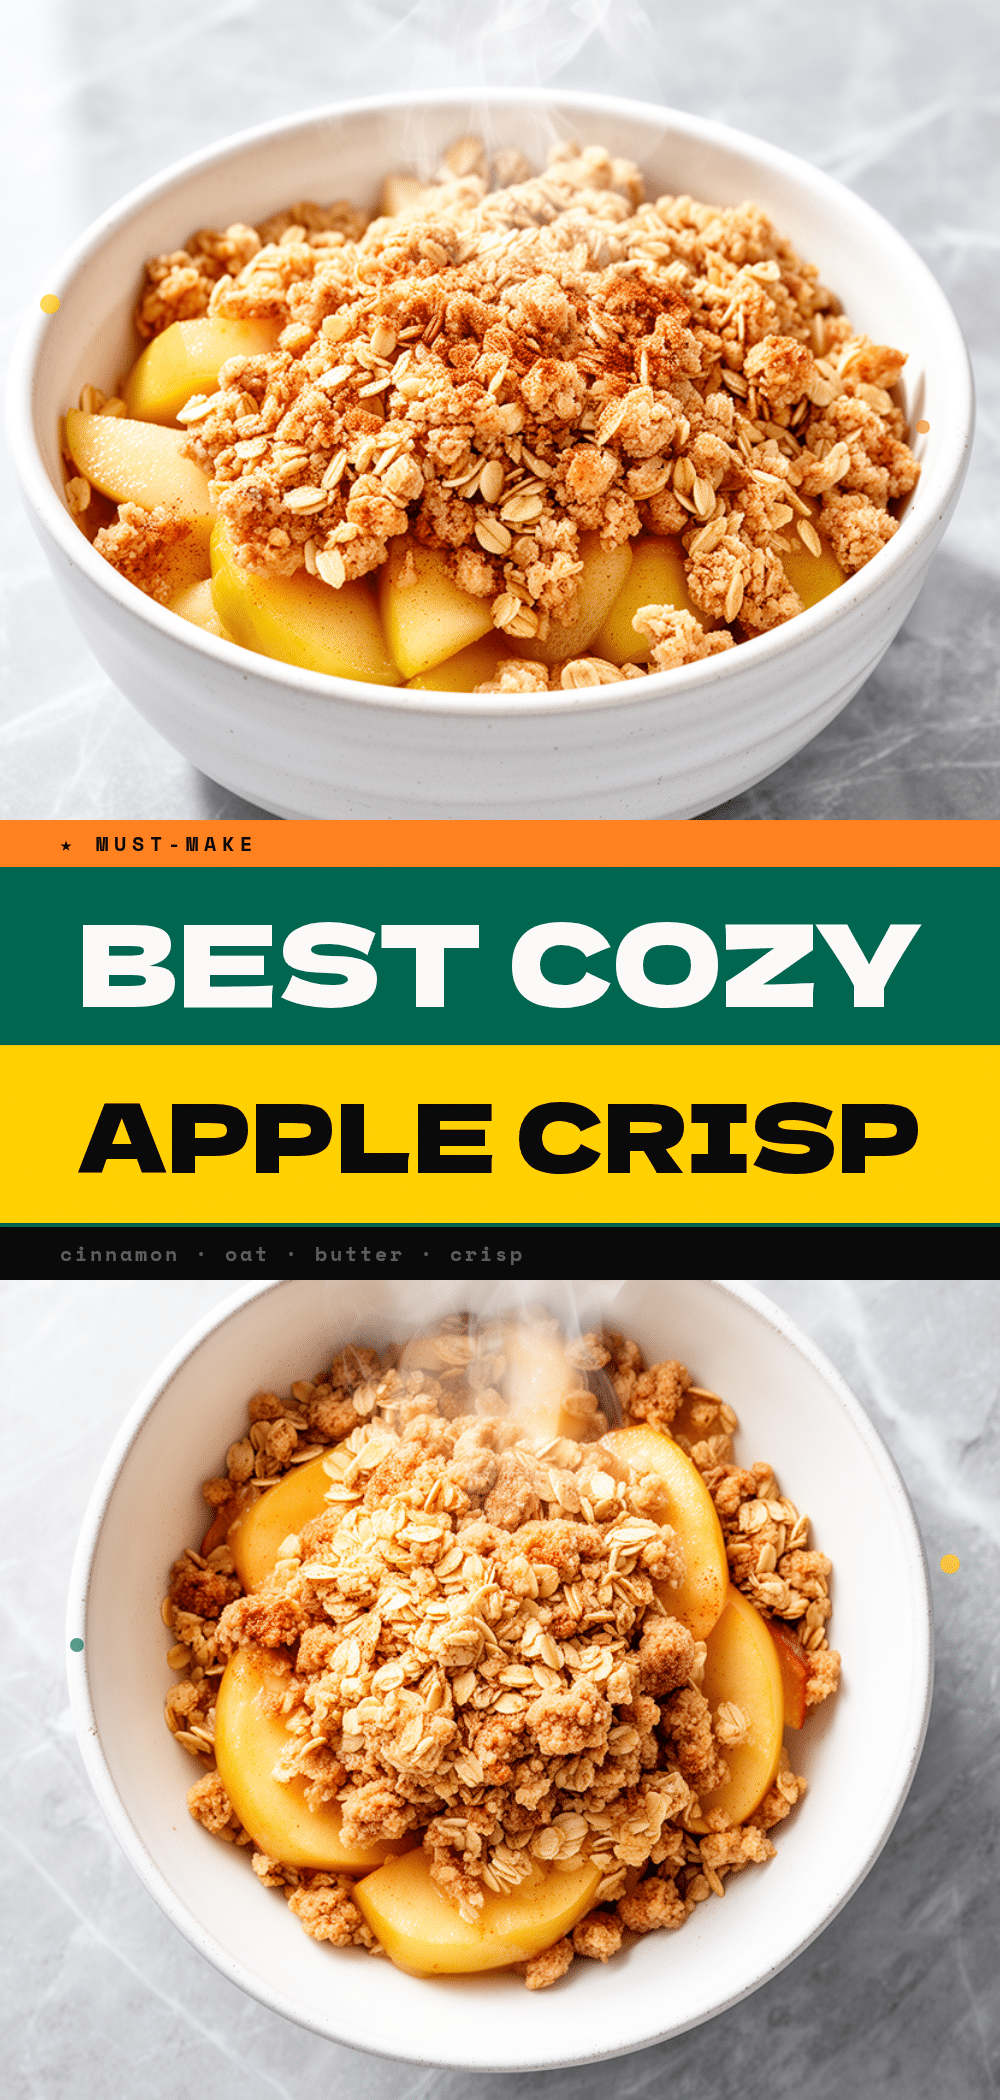

Apple Cinnamon Crisp: 5-Step Easy Homemade Dessert
- Total Time: 60-65 minutes
- Yield: 8 servings 1x
Description
A reliable, forgiving, and delicious apple cinnamon crisp with a buttery oat topping. This dessert is easy to make, customizable, and perfect for weeknights or gatherings.
Ingredients
- 6–7 medium apples (about 2.5 lbs / 1.1 kg), peeled, cored, and sliced
- 1/2 cup granulated sugar
- 1 tablespoon apple cider vinegar
- 2 teaspoons cinnamon
- 1/2 teaspoon ground ginger (optional)
- 1 tablespoon lemon juice
- 2 tablespoons cornstarch
- 1 cup old-fashioned rolled oats
- 1 cup all-purpose flour
- 1 cup light brown sugar, packed
- 3/4 cup unsalted butter, cold and cubed
- 1/2 teaspoon salt
Instructions
- Preheat oven to 375°F (190°C) and grease a 9×13 inch baking dish.
- Peel, core, and slice apples into 1/4 inch thick slices. Toss with sugar, cinnamon, ginger, lemon juice, and cornstarch until coated.
- Spread the apple mixture evenly into the prepared baking dish.
- In a medium bowl, whisk together oats, flour, brown sugar, and salt.
- Add cold, cubed butter to the dry ingredients and work it in using fingers, a fork, or pastry cutter until the mixture resembles coarse crumbs with some pea-sized pieces.
- Sprinkle the topping evenly over the apples without pressing down.
- Bake for 45-50 minutes, or until the topping is golden brown and juices are bubbling around the edges. Cover edges with foil if browning too quickly.
- Let cool for at least 15 minutes before serving to allow juices to thicken.
Notes
Use cold butter for a flaky, crunchy topping. Avoid Red Delicious apples as they turn mushy. The topping can be made ahead and refrigerated. For gluten-free, use GF flour and certified GF oats. For dairy-free, use vegan butter.
- Prep Time: 15 minutes
- Cook Time: 45-50 minutes
- Category: Dessert
- Cuisine: American
Nutrition
- Serving Size: 1 slice
- Calories: 320
- Sugar: 32
- Sodium: 180
- Fat: 12
- Saturated Fat: 7
- Carbohydrates: 52
- Fiber: 4
- Protein: 3
Keywords: apple crisp, cinnamon crisp, oat topping, homemade dessert, fall dessert, easy baking, comfort food