I have a confession to make. Last month, I attempted to make brownies from scratch for the first time in five years. I wanted to impress a visiting friend who claims to have a “professional palate” (aka she’s a pastry chef). I followed a fancy recipe from a glossy magazine that promised “chewy, fudgy perfection.” What I got was a dense, dry brick that tasted like burnt coffee and regret. My friend took one polite bite, smiled tightly, and went back to her phone.
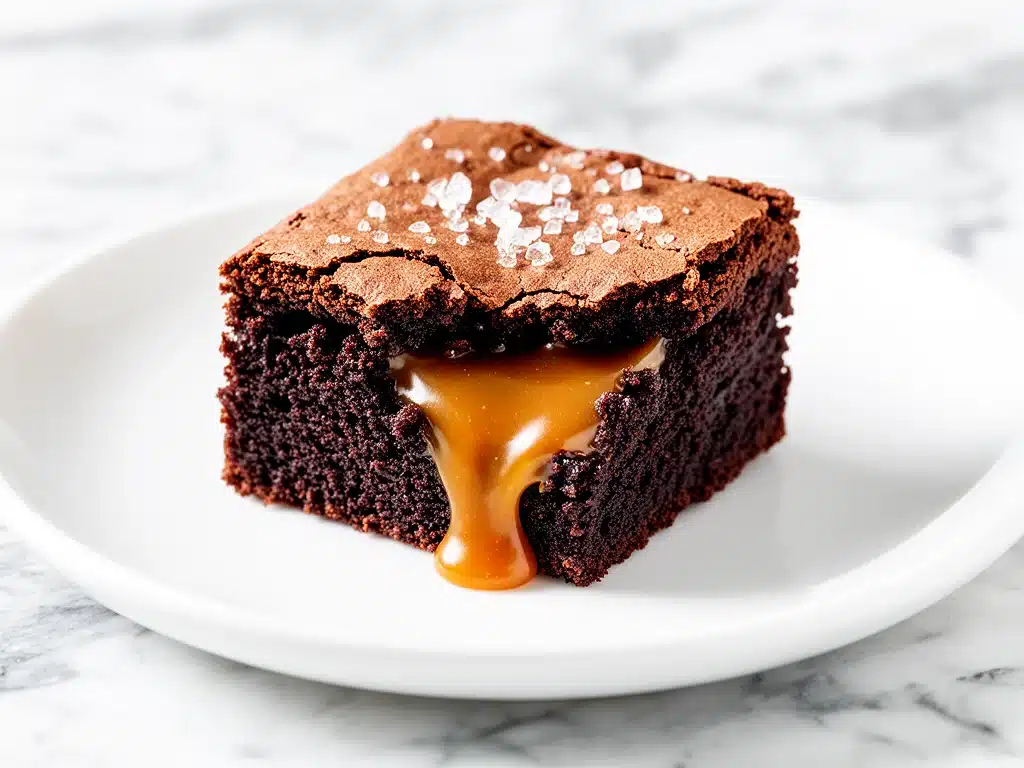
That humiliation fueled a mission. I didn’t just want brownies; I wanted brownies that made people stop talking and close their eyes when they took a bite. I wanted that specific texture—the crackly top, the gooey center, and the salted caramel oozing out like molten gold. After testing twelve different versions (yes, twelve), eating enough sugar to kill a horse, and destroying several mixing bowls, I finally nailed it.
These gooey salted caramel brownies are the real deal. They’re not just good for homemade brownies; they’re better than most bakery versions I’ve tried. The key isn’t just the chocolate—it’s the balance. Sweet chocolate, rich caramel, and just enough flaky sea salt to cut through the richness so you don’t feel sick after eating two squares. I’ve made these for book clubs, office parties, and late-night cravings when I should be sleeping but can’t resist the pull of the oven. Every single time, they disappear before the plate is even clear. This is the recipe you’ll make on repeat because once you taste the difference between a grocery store box mix and this, you’ll never go back.
Why You’ll Love This Recipe
There are a lot of brownie recipes out there. But this one? It’s different. It’s the kind of dessert that starts a conversation. Here’s why these salted caramel brownies have taken over my kitchen (and my waistline):
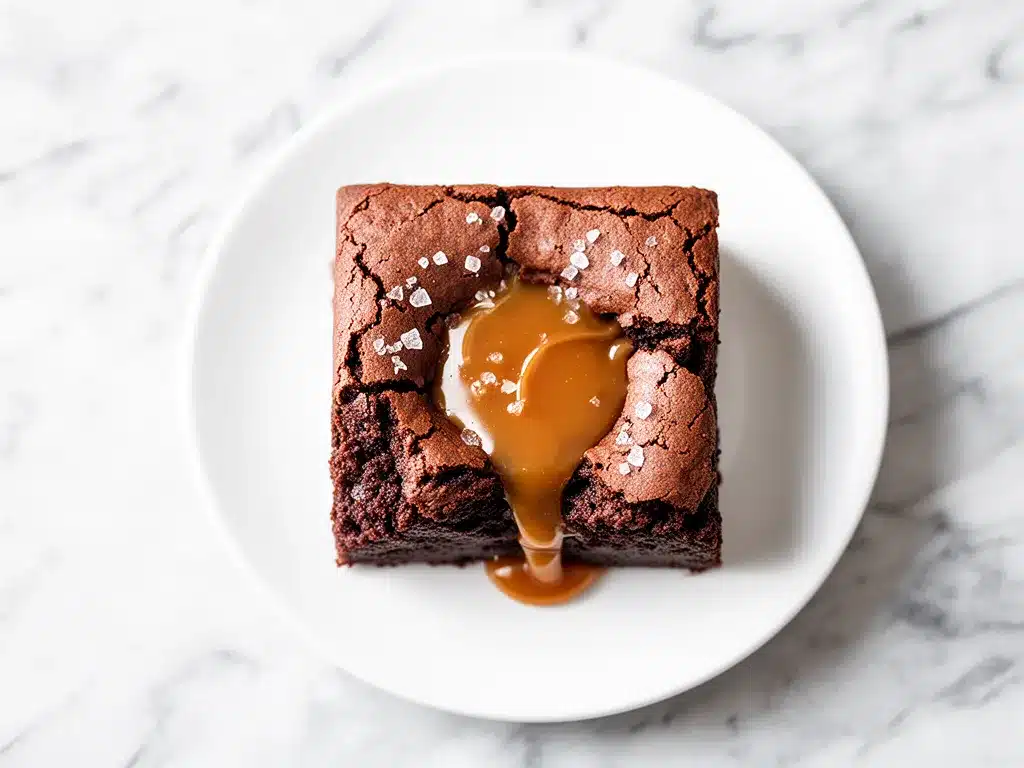
- That Crackle Top — You know that shiny, crinkly top on professional brownies? I’ve cracked the code. It’s all about whisking the eggs and sugar vigorously before adding the wet ingredients. It’s not magic; it’s chemistry. And it looks stunning.
- Gooey, Not Greasy — Many gooey brownies turn out oily or heavy. These have a dense, fudgy crumb that melts in your mouth. I’ve tested the fat ratios to ensure they stay moist without feeling like you’re eating a stick of butter.
- Caramel Perfection — I used to buy jarred caramel, but it always tasted artificial and too sweet. Making a quick stovetop caramel sauce takes ten minutes and tastes like heaven. It’s worth the extra effort, I promise.
- Salt is the Secret Weapon — Flaky sea salt on top isn’t just for aesthetics. It wakes up the chocolate flavor. Without it, the brownies taste flat. With it, they taste complex and addictive.
- Make-Ahead Friendly — These actually taste better the next day. The flavors meld together overnight. I often make them on Sunday and eat them throughout the week as my “healthy” breakfast treat (don’t tell my doctor).
This isn’t a complicated recipe. You don’t need a stand mixer or a degree in culinary arts. You just need patience and a love for chocolate. If you can melt butter and stir a pot, you can make these.
Ingredients You’ll Need
Before we dive into the method, let’s talk ingredients. This recipe relies on quality chocolate and simple pantry staples. You don’t need anything exotic, but you do need to be picky about the chocolate.
For the Brownies
Unsalted Butter (1 cup / 225g) — We use unsalted so we can control the salt level. Melted, not browned. If you brown the butter, it changes the flavor profile too much for this specific recipe.
Dark Chocolate Chips (1 cup / 170g) — I use semi-sweet chocolate chips, but 60-70% cocoa bars chopped up work even better. They melt more evenly. Avoid baking chips if you want that fudgy texture; they’re designed to hold their shape.
Granulated Sugar (1 ½ cups / 300g) — This provides the structure and the crackly top. Don’t reduce this, or you’ll get cakey brownies.
Brown Sugar (1 cup / 200g) — Packed. This adds moisture and that deep, molasses-like flavor that makes brownies taste “grown-up.”
Eggs (3 large) — Room temperature is best. They act as the binder. If you’re in a rush, just drop them in a bowl of warm water for five minutes.
Vanilla Extract (2 teaspoons) — Use real vanilla. The fake stuff tastes chemical and clashes with the high-quality chocolate.
All-Purpose Flour (1 cup / 125g) — Just regular flour. Don’t overmeasure it! Spoon it into the cup and level it off. Too much flour = dry brownies.
Cocoa Powder (¼ cup / 25g) — Unsweetened natural cocoa powder. Dutch-processed works too, but natural is standard for this recipe.
Salt (½ teaspoon) — To balance the sweetness.
For the Salted Caramel Swirl
Heavy Cream (½ cup / 120ml) — Full fat only. Half-and-half will make the caramel grainy.
Granulated Sugar (1 cup / 200g) — For the caramel base.
Unsalted Butter (4 tablespoons / 60g) — Adds richness to the sauce.
Flaky Sea Salt (½ teaspoon) — Maldon salt is my favorite because the flakes dissolve nicely but still provide a crunch.
Optional: Vanilla Extract (1 teaspoon) — Stir in after the sauce is done to prevent crystallization.
Pro Tip: I always keep a bag of flaky sea salt on hand. It’s cheap, lasts forever, and makes any dessert look professional. If you can’t find it, kosher salt works, but crush it finely first.
Equipment Needed
You don’t need fancy gadgets. Here’s what I actually use in my home kitchen:
9×9 Inch Baking Pan — I prefer this square pan over an 8×8 because it gives a better height-to-width ratio for gooey centers. Line it with parchment paper, leaving an overhang on the sides. This is non-negotiable for easy removal.
Medium Saucepan — For the caramel. Heavy-bottomed is best so it doesn’t burn. I use a stainless steel one from my college days.
Mixing Bowls — Two medium bowls. One for dry ingredients, one for wet.
Whisk — You need a good whisk for aerating the eggs and sugar. A spoon won’t cut it for that crackly top.
Wooden Spoon — For folding in the flour. Gentle hands only.
Offset Spatula — For spreading the batter and swirling the caramel. It gives you better control than a regular spatula.
Candy Thermometer — Optional but helpful for the caramel. If you don’t have one, watch the color closely. It should turn amber.
Whisk — Seriously, get a good whisk. It makes the difference between okay and amazing.
How to Make It: Step-by-Step
Alright, let’s get into the kitchen. This process is straightforward, but timing is everything. I’m going to walk you through exactly how I do it, including the little tricks I’ve picked up over the years.
Step 1: Prep Your Pan and Oven (5 minutes)
Preheat your oven to 350°F (175°C). This is crucial. If your oven is too cool, the brownies will spread too much and become cakey. Line your 9×9 inch pan with parchment paper. Leave a few inches of overhang on the long sides—this creates a “sling” so you can lift the brownies out later without digging them out with a spoon. Grease the parchment lightly with butter or cooking spray.
Step 2: Make the Salted Caramel Sauce (15 minutes)
Start with the caramel because it needs to cool slightly before you use it. In a medium saucepan, combine the sugar and ¼ cup of water. Do not stir! Just swirl the pan gently to wet the sugar. Turn the heat to medium-high. Let it boil. You’ll see it change color from clear to light amber to dark amber. This takes about 5-7 minutes. Watch it like a hawk. If it smokes, it’s burnt.
Once it’s a deep amber color, remove from heat immediately. Carefully pour in the heavy cream (it will bubble violently, so be careful). Stir in the butter and salt. Return to low heat and stir until smooth. Pour into a heatproof bowl and let it cool for 10 minutes. It should be thick but still pourable. If it hardens too much, microwave it for 10 seconds.
Step 3: Melt the Chocolate and Butter (5 minutes)
In a microwave-safe bowl, combine the chopped chocolate and melted butter. Microwave in 30-second intervals, stirring in between, until smooth. Alternatively, use a double boiler. Let this mixture cool for 5 minutes so it doesn’t cook the eggs when we add them.
Step 4: Whisk the Eggs and Sugars (3 minutes)
In a large bowl, whisk the eggs, granulated sugar, and brown sugar vigorously. This is the secret to the crackly top. Whisk for about 2-3 minutes until the mixture is pale and slightly frothy. The sugar will dissolve into the eggs. This step takes effort, but it’s worth it.
Step 5: Combine Wet and Dry (2 minutes)
Stir the cooled chocolate-butter mixture and vanilla into the egg-sugar mixture. Then, add the flour, cocoa powder, and salt. Fold gently with a wooden spoon just until no streaks of flour remain. Do not overmix! Overmixing develops gluten, and we want tender, fudgy brownies, not bread.
Step 6: Assemble and Swirl (5 minutes)
Pour half the brownie batter into the prepared pan. Spread it evenly. Drop spoonfuls of the cooled caramel sauce over the batter. Do not spread the caramel; let it sit in dollops. Pour the remaining batter on top and spread it to cover the caramel. Use a knife or skewer to gently swirl the caramel into the batter. Don’t over-swirl, or the caramel will mix completely and you’ll lose the gooey pockets.
Step 7: Bake and Cool (30-35 minutes baking + cooling)
Bake for 30-35 minutes. The edges should be set, but the center should still jiggle slightly when you shake the pan. A toothpick inserted in the center should come out with moist crumbs, not wet batter. If it’s clean, you’ve overbaked them.
Let them cool in the pan for at least 30 minutes. This is the hardest part. If you cut them hot, they’ll be a mess. Once cooled, lift them out using the parchment sling. Sprinkle with flaky sea salt immediately while the caramel is still slightly tacky. Slice into squares and enjoy.
Expert Tips & Tricks
Here’s everything I’ve learned from making these dozens of times. These tips will save you from my mistakes.
Don’t Overbake
This is the #1 mistake. Brownies continue to cook in the hot pan after you take them out. If they look done, they’re probably done. Pull them when the center is still soft. They’ll firm up as they cool.
Caramel Temperature
If your caramel is too hot when you add it to the batter, it will sink to the bottom. If it’s too cold, it won’t swirl properly. Aim for room temperature or slightly warm. If it hardens, just microwave it briefly to soften.
Quality Matters
Use good chocolate. Ghirardelli or Lindt are reliable. Cheap chocolate chips have stabilizers that prevent proper melting, leading to a grainy texture.
Chill Before Cutting
For clean cuts, chill the brownies in the fridge for an hour after they’ve cooled completely. The caramel hardens, and the slices stay neat. This is perfect for bringing to parties.
Storage
Store in an airtight container at room temperature for up to 3 days. The caramel keeps them moist longer than plain brownies.
Variations & Substitutions
Once you’ve mastered the basic version, here’s how you can mix it up. I’ve tried all of these.
Nutty Version
Add 1 cup of chopped walnuts or pecans to the batter. Toast the nuts first for extra flavor. This adds crunch and balances the gooeyness.
White Chocolate Swirl
Swap the dark chocolate chips for white chocolate chips. It makes the brownies sweeter and more like a caramel brownie.
Espresso Kick
Add 1 tablespoon of instant espresso powder to the dry ingredients. It enhances the chocolate flavor without making it taste like coffee.
Gluten-Free
Use a 1:1 gluten-free flour blend. The texture might be slightly more delicate, but it works well. Add an extra egg for structure.
Double Chocolate
Add ½ cup of mini chocolate chips to the batter along with the caramel swirl. For chocolate lovers who can’t get enough.
Serving & Storage
How to Serve
I usually serve these warm, straight from the microwave (30 seconds). They’re amazing with a scoop of vanilla ice cream or a dollop of whipped cream. But honestly, they’re best on their own because the caramel is so rich.
Side Dishes
These are rich, so pair them with something light. A simple green salad or fresh berries cut through the sweetness. I also like them with a cup of black coffee or a glass of cold milk.
Storage Instructions
Refrigerator: Store in an airtight container for up to 5 days. The caramel might harden in the fridge, so let them sit at room temperature for 15 minutes before eating.
Freezing: Yes, these freeze well! Wrap individual squares in plastic wrap and place in a freezer bag for up to 3 months. Thaw at room temperature. The texture holds up surprisingly well.
Reheating
Microwave for 15-20 seconds to soften the caramel. Don’t overdo it, or the brownie becomes a soup.
Nutrition Information
I’m not a nutritionist, but here’s the breakdown if you’re tracking. Keep in mind, these are dense with sugar and fat, so portion control is key.
Per Serving (based on 16 squares):
- Calories: 320
- Fat: 18g
- Carbs: 42g
- Sugar: 35g
- Protein: 4g
These are definitely a treat. If you want to lighten them up, try using less sugar in the caramel or swapping half the butter for applesauce (though this changes the texture). But for pure indulgence? These are worth every calorie.
Final Thoughts
So that’s my go-to gooey salted caramel brownies! I’ve probably talked your ear off at this point, but when you make a recipe this often, you have a lot to say about it. These brownies have saved my social life. They’re my answer to “I brought dessert!” when I’m tired, don’t want to buy anything store-bought, and still want to impress everyone.
Make it yours! Try different nuts, different chocolates, or different salts. The best recipes are the ones you adapt to your family’s tastes. If you make these, drop a comment and let me know what you think! I love hearing how recipes turn out in your kitchen. And if something doesn’t work, tell me that too—I’m here to help troubleshoot.
Happy baking! And I hope your kitchen smells half as good as mine does right now.
Frequently Asked Questions
Can I use milk chocolate instead of dark chocolate?
You can, but the brownies will be sweeter and less intense. I recommend sticking with semi-sweet or dark chocolate to balance the sweetness of the caramel. If you use milk chocolate, reduce the sugar in the batter by ¼ cup.
Why did my caramel seize up?
Caramel seizes when water gets into the sugar while it’s melting. Make sure your saucepan is completely dry before starting. Also, when adding cream, do it slowly and off the heat. If it seizes, add a little more warm cream and whisk vigorously to bring it back together.
Can I make these ahead for a party?
Absolutely. In fact, they’re better made ahead. Make the brownies 1-2 days in advance. Store them in an airtight container. Bring them to room temperature before serving. This saves you stress on the day of the party.
Why are my brownies cakey instead of fudgy?
This usually happens if you use too much flour or bake them too long. Measure your flour carefully, and pull the brownies out when the center is still slightly jiggly. Also, ensure you’re using melted chocolate, not just chips, for that fudgy texture.
Can I use store-bought caramel?
You can, but homemade caramel tastes infinitely better. If you’re short on time, buy a high-quality store-bought caramel sauce (like Smucker’s or a local brand) and warm it up before swirling. Avoid the hard caramels meant for chewing.
How do I get that crackly top?
Whisk the eggs and sugars vigorously for 2-3 minutes until pale and frothy. This incorporates air and dissolves the sugar, which creates the shiny, crinkly crust. Don’t skip this step!
Pin This Recipe!
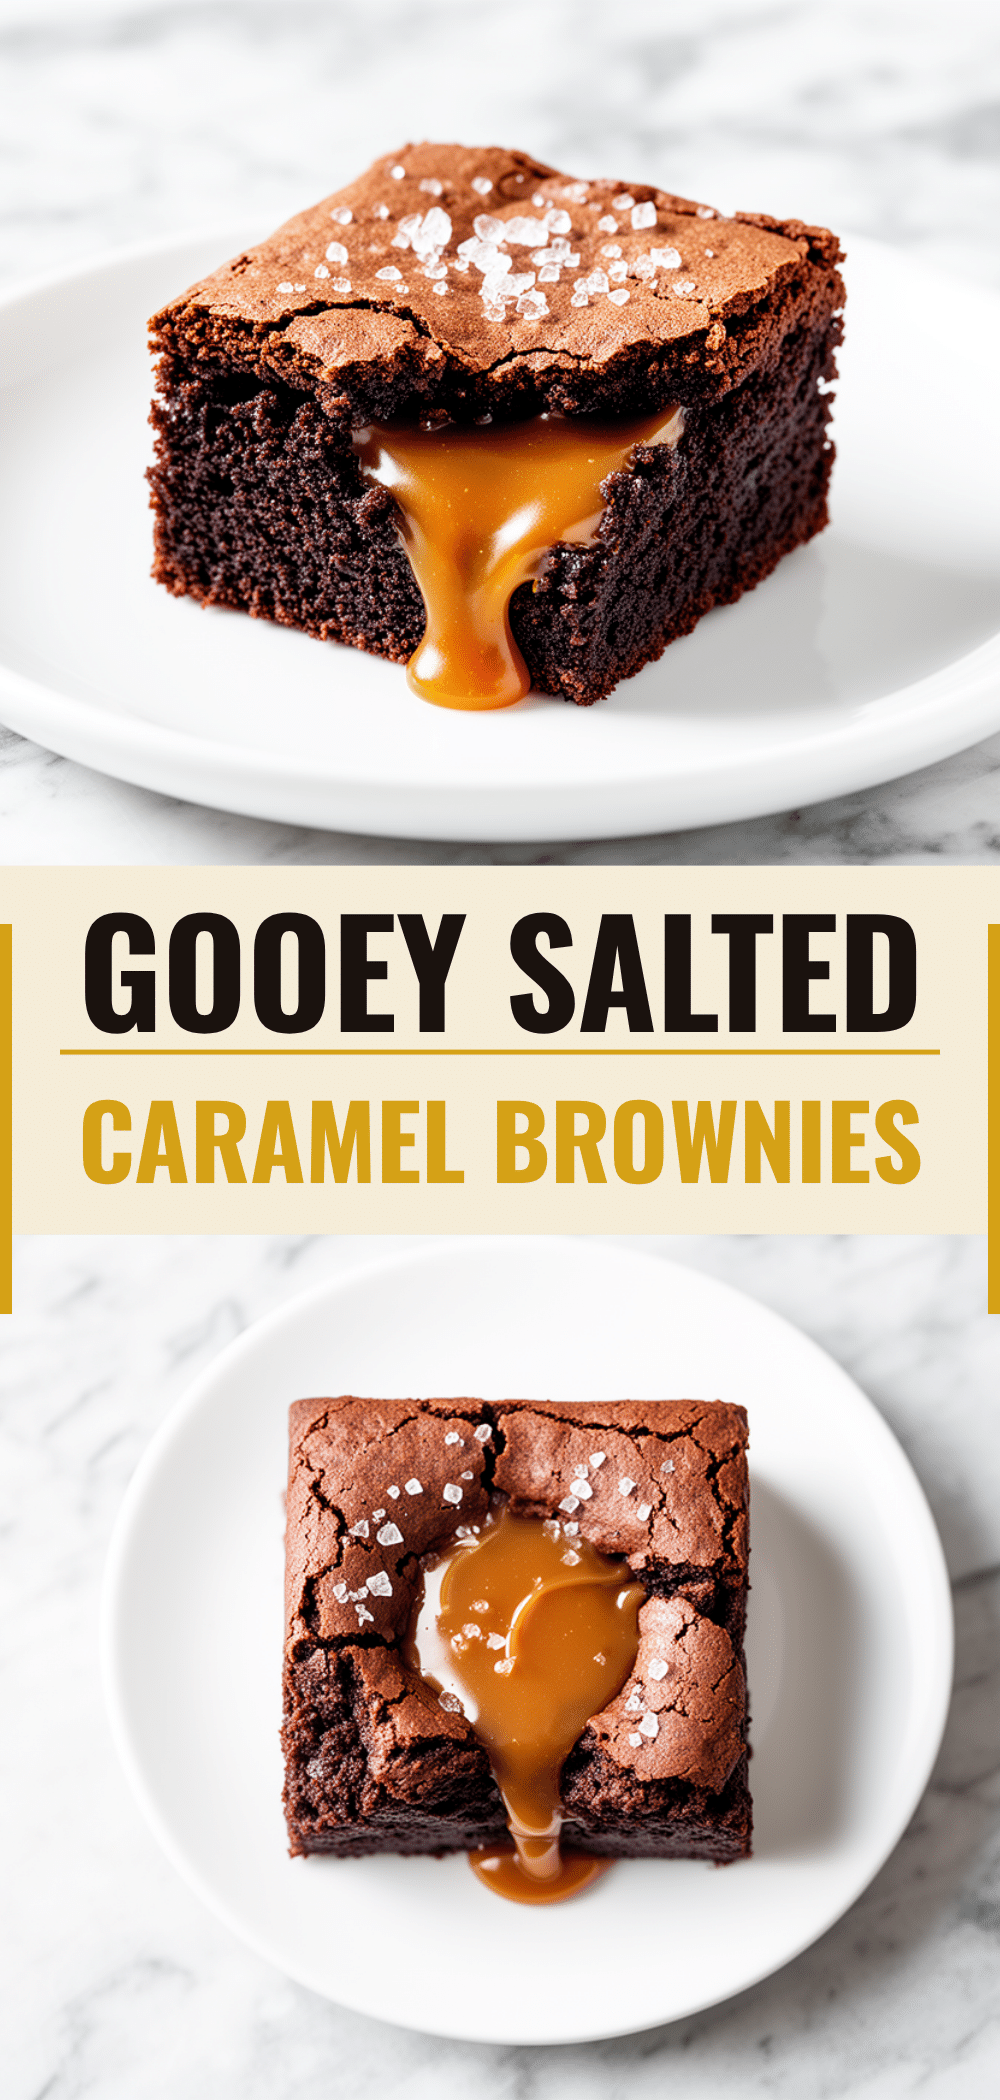
Gooey Salted Caramel Brownies: Best Easy Dessert
- Total Time: 55 minutes
- Yield: 16 servings 1x
Description
These gooey salted caramel brownies feature a crackly top, fudgy center, and rich homemade caramel swirl. They are easier to make than they look and taste better than bakery versions.
Ingredients
- 1 cup (225g) unsalted butter, melted
- 1 cup (170g) semi-sweet dark chocolate chips or chopped chocolate
- 1 ½ cups (300g) granulated sugar
- 1 cup (200g) packed brown sugar
- 3 large eggs, room temperature
- 2 teaspoons vanilla extract
- 1 cup (125g) all-purpose flour
- ¼ cup (25g) unsweetened cocoa powder
- ½ teaspoon salt
- For the Caramel: 1 cup (200g) granulated sugar
- For the Caramel: ¼ cup water
- For the Caramel: ½ cup (120ml) heavy cream
- For the Caramel: 4 tablespoons (60g) unsalted butter
- For the Caramel: ½ teaspoon flaky sea salt
- For the Caramel: 1 teaspoon vanilla extract (optional)
- Flaky sea salt for topping
Instructions
- Preheat oven to 350°F (175°C). Line a 9×9 inch baking pan with parchment paper, leaving an overhang on the sides, and grease lightly.
- Make the caramel: In a medium saucepan, combine sugar and ¼ cup water. Swirl to wet sugar (do not stir). Boil over medium-high heat until deep amber color (5-7 minutes).
- Remove caramel from heat. Carefully stir in heavy cream, butter, and salt. Return to low heat until smooth. Pour into a bowl and cool for 10 minutes.
- Melt chocolate and butter together in a microwave-safe bowl or double boiler. Let cool for 5 minutes.
- In a large bowl, whisk eggs, granulated sugar, and brown sugar vigorously for 2-3 minutes until pale and frothy.
- Stir the cooled chocolate-butter mixture and vanilla into the egg mixture. Add flour, cocoa powder, and salt. Fold gently until just combined.
- Pour half the batter into the pan. Drop spoonfuls of cooled caramel over the batter. Top with remaining batter and swirl gently with a knife.
- Bake for 30-35 minutes until edges are set but center jiggles slightly. Cool in pan for at least 30 minutes.
- Lift brownies out using parchment sling. Sprinkle with flaky sea salt while still tacky. Slice into squares.
Notes
Do not overbake; brownies continue to cook in the hot pan. For clean cuts, chill brownies in the fridge for an hour after cooling. Store in an airtight container at room temperature for up to 3 days or freeze for up to 3 months.
- Prep Time: 20 minutes
- Cook Time: 35 minutes
- Category: Dessert
- Cuisine: American
Nutrition
- Serving Size: 1 square
- Calories: 320
- Sugar: 35
- Sodium: 150
- Fat: 18
- Saturated Fat: 10
- Carbohydrates: 42
- Fiber: 2
- Protein: 4
Keywords: brownies, salted caramel, dessert, chocolate, homemade caramel, fudgy brownies, easy baking



