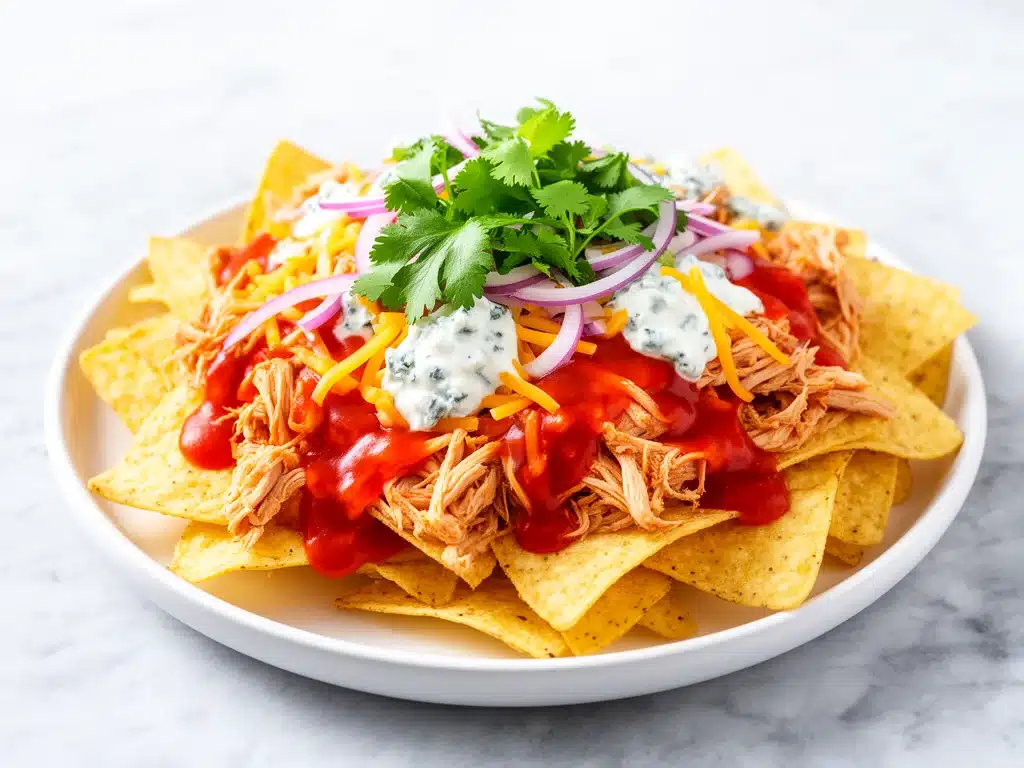
It was 2014, and I was standing in a freezing parking lot in Ohio, holding a paper plate that was basically just a mess of cheese and regret. I had tried to make “gourmet” nachos for a college tailgate, using thin tortilla chips that turned into soggy cardboard the second the warm cheese hit them. My friends were eating cold chicken nuggets from a bag because they had better luck. I looked around at the other tailgates—smells of smoke, laughter, and that one person who always brings the amazing platter—and I knew I needed a solution. I didn’t just want nachos; I wanted nachos that could survive a football game without falling apart.
That night, I went home and started testing. And testing. And testing. I burned cheese, I overcooked chicken, and I accidentally made a dip instead of a snack about four times. But eventually, I cracked the code. The secret isn’t just the ingredients; it’s the layering. It’s the balance of crisp, gooey, spicy, and creamy. It’s the kind of dish that brings people together, whether you’re in a stadium, your living room, or your backyard with a grill.
These Tailgate Loaded Buffalo Chicken Nachos are the result of that obsession. They’re crispy, they’re spicy, they’re creamy, and they’re ridiculously easy to make in batches. I’ve made them for Super Bowl parties, family reunions, and lazy Sunday afternoons when I don’t want to cook a full meal but still want something that feels special. If you’ve ever struggled with sad, soggy party food, this recipe is your new best friend. It’s hands-down the best way to feed a crowd without spending hours in the kitchen.
Why You’ll Love This Recipe
There are a lot of nacho recipes out there, but this one is different. It’s not just a pile of toppings on a single layer of chips. It’s a structured, flavor-packed dish that actually holds up. Here’s why this Tailgate Loaded Buffalo Chicken Nachos recipe has become my go-to for any game day:
- Actually Crispy — I’ve tried every method, and the double-layer bake is the key. The chips stay crunchy even after you add the hot cheese and sauce. No sogginess allowed.
- Spicy and Creamy Balance — The buffalo chicken brings the heat, but the ranch and cheddar bring the cool comfort. It’s the perfect flavor profile for a crowd that likes variety.
- Make-Ahead Friendly — You can prep the chicken and sauce hours before the game starts. All you do is assemble and bake when guests arrive. Less stress, more watching.
- Feeds a Crowd — This recipe makes enough for 8-10 people as a starter, or 6 as a main. Perfect for tailgates, parties, or just a big family dinner.
- Customizable Heat Level — Too spicy? Use mild sauce. Want it on fire? Use hot sauce. You control the spice, not the recipe.
This is my answer to “what should we bring to the party?” when I want to impress but keep it simple. It’s reliable, delicious, and always disappears fast.
Ingredients You’ll Need
Here’s the best part: you probably have most of this already. I’m particular about three ingredients here—the chips, the cheese, and the sauce—and I’ll tell you exactly why.
For the Buffalo Chicken Filling
- Chicken Breast (2 large, about 1.5 lbs / 680g) — I use breast because it’s lean and easy to shred. Thighs work too if you prefer juicier meat, but breast shreds better. Poach it or bake it until cooked through, then shred with two forks.
- Buffalo Sauce (½ cup / 120ml) — Frank’s RedHot is the classic choice. It’s tangy and spicy, not just hot. If you like it milder, mix half buffalo sauce with half ranch. For extra heat, add a teaspoon of cayenne.
- Butter (2 tablespoons / 30g) — Unsalted butter helps emulsify the sauce and gives it that rich, restaurant-quality mouthfeel. Don’t skip it.
For the Nacho Assembly
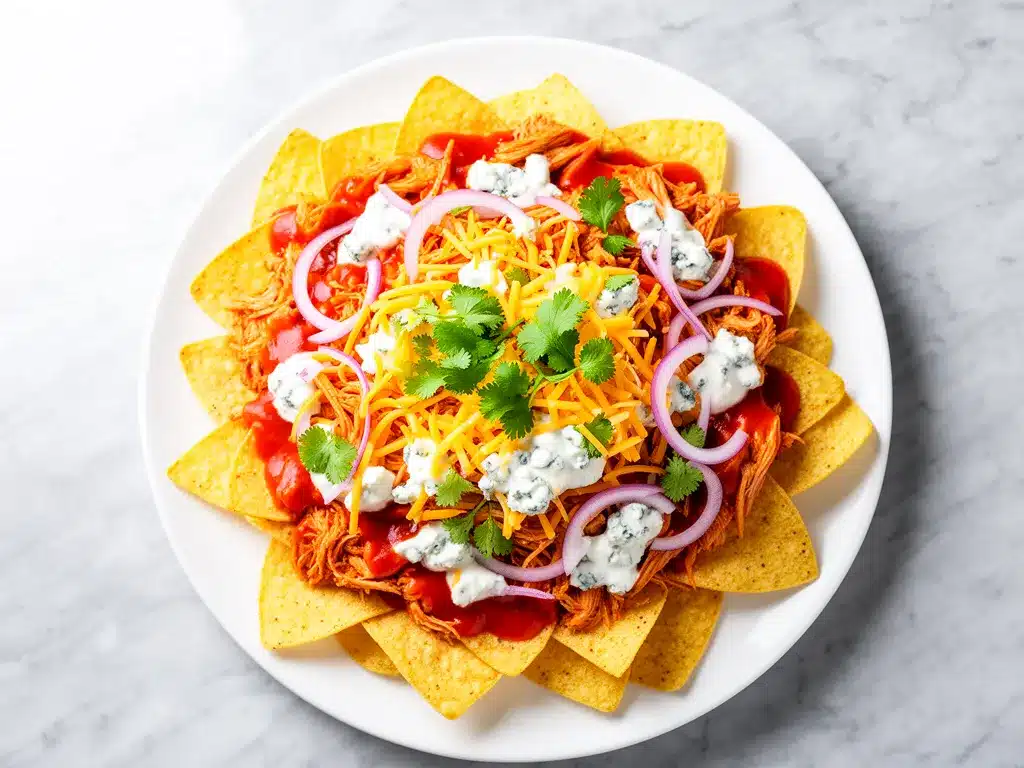
- Tortilla Chips (2 large bags, about 24 oz / 680g total) — Use sturdy, restaurant-style chips. They hold up better than thin, fragile ones. I buy the big family-size bags to ensure I have enough for two layers.
- Cheddar Cheese (3 cups / 300g, shredded) — Block cheddar melts better than pre-shredded. Pre-shredded has anti-caking agents that make the sauce grainy. Grate your own—it takes 5 minutes and makes a huge difference.
- Mozzarella Cheese (1 cup / 100g, shredded) — I add mozzarella for that stretchy, gooey texture. It balances the sharp cheddar. Use low-moisture mozzarella for best melting.
For the Toppings & Garnish
- Ranch Dressing (½ cup / 120ml) — Creamy ranch is essential for cooling down the buffalo heat. I use a store-bought creamy ranch for convenience, but homemade works too.
- Green Onions (4 stalks, sliced) — Adds freshness and crunch. Don’t skip the green parts; they look beautiful and taste mild.
- Cilantro (¼ cup, chopped) — Optional, but adds a nice herbal note. If you hate cilantro, skip it or use parsley.
- Jalapeños (1-2, sliced) — For extra heat and crunch. Fresh is best, but pickled works if you want a tangier bite.
- Tomatoes (1 medium, diced) — Adds juiciness and color. I use Roma tomatoes because they’re less watery than beefsteak.
Optional Add-ins
- Black Beans (1 can, drained) — Adds protein and bulk. Great for stretching the recipe.
- Corn (1 cup, canned or fresh) — Sweet corn balances the spice nicely.
- Bacon Bits (½ cup, crumbled) — For extra smokiness. I use real bacon, not the synthetic stuff.
Equipment Needed
You don’t need fancy equipment for this. Here’s what I actually use:
- Large Baking Sheet or Sheet Pan — I use a rimmed baking sheet. It needs to be big enough to hold two layers of chips without crowding. If you have a large oven-safe skillet, that works too.
- Medium Saucepan — For heating the buffalo sauce and butter. Non-stick is easiest for cleanup.
- Two Forks — For shredding the chicken. Or a stand mixer with a paddle attachment if you’re feeling fancy.
- Box Grater — For grating the cheese from blocks. Yes, it’s extra work, but it’s worth it.
- Large Mixing Bowl — For tossing the chicken with the sauce.
- Sharp Knife and Cutting Board — For chopping veggies and slicing jalapeños.
How to Make It: Step-by-Step
Alright, let’s make this! I’m walking you through exactly how I do it, including the little tricks I’ve picked up.
Step 1: Prepare the Chicken (10 minutes)
Start by cooking your chicken. I usually poach it: place chicken breasts in a pot, cover with water, bring to a boil, then reduce heat and simmer for 12-15 minutes until internal temperature reaches 165°F (74°C). Let it cool slightly, then shred with two forks. Alternatively, use rotisserie chicken to save time—I do this when I’m in a rush. Place shredded chicken in a bowl.
Step 2: Make the Buffalo Sauce (5 minutes)
In a small saucepan over medium heat, combine the buffalo sauce and butter. Whisk until the butter melts and the sauce is smooth and combined. Taste it. If it’s too spicy, add a splash of ranch or sour cream. If it’s too mild, add more buffalo sauce. Pour this sauce over the shredded chicken and toss until every piece is coated. Set aside.
Step 3: First Layer of Chips (2 minutes)
Preheat your oven to 375°F (190°C). Line a large baking sheet with parchment paper. Spread half of the tortilla chips in a single layer on the sheet. Don’t overlap them too much; you want even baking.
Step 4: First Layer of Cheese and Chicken (3 minutes)
Sprinkle half of the cheddar and mozzarella cheese over the chips. Then, scatter half of the buffalo chicken over the cheese. The cheese acts as a glue, helping the chicken stick to the chips so you don’t lose toppings when you lift a nacho.
Step 5: Second Layer of Chips (2 minutes)
Add the remaining chips in a second layer. Try to keep them relatively even so the nachos bake uniformly. If you have gaps, fill them in with more chips.
Step 6: Second Layer of Cheese and Chicken (3 minutes)
Top with the remaining cheese and buffalo chicken. Make sure the cheese is distributed evenly so every bite has that gooey melt.
Step 7: Bake (10-12 minutes)
Place the baking sheet in the oven and bake for 10-12 minutes, or until the cheese is bubbly and golden brown. Keep an eye on it—oven temperatures vary. You want the chips to be crispy and the cheese to be melted, not burnt.
Step 8: Add Fresh Toppings (2 minutes)
Remove from the oven and let cool for 2 minutes. This is crucial—it gives the cheese time to set slightly so it doesn’t slide off. Then, drizzle with ranch dressing, sprinkle with green onions, cilantro, jalapeños, and diced tomatoes. Serve immediately while hot and crispy.
Expert Tips & Tricks
Here’s everything I’ve learned from making this dozens of times. These tips will save you from my mistakes.
The Double-Layer Method
This is the #1 tip. Single-layer nachos get soggy fast. The double layer creates a barrier that keeps the bottom chips crisp. It also makes the presentation look much more impressive. Trust me, it’s worth the extra minute of assembly.
Don’t Skimp on Cheese
Cheese is the glue. If you don’t use enough, your toppings will slide off. I use a 3:1 ratio of cheese to chips by volume. It sounds like a lot, but it’s necessary. Use a mix of cheddar and mozzarella for flavor and stretch.
Shred Your Own Cheese
Pre-shredded cheese contains cellulose, which prevents clumping but also prevents smooth melting. Your nachos will be grainy and weird. Grate a block of cheddar—it takes 3 minutes and makes the sauce silky.
Bake on Parchment Paper
Always line your baking sheet. Cheese melts and sticks. Parchment paper makes cleanup instant. You don’t want to scrub a pan after a party.
Control the Spice
Buffalo sauce varies by brand. Frank’s is standard, but others are hotter. Taste your sauce before adding it to the chicken. If you’re feeding kids or spice-averse guests, mix half buffalo sauce with half ranch or blue cheese dressing.
Common Mistakes (and how to avoid them)
- Mistake: Soggy Chips — Fix: Don’t add fresh toppings (tomatoes, jalapeños) before baking. Add them after. Also, don’t overcrowd the pan.
- Mistake: Burnt Cheese — Fix: Watch the oven closely. Cheese burns faster than you think. If it’s browning too fast, cover loosely with foil.
- Mistake: Dry Chicken — Fix: Don’t overcook the chicken before shredding. Poach it just until done, then shred while still warm.
Variations & Substitutions
Once you’ve nailed the basic version, here’s how you can mix it up. I’ve tried all of these.
Blue Cheese Buffalo Nachos
Swap the ranch drizzle for blue cheese dressing. Classic buffalo wing flavor. Some people prefer this to ranch—it’s tangier and stronger.
Vegetarian Buffalo Nachos
Replace the chicken with roasted cauliflower florets or chickpeas. Toss them in the buffalo sauce just like the chicken. I made this for a vegetarian friend, and even the meat-eaters loved it.
Spicy Jalapeño Nachos
Add diced jalapeños to the cheese layer before baking. For extra heat, use pepper jack cheese instead of mozzarella.
BBQ Buffalo Nachos
Mix half buffalo sauce with half BBQ sauce for a sweet-and-spicy twist. Top with red onions and cilantro. This is my husband’s favorite variation.
Dietary Modifications
- Gluten-Free — Use certified gluten-free tortilla chips. Everything else is naturally gluten-free.
- Dairy-Free — Use dairy-free cheese shreds (they melt differently, so add extra), dairy-free butter, and dairy-free ranch. It’s not the same, but it’s possible.
- Lower-Calorie — Use low-fat cheese and light ranch. You’ll lose some richness, but it’s lighter.
Serving & Storage
How to Serve
I serve these straight from the baking sheet at the party. It’s rustic and easy for guests to grab. Put out small plates and let everyone dig in. Pair with cold drinks—beer, soda, or iced tea.
Side Dishes
- Coleslaw — Adds crunch and acidity.
- French Fries — For carb lovers.
- Simple Green Salad — To balance the richness.
Storage Instructions
Refrigerator: Store leftovers in an airtight container for up to 2 days. The chips will soften, so reheat in the oven or toaster oven to crisp them back up. Microwave makes them soggy.
Freezing: I don’t recommend freezing nachos. The chips get mushy when thawed. Make them fresh for best results.
Reheating: Preheat oven to 350°F (175°C). Spread nachos on a baking sheet and bake for 5-7 minutes until heated through. Don’t microwave unless you’re in a huge rush.
Nutrition Information
I’m not a nutritionist, but here’s the breakdown if you’re tracking. Per serving (based on 10 servings):
| Nutrient | Amount |
|---|---|
| Calories | 380 |
| Protein | 22g |
| Carbs | 35g |
| Fat | 18g |
| Sodium | 650mg |
Look, this is comfort food. It’s not a diet recipe. But it’s way better than takeout, and you control the ingredients. When I want to make it lighter, I use less cheese and more chicken. But usually? I just eat a reasonable portion and enjoy it.
Final Thoughts
So that’s my go-to Tailgate Loaded Buffalo Chicken Nachos! I’ve probably talked your ear off at this point, but when you make a recipe this often, you have a lot to say about it.
This has saved game days more times than I can count. It’s my answer to “what should I bring?” when I want to impress but keep it simple. My friends are happy, my family is happy, and I’m happy because I’m not stressed about cooking.
Make it yours! Try different add-ins, swap in your favorite vegetables, adjust the spice level. The best recipes are the ones you adapt to your tastes.
If you make this, drop a comment and let me know what you think! I love hearing how recipes turn out in your kitchen. And if something doesn’t work, tell me that too—I’m here to help troubleshoot.
Happy cooking! And I hope your kitchen smells half as good as mine does right now.
Frequently Asked Questions
Can I use rotisserie chicken?
Absolutely! In fact, it’s my preferred method for busy weeknights. Just shred the meat and toss it in the buffalo sauce. It saves 20 minutes of cooking time.
Why did my nachos get soggy?
Usually means you added fresh toppings before baking, or you didn’t use enough cheese to create a barrier. Always add wet toppings (tomatoes, jalapeños) after baking. Also, don’t overcrowd the chips.
Can I make this ahead of time?
You can prep the chicken and sauce up to 2 days ahead. Assemble the nachos right before baking. If you assemble too early, the chips will absorb moisture and get soft.
What cheese melts best for nachos?
A mix of cheddar and mozzarella is best. Cheddar has flavor, mozzarella has stretch. Avoid pre-shredded cheese—it doesn’t melt smoothly.
Can I freeze leftover nachos?
I don’t recommend it. The chips lose their crunch when frozen and thawed. They’re best fresh. If you must freeze, store in an airtight container and reheat in the oven, not the microwave.
Is there a gluten-free option?
Yes! Just use certified gluten-free tortilla chips. Everything else in this recipe is naturally gluten-free. Check your sauce labels to be sure.
Can I make this in a slow cooker?
Not really. Slow cookers make nachos soggy because of the steam. Bake them in the oven for the best texture. If you need a slow cooker option, try my Bacon Cheddar Ranch Pasta Salad for a no-cook party dish instead.
Pin This Recipe!
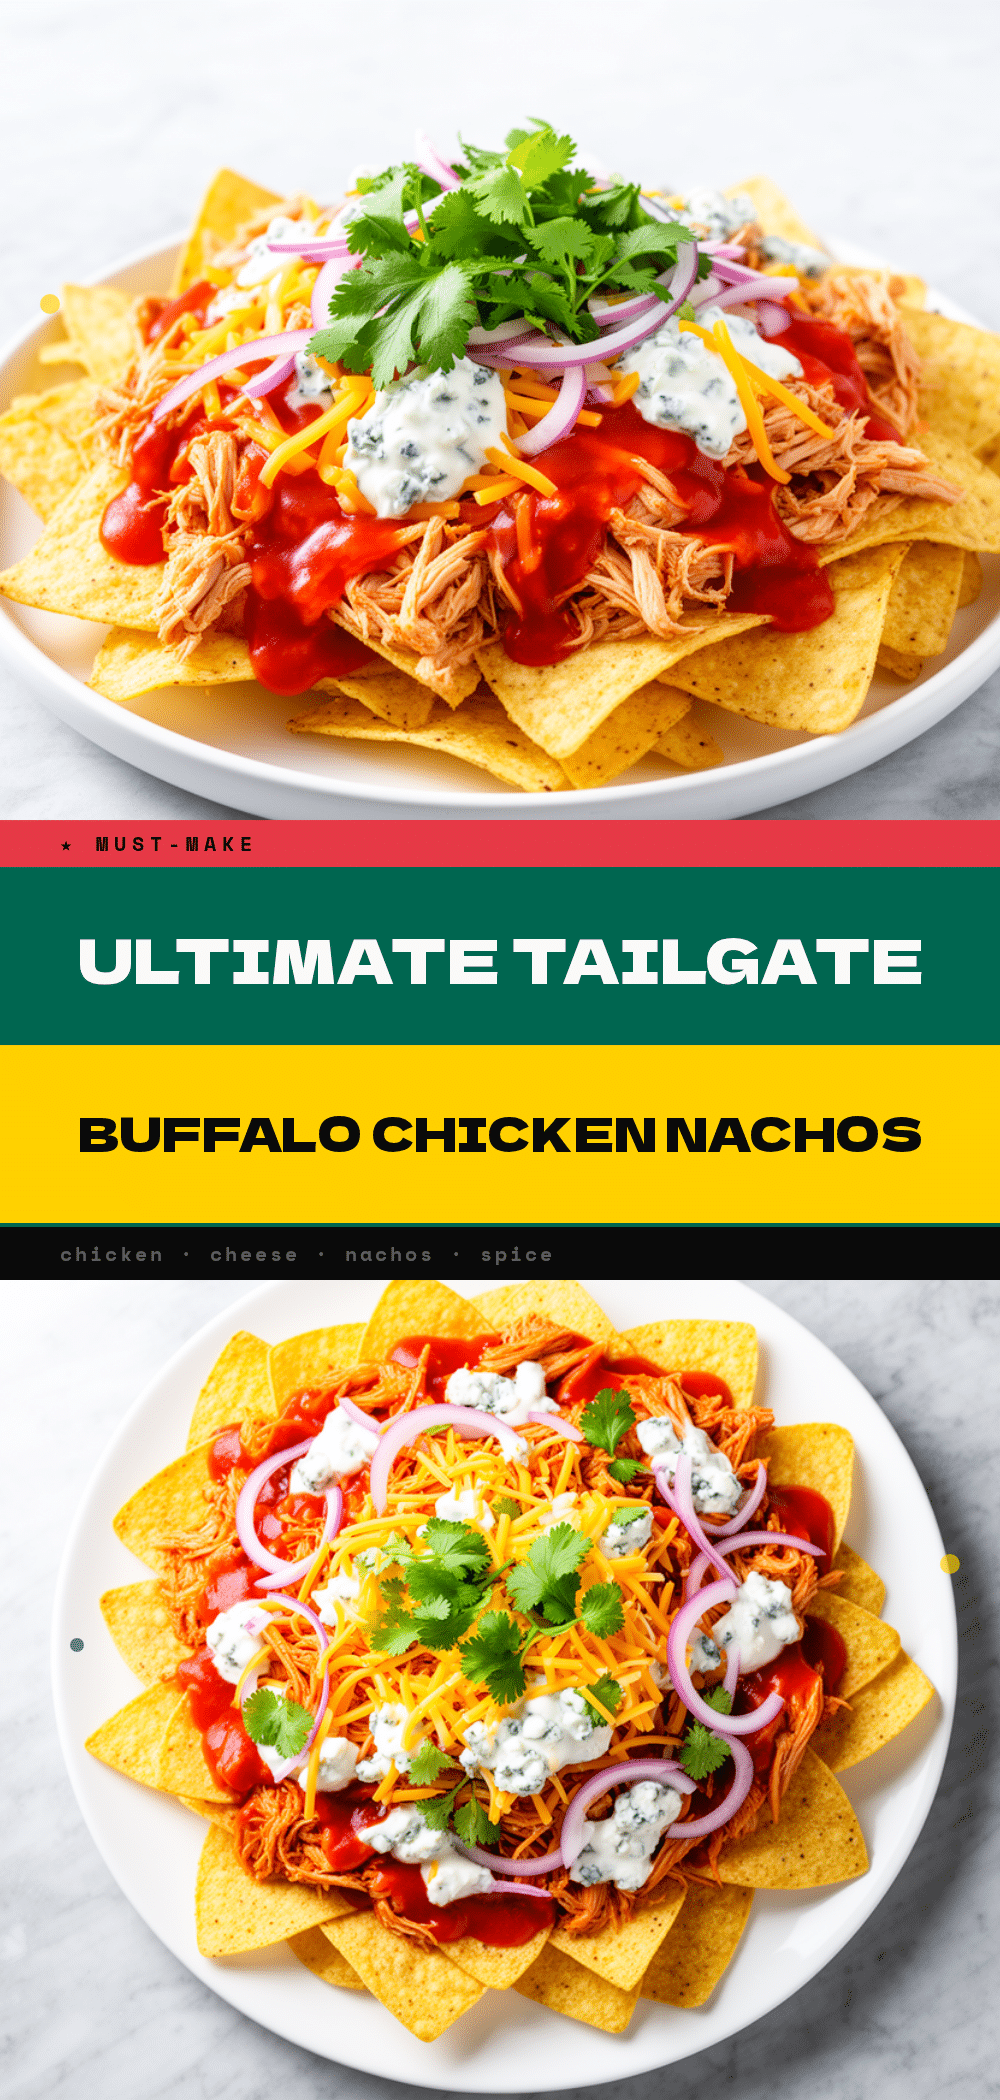
Tailgate Loaded Buffalo Chicken Nachos
- Total Time: 35 minutes
- Yield: 8-10 servings 1x
Description
Crispy, spicy, and creamy buffalo chicken nachos designed for game day. This double-layered recipe ensures crunchy chips and perfectly melted cheese, making it ideal for feeding a crowd.
Ingredients
- 2 large chicken breasts (about 1.5 lbs / 680g)
- ½ cup (120ml) Buffalo Sauce (e.g., Frank’s RedHot)
- 2 tablespoons (30g) unsalted butter
- 2 large bags tortilla chips (about 24 oz / 680g total)
- 3 cups (300g) shredded cheddar cheese
- 1 cup (100g) shredded low-moisture mozzarella cheese
- ½ cup (120ml) Ranch Dressing
- 4 stalks green onions, sliced
- ¼ cup chopped cilantro (optional)
- 1–2 jalapeños, sliced
- 1 medium Roma tomato, diced
- Optional: 1 can black beans (drained), 1 cup corn, ½ cup crumbled bacon
Instructions
- Preheat oven to 375°F (190°C). Line a large rimmed baking sheet with parchment paper.
- Poach chicken breasts in water for 12-15 minutes until internal temperature reaches 165°F (74°C). Let cool slightly and shred with two forks.
- In a small saucepan over medium heat, whisk buffalo sauce and butter until smooth. Pour over shredded chicken and toss to coat.
- Spread half of the tortilla chips in a single layer on the prepared baking sheet.
- Sprinkle half of the cheddar and mozzarella cheese over the chips, then scatter half of the buffalo chicken over the cheese.
- Add the remaining chips in a second layer.
- Top with the remaining cheese and buffalo chicken.
- Bake for 10-12 minutes until cheese is bubbly and golden brown.
- Remove from oven and let cool for 2 minutes.
- Drizzle with ranch dressing and sprinkle with green onions, cilantro, jalapeños, and diced tomatoes. Serve immediately.
Notes
For best results, shred your own cheese to avoid anti-caking agents that prevent smooth melting. Use sturdy, restaurant-style tortilla chips to prevent sogginess. Add fresh toppings like tomatoes and jalapeños only after baking to maintain crispness. The double-layer method helps keep the bottom chips crunchy.
- Prep Time: 15 minutes
- Cook Time: 20 minutes
- Category: Appetizer
- Cuisine: American
Nutrition
- Serving Size: Approximately 10 ser
- Calories: 380
- Sugar: 3
- Sodium: 650
- Fat: 18
- Saturated Fat: 8
- Carbohydrates: 35
- Fiber: 2
- Protein: 22
Keywords: buffalo chicken nachos, game day food, tailgate recipes, spicy nachos, crowd pleaser, easy party food



