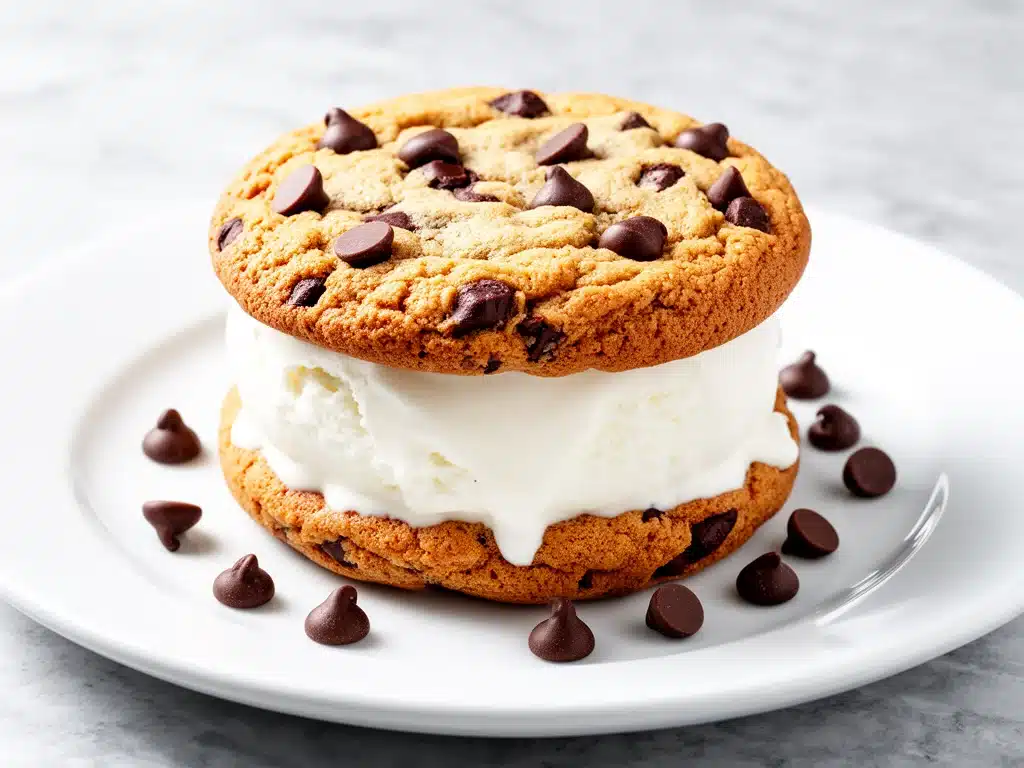
Last year, I stood in my kitchen at 9 PM on Labor Day, staring at a pile of burnt cookies and a tub of ice cream that was slowly turning into soup. I had tried to make these fancy ice cream sandwiches three times that afternoon. Three times. The cookies were either raw in the middle or crunchy as rocks, and the ice cream was a melted mess on the counter. My kids were begging for dessert, my husband was asking if we were ordering pizza again, and I was one step away from admitting defeat.
But then I stopped. I took a breath, remembered that baking is supposed to be fun, and decided to simplify everything. I swapped the complicated laminated dough for a simple, chewy chocolate chip cookie base. I used a simple scoop-and-freeze method instead of trying to cut perfect squares. And you know what? They were incredible. Better than any bakery version I’ve ever bought. Better than the ice cream truck. Honestly, they were so good that this year, I’m making them before I even think about grilling the burgers.
These Labor Day Chocolate Chip Cookie Ice Cream Sandwiches are the ultimate summer treat. They’re nostalgic, they’re ridiculously easy, and they taste like the best days of July condensed into one bite-sized package. If you’ve been searching for a dessert that’s better than takeout but doesn’t require a culinary degree, this is it. I’ve tested this recipe so many times now that I can make it with my eyes closed. Let me walk you through exactly how to get it right.
Why You’ll Love This Recipe
There are about ten reasons I keep making these, but here are the big ones. This isn’t just another cookie recipe; it’s a solution for when you want something special but don’t want to spend hours in the kitchen.
Stupid Simple — Seriously, if you can mix batter and scoop ice cream, you can make this. I’ve walked my teenage son through it over FaceTime while I was at work. No fancy techniques, no tempering chocolate, no intricate assembly. Just scoop, sandwich, freeze.
Lightning Fast — You might think freezing takes time, but the active work is less than 30 minutes. You’re mostly just waiting. I make this on weeknights when I get home late, and it’s still ready for the weekend. The cookies bake in 12 minutes. The assembly takes 10. The rest is just freezer time.
Texture Perfection — Most homemade versions end up with hard, icy ice cream or soggy cookies. Not these. By using a specific cookie thickness and letting them rest before sandwiching, you get that perfect chewy-crisp cookie exterior with creamy, smooth ice cream in the middle. It’s the kind of texture contrast that makes people close their eyes and sigh.
Crowd-Pleaser — I’ve served these to my vegetarian sister, my gluten-free neighbor (with a simple swap), and my I-only-eat-chicken dad (who actually asked for the recipe). Everyone loves them. They’re familiar enough to be comforting but fancy enough to feel like a treat.
Makes Amazing Leftovers — Actually, they taste better the next day. The cookies soften just slightly as the ice cream chills, creating a more cohesive sandwich. I deliberately make extra for lunch throughout the week. It’s my secret weapon for getting kids to eat dinner—promise them these after.
Budget-Smart — Feeds 8-10 people for under $15. That’s less than one meal at a dessert shop. And you control the quality. No weird stabilizers or artificial flavors. Just real butter, real chocolate chips, and real vanilla.
This is my go-to when I need dessert to just work. No complicated techniques, no weird ingredients, just reliable, delicious food that makes everyone happy. And honestly? It’s the perfect way to end the summer.
Ingredients You’ll Need
Here’s the best part: you probably have most of this already. This isn’t a recipe that requires a special trip to a specialty store. It’s pantry-friendly comfort food. I’m particular about three ingredients here, and I’ll tell you exactly why.
For the Cookies
Unsalted butter (1 cup / 226g, softened) — This is non-negotiable. Softened, not melted. Melted butter makes them flat and greasy. Softened butter makes them chewy. I take it out of the fridge 30 minutes before I start. If I’m lazy, I microwave it for 10 seconds at a time, but check it constantly. You want it soft enough to press your finger into, but not liquid.
Brown sugar (1 cup / 200g, packed) — This is what makes them chewy. I use a mix of light and dark brown sugar for depth, but light is fine too. Dark brown adds a molasses note that pairs beautifully with vanilla. Don’t skimp on the packing—loose sugar means less moisture and crispier cookies.
Granulated sugar (½ cup / 100g) — This helps with the spread and the slight crisp on the edges. It balances the sweetness of the brown sugar. I use regular white granulated, nothing fancy.
Eggs (2 large, room temperature) — Room temperature eggs emulsify better into the butter and sugar. Cold eggs can cause the mixture to separate. I usually crack them into a small bowl first to check for freshness, then let them sit on the counter while I measure the flour.
Vanilla extract (2 teaspoons) — Use real vanilla, not imitation. I know it’s expensive, but in a recipe with only 12 ingredients, the vanilla shines through. I use Nielsen-Massey or any good quality pure extract. It makes a huge difference in the flavor profile.
All-purpose flour (2¼ cups / 280g) — I spoon and level this. Scooping directly from the bag compacts the flour and leads to dry cookies. I always spoon it into the measuring cup and level it off with a knife. Consistency is key.
Baking soda (1 teaspoon) — Not baking powder. Baking soda helps them brown and spread. Make sure it’s fresh—if it’s older than 6 months, swap it out. Old baking soda means flat, dense cookies.
Salt (1 teaspoon) — Even though we’re using unsalted butter, the salt is crucial for balancing the sweetness. It enhances the chocolate flavor. Don’t skip it.
Chocolate chips (2 cups / 340g) — I use a mix of semi-sweet and milk chocolate chips. Semi-sweet keeps it from being too sweet, and milk chocolate adds creaminess. Nestlé Toll House is classic, but I’ve also used Ghirardelli with great results. The key is using enough—these need to be loaded.
For the Ice Cream
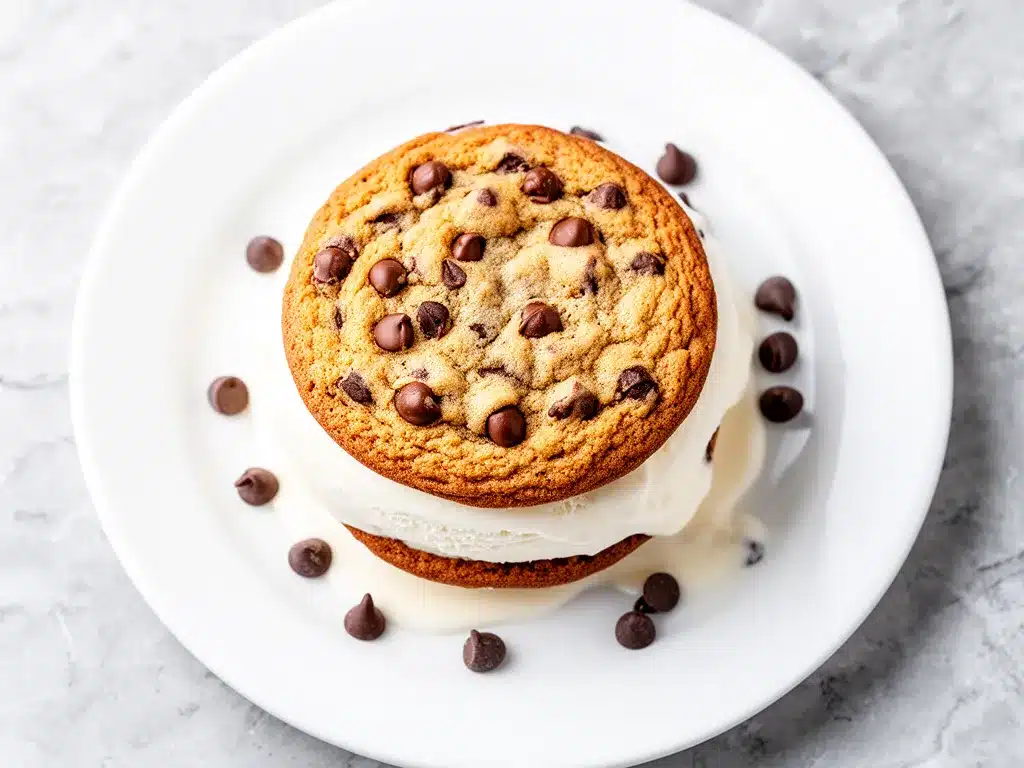
Vanilla ice cream (1 quart / 950ml) — Use a high-quality brand. Ben & Jerry’s, Häagen-Dazs, or even a good store brand. The ice cream is the star here, so don’t buy the cheapest stuff. It needs to be creamy and smooth. If you’re feeling fancy, use a different flavor, but vanilla is the classic choice.
Optional: Sprinkles or crushed cookies — For rolling the edges. I love rolling the sides in crushed chocolate chip cookies or rainbow sprinkles for that bakery look. It’s optional, but it adds a nice texture contrast.
Equipment Needed
You don’t need fancy equipment for this. Here’s what I actually use.
Large mixing bowls — One for wet ingredients, one for dry. I use two large glass bowls. They’re easy to clean and don’t slip around.
Electric mixer — Hand mixer or stand mixer. I prefer a stand mixer for the creaming process, but a hand mixer works fine. Just make sure you cream the butter and sugars for a full 3 minutes. That air is what gives the cookies lift.
Baking sheets — Two large sheet pans. I use non-stick or silicone-lined pans. Parchment paper is a lifesaver here. It prevents sticking and makes cleanup a breeze. I never bake these without parchment.
Cooling rack — Essential. You need to cool the cookies completely before assembling. If they’re even slightly warm, the ice cream will melt instantly. I use a wire rack so air circulates underneath.
Ice cream scoop — A standard #24 scoop (about 1/3 cup). This ensures uniform size. If you don’t have a scoop, use a tablespoon, but it’ll take longer to get even portions.
Plastic wrap — For wrapping the ice cream pucks. I use heavy-duty plastic wrap. It keeps the freezer burn away and makes it easy to handle the frozen discs.
Cheese knife or sharp knife — For trimming the cookies if needed. Sometimes the edges spread too much, and a little trim helps them fit together perfectly.
Freezer-safe container — A large plastic container or zip-top bag to store the finished sandwiches. I use a large Tupperware container with a tight lid.
How to Make It: Step-by-Step
Alright, let’s make this! I’m walking you through exactly how I do it, including the little tricks I’ve picked up over the years.
Step 1: Prep Your Kitchen (5 minutes)
Before you start, line two baking sheets with parchment paper. This is crucial. Parchment paper prevents sticking and ensures even baking. I also make sure my ice cream is soft enough to scoop but still frozen. If it’s too hard, let it sit on the counter for 10 minutes. If it’s too soft, put it back in the freezer for 15. You want it scoopable but not soup.
Step 2: Cream the Butter and Sugars (3-4 minutes)
In a large bowl, beat the softened butter, brown sugar, and granulated sugar together until light and fluffy. This takes about 3 minutes on medium-high speed. You want the mixture to pale in color and increase in volume. This step incorporates air, which helps the cookies rise and become chewy rather than dense. Scrape down the sides of the bowl with a spatula to ensure everything is mixed evenly.
Step 3: Add Eggs and Vanilla (1 minute)
Add the eggs one at a time, beating well after each addition. Then add the vanilla extract. Mix until just combined. Don’t overmix here. You just want the eggs incorporated. If you mix too much, you’ll develop too much gluten, and the cookies will be tough.
Step 4: Mix Dry Ingredients (1 minute)
In a separate bowl, whisk together the flour, baking soda, and salt. This ensures the leavening agent is evenly distributed. Then, gradually add the dry ingredients to the wet mixture. Mix on low speed until just combined. It’s okay if there are a few streaks of flour left. Overmixing at this stage is the number one mistake people make.
Step 5: Fold in Chocolate Chips (1 minute)
Use a spatula to fold in the chocolate chips. Be gentle. You want to distribute them evenly without crushing them. I usually do this by hand. It’s faster and gives you more control. You should see chocolate chips in every bite.
Step 6: Bake the Cookies (12-14 minutes)
Scoop tablespoon-sized portions of dough onto the prepared baking sheets, spacing them about 2 inches apart. They will spread. Bake at 350°F (175°C) for 12-14 minutes. The edges should be golden brown, but the centers should still look slightly soft and underdone. This is important. They will continue to cook on the hot baking sheet after you take them out. If you bake them until they’re firm in the center, they’ll be crunchy, not chewy.
Step 7: Cool Completely (30 minutes)
Let the cookies cool on the baking sheet for 5 minutes, then transfer them to a wire rack to cool completely. This is the most important step for assembly. If the cookies are even slightly warm, the ice cream will melt. I usually let them cool for a full 30 minutes. You can speed this up by putting them in the freezer for 10 minutes, but make sure they’re room temperature first.
Step 8: Form Ice Cream Pucks (10 minutes)
While the cookies cool, scoop the ice cream into balls. I use a 1/3 cup scoop for each puck. Place them on a parchment-lined baking sheet. Flatten them slightly with your hand or the back of a spoon to make them disc-shaped. This makes them easier to sandwich. Freeze these pucks for at least 1 hour, or until they’re hard. This prevents them from squishing when you press the cookies together.
Step 9: Assemble the Sandwiches (10 minutes)
Once the ice cream pucks are hard and the cookies are cool, it’s time to assemble. Take two cookies and place one ice cream puck on the flat side of one cookie. Press the second cookie on top, flat side down. Gently press down to secure the ice cream. If the ice cream starts to ooze out, that’s fine—it adds to the rustic look. If you want a neat edge, you can roll the sides in crushed cookies or sprinkles now.
Step 10: Freeze Until Set (2-4 hours)
Place the assembled sandwiches on a parchment-lined baking sheet and freeze for at least 2 hours, or until the ice cream is completely firm. This step binds everything together. If you try to eat them immediately, the ice cream will be too soft. For best results, freeze them for 4 hours or overnight. This ensures they hold their shape when you handle them.
Step 11: Store and Serve
Once firm, transfer the sandwiches to an airtight container or zip-top bag. Separate layers with parchment paper to prevent sticking. They’ll keep in the freezer for up to 2 weeks. When you’re ready to serve, let them sit on the counter for 2-3 minutes to soften slightly. This makes them easier to bite into. Serve immediately.
Expert Tips & Tricks
Here’s everything I’ve learned from making this dozens of times. These tips will save you from my mistakes.
Don’t Overbake the Cookies
This is the #1 rule. Underbaked is better than overbaked. The cookies should look soft in the center when you take them out. They’ll firm up as they cool. If you bake them until they’re hard, they’ll be like crackers, and the contrast with the ice cream won’t be as good.
Use Room Temperature Ingredients
I can’t stress this enough. Cold butter doesn’t cream properly. Cold eggs don’t emulsify. Room temperature ingredients ensure a smooth, consistent dough. I usually take everything out of the fridge in the morning and let it sit while I prep.
Chill the Ice Cream Pucks
Don’t skip this step. If the ice cream isn’t frozen solid, it will squish and leak when you press the cookies together. I freeze them for at least 1 hour, but 2 hours is better. Hard ice cream = clean sandwiches.
Work Quickly
Once you take the ice cream pucks out of the freezer, work fast. The ice cream starts to melt immediately. Have your cookies ready. Assemble one sandwich, put it on the tray, and repeat. Don’t assemble all the ice cream first and then go back to the cookies.
Trim the Edges
If your cookies spread too much, use a knife to trim the edges so they’re uniform. This helps them fit together neatly. It’s not necessary, but it looks more professional. I do this when I’m having guests over.
Flavor Variations
You don’t have to stick to vanilla ice cream. Try mint chocolate chip, strawberry, or even peanut butter. The cookie base is neutral enough to pair with almost anything. I’ve made peanut butter ice cream sandwiches with a hint of sea salt on top, and they were amazing.
Variations & Substitutions
Once you’ve nailed the basic version, here’s how you can mix it up. I’ve tried all of these.
Double Chocolate
Add ¼ cup cocoa powder to the dry ingredients. Use dark chocolate chips instead of semi-sweet. For the ice cream, use chocolate ice cream. It’s rich, intense, and perfect for chocolate lovers.
Snickerdoodle
Swap the vanilla extract for 1 teaspoon cinnamon sugar in the dough. Roll the cookies in cinnamon sugar before baking. Use cinnamon ice cream. It’s like a dessert version of the classic cookie.
Strawberry Shortcake
Use strawberry ice cream. Add a layer of fresh strawberries between the ice cream and the cookie. It’s fresh, fruity, and perfect for summer. I add a tiny bit of lemon zest to the cookie dough for brightness.
Gluten-Free
Use a 1:1 gluten-free flour blend. I’ve used Bob’s Red Mill and King Arthur, and both work great. Make sure the blend contains xanthan gum, or add ½ teaspoon yourself. The texture will be slightly more tender, but still delicious.
Dairy-Free
Use dairy-free butter and dairy-free ice cream. There are many good options now, like So Delicious or Coconut Dream. The cookies will be slightly less chewy, but still tasty. I’ve made these for my lactose-intolerant friends, and they loved them.
Vegan
Use flax eggs (1 tablespoon ground flaxseed + 3 tablespoons water per egg) and dairy-free butter and ice cream. The cookies will be slightly denser, but the flavor is still great. I’ve tried this with vegan chocolate chips, and they hold up well.
Serving & Storage
How to serve them:
I usually serve these straight from the freezer, but let them sit on the counter for 2-3 minutes to soften slightly. This makes them easier to bite into. I pair them with a cold glass of milk or a hot cup of coffee. It’s the ultimate contrast.
Side Dishes:
These are a dessert, so they don’t need sides. But if you’re serving them at a BBQ, they go well with savory dishes like my Labor Day Bacon Cheddar Ranch Pasta Salad. The savory pasta balances the sweet dessert perfectly.
Toppings Bar:
When I have guests, I put out: crushed nuts, extra chocolate chips, sprinkles, and caramel sauce. Everyone can customize their sandwich. It’s fun and interactive.
Storage Instructions:
Refrigerator: Don’t store these in the fridge. The ice cream will get icy and the cookies will get soggy. Always keep them in the freezer.
Freezer: Store in an airtight container or zip-top bag. Separate layers with parchment paper. They’ll keep for up to 2 weeks. After that, they might start to develop freezer burn.
Reheating: Don’t reheat these. They’re meant to be eaten frozen. If they’re too hard to bite into, let them sit at room temperature for 5 minutes.
Nutrition Information
I’m not a nutritionist, but here’s the breakdown if you’re tracking. This is a rich, indulgent treat, so enjoy it in moderation.
Per Serving (based on 12 sandwiches):
- Calories: 380
- Protein: 5g
- Carbs: 42g
- Fiber: 1g
- Sugar: 28g
- Fat: 22g
- Saturated Fat: 12g
- Cholesterol: 45mg
- Sodium: 220mg
What’s Good:
- It’s a single-serving dessert, so portion control is built in.
- Uses real ingredients, not artificial fillers.
- Can be modified for dietary restrictions.
What to Know:
- High in sugar and fat from the ice cream and butter.
- Contains gluten and dairy (unless modified).
- Not suitable for low-calorie diets.
My Take:
Look, this is a dessert. It’s sweet, rich, and indulgent. It’s not a health food. But it’s way better than store-bought versions, and it’s made with love. When I want to make it lighter, I use half the butter in the cookies and low-fat ice cream. But usually? I just eat one and enjoy it. It’s a treat, not a staple.
Final Thoughts
So that’s my Labor Day Chocolate Chip Cookie Ice Cream Sandwiches! I’ve probably talked your ear off at this point, but when you make a recipe this often, you have a lot to say about it.
This has saved summer dinners more times than I can count. It’s my answer to “what’s for dessert” when I’m tired, don’t want to order out, and still want something that tastes really good. My kids are happy, my husband’s happy, and I’m happy because I’m not stressed about cooking.
Make it yours! Try different ice cream flavors, swap in your favorite chocolate chips, or add a drizzle of caramel. The best recipes are the ones you adapt to your family’s tastes. And if you’re looking for more easy summer desserts, check out my Strawberry Cream Cheese Roll-Ups. They’re just as easy and perfect for hot days.
If you make this, drop a comment and let me know what you think! I love hearing how recipes turn out in your kitchen. And if something doesn’t work, tell me that too—I’m here to help troubleshoot. Happy cooking! And I hope your kitchen smells half as good as mine does right now.
Frequently Asked Questions
Can I use homemade ice cream?
Absolutely! Homemade ice cream works great, but make sure it’s churned and frozen until very firm. Homemade ice cream can be airier, so you might need to pack it down tighter in the scoop. If it’s too soft, freeze the pucks for an extra hour before assembling.
Why did my ice cream leak out?
This usually happens if the ice cream pucks weren’t frozen solid, or if the cookies were too warm. Make sure the ice cream is hard as a rock before you start assembling, and the cookies are completely cool. Also, don’t press down too hard when you sandwich them. A gentle press is enough.
Can I make these ahead for a party?
Yes! You can make them up to 2 weeks in advance. Store them in an airtight container in the freezer. Take them out 5 minutes before serving. This is actually the best way to make them, as it saves time on the day of the party.
Can I use cookie dough instead of baked cookies?
No. You need fully baked cookies. Raw cookie dough is unsafe to eat, and it won’t have the right texture. The cookies need to be crisp enough to hold the ice cream but chewy enough to be pleasant. Baked cookies provide that balance.
How do I prevent freezer burn?
Airtight storage is key. Use a heavy-duty zip-top bag and squeeze out as much air as possible, or use a rigid airtight container. Wrapping each sandwich in plastic wrap before putting it in the container adds an extra layer of protection. This keeps them fresh for up to 2 weeks.
Can I freeze the cookies separately?
Yes, you can freeze the baked cookies for up to 1 month. Let them cool completely, then store them in an airtight container with parchment between layers. Thaw them at room temperature before assembling. This is a great way to prep ahead.
What’s the best ice cream brand to use?
I recommend Ben & Jerry’s, Häagen-Dazs, or Talenti. These brands have a higher fat content, which means a creamier texture and less ice crystal formation. Avoid low-fat or light ice creams, as they can be icy and don’t hold up well in the sandwich.
Pin This Recipe!
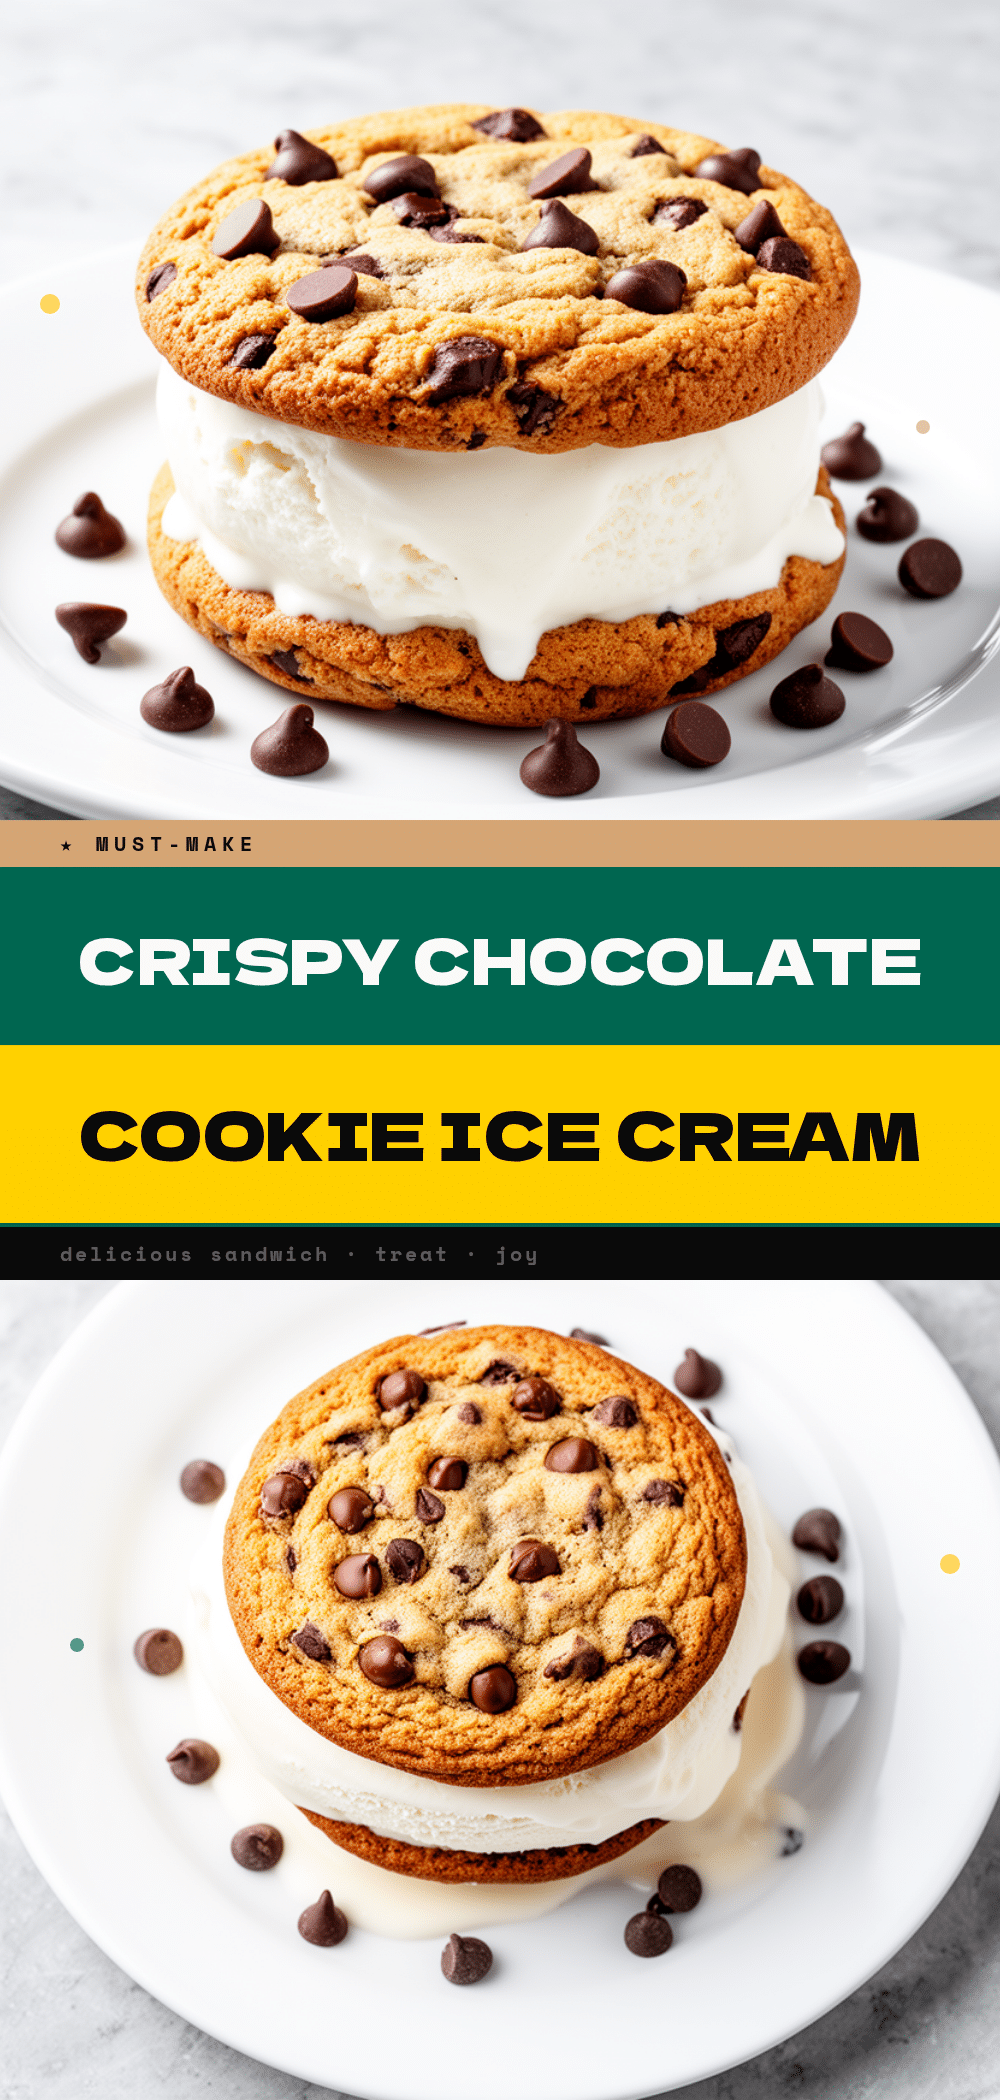
Labor Day Chocolate Chip Cookie Ice Cream Sandwiches
- Total Time: 45 minutes
- Yield: 12 servings 1x
Description
These Labor Day Chocolate Chip Cookie Ice Cream Sandwiches are the ultimate summer treat. They’re nostalgic, ridiculously easy to make, and taste like the best days of July condensed into one bite-sized package.
Ingredients
- 1 cup (226g) unsalted butter, softened
- 1 cup (200g) brown sugar, packed
- ½ cup (100g) granulated sugar
- 2 large eggs, room temperature
- 2 teaspoons vanilla extract
- 2¼ cups (280g) all-purpose flour
- 1 teaspoon baking soda
- 1 teaspoon salt
- 2 cups (340g) chocolate chips (mix of semi-sweet and milk)
- 1 quart (950ml) vanilla ice cream
- Optional: Sprinkles or crushed cookies for rolling edges
Instructions
- Line two baking sheets with parchment paper. Ensure ice cream is scoopable but not melted.
- In a large bowl, beat softened butter, brown sugar, and granulated sugar together until light and fluffy (about 3 minutes). Scrape down sides.
- Add eggs one at a time, beating well after each addition. Add vanilla extract and mix until just combined.
- In a separate bowl, whisk together flour, baking soda, and salt. Gradually add dry ingredients to wet mixture and mix on low speed until just combined.
- Fold in chocolate chips using a spatula until evenly distributed.
- Scoop tablespoon-sized portions of dough onto prepared baking sheets, spacing 2 inches apart. Bake at 350°F (175°C) for 12-14 minutes until edges are golden but centers look soft.
- Let cookies cool on baking sheet for 5 minutes, then transfer to a wire rack to cool completely (about 30 minutes).
- While cookies cool, scoop ice cream into 1/3 cup balls. Flatten slightly into discs on a parchment-lined sheet. Freeze for at least 1 hour until hard.
- Assemble sandwiches by placing one ice cream puck between two cooled cookies. Press gently to secure. Optionally roll edges in crushed cookies or sprinkles.
- Place assembled sandwiches on a parchment-lined sheet and freeze for at least 2-4 hours until firm.
- Transfer to an airtight container or zip-top bag, separating layers with parchment paper. Store in freezer for up to 2 weeks. Let sit at room temperature for 2-3 minutes before serving.
Notes
Do not overbake the cookies; they should look soft in the center when removed from the oven as they will firm up while cooling. Ensure ice cream pucks are frozen solid before assembling to prevent leaking. Use room temperature ingredients for best texture. These can be made ahead and stored in the freezer for up to 2 weeks.
- Prep Time: 30 minutes
- Cook Time: 12 minutes
- Category: Dessert
- Cuisine: American
Nutrition
- Serving Size: 1 sandwich
- Calories: 380
- Sugar: 28
- Sodium: 220
- Fat: 22
- Saturated Fat: 12
- Carbohydrates: 42
- Fiber: 1
- Protein: 5
Keywords: chocolate chip cookie ice cream sandwiches, labor day dessert, summer treats, easy ice cream sandwiches, homemade ice cream sandwiches, no-bake dessert



